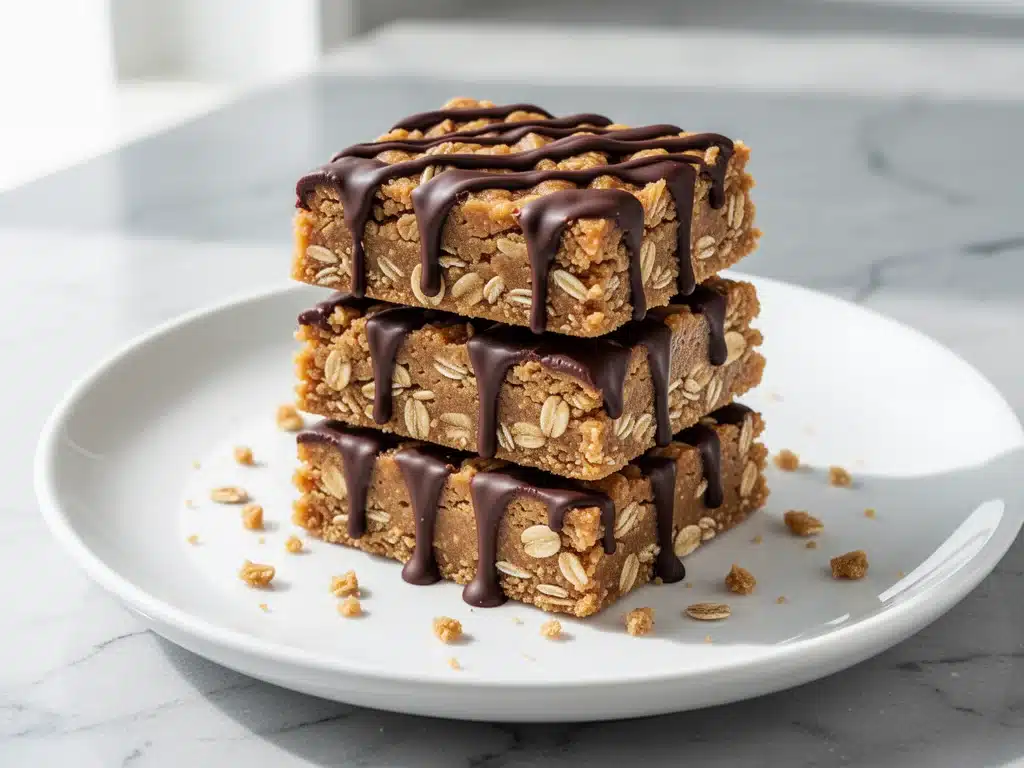
It was 9:30 PM on a Tuesday, and I was standing in my kitchen with a sudden, overwhelming craving for something sweet. But not just any sweet. I wanted that specific, comforting texture of a chewy oat bar with a salty-sweet peanut butter center and a drizzle of chocolate. The problem? I was vegan, I had no flour, and I definitely didn’t have time to bake a complicated cake.
I stared into my pantry, feeling that familiar mix of hunger and frustration. Then I spotted a jar of natural peanut butter that had separated (classic), a bag of rolled oats, and a bar of dark chocolate that was about to expire. I thought, What’s the worst that could happen?
I threw everything into a bowl, pressed it into a pan, and chilled it. Thirty minutes later, I took a bite. And honestly? I stopped breathing for a second. It was better than anything I’d ever bought at a health food store. It was chewy, rich, and didn’t leave me feeling sluggish afterward. I’ve made these vegan peanut butter oatmeal bars with dark chocolate drizzle at least twenty times since that random Tuesday night. They’ve become my go-to for everything: after-school snacks, post-workout fuel, and that 3 PM slump when I really just need something chocolatey.
Here’s the thing about these bars—they’re deceptively simple. You don’t need to mix a batter, wait for it to rise, or worry about your oven temperature. It’s a no-bake recipe, which means you can have them ready in under 15 minutes of active time. I’ve tested every variation possible, from using almond butter to swapping the oats for gluten-free versions, and I’ve finally nailed down the perfect ratio. This isn’t just a “diet” snack; it’s a legitimate dessert that happens to be good for you. If you love the combo of salty peanut butter and sweet chocolate, you’re going to obsess over these.
Why You’ll Love This Vegan Peanut Butter Oatmeal Bars Recipe
There are a million snack bar recipes out there, but most of them are either too sweet, too hard, or require ingredients you can’t pronounce. I created this recipe because I wanted something that felt like a treat but actually fueled my body. These vegan peanut butter oatmeal bars with dark chocolate drizzle hit that perfect sweet spot. Here’s why they’ve earned a permanent spot in my kitchen routine:
- Zero Baking Required — Seriously. No preheating the oven, no waiting for cooling racks, and no burnt edges. You mix, press, and chill. This is my favorite type of cooking because it’s practically foolproof. I make these on days when I’m too tired to deal with a mess.
- Actually Chewy, Not Crumbly — I’ve tried so many no-bake bars that fall apart the second you pick them up. The secret here is the ratio of nut butter to sweetener. I spent weeks tweaking this until the bars held together perfectly but still had that soft, chewy bite. They don’t turn into rocks in the fridge.
- Pantry Staple Friendly — You probably have 80% of these ingredients right now. Oats, peanut butter, maple syrup, and chocolate. I keep a jar of natural peanut butter stocked specifically for these because they come together so fast. It’s better than grabbing fudgy peanut butter brownies when you want something quick, but lighter.
- Meal Prep Gold — I make a double batch on Sunday mornings. They keep in the fridge for up to two weeks, and they travel incredibly well. I pack them in my lunchbox alongside my turkey ranch lunch box roll-ups for a balanced, satisfying afternoon snack that doesn’t need reheating.
- Customizable and Fun — Love nuts? Add walnuts. Love crunch? Add pumpkin seeds. Love extra chocolate? Drizzle more. These bars are a canvas. I’ve even added a pinch of sea salt on top, which elevates the flavor profile massively. It’s the kind of recipe that lets you get creative without ruining the result.
This is my answer to “what’s for a snack?” when I’m trying to eat cleaner but still want to feel like I’m indulging. They’re filling, they taste incredible, and my non-vegan friends will never guess they’re plant-based. In fact, they usually ask for the recipe before they even realize there’s no dairy involved.
Ingredients You’ll Need for the Perfect Chew
Before we get to the mixing part, let’s talk about what goes into these bars. I’m very particular about the ingredients here because, in a no-bake recipe, every component plays a huge role in the final texture. You can’t hide behind a crust or a glaze. Here’s what I use and why it matters.
For the Base and Peanut Butter Layer
Old-Fashioned Rolled Oats (3 cups / 270g) — Do not use instant oats. They’re too fine and will make the bars gummy. Do not use steel-cut oats; they’re too hard and won’t soften in the fridge. I buy the generic store-brand old-fashioned oats because they work perfectly and save me money. If you need gluten-free, make sure your oats are certified gluten-free, as cross-contamination is common.
Natural Peanut Butter (1 cup / 250g) — This is the star. I use unsweetened, all-natural peanut butter where the oil separates. You must stir it well before using, or mix it with the maple syrup first so it’s smooth. If you use a stabilized peanut butter (the kind that never separates), it works too, but natural gives a richer flavor. I’ve tried almond butter as a substitute, and it’s good, but it changes the flavor profile significantly. For that classic taste, stick with peanut butter.
Smooth Peanut Butter (½ cup / 125g) — I mix in a little smooth peanut butter along with the crunchy or natural kind to help bind everything together. It creates that creamy center layer that contrasts with the chewy oats. If you’re allergic to nuts, you can swap this for sunflower seed butter, though the color will be lighter.
Maple Syrup (½ cup / 120ml) — I use pure maple syrup, not pancake syrup. It adds that deep, caramel-like sweetness that balances the saltiness of the peanuts. Honey is a common substitute, but since this is a vegan recipe, I stick to maple. Agave nectar works too, but it’s sweeter, so you might want to reduce the amount slightly.
Vanilla Extract (1 teaspoon) — Don’t skip this. It adds warmth and depth. I use pure vanilla extract, not imitation. It makes a subtle difference that you’ll notice when you taste the bars plain.
Sea Salt (½ teaspoon) — Vital. The salt cuts through the sweetness and enhances the peanut flavor. I use fine sea salt so it dissolves evenly into the mixture.
For the Dark Chocolate Drizzle
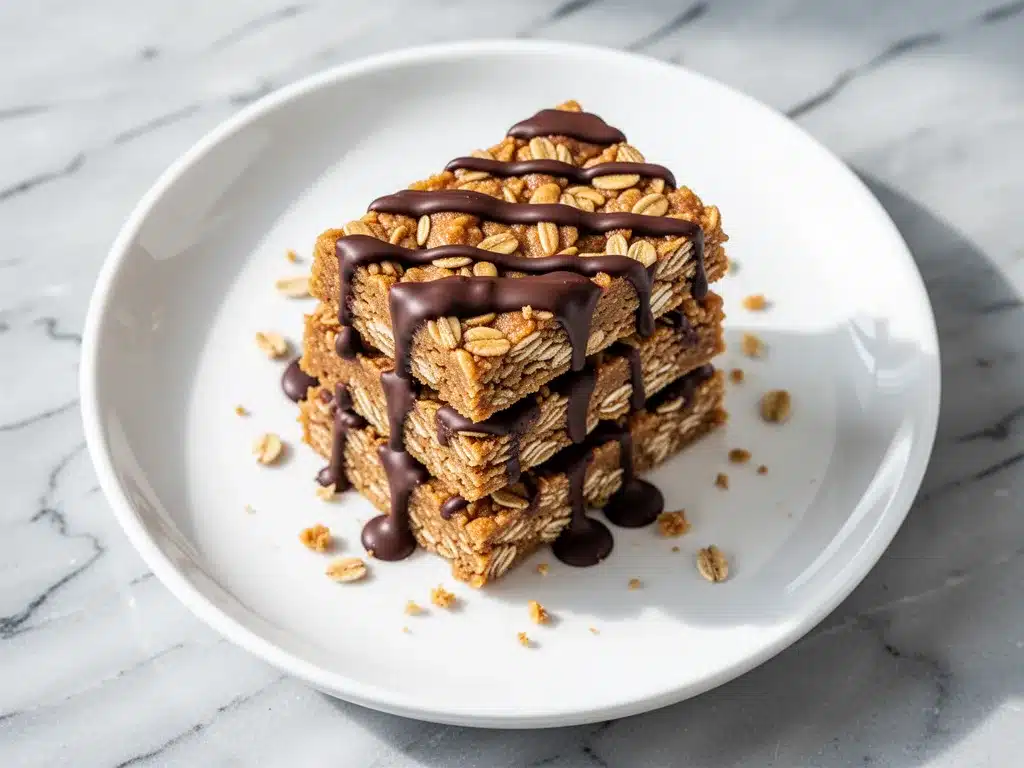
Dark Chocolate Chips or Chopped Bar (½ cup / 85g) — I look for chocolate that’s at least 60% cocoa. It shouldn’t be too sweet. I like brands like Guittard or Ghirardelli. If you can’t find vegan chips, just chop up a dark chocolate bar. Make sure it’s dairy-free. I’ve also used keto-friendly chocolate chips when I’m watching my sugar, and they work surprisingly well for the drizzle.
Coconut Oil (1 tablespoon) — This is the secret to a smooth, glossy drizzle. Without it, the chocolate will be thick and hard to spread. It also helps the chocolate set quickly in the fridge. Use refined coconut oil if you don’t want a coconut taste, or unrefined if you love that flavor.
Optional Add-ins:
I love adding a handful of dark chocolate chips or chopped walnuts into the oat mixture before pressing it into the pan. It adds texture bursts. I’ve also added a few sprinkles of flaky sea salt on top right after drizzling the chocolate—it looks fancy and tastes amazing.
Equipment Needed
You don’t need any fancy gadgets for this. Here’s what I actually use in my kitchen:
- 9×9 Inch Baking Pan — I use a metal pan. Glass or ceramic works, but metal conducts heat better if you ever decide to warm the bars slightly. Line it with parchment paper for easy removal. I usually leave an overhang on two sides so I can lift the whole block out once it’s set.
- Large Mixing Bowl — Something big enough to hold 3 cups of oats and 1.5 cups of wet ingredients. A glass bowl is nice because you can see everything clearly.
- Small Saucepan or Microwave-Safe Bowl — For melting the chocolate and coconut oil. I prefer the microwave for speed, but a double boiler on the stove gives you more control if you’re worried about burning the chocolate.
- Spatula — A silicone spatula is best for scraping the bowl clean and mixing the sticky peanut butter mixture. You’ll want to get every bit of that sticky goodness into the oats.
- Pastry Brush or Spoon — For the chocolate drizzle. A small spoon works fine, but a pastry brush gives you more artistic control if you want a pretty zig-zag pattern.
That’s it. No stand mixer, no food processor, no weird tools. Just basic kitchen staples. If you can mix a bowl and put something in the fridge, you can make these.
How to Make Vegan Peanut Butter Oatmeal Bars: Step-by-Step
Alright, let’s get into the kitchen. I’m walking you through exactly how I make these, including the little tricks that ensure they’re chewy, not crumbly, and loaded with flavor.
Step 1: Prep Your Pan
Line your 9×9 inch baking pan with parchment paper. I like to create a sling by placing two strips of parchment perpendicular to each other, leaving an overhang on all sides. This makes it super easy to lift the bars out once they’re chilled. If you don’t have parchment, grease the pan well with coconut oil spray, but the paper is much cleaner.
Step 2: Mix the Dry Ingredients
In your large mixing bowl, add the 3 cups of rolled oats and ½ teaspoon of sea salt. Give them a quick stir to distribute the salt evenly. This step is quick, but it ensures you don’t get a salty clump in one corner of your bar.
Step 3: Combine the Wet Ingredients
In a separate medium bowl or large measuring cup, whisk together the 1 cup of natural peanut butter, ½ cup of smooth peanut butter, ½ cup of maple syrup, and 1 teaspoon of vanilla extract. If your natural peanut butter is very hard or separated, microwave it for 20-30 seconds to soften it. You want a smooth, pourable mixture. Whisk until everything is glossy and combined. It should look like a thick, creamy sauce.
Step 4: Bring It All Together
Pour the wet mixture over the oats. This is the messy part, so don’t worry about it. Use your silicone spatula to fold the oats into the peanut butter mixture. You want every single oat to be coated. It will look sticky and clumpy—that’s exactly what you want. If it seems too dry and isn’t sticking together, add another tablespoon of maple syrup. If it’s too runny, add a few more oats.
Step 5: Press into the Pan
Transfer the mixture into your prepared pan. Use the back of a spoon or your hands (lightly greased with oil) to press the mixture down firmly. I can’t stress this enough: press it down well. If it’s too loose, the bars will fall apart. Aim for an even, compact layer. I usually press the sides down first, then the middle, making sure it’s level. This step takes about 2 minutes, but it’s crucial for the texture.
Step 6: Chill the Base
Place the pan in the refrigerator for at least 20-30 minutes. You need the base to firm up before you add the chocolate drizzle. If you skip this, the chocolate will melt into the oats and make a mess. While the base chills, you can prep your chocolate.
Step 7: Make the Chocolate Drizzle
In a small microwave-safe bowl, combine the ½ cup of dark chocolate chips and 1 tablespoon of coconut oil. Microwave in 20-second intervals, stirring between each, until the chocolate is smooth and fluid. If you’re using a saucepan, melt it over low heat, stirring constantly. Don’t let it boil. You want a silky, pourable consistency. If it’s too thick, add another half-teaspoon of coconut oil. If it’s too thin, let it cool for a minute.
Step 8: Drizzle and Set
Take the pan out of the fridge. Pour the melted chocolate over the chilled base. Use a spoon or a pastry brush to spread it evenly, or create a zig-zag pattern for a pretty look. If you’re adding flaky sea salt or extra chocolate chips, do it now while the chocolate is still wet. Return the pan to the fridge for another 10-15 minutes to let the chocolate set completely.
Step 9: Slice and Serve
Once the chocolate is hard, lift the block out of the pan using the parchment sling. Place it on a cutting board. Use a sharp knife to slice into squares. I like to cut them into 12-16 bars, depending on how hungry you are. They’ll keep their shape beautifully if they’ve chilled long enough.
Total Time: About 45 minutes (10 minutes active, 35 minutes chilling)
Expert Tips & Tricks for Success
I’ve made these bars enough times to know what goes wrong and how to fix it. Here’s everything I’ve learned to guarantee perfect results every single time.
- Stir Your Natural Peanut Butter Thoroughly — This is the #1 mistake people make. If you scoop straight from the jar, you’ll get mostly oil or mostly solids, and the texture will be off. Stir that jar until it’s completely uniform before measuring. If it’s too hard to stir, warm it up slightly.
- Press Firmly — I mentioned this before, but it bears repeating. Loose bars are sad bars. Use your hands to pack the mixture down tightly. If it feels loose, add a bit more peanut butter or maple syrup to act as a binder.
- Chill Before Drizzling — I’ve been guilty of skipping this and making a chocolatey mess. Always let the oat base firm up first. It takes 20 minutes, and it’s worth it for the clean layers.
- Watch the Heat When Melting Chocolate — Chocolate seizes up easily if it gets too hot or if even a drop of water gets in. Keep the heat low and stir often. If you’re using a microwave, 20-second bursts are safer than one long burst.
- Add Texture — For extra crunch, I toss in ¼ cup of chopped walnuts or pecans into the oat mixture. It adds a nice contrast to the soft chew. I’ve also added a few dark chocolate chips into the base before pressing it down for surprise chunks.
Common Mistakes to Avoid
Mistake: Bars are too crumbly.
Fix: You didn’t press them down enough, or you didn’t use enough binder. Next time, add an extra tablespoon of peanut butter or maple syrup.
Mistake: Chocolate is grainy.
Fix: The chocolate was overheated. Melt it slower and stir more. Or, the coconut oil wasn’t fully incorporated.
Mistake: Bars are too sweet.
Fix: Taste your peanut butter before starting. Some natural peanut butters are sweeter than others. If yours is sweet, reduce the maple syrup by 1-2 tablespoons.
Variations & Substitutions
Once you’ve mastered the basic version, here’s how you can mix it up. I’ve tested all of these, and they all work great.
Almond Butter Version
Swap the peanut butter for almond butter. The flavor is more subtle and sophisticated. I love this version with a sea salt drizzle. It tastes almost like an almond joy bar.
Sunflower Seed Butter (Nut-Free)
Perfect for school lunches or friends with allergies. Use sunflower seed butter instead of peanut butter. The color will be a bit lighter, but the taste is similar. I add a little extra vanilla to boost the flavor.
Chocolate Chip Oat Bars
Add ½ cup of dark chocolate chips into the oat mixture before pressing it into the pan. Then skip the drizzle, or do a light drizzle on top. These are intensely chocolatey and great for dessert.
Coconut Crunch
Add ½ cup of shredded coconut to the oat mixture. It adds a nice chew and tropical flavor. I use unsweetened coconut to keep the sugar down.
Protein Boost
Stir in 1-2 scoops of vanilla or chocolate protein powder. You might need to add a little extra maple syrup or liquid to compensate for the dry powder. These make a great post-workout snack, similar to my keto peanut butter cup fat bombs, but with more fiber from the oats.
Gluten-Free
Simply use certified gluten-free oats. Everything else in the recipe is naturally gluten-free, so this is an easy swap.
Serving & Storage
How to Serve
I usually keep these in the fridge and grab one when I need a pick-me-up. They’re perfect with a glass of cold milk (dairy or oat milk) or a cup of coffee. I also love packing them in lunchboxes—they don’t melt as easily as regular chocolate bars in the heat, especially if you add that coconut oil to the drizzle.
Storage Instructions
Refrigerator:
Store the bars in an airtight container in the fridge for up to 2 weeks. They actually get firmer and chewier after a few days, which I personally prefer. Separate layers with parchment paper if you stack them.
Freezer:
These freeze beautifully! Place them in a freezer-safe container or bag for up to 3 months. Thaw them in the fridge for 30 minutes before eating. I make a double batch and freeze half for later.
Room Temperature:
You can keep them at room temperature for 1-2 days, but in a warm house, the chocolate might soften. I prefer the fridge for texture.
Pro Tip:
If you’re bringing these to a picnic or potluck, keep them in a cooler with an ice pack. They’ll hold up much better than regular cookies.
Nutrition Information
I’m not a nutritionist, but here’s the breakdown if you’re tracking. These bars are calorie-dense because of the nuts and oats, but they’re also nutrient-rich.
Per Bar (based on 16 bars):
- Calories: 180
- Protein: 5g
- Carbs: 22g
- Fiber: 3g
- Sugar: 10g
- Fat: 10g
- Saturated Fat: 2g
What’s Good:
Good source of healthy fats from the peanut butter, fiber from the oats, and antioxidants from the dark chocolate. No refined sugars (just maple syrup).
What to Know:
These are energy-dense snacks. A couple of bars can easily be a meal replacement if you’re active. If you’re watching your sugar intake, you can reduce the maple syrup slightly or use a sugar-free chocolate drizzle.
Final Thoughts
So that’s my go-to vegan peanut butter oatmeal bars with dark chocolate drizzle! I’ve probably talked your ear off at this point, but when you find a recipe that works this well, you want to share every detail. These bars have saved me so many times—when I need a quick lunchbox snack, when I want to bring something to a party that everyone will eat, or when I just need a hug in food form.
They’re simple, they’re delicious, and they’re incredibly satisfying. I hope you try them and love them as much as I do. Make them your own! Add nuts, swap the chocolate, or just enjoy them plain. The best recipes are the ones you adapt to your taste.
If you make these, drop a comment and let me know how they turned out! I love hearing how recipes work in your kitchen. And if something doesn’t work, tell me that too—I’m here to help troubleshoot. Happy snacking!
Frequently Asked Questions
Can I use crunchy peanut butter?
Absolutely! I actually prefer a mix of smooth and crunchy for texture. If you use all crunchy, the bars will be chunkier, which is great. Just make sure the peanut butter is well-stirred so the oils are incorporated.
Why did my bars fall apart?
This usually happens if the mixture wasn’t pressed down firmly enough, or if there wasn’t enough binder (peanut butter/maple syrup). Next time, press harder and make sure the mixture is sticky and clumpy before putting it in the pan. If it’s too dry, add a little more maple syrup.
Can I make these ahead of time?
Yes! These are perfect for meal prep. I make them on Sunday and keep them in the fridge all week. They actually taste better after a day or two because the oats have fully absorbed the moisture.
Can I freeze these bars?
Yes, they freeze very well. Place them in a single layer in a freezer-safe container, separated by parchment paper. They’ll last for up to 3 months. Thaw in the fridge before eating.
What if I don’t have maple syrup?
You can use agave nectar or honey (if you’re not strict about vegan). Brown rice syrup also works, though it’s less sweet. Just make sure it’s a liquid sweetener that can bind the oats.
Can I use almond butter instead?
Yes, almond butter works great as a 1:1 substitute. The flavor will be milder and nuttier. I love this version with a sea salt drizzle. Just note that almond butter can be thicker, so you might need to warm it slightly.
How do I store these if I don’t have an airtight container?
If you’re traveling or don’t have containers, you can wrap the whole block tightly in plastic wrap or foil. Just make sure it’s sealed well to prevent them from drying out or absorbing fridge odors.
Pin This Recipe!
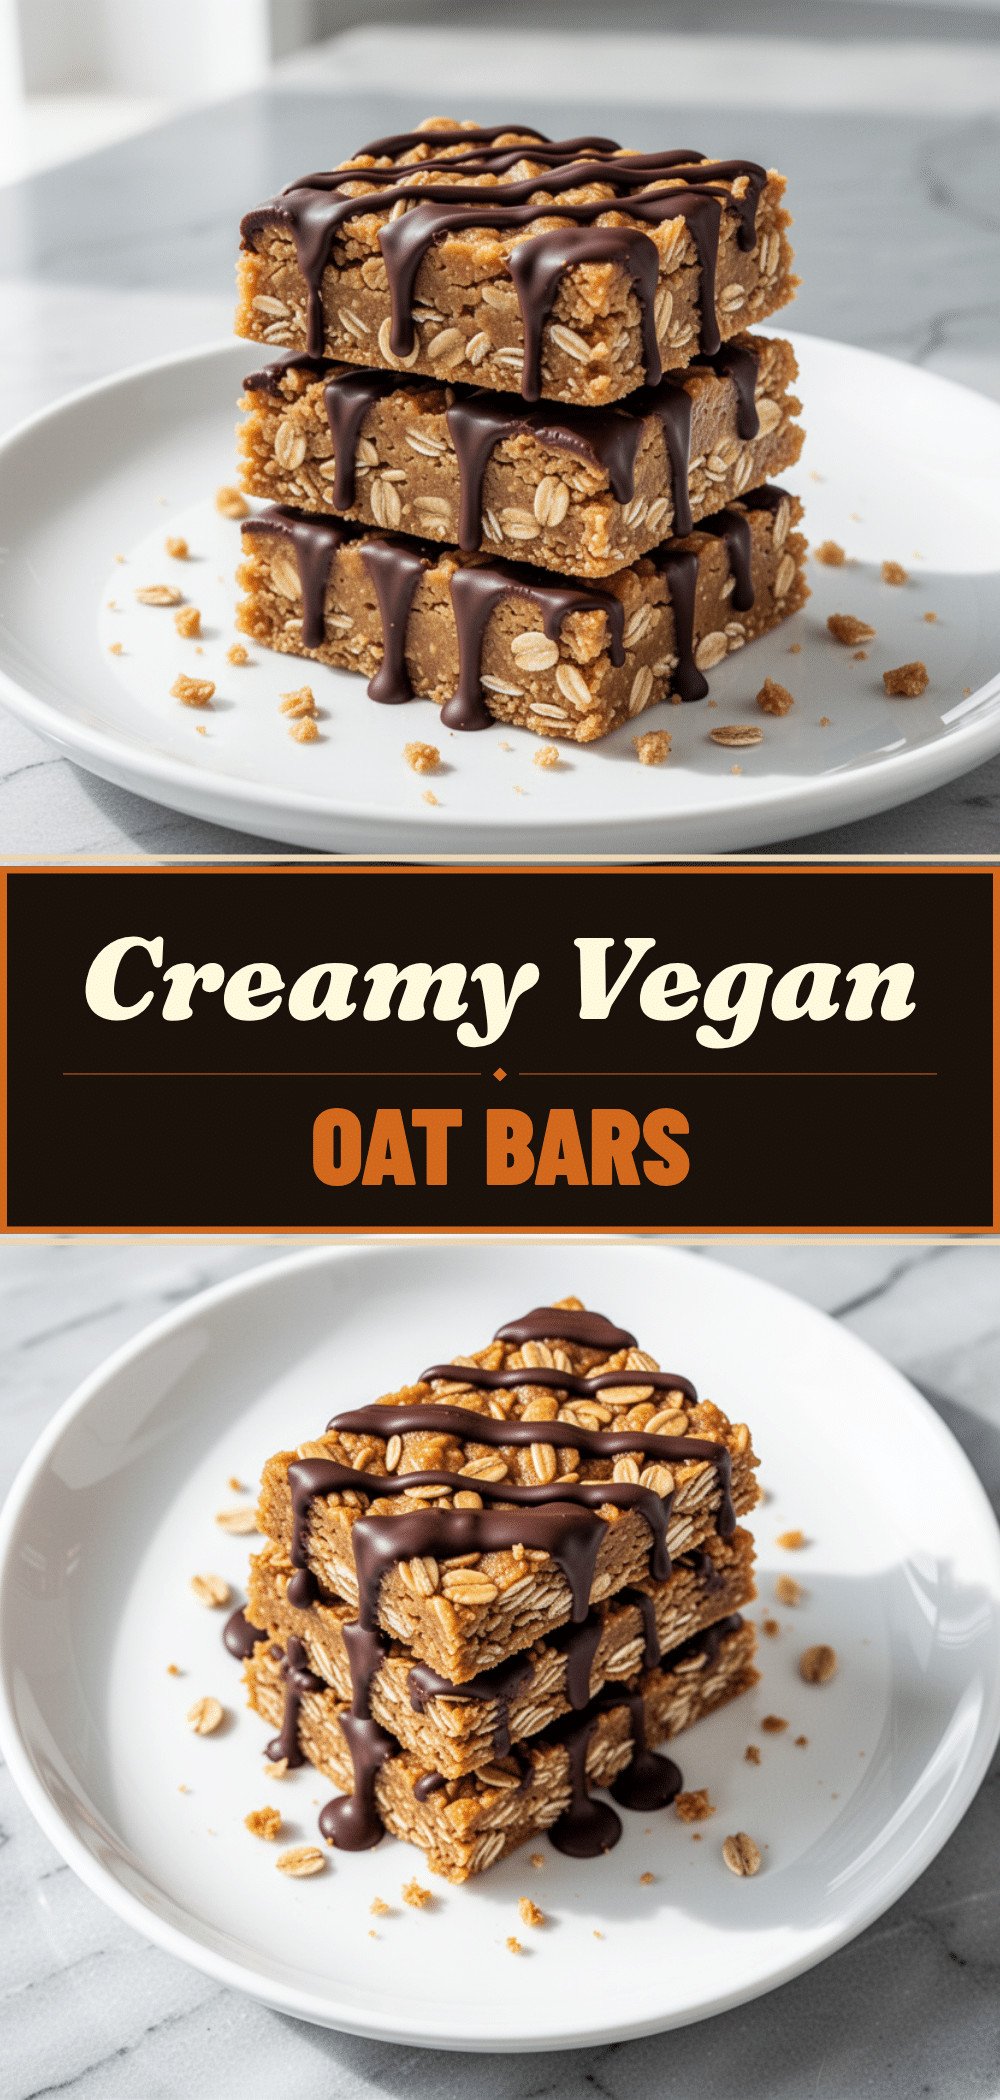
Vegan Peanut Butter Bars: Easy Dark Chocolate Oatmeal Treat
- Total Time: 45 minutes
- Yield: 16 servings 1x
Description
A simple, no-bake vegan oatmeal bar featuring a chewy oat base, a salty-sweet peanut butter center, and a rich dark chocolate drizzle. Ready in under 15 minutes of active time.
Ingredients
- 3 cups old-fashioned rolled oats
- 1 cup natural peanut butter (stirred well)
- 1/2 cup smooth peanut butter
- 1/2 cup pure maple syrup
- 1 teaspoon vanilla extract
- 1/2 teaspoon sea salt
- 1/2 cup dark chocolate chips or chopped bar (dairy-free)
- 1 tablespoon coconut oil
Instructions
- Line a 9×9 inch baking pan with parchment paper, creating a sling for easy removal.
- In a large mixing bowl, combine the rolled oats and sea salt, stirring to distribute evenly.
- In a separate bowl, whisk together the natural peanut butter, smooth peanut butter, maple syrup, and vanilla extract until smooth and glossy. If the natural peanut butter is hard, microwave it briefly to soften.
- Pour the wet mixture over the oats and fold with a spatula until every oat is coated and the mixture is sticky.
- Transfer the mixture to the prepared pan and press down firmly and evenly to compact the bars.
- Refrigerate the base for 20-30 minutes to firm up.
- While the base chills, melt the dark chocolate chips and coconut oil together in 20-second intervals in the microwave or over low heat in a saucepan, stirring until smooth.
- Remove the pan from the fridge and drizzle or spread the melted chocolate over the chilled base.
- Return to the fridge for 10-15 minutes to allow the chocolate to set completely.
- Lift the block out of the pan using the parchment sling and slice into 12-16 bars.
Notes
Ensure natural peanut butter is stirred thoroughly before use. Press the oat mixture firmly into the pan to prevent crumbling. Chill the base before adding chocolate to prevent melting. Use certified gluten-free oats if necessary.
- Prep Time: 10 minutes
- Cook Time: 0 minutes
- Category: Dessert
- Cuisine: American
Nutrition
- Serving Size: 1 bar
- Calories: 180
- Sugar: 10
- Fat: 10
- Saturated Fat: 2
- Carbohydrates: 22
- Fiber: 3
- Protein: 5
Keywords: vegan, peanut butter, oatmeal bars, no-bake, dark chocolate, healthy snack, gluten-free option, meal prep


