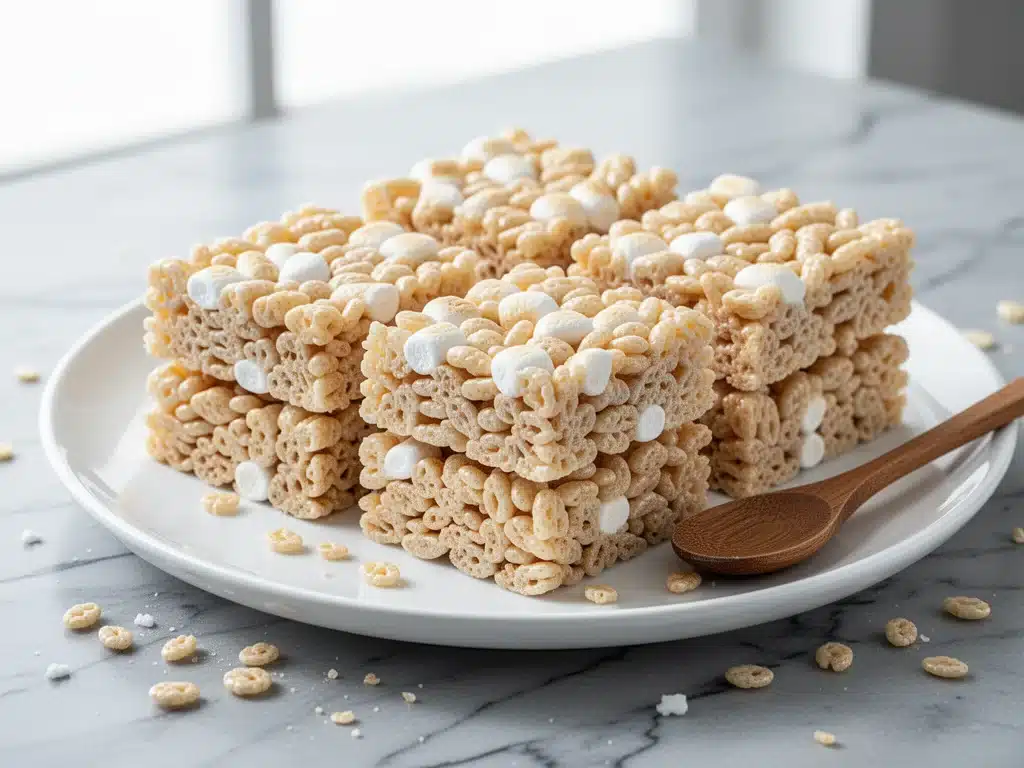
It’s 6:45 AM on a Tuesday. The house is a disaster zone of half-packed backpacks, mismatched shoes, and one very resistant seven-year-old who has decided that breakfast is a negotiation. I’m standing in the kitchen, coffee in one hand, trying to find my keys in the other, when I realize I have exactly zero time to cook. No time for eggs, no time for toast, and definitely no time to hunt down a granola bar that isn’t stale. That’s when I remember the pan in the fridge.
Those Back-to-School Rice Krispie Treat Bars. Not the messy, sticky-fingered squares from childhood birthday parties. These are different. These are structured, sturdy, and actually nutritious enough to get us out the door without a sugar crash by third period. I stumbled onto this version three years ago, right when the new school year started and my sanity was hanging by a thread. I was tired of the traditional recipe falling apart in lunchboxes and sticking to teeth. I wanted something that felt like a treat but acted like fuel.
What I’ve developed isn’t just a dessert hack—it’s a survival strategy for busy mornings. It’s the perfect Rice Krispie Treat Bars for busy mornings because they hold their shape, they don’t require reheating, and they taste like comfort without the guilt. I’ve made these for teachers, for carpool lines, and for those days when I’m running on fumes. They’ve become my secret weapon. And honestly? My kids think they’re getting a special treat, not realizing they’re also getting a balanced dose of protein and complex carbs. It’s a win-win, and it’s saved our mornings more times than I can count.
Why You’ll Love This Rice Krispie Treat Bars Recipe
Look, I get it. You’re looking for a breakfast that doesn’t involve a skillet or a blender. Something that can be prepped on Sunday and executed on Monday morning with zero effort. This recipe is exactly that. It’s not just “easy”—it’s foolproof. Here’s why these bars have earned a permanent spot in my weekly meal plan:
- Zero Morning Prep — Seriously. The hardest part is waiting for them to set. Once they’re in the fridge, you can’t mess them up. I’ve grabbed them straight from the container while rushing to put on shoes. They’re ready to go.
- Sturdy Enough for Backpacks — Traditional Rice Krispie treats are fragile. These bars? They survive the jostle of a school bus seat. I’ve tested them in lunchboxes, in gym bags, and even in the backseat of the car. They don’t crumble. They don’t melt. They just sit there, ready to be eaten.
- Protein-Packed Energy — By swapping half the marshmallows for nut butter and adding a sprinkle of seeds, we’re adding real fuel. It’s not just sugar and air. It’s sustained energy. My kids stay focused until snack time, which is a miracle in itself.
- Customizable for Picky Eaters — Hate nuts? Use sunflower seed butter. Want chocolate? Drizzle some on top. This recipe is a blank canvas. I’ve made them with peanut butter, almond butter, and even sunflower butter for nut-free schools. They all work beautifully.
- Meal Prep Hero — I make a double batch on Sunday while listening to podcasts. It takes 15 minutes of active time. Then they’re good for the entire week. That’s one less decision I have to make during the chaotic school week.
This is my go-to when I need dinner to just work. No complicated techniques, no weird ingredients, just reliable, delicious food that makes everyone happy. It’s the perfect Rice Krispie Treat Bars for busy mornings because it removes the stress and adds a little joy to the start of the day.
Ingredients You’ll Need
Here’s the best part: you probably have most of this already. I’m particular about a few things here, and I’ll tell you exactly why. This isn’t just about marshmallows and cereal. It’s about balance and texture.
For the Base:
Marshmallows (4 cups / 100g) — Use large, standard marshmallows. Mini ones melt too fast and can burn easily. I prefer the classic white ones, but if you want a fun twist, try half vanilla and half chocolate. Just be aware the chocolate ones might make the bars look a bit darker.
Butter (4 tablespoons / 57g) — Unsalted is best so you can control the saltiness. I use real butter, not margarine. It adds that rich flavor that makes these taste like a treat. If you’re dairy-free, try a high-quality plant-based butter that melts well.
Nut Butter (½ cup / 125g) — This is the game-changer. I use creamy peanut butter because it’s widely liked and affordable. Almond butter works too, but it’s stronger in flavor. Sunflower seed butter is perfect for nut-free schools. Make sure it’s smooth, not crunchy, unless you like texture surprises.
Rice Krispies Cereal (6 cups / 180g) — Yes, six cups. The ratio is crucial. You want the cereal to be the star, not the marshmallow. Use original Rice Krispies. Other crispy rice cereals might work, but they can be denser. I stick with Kellogg’s because it has the right crunch.
For the Boost:
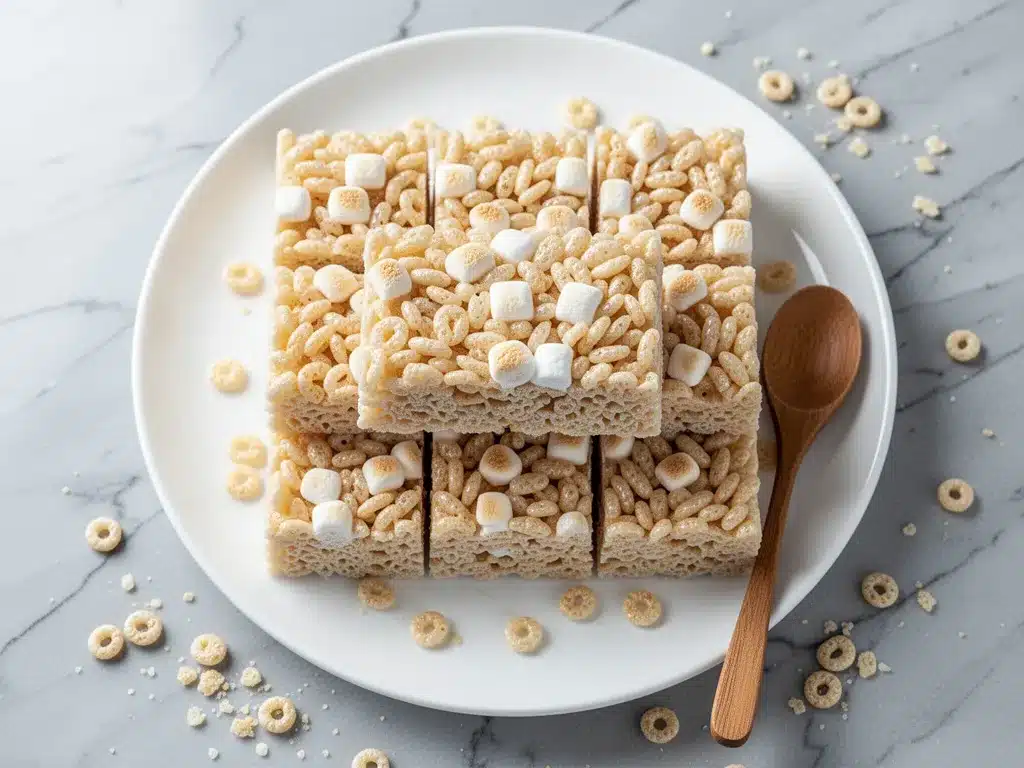
Chia Seeds (2 tablespoons / 15g) — These add omega-3s and fiber without changing the taste. They’re tiny, so no one will notice. If you’re worried about kids spitting them out, you can skip them, but I recommend keeping them for the nutritional boost.
Salt (½ teaspoon) — A pinch of salt balances the sweetness. Don’t skip it. It makes the nut butter and cereal taste more savory and less cloying.
For the Topping (Optional but Recommended):
Dark Chocolate Chips (½ cup / 85g) — Melted and drizzled on top. It adds a fancy touch and extra antioxidants. Semi-sweet works best. If you’re watching sugar, skip this, but let’s be real—it’s a treat.
Extra Cereal (½ cup / 15g) — Sprinkled on top before the chocolate sets. Adds crunch and looks pretty.
Personal Tips: I always buy my nut butter in the refrigerated section if I can find it—it’s fresher and the oil doesn’t separate as much. If you’re using store-bought, just stir it well before measuring. Also, I use a silicone spatula for mixing because it scrapes the bowl clean and doesn’t scratch non-stick surfaces.
Equipment Needed
You don’t need fancy equipment for this. Here’s what I actually use.
9×13 Inch Baking Pan — I use a glass Pyrex pan because it’s easy to see the bottom and clean. A metal pan works too, but glass is nicer for this no-bake recipe. Grease it well with butter or cooking spray.
Large Stockpot — Something with high sides. Marshmallows expand when they melt, and you don’t want them bubbling over. I use a 6-quart pot. It’s big enough to handle the volume.
Silicone Spatula — Essential for stirring the marshmallows and folding in the cereal. It’s heat-resistant and flexible. I have a few, and I always grab the biggest one for this.
Measuring Cups and Spoons — Standard stuff. I use both dry and liquid measuring cups for accuracy. Precision matters here, especially with the nut butter.
Parchment Paper — Line your pan with parchment paper, leaving an overhang on the sides. This is the secret to easy removal. You don’t want to dig these out with a knife. Just lift them out.
Small Microwave-Safe Bowl — For melting the chocolate chips. If you don’t have a microwave, you can use a double boiler, but the microwave is faster and easier.
Optional but nice:
– Chef’s Knife — For cutting the bars. Dip it in hot water between cuts for clean slices.
– Pastry Brush — For greasing the pan evenly.
How to Make It: Step-by-Step
Alright, let’s make this! I’m walking you through exactly how I do it, including the little tricks I’ve picked up. This process is quick, so have your ingredients ready.
Step 1: Prep Your Pan (2 minutes)
Line your 9×13 inch baking pan with parchment paper. Leave a little overhang on the long sides so you can lift the bars out later. Grease the parchment generously with butter or cooking spray. This is crucial—marshmallows are sticky, and you don’t want them glued to the pan.
Step 2: Melt the Butter and Nut Butter (3 minutes)
Place your large stockpot over medium-low heat. Add the butter and nut butter. Stir constantly until they are melted and combined. Don’t let the butter brown. You just want it melted and smooth. If the nut butter is stiff, break it into chunks first to help it melt evenly.
Step 3: Melt the Marshmallows (2-3 minutes)
Add the marshmallows to the pot. Stir gently but constantly. They will start to melt and clump together. Keep stirring until they are completely smooth and liquid. This might take a few minutes. Be patient. If you rush it, the marshmallows might burn on the bottom. Remove from heat as soon as they are smooth.
Step 4: Add the Dry Ingredients (2 minutes)
Immediately add the Rice Krispies cereal, chia seeds, and salt to the pot. Use your silicone spatula to fold everything together. You want every piece of cereal coated in the marshmallow mixture. This happens fast, so work quickly before the marshmallows start to set.
Step 5: Press into the Pan (3 minutes)
Transfer the mixture to your prepared pan. Use a greased spatula or your greased hands to press the mixture down firmly. Don’t just pat it lightly—you want it compact. If it’s too loose, the bars will crumble. Press it evenly into the corners. This step takes some elbow grease, but it’s worth it for sturdy bars.
Step 6: Cool and Set (1 hour)
Let the bars cool at room temperature for 30 minutes, then transfer them to the fridge for another 30 minutes. They need to be completely firm before you cut them. If you try to cut them warm, they’ll be a mess. Patience is key here.
Step 7: Add the Chocolate Drizzle (Optional, 5 minutes)
Melt the chocolate chips in a microwave-safe bowl in 30-second intervals, stirring between each. Once smooth, drizzle over the cooled bars. Sprinkle with extra cereal if you like. Let the chocolate set for 10 minutes at room temperature or 5 minutes in the fridge.
Step 8: Cut and Serve
Lift the bars out of the pan using the parchment overhang. Use a sharp knife to cut into squares or rectangles. Dip the knife in hot water and wipe it dry between cuts for clean edges. Serve immediately or store in an airtight container.
Total Time: About 1 hour 30 minutes (mostly cooling time, 15 minutes active).
Expert Tips & Tricks
Here’s everything I’ve learned from making this dozens of times. These tips will save you from my mistakes.
Don’t Skip the Press
The most common mistake is not pressing the mixture down enough. Loose bars crumble in lunchboxes. Press firmly and evenly. If you’re worried about your hands getting sticky, grease them with a little butter first.
Low and Slow for Melting
Marshmallows burn easily. Keep the heat low and steady. If you see the bottom starting to brown, remove from heat immediately and stir vigorously. It’s better to take a few extra minutes than to have burnt marshmallows.
Use Room Temperature Nut Butter
Cold nut butter is hard to mix. If your nut butter is stiff, let it sit out for 15 minutes before starting. It will blend into the melted butter much more smoothly.
Chia Seed Hack
If you’re worried about the chia seeds being noticeable, you can grind them slightly in a spice grinder first. They’ll become a powder and mix in invisibly. I usually just leave them whole, but it’s your call.
Storage is Key
These bars are best stored in the fridge. Room temperature can make them too soft, especially in warm weather. Keep them in an airtight container with parchment paper between layers to prevent sticking.
Variations & Substitutions
Once you’ve nailed the basic version, here’s how you can mix it up. I’ve tried all of these.
Chocolate Peanut Butter
Add ½ cup of mini chocolate chips to the cereal mixture before pressing. It adds pockets of chocolate throughout. My kids love this version.
Treble Bar Style
Add ½ cup of pretzel pieces to the cereal mixture. The salty crunch pairs perfectly with the sweet marshmallow. It’s a sweet-and-salty combo that’s addictive.
Coconut Love
Replace half the Rice Krispies with toasted coconut flakes. Add ½ cup of shredded coconut to the mix. It gives a tropical vibe and a nice chewy texture.
Protein Power
Add 2 scoops of unflavored or vanilla protein powder to the dry ingredients. You might need to add a splash of milk if the mixture is too dry. This version is great for post-workout snacks.
Dietary Modifications:
– Gluten-Free — Use certified gluten-free Rice Krispies (regular ones contain malt, which has barley). Most other ingredients are naturally gluten-free.
– Dairy-Free — Use plant-based butter and dairy-free chocolate chips. The rest is naturally dairy-free.
– Nut-Free — Use sunflower seed butter or soy nut butter instead of peanut butter. Check labels to ensure no cross-contamination.
Serving & Storage
How to Serve:
I usually serve these straight from the fridge. They’re firm and cool, which is perfect for a morning bite. But here are other ways I’ve enjoyed them:
- With Coffee — Pair with a hot cup of coffee for a quick breakfast. The bitterness of the coffee balances the sweetness.
- With Milk — Serve with a cold glass of milk. It’s like a deconstructed Rice Krispie treat in bowl form.
- As a Snack — Cut them into smaller pieces for afternoon snacks. They’re portable and satisfying.
Toppings Bar:
When I have guests, I put out: extra chocolate chips, crushed peanuts, sprinkles. Everyone customizes their bar.
Storage Instructions:
Refrigerator: Store in an airtight container for up to 1 week. The cold keeps them firm and fresh.
Freezer: Yes, you can freeze them! Wrap individual bars in plastic wrap and store in a freezer bag for up to 3 months. Thaw in the fridge overnight. They taste just as good as fresh.
Pro tip: If they get too soft in the fridge, let them sit at room temperature for 10 minutes before eating. They’ll soften up nicely.
Nutrition Information
I’m not a nutritionist, but here’s the breakdown if you’re tracking. This is an estimate based on standard ingredients.
Per Serving (based on 12 bars):
– Calories: 180
– Protein: 4g
– Carbs: 28g
– Fiber: 1g
– Sugar: 18g
– Fat: 7g
– Saturated Fat: 3g
– Cholesterol: 5mg
– Sodium: 120mg
– Calcium: 20mg
What’s Good:
– Decent energy from complex carbs
– Protein from nut butter
– Can be modified for dietary needs
– More filling than it looks
What to Know:
– Higher in sugar from marshmallows
– Contains nuts (unless substituted)
– Moderate sodium
– Not a low-carb option
My Take:
Look, this is a treat. It’s not a kale smoothie. But it’s way better than a candy bar, costs less, and I know exactly what’s in it. When I want to make it lighter, I use less nut butter and more seeds. But usually? I just eat a reasonable portion and enjoy it.
Final Thoughts
So that’s my go-to Back-to-School Rice Krispie Treat Bars! I’ve probably talked your ear off at this point, but when you make a recipe this often, you have a lot to say about it. It’s become a staple in our house, not just because it’s easy, but because it works. It fits into the chaos of morning routines without adding stress.
This has saved breakfasts more times than I can count. It’s my answer to “what’s for breakfast” when I’m tired, don’t want to cook, and still want something that tastes good. My kids are happy, my husband’s happy, and I’m happy because I’m not stressed about cooking. It’s a small victory, but it matters.
Make it yours! Try different nut butters, add different toppings, adjust the sweetness. The best recipes are the ones you adapt to your family’s tastes. If you make this, drop a comment and let me know what you think! I love hearing how recipes turn out in your kitchen. And if something doesn’t work, tell me that too—I’m here to help troubleshoot.
Happy cooking! And I hope your mornings are half as calm as mine are now.
Frequently Asked Questions
Q: Can I use mini marshmallows instead of large ones?
A: You can, but they melt faster and can burn more easily. If you use mini marshmallows, reduce the melting time and watch the pot closely. I prefer large marshmallows because they’re easier to handle and melt more evenly. But if that’s all you have, it’ll work.
Q: Why did my bars fall apart?
A: This usually happens if the mixture wasn’t pressed down firmly enough, or if the marshmallows weren’t fully melted. Make sure you press the mixture into the pan with some force. Also, ensure the marshmallows are completely smooth before adding the cereal.
Q: Can I make these ahead of time?
A: Absolutely! These bars are perfect for meal prep. Make them on Sunday, store them in the fridge, and grab them throughout the week. They actually taste better after a day or two as the flavors meld together.
Q: Can I freeze these bars?
A: Yes! Wrap individual bars in plastic wrap and store them in a freezer-safe bag for up to 3 months. Thaw them in the fridge overnight. They retain their texture well after freezing.
Q: Can I use crunchy nut butter?
A: You can, but it might make the bars harder to press down and cut. Creamy nut butter gives a smoother, more uniform texture. If you love crunch, you can add a handful of crushed nuts or cereal on top instead.
Q: How do I keep these from getting too sticky?
A: Grease your hands or spatula with a little butter or oil before pressing the mixture into the pan. Also, make sure the bars are completely cooled before cutting them. Warm bars are much stickier.
Q: Can I add other mix-ins?
A: Yes! You can add mini chocolate chips, M&Ms, crushed cookies, or dried fruit. Just make sure they’re small enough to mix in evenly. I’ve added crushed pretzels and toasted coconut, and both were delicious.
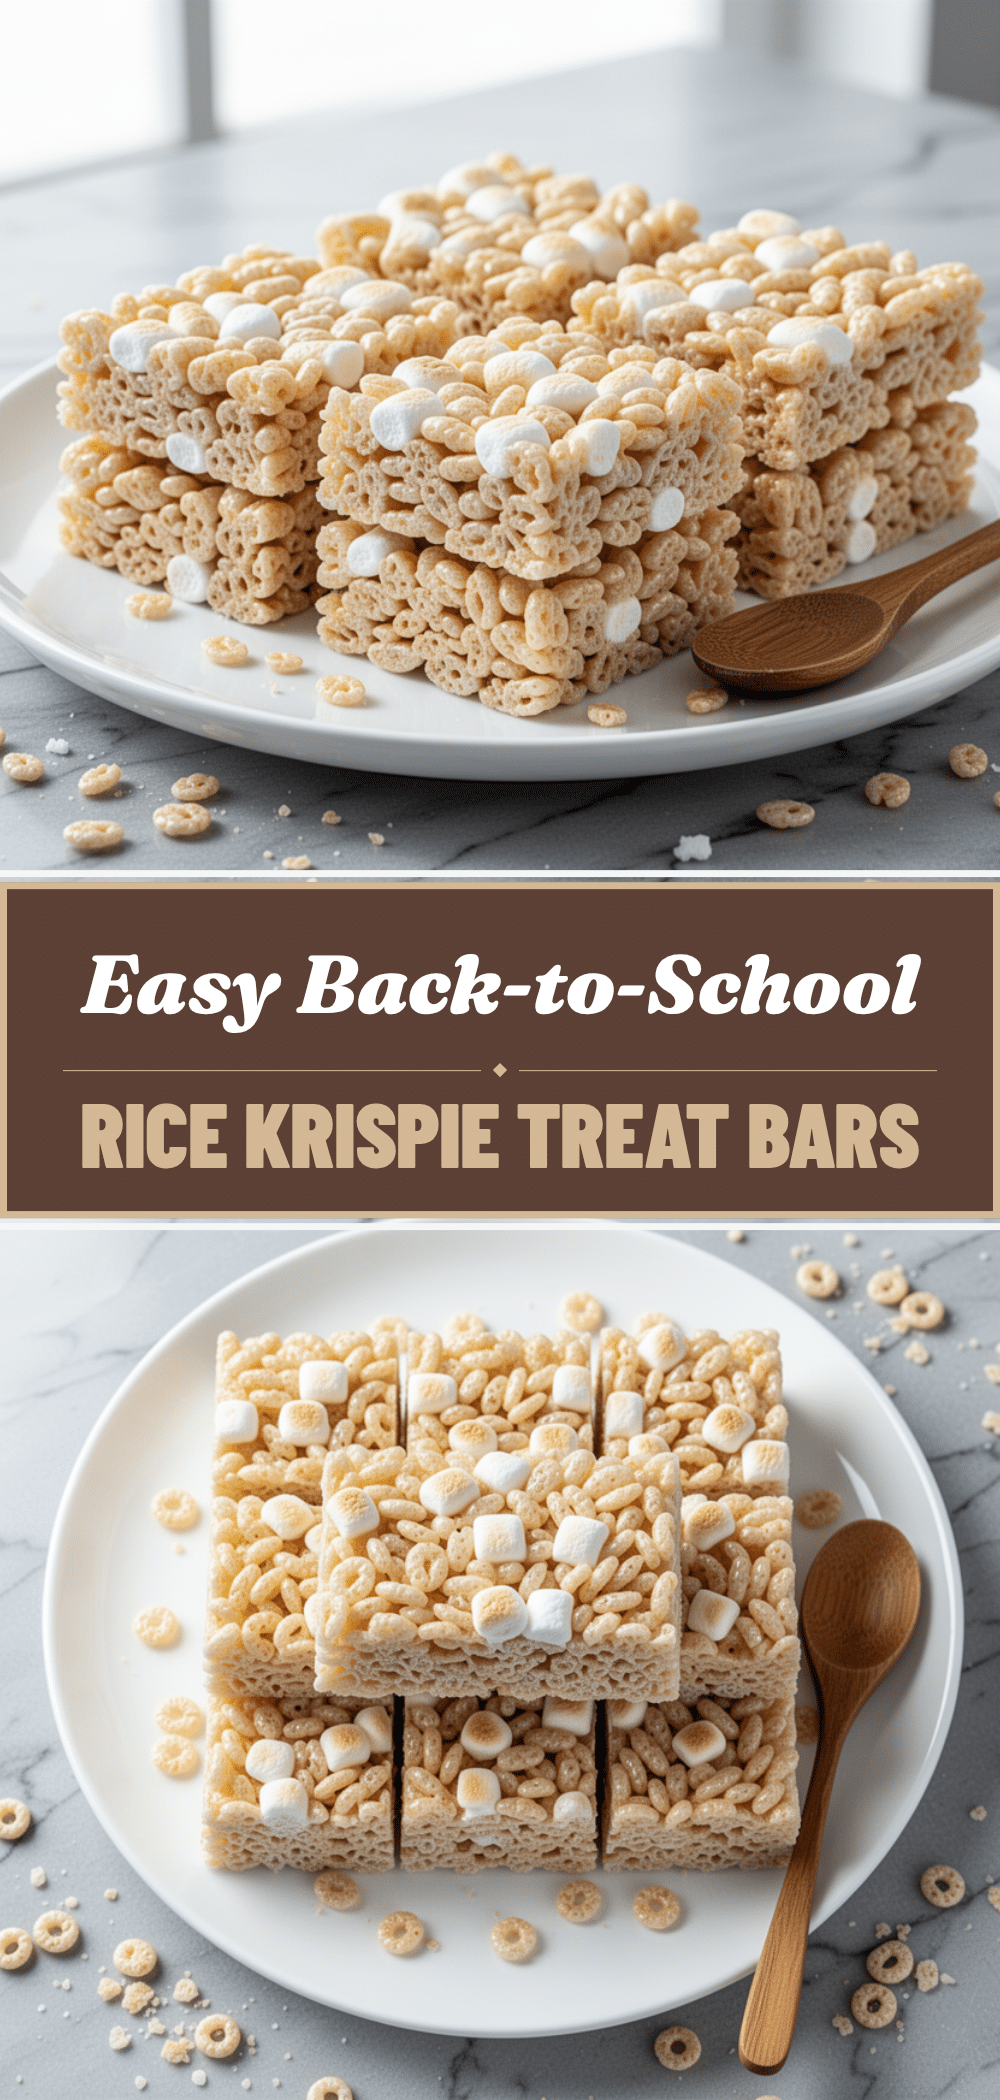
Pin This Recipe!
Perfect Rice Krispie Treat Bars: 5-Minute Back-to-School Breakfast
- Total Time: 1 hour 30 minutes
- Yield: 12 servings 1x
Description
A sturdy, nutritious, and easy-to-make breakfast bar that holds its shape in lunchboxes. Made with nut butter and chia seeds for sustained energy, these bars are perfect for busy mornings.
Ingredients
- 4 cups (100g) large marshmallows
- 4 tablespoons (57g) unsalted butter
- ½ cup (125g) creamy nut butter (peanut, almond, or sunflower seed)
- 6 cups (180g) Rice Krispies cereal
- 2 tablespoons (15g) chia seeds
- ½ teaspoon salt
- ½ cup (85g) dark chocolate chips (optional, for topping)
- ½ cup (15g) extra Rice Krispies cereal (optional, for topping)
Instructions
- Line a 9×13 inch baking pan with parchment paper, leaving an overhang on the sides, and grease generously with butter or cooking spray.
- In a large stockpot over medium-low heat, melt the butter and nut butter together, stirring constantly until smooth. Do not let the butter brown.
- Add the marshmallows to the pot and stir gently but constantly until completely melted and smooth. Remove from heat immediately once smooth.
- Immediately add the Rice Krispies cereal, chia seeds, and salt to the pot. Fold everything together with a silicone spatula until every piece of cereal is coated.
- Transfer the mixture to the prepared pan. Use a greased spatula or greased hands to press the mixture down firmly and evenly into the corners.
- Let the bars cool at room temperature for 30 minutes, then transfer to the fridge for another 30 minutes until completely firm.
- Optional: Melt chocolate chips in a microwave-safe bowl in 30-second intervals, stirring between each. Drizzle over the cooled bars and sprinkle with extra cereal if desired. Let set for 10 minutes at room temperature or 5 minutes in the fridge.
- Lift the bars out of the pan using the parchment overhang. Cut into squares or rectangles using a sharp knife dipped in hot water between cuts.
Notes
Press the mixture firmly to prevent crumbling. Use low heat when melting marshmallows to prevent burning. Store in the fridge for up to 1 week or freeze for up to 3 months. For nut-free schools, use sunflower seed butter. For gluten-free, use certified gluten-free Rice Krispies.
- Prep Time: 15 minutes
- Cook Time: 15 minutes
- Category: Breakfast
- Cuisine: American
Nutrition
- Serving Size: 1 bar
- Calories: 180
- Sugar: 18
- Sodium: 120
- Fat: 7
- Saturated Fat: 3
- Carbohydrates: 28
- Fiber: 1
- Protein: 4
Keywords: Rice Krispie Treat Bars, back-to-school breakfast, meal prep, kid-friendly breakfast, no-bake bars, nut butter bars, busy morning breakfast


