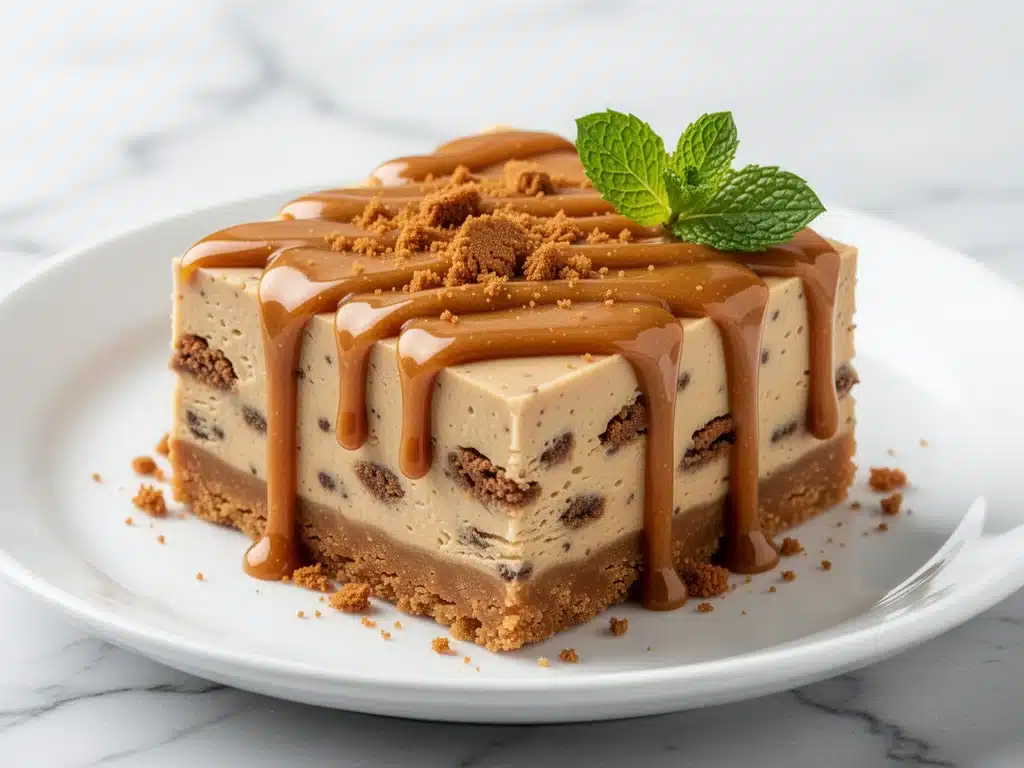
It was 6:30 PM on a Tuesday, and I was staring into the abyss of my refrigerator. You know that look. The light flickers, a half-empty jar of pickles sits next to wilted spinach, and there’s absolutely nothing that screams “dessert.” My kids had just finished homework, my husband was complaining about his back, and the house was quiet in that tense, pre-dinner way where everyone is too tired to argue but too hungry to function. I didn’t want to order takeout. I didn’t want to bake something that required an oven (it was 90 degrees outside, and I refuse to heat up my kitchen in July). And I definitely didn’t have time to make anything complicated.
So I did what I always do when I’m desperate: I raided the pantry. I found a box of Lotus Biscoff cookies, a block of cream cheese, and some heavy whipping cream. I thought, “How hard can it be?” Turns out, it’s incredibly easy. But it’s also dangerous. Because once I made these no-bake Biscoff cheesecake bars, my family declared them superior to anything from a bakery. We’ve made them at least a dozen times since that chaotic Tuesday, and honestly? They’ve become our go-to dessert for everything from last-minute dinner guests to “I need a win” moments after a tough workday.
What makes this recipe special isn’t just the taste—though the caramelized spice of Biscoff paired with tangy cream cheese is unmatched—it’s the lack of stress. There’s no baking, no water baths, no waiting for layers to set for hours (well, a few hours, but you’re not standing over it). It’s the perfect blend of indulgence and convenience. If you’re looking for a dessert that looks fancy but takes minutes to assemble, you’re in the right place. This no-bake Biscoff cheesecake bars recipe is about to save your weeknight dinner routine. Seriously.
Why You’ll Love This Recipe
There are a lot of dessert recipes out there, but this one has earned a permanent spot in our rotation. I’ve tested it with picky eaters, food critics (my husband, technically), and friends who claim they “don’t like cheesecake.” Everyone comes back for seconds. Here’s why I keep making these over and over again:
- Zero Oven Required — This is huge for me. In the summer, I’m not firing up the oven unless I’m making pizza. These bars stay cool, keep the house comfortable, and save on electricity. Plus, you don’t have to wait for the oven to preheat.
- 5 Minutes of Active Time — Seriously. If you can open a package of cookies and blend ingredients in a food processor, you can make this. I’ve made these while holding a toddler and answering emails. It’s that simple.
- Pantry-Friendly Ingredients — You probably already have most of this. Biscoff cookies, cream cheese, butter, sugar. It’s not like you need to run to the store for obscure spices or exotic flours. It’s basic baking staples with a twist.
- Makes Amazing Leftovers — These actually taste better the next day. The flavors meld together, the crust gets slightly firmer, and the cream cheese layer becomes impossibly smooth. I deliberately make a double batch for Monday lunches.
- Impressive but Easy — When I serve these to guests, they always ask for the recipe. They look like you spent hours in the kitchen, but they’ll never know it was a 5-minute assembly job. It’s the ultimate hack.
- Versatile — You can make them in a square pan, individual ramekins, or even cupcake liners. They travel well, they freeze well (sort of), and they’re perfect for potlucks.
This is my go-to when I need a dessert to just work. No complicated techniques, no weird ingredients, just reliable, delicious food that makes everyone happy. It’s comfort food in bar form.
Ingredients You’ll Need
Here’s the best part: you probably have most of this already. The beauty of this no-bake Biscoff cheesecake bars recipe lies in its simplicity. I’m particular about two ingredients here: the cookies and the cream cheese. Everything else is pretty flexible.
For the Crust
Lotus Biscoff Cookies (2 cups / about 250g, crushed) — This is non-negotiable. Don’t substitute with graham crackers or digestive biscuits unless you want a totally different flavor. Biscoff has that unique caramelized spice taste that defines this dessert. I buy the big family-sized boxes because I use them for everything from morning coffee dips to these bars. If you can’t find them, look in the international aisle or online.
Unsalted Butter (6 tablespoons / 85g, melted) — This binds the crust together. I use unsalted so I can control the saltiness, but salted works if that’s all you have. Just reduce any added salt in the filling if you use salted butter.
Granulated Sugar (1 tablespoon) — Optional, but I add it because Biscoff cookies are sweet, and I like a little extra crunch in the crust. If your cookies are very sweet, skip this.
For the Cheesecake Layer
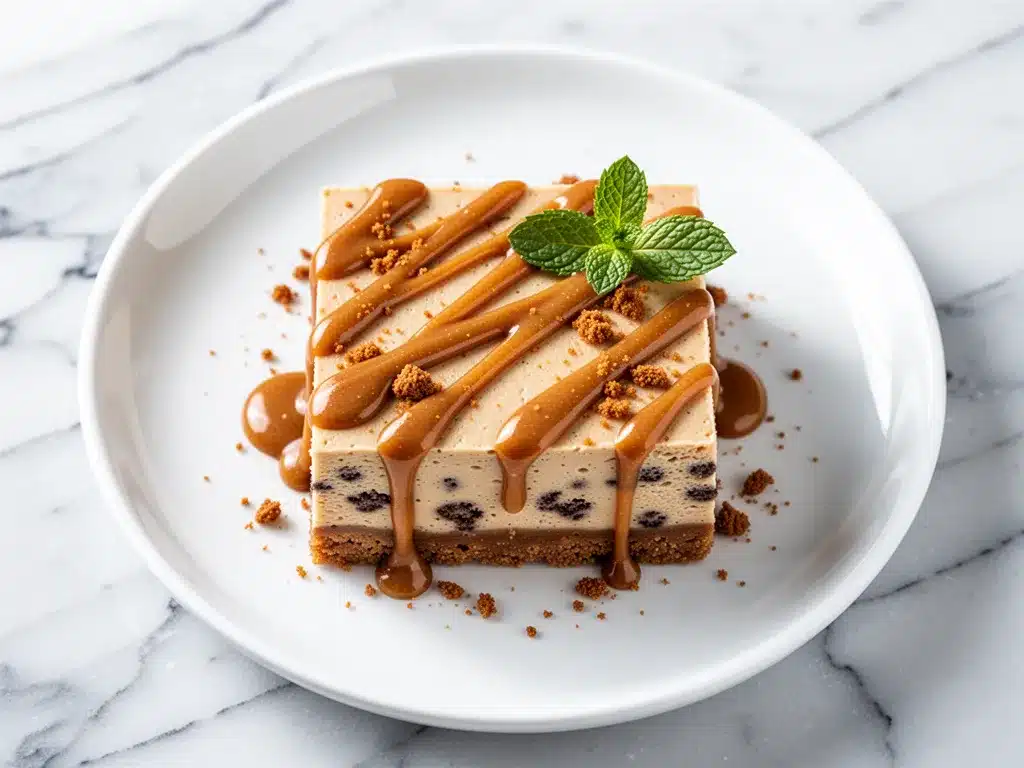
Full-Fat Cream Cheese (16 ounces / 450g, softened) — This is crucial. Do not use light cream cheese. It won’t set right and the texture will be runny. I always take my cream cheese out of the fridge 30 minutes before making this. If you try to beat cold cream cheese, you’ll get lumps, and nobody wants lumpy cheesecake.
Heavy Whipping Cream (1 cup / 240ml, cold) — This gives the filling that light, airy texture. If you don’t have heavy cream, you can use whipped topping (like Cool Whip), but the flavor won’t be as rich. I prefer fresh whipped cream for the best taste.
Confectioners’ Sugar (1 cup / 120g) — Also known as powdered sugar. Don’t use granulated sugar here; it won’t dissolve properly in the cold mixture. Sift it if it’s clumpy.
Vanilla Extract (1 teaspoon) — Pure vanilla, please. I know it’s expensive, but it makes a difference. Fake vanilla tastes chemical in no-bake desserts.
Biscoff Cookie Butter (2 tablespoons, optional) — I like to swirl a little Biscoff spread into the cream cheese mixture for extra flavor. It’s not strictly necessary, but it elevates the taste. If you have leftover cookie butter from dipping pretzels, this is the way to use it.
For the Topping (Optional but Recommended)
Extra Biscoff Cookies — Crushed or whole, for garnish. It makes it look professional.
Whipped Cream — A dollop on top adds elegance.
Drizzle of Biscoff Spread — For that extra caramel kick.
Equipment Needed
You don’t need fancy equipment for this. Here’s what I actually use:
Food Processor — This is the easiest way to crush the cookies evenly. If you don’t have one, put the cookies in a Ziploc bag and smash them with a rolling pin. It takes more effort, but it works. I also use my food processor for crispy pinwheel puff pastry bites when I need quick snacks.
8×8 Inch Square Pan — Line it with parchment paper. This is non-negotiable for easy removal. I use a square pan, but a 9×13 will work if you double the recipe (I don’t recommend doubling unless you’re feeding a crowd).
Electric Mixer — Hand mixer or stand mixer. You need to whip the cream cheese and cream until stiff peaks form. Doing this by hand is possible but painful. I’ve tried. Don’t do it.
Spatula — A silicone spatula is best for folding the whipped cream into the cream cheese without deflating it.
Refrigerator — Obviously. You need space in the fridge for this to set.
How to Make It: Step-by-Step
Alright, let’s make this! I’m walking you through exactly how I do it, including the little tricks I’ve picked up. This no-bake Biscoff cheesecake bars recipe comes together in about 20 minutes of work, plus chilling time.
Step 1: Prep Your Pan (2 minutes)
Line your 8×8 inch square pan with parchment paper, leaving an overhang on the sides. This acts as a sling so you can lift the bars out easily later. I usually spray the parchment with a little cooking spray to ensure the crust sticks to it, not the pan.
Step 2: Make the Crust (5 minutes)
Place the Biscoff cookies in a food processor and pulse until they turn into fine crumbs. It should look like wet sand. If you’re doing it by hand, put them in a bag and crush them until fine. Transfer the crumbs to a bowl. Add the melted butter and sugar (if using). Mix until it looks like damp sand. Press this mixture firmly into the bottom of your prepared pan. Use the bottom of a measuring cup to pack it down tight. If the crust is loose, your bars will fall apart. I know it’s tedious, but it’s worth it.
Step 3: Whip the Cream Cheese Filling (5 minutes)
In a large bowl, beat the softened cream cheese and confectioners’ sugar on medium-high speed until smooth and creamy. This takes about 2-3 minutes. Scrape down the sides of the bowl. If there are lumps, your cheesecake will be grainy. Add the vanilla extract and Biscoff spread (if using). Mix until combined.
Step 4: Whip the Heavy Cream (3 minutes)
In a separate cold bowl, whip the heavy cream until stiff peaks form. This means when you lift the beaters, the cream stands up straight. Don’t over-whip it into butter, but don’t under-whip it either. Stiff peaks are key for structure.
Step 5: Fold It Together (2 minutes)
Gently fold the whipped cream into the cream cheese mixture. Use a spatula and fold from the bottom up, rotating the bowl. Do this gently to keep the air in the mixture. If you stir too vigorously, you’ll deflate the cream and end up with a dense, heavy cheesecake. Fold until just combined. It should look light and fluffy.
Step 6: Assemble and Chill (4+ hours)
Spread the filling evenly over the crust. Smooth the top with your spatula. Cover with plastic wrap and refrigerate for at least 4 hours, but overnight is best. I usually make this the night before I want to serve it. The longer it chills, the better it sets. If you cut it too soon, it will be messy.
Step 7: Slice and Serve
Once set, lift the bars out of the pan using the parchment sling. Use a sharp knife to cut into squares. Wipe the knife between cuts for clean edges. Top with crushed Biscoff cookies, a dollop of whipped cream, or a drizzle of Biscoff spread.
Expert Tips & Tricks
Here’s everything I’ve learned from making this dozens of times. These tips will save you from my mistakes.
Softened Cream Cheese is Key
I can’t stress this enough. If your cream cheese is cold, you’ll get lumps. If it’s melted, it won’t hold its shape. Room temperature is the sweet spot. I leave it on the counter for 30-60 minutes before starting. If I’m in a hurry, I microwave it in 5-second bursts, checking frequently.
Don’t Skip the Chilling Time
I know you’re excited to eat it. Don’t. If you cut it after 1 hour, it will be a mess. Give it at least 4 hours. Overnight is ideal. The texture improves dramatically as it sets.
Use a Sharp Knife
For clean cuts, use a sharp chef’s knife. Dip it in hot water and wipe it dry between cuts. This prevents the cheesecake from sticking to the blade. I also find that dental floss works wonders for cutting through the crust without squishing the filling.
Storage is Simple
These bars keep well in the fridge for up to 5 days. Store them in an airtight container. If you stack them, put parchment paper between layers to prevent sticking. They also freeze well for up to 2 months. Thaw in the fridge overnight.
Common Mistake: Grainy Texture
If your cheesecake is grainy, it’s either because the sugar didn’t dissolve (use powdered sugar) or the cream cheese wasn’t smooth enough. Beat the cream cheese longer than you think you need to.
Variations & Substitutions
Once you’ve nailed the basic version, here’s how you can mix it up. I’ve tried all of these.
Strawberry Swirl
Mix ½ cup of strawberry jam or pureed strawberries into the cream cheese mixture before folding in the whipped cream. It adds a nice tartness that cuts through the sweetness.
Chocolate Chip
Stir in ½ cup of chocolate chips after folding in the whipped cream. It’s like a cookie dough cheesecake. My kids love this version.
Graham Cracker Crust
If you can’t find Biscoff cookies, you can use graham crackers for the crust. It won’t have the same flavor, but it’s a decent substitute. I’d still add a little cinnamon to mimic the Biscoff spice.
Coconut Cream
For a dairy-free version, use full-fat coconut milk (chilled overnight) and whip the solid part. Use coconut cream cheese or a dairy-free alternative. It’s not exactly the same, but it works.
Mini Bites
I’ve made these in a muffin tin for party snacks. It’s a great way to control portions and make them look cute. Just reduce the baking time (well, chilling time) to 2 hours.
Paired with Other Desserts
If you’re making a big dessert spread, these bars pair well with lighter options. I often serve them alongside gluten-free flourless chocolate torte for a rich chocolate experience, or with ultra-rich salted caramel chocolate tart if you want maximum indulgence.
Serving & Storage
How to Serve:
I usually serve these straight from the fridge. They’re best cold. I garnish them with crushed Biscoff cookies and a drizzle of Biscoff spread. It makes them look like you spent hours on them. I also serve them with a side of fresh berries for a bit of color and acidity.
Side Dishes:
These are rich, so they pair well with light sides. I often serve them after a meal like Mediterranean shrimp skillet or healthy chicken and vegetable stir-fry. The contrast between the savory dinner and sweet dessert is perfect.
Storage Instructions:
Refrigerator: Store in an airtight container for up to 5 days. They will firm up in the fridge.
Freezer: Wrap individual bars in plastic wrap and then foil. Freeze for up to 2 months. Thaw in the fridge overnight.
Reheating: Don’t reheat these. They’re meant to be eaten cold. If you leave them out for too long, the cream cheese filling will get soft and messy.
Nutrition Information
I’m not a nutritionist, but here’s the breakdown if you’re tracking. Keep in mind that this is a rich, indulgent dessert, so portions matter.
Per Serving (based on 16 bars):
- Calories: 220
- Protein: 3g
- Carbs: 24g
- Fiber: 1g
- Sugar: 18g
- Fat: 13g
- Saturated Fat: 8g
- Cholesterol: 35mg
- Sodium: 150mg
What’s Good:
It’s relatively low in protein, but it’s a treat. The Biscoff cookies add some iron and fiber compared to graham crackers.
What to Know:
High in sugar and saturated fat due to the cream cheese, butter, and cookies. Enjoy in moderation. If you’re watching carbs, you can substitute the crust with a keto-friendly almond flour crust, though the flavor will be different.
Final Thoughts
So that’s my go-to no-bake Biscoff cheesecake bars recipe! I’ve probably talked your ear off at this point, but when you make a recipe this often, you have a lot to say about it. This has saved weeknight dinners more times than I can count. It’s my answer to “what’s for dessert” when I’m tired, don’t want to bake, and still want something that tastes really good. My kids are happy, my husband’s happy, and I’m happy because I’m not stressed about cooking.
Make it yours! Try different add-ins, swap in your favorite toppings, adjust the sweetness. The best recipes are the ones you adapt to your family’s tastes. If you make this, drop a comment and let me know what you think! I love hearing how recipes turn out in your kitchen. And if something doesn’t work, tell me that too—I’m here to help troubleshoot.
Happy baking! (Or should I say, happy assembling?) And I hope your kitchen smells half as good as mine does right now.
Frequently Asked Questions
Can I use whipped topping instead of heavy cream?
Yes, you can. I’ve used Cool Whip in a pinch, and it works. The texture will be slightly different—less airy and more like a standard cheesecake—but the taste is still good. Just make sure to thaw the whipped topping completely before folding it in.
Why is my cheesecake runny?
This usually happens if the cream cheese wasn’t softened enough (lumps prevent proper mixing) or if you didn’t whip the heavy cream to stiff peaks. Also, if you didn’t chill it long enough, it won’t set. Give it at least 4 hours, preferably overnight.
Can I freeze these bars?
Absolutely. Wrap them tightly in plastic wrap and then foil. They’ll keep for up to 2 months. Thaw in the fridge overnight. Don’t freeze them in the pan; freeze them individually or in a container.
What if I can’t find Biscoff cookies?
You can use graham crackers for the crust, but you’ll miss that unique caramelized spice flavor. If you can’t find Biscoff cookies at all, look in the international aisle or order them online. They’re worth the hunt.
Can I make this gluten-free?
Yes! Use gluten-free Biscoff cookies (they make a version) and gluten-free cream cheese (standard cream cheese is usually GF, but check the label). The rest of the ingredients are naturally gluten-free.
How long do these last in the fridge?
Up to 5 days in an airtight container. They actually taste better on day 2 or 3 as the flavors meld.
Pin This Recipe!
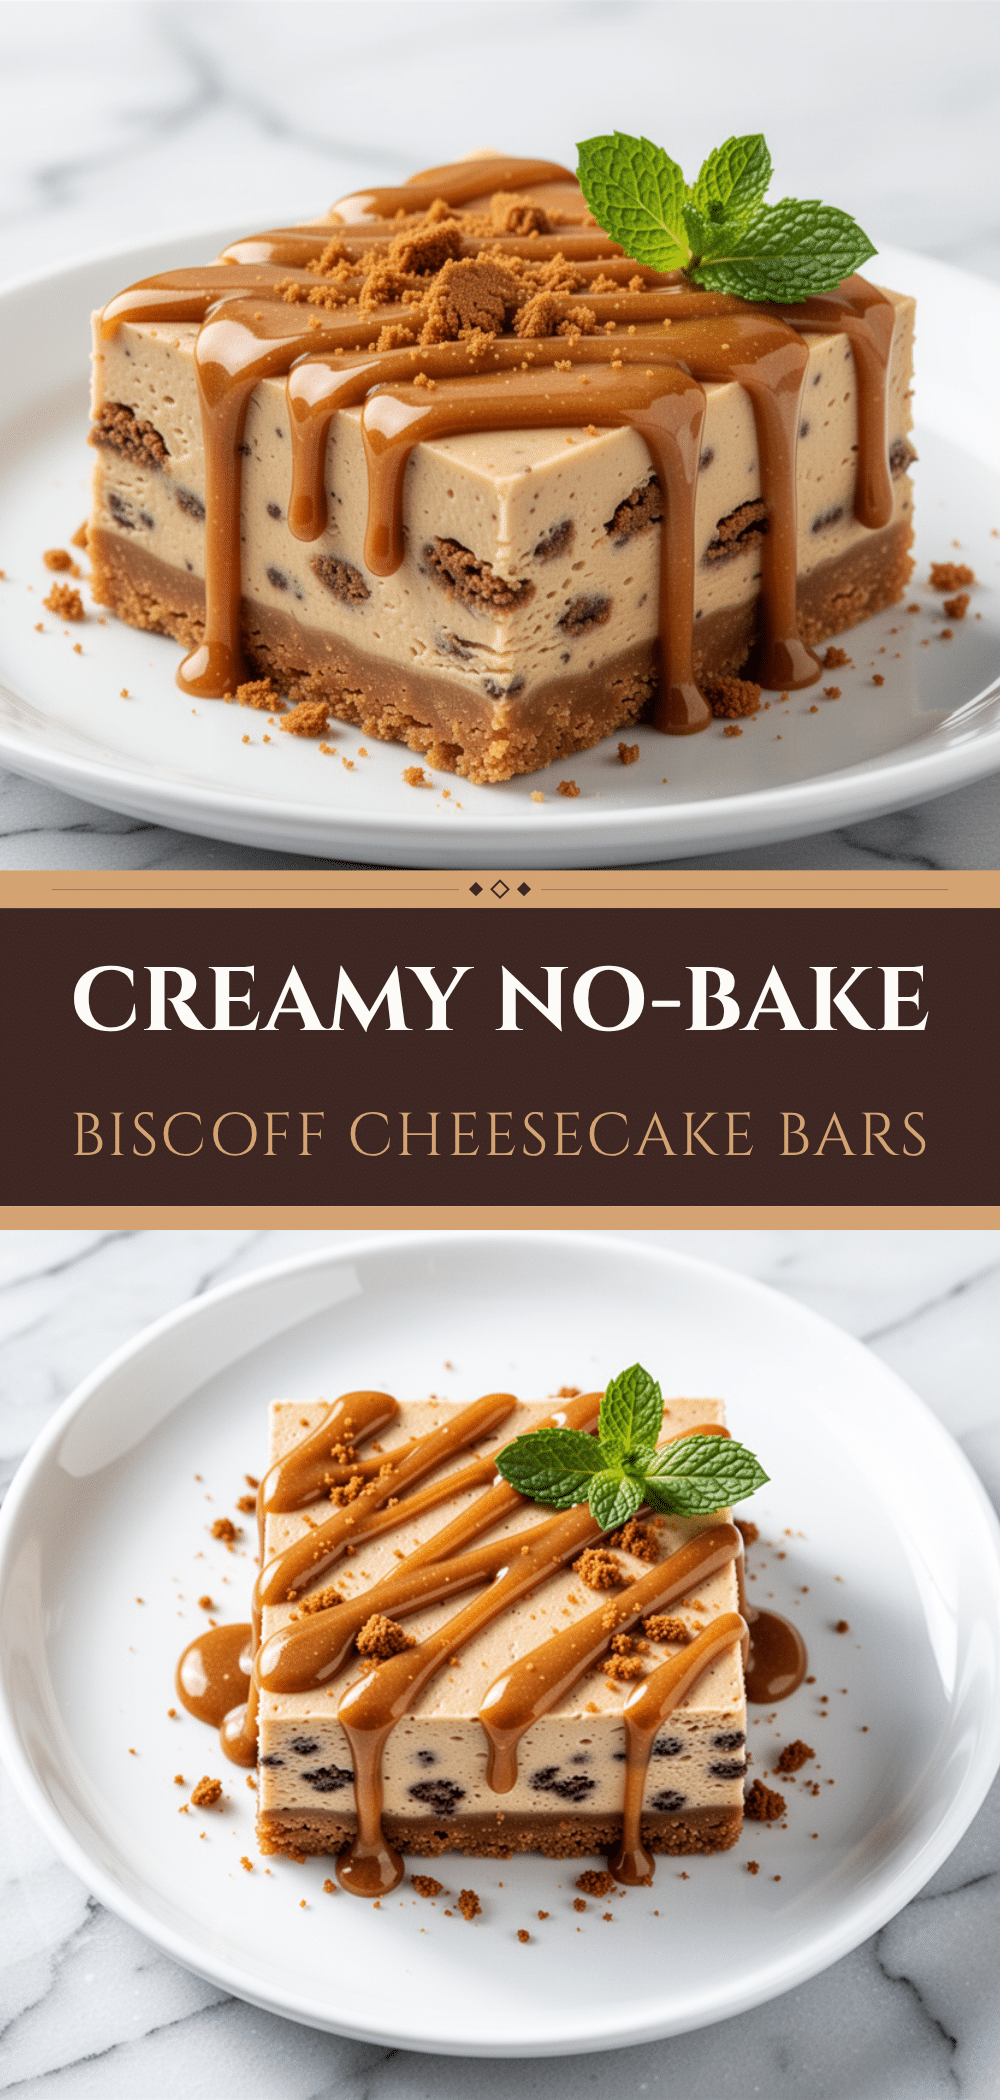
No-Bake Biscoff Cheesecake Bars
- Total Time: 4 hours 15 minutes
- Yield: 16 servings 1x
Description
A quick, no-bake dessert featuring a crunchy Biscoff cookie crust and a creamy, tangy cheesecake filling. This recipe requires only 5 minutes of active prep time and is perfect for weeknights or last-minute gatherings.
Ingredients
- 2 cups (250g) Lotus Biscoff Cookies, crushed
- 6 tablespoons (85g) unsalted butter, melted
- 1 tablespoon granulated sugar (optional)
- 16 ounces (450g) full-fat cream cheese, softened
- 1 cup (240ml) heavy whipping cream, cold
- 1 cup (120g) confectioners’ sugar
- 1 teaspoon vanilla extract
- 2 tablespoons Biscoff cookie butter (optional)
- Extra Biscoff cookies for garnish
- Whipped cream for serving
- Drizzle of Biscoff spread for serving
Instructions
- Line an 8×8 inch square pan with parchment paper, leaving an overhang on the sides for easy removal. Lightly spray with cooking spray.
- Place Biscoff cookies in a food processor and pulse until fine crumbs form. Transfer to a bowl and mix with melted butter and optional sugar until the mixture resembles damp sand.
- Press the crust mixture firmly into the bottom of the prepared pan using the bottom of a measuring cup. Ensure it is packed tight to prevent crumbling.
- In a large bowl, beat the softened cream cheese and confectioners’ sugar on medium-high speed until smooth and creamy (2-3 minutes). Scrape down the sides of the bowl.
- Add vanilla extract and optional Biscoff spread to the cream cheese mixture and mix until combined.
- In a separate cold bowl, whip the heavy cream until stiff peaks form.
- Gently fold the whipped cream into the cream cheese mixture using a spatula until just combined and light and fluffy.
- Spread the filling evenly over the crust and smooth the top.
- Cover with plastic wrap and refrigerate for at least 4 hours, preferably overnight, until set.
- Lift the bars out of the pan using the parchment sling. Use a sharp knife dipped in hot water and wiped dry to cut into squares.
- Serve topped with crushed Biscoff cookies, whipped cream, or a drizzle of Biscoff spread.
Notes
Ensure cream cheese is fully softened to room temperature to avoid lumps. Do not skip the chilling time; the bars need at least 4 hours to set properly. For clean cuts, use a sharp knife and wipe it between slices. These bars can be stored in the fridge for up to 5 days or frozen for up to 2 months.
- Prep Time: 15 minutes
- Cook Time: 0 minutes
- Category: Dessert
- Cuisine: American
Nutrition
- Serving Size: 1 bar
- Calories: 220
- Sugar: 18
- Sodium: 150
- Fat: 13
- Saturated Fat: 8
- Carbohydrates: 24
- Fiber: 1
- Protein: 3
Keywords: no-bake, Biscoff, cheesecake bars, easy dessert, summer dessert, cookie butter, cream cheese, 5-minute recipe


