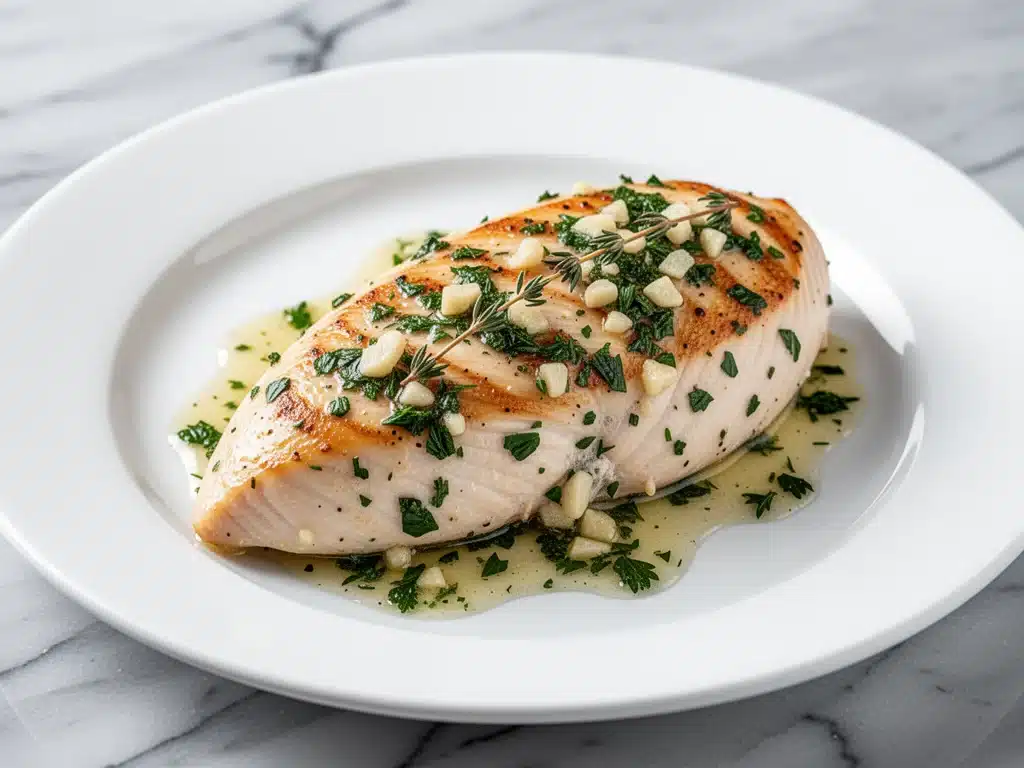
Last November, I was standing in my kitchen at 6:45 PM, staring at a raw chicken breast like it had personally offended me. I had just gotten home from work, my toddler was screaming for a snack, and my husband was already asking, “Is dinner ready?” I threw the chicken in the oven with zero plan, assuming it would take about 20 minutes. I was wrong. It took 35 minutes because the oven was old and finicky, and when I pulled it out, it wasn’t just dry—it was a shoe.
I cut into it, and the sound it made was that awful, dry squeak. My son took one bite, made a face like he’d eaten a lemon, and pushed his plate away. My husband just sighed that heavy, resigned sigh that every parent knows. We ended up ordering pizza. Again.
That was the breaking point. I love chicken. I love that it’s lean, it’s affordable, and it’s a blank canvas for whatever flavors I’m craving. But I was terrible at cooking it. Every time I tried to bake it, it came out rubbery. Every time I pan-fried it, I burned the outside before the inside cooked. I felt like I was failing at the most basic thing in cooking.
So, I did what I do when I’m frustrated: I went down a rabbit hole of cooking science. I read articles about protein denaturation, I watched videos from chefs who made it look too easy, and I tested method after method. I tried brining, I tried pounding them flat, I tried sous vide (which is great but not realistic for a Tuesday night).
Then I found the sweet spot. It’s not a fancy technique. It doesn’t require expensive gadgets. It’s just a simple combination of temperature control, a little bit of fat, and timing. I tested this never-dry oven-baked chicken breast recipe about twelve times over three weeks. Twelve times. I fed my neighbors, my coworkers, and my own family until they were begging me to stop. But by the twelfth test, I had it. Perfectly juicy. Tender. Flaky. The kind of chicken that actually makes you want to come home from work.
This isn’t just another chicken recipe. This is the solution to the problem that ruins so many weeknight dinners. Once you learn this method, you’ll never go back to dry, sad chicken again. It’s the foundation for everything from salads to sandwiches to just eating it with some roasted veggies. Let me show you how to do it right.
Why This Oven-Baked Chicken Method Changes Everything
There are a million ways to cook chicken, but most of them leave you with a dry puck of protein. This method works because it respects the meat. Here’s why this never-dry oven-baked chicken breast has become the backbone of my weekly meal prep:
- Zero Guesswork — Seriously, if you can set a timer, you can make this. I don’t even need to check the internal temperature most of the time because the timing is so consistent. I’ve walked my teenage nephew through it over the phone. He made it perfectly.
- Actually Juicy — I’m not talking about “wet.” I’m talking about tender, yielding, fork-tender meat. When you pull it out of the oven, it should feel soft, not firm. The fat content from the olive oil keeps the fibers from tightening up too much.
- Weeknight Speed — From fridge to plate in 30 minutes. That’s it. No marinating overnight. No brining for hours. You throw it in, you set a timer, you’re done. It fits into the chaos of real life.
- Versatile Flavor Base — Because the chicken itself is neutral and juicy, it takes on any seasoning you throw at it. I’ve made lemon-herb, spicy Cajun, garlic-parmesan, and simple salt-and-pepper. They all work.
- Meal Prep Friendly — This is where it shines. I bake a batch on Sunday, slice it up, and use it for salads, wraps, or grain bowls all week long. And the best part? It stays juicy even after being in the fridge for three days. Try that with pan-fried chicken; it turns to rubber.
This recipe has saved me from countless takeout orders. It’s my answer to “I’m tired, I don’t want to cook, but I need to eat something healthy.” It’s reliable. It’s delicious. And it actually works.
Ingredients You’ll Need for Perfect Chicken
Here’s the best part: you probably have everything you need in your kitchen right now. This isn’t a recipe that requires a trip to three different specialty stores. It’s simple, honest food.
For the Chicken:
Chicken breasts (2 pounds / 900g) — Boneless, skinless. I buy the fresh kind, not the frozen ones that come in a block of ice. If you have to thaw, do it in the fridge overnight. Look for breasts that are somewhat uniform in size so they cook evenly. If one is tiny and one is huge, you’ll end up with a dry tiny one and an undercooked huge one.
Extra virgin olive oil (3 tablespoons / 45ml) — This is your moisture barrier. It coats the chicken, keeping the juices inside. Don’t skip this. You can use avocado oil if you prefer a higher smoke point, but olive oil adds great flavor. I use a decent quality one—not the cheapest stuff, but nothing fancy needed.
Garlic powder (1 teaspoon / 5g) — Not fresh garlic here. Fresh garlic burns in the oven at high heat. Garlic powder gives you that savory flavor without the char. If you only have fresh garlic, mince it super fine and add it right at the end, but powder is easier.
Onion powder (1 teaspoon / 5g) — Adds depth. It’s subtle but necessary. If you don’t have this, skip it, but I recommend keeping a jar in your pantry. It’s a weeknight lifesaver.
Smoked paprika (1 teaspoon / 2g) — This is the secret weapon. It adds a little smokiness that makes the chicken taste like it was grilled, even though it’s baked. If you don’t have smoked paprika, regular paprika works, but you lose that depth. Sweet paprika is okay too, just less complex.
Dried thyme (1 teaspoon / 1g) — Or dried oregano. Thyme pairs beautifully with chicken. If you only have fresh thyme, use three times that amount. But dried is more convenient for quick weeknight cooking.
Salt (1.5 teaspoons / 9g) — Kosher salt is best because it’s less salty by volume. If you use table salt, reduce to 1 teaspoon. Season generously. Chicken is bland on its own; it needs salt to taste like chicken.
Black pepper (½ teaspoon / 1g) — Freshly cracked is best. Pre-ground pepper loses its punch. Just give it a quick grind right before you season the chicken.
Optional But Recommended:
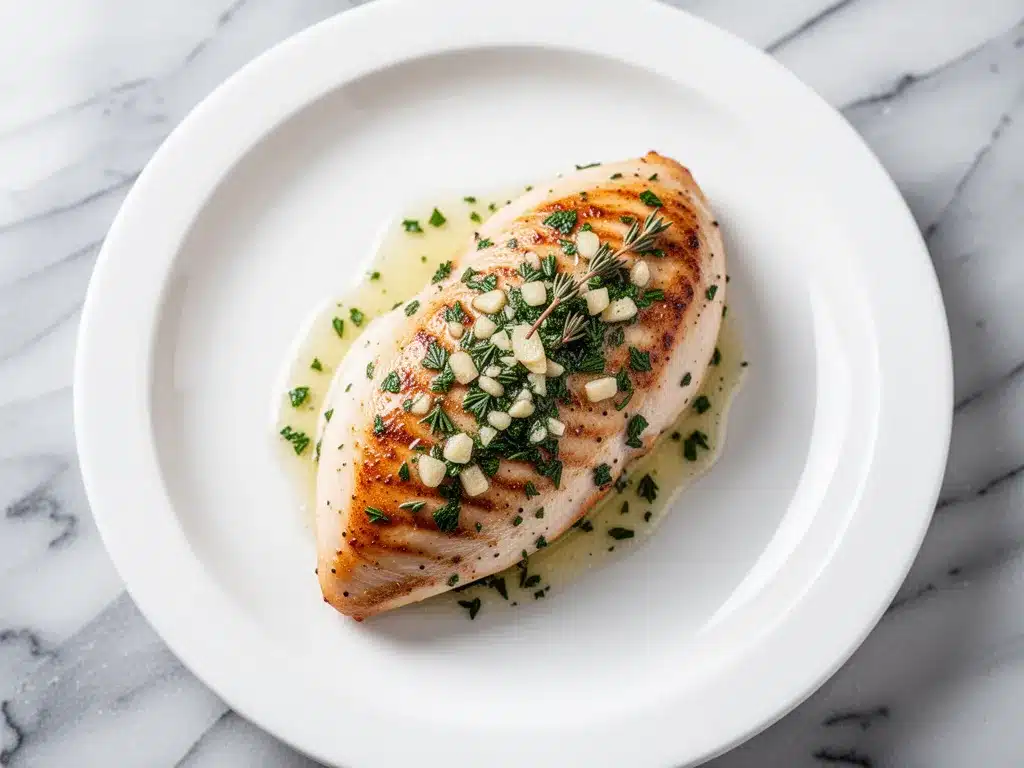
Lemon — Sliced or wedged. I squeeze a little juice over the chicken after it comes out of the oven. The acid cuts through the richness and brightens everything up.
Fresh parsley — Chopped, for garnish. It looks pretty and adds a tiny bit of freshness. Not essential, but nice.
Equipment You’ll Actually Use
You don’t need fancy gear. Here’s what I use in my actual kitchen:
Baking sheet or roasting pan — I use a standard half-sheet pan (18×13 inches). It’s the perfect size for four breasts without them crowding. Crowding is bad because the chicken steams instead of bakes, which leads to soggy skin (if you had skin) or uneven cooking.
Parchment paper or silicone mat — I line my pan. Why? Cleanup. Chicken sticks. If you don’t line it, you’ll be scrubbing your pan for 20 minutes. Parchment paper makes it a 5-second wipe-down. I prefer silicone mats because they’re reusable, but parchment is fine.
Instant-read thermometer — This is non-negotiable for me. I know some people just guess, but I want consistency. A cheap $10 thermometer from the hardware store is all you need. It takes the guesswork out and ensures you never overcook it.
Cutting board and knife — For prepping. Standard stuff. Make sure your knife is sharp so you can handle the chicken safely.
Mixing bowl — Small one. Just enough to toss the chicken in with the oil and spices. I use a shallow bowl so the chicken gets coated evenly.
How to Make Never-Dry Oven-Baked Chicken Breast
Alright, let’s get cooking. This is simpler than you think. I’m going to walk you through exactly how I do it, step by step.
Step 1: Prep the Chicken (5 minutes)
Take your chicken breasts out of the fridge. If they’re cold, they’ll cook unevenly. Let them sit on the counter for 10-15 minutes while you preheat the oven. This is a small step that makes a big difference. Pat them dry with paper towels. Moisture on the surface prevents browning. If you skip this, the chicken will steam. Dry chicken = better texture.
Step 2: Preheat the Oven (10 minutes)
Set your oven to 400°F (200°C). I like a higher temperature because it cooks the chicken quickly before the juices evaporate. Lower temps can work, but they take longer and increase the risk of drying out. Get the oven hot and ready.
Step 3: Season Generously (2 minutes)
Place the chicken breasts in a bowl. Drizzle with the olive oil. Sprinkle with garlic powder, onion powder, smoked paprika, thyme, salt, and pepper. Toss everything together with your hands until the chicken is evenly coated. Don’t be shy with the seasoning. You want every bite to have flavor. If you’re worried about salt, taste a raw piece first—chicken needs more salt than you think.
Step 4: Arrange on the Pan (1 minute)
Line your baking sheet with parchment paper. Place the chicken breasts on the sheet, leaving a little space between each one. Do not stack them. Do not let them touch. They need air circulation to cook evenly. If your breasts are very thick, you can pound them slightly with a rolling pin or meat mallet to make them more uniform, but it’s not strictly necessary if you’re using the thermometer.
Step 5: Bake (18-22 minutes)
Put the pan in the oven. Set a timer for 18 minutes. This is the critical window. Chicken breasts vary in thickness, so 18 minutes is a good starting point for average-sized breasts (about 6-8 ounces each). Do not open the oven door before the timer goes off. Every time you open it, you lose heat and extend the cooking time.
Step 6: Check the Temperature (1 minute)
When the timer goes off, take the pan out. Insert your instant-read thermometer into the thickest part of the chicken. You want it to read 160°F (71°C). Why 160 and not 165? Because the chicken will continue to cook while it rests. This is called carryover cooking. If you pull it at 165, it’ll be 170 by the time you eat it, and 170 is dry. Pull it at 160.
Step 7: Rest the Chicken (5-10 minutes)
This is the step most people skip, and it’s why their chicken is dry. Transfer the chicken to a clean plate or cutting board. Loosely tent it with foil. Let it rest for 5-10 minutes. During this time, the juices redistribute throughout the meat. If you cut into it immediately, all the juice runs out onto the plate, and your chicken is dry. Resting keeps the juice inside. Trust me. I’ve made this mistake too many times.
Step 8: Slice and Serve
After resting, slice the chicken against the grain. This makes it more tender and easier to chew. Serve immediately with your favorite sides.
Total Time: About 30 minutes (5 min prep, 10 min preheat, 20 min cook, 5 min rest)
Expert Tips to Guarantee Success
I’ve learned a few things from making this dozens of times. Here’s how to avoid my mistakes.
Use a Thermometer — I cannot stress this enough. Visual cues are unreliable. The chicken might look done on the outside but be raw in the middle. Or it might look raw but be overcooked inside. A thermometer is the only way to be sure. It’s cheap, it’s easy, and it saves you from ruining dinner.
Don’t Overcrowd the Pan — If you put too many chicken breasts on the pan, they’ll steam. Steam is the enemy of texture. Give each piece room. If you’re cooking for a crowd, use two pans or cook in batches. Better to cook in batches than to have soggy chicken.
Pound for Evenness — Chicken breasts are weird. They’re thick at one end and thin at the other. The thin end cooks faster and dries out before the thick end is done. To fix this, place the chicken between two sheets of plastic wrap and gently pound the thick end with a rolling pin until the whole breast is an even thickness. It takes 30 seconds and makes a huge difference.
Resting is Non-Negotiable — I know you’re hungry. I know you want to eat now. But wait five minutes. Those five minutes are the difference between dry and juicy. Set a timer for the rest period if you have to.
Storage Tips — Store leftover chicken in an airtight container in the fridge for up to 4 days. To reheat, add a splash of water or broth to the pan and cover it, heating on low. Or slice it and add it to a hot soup or stew. Never microwave dry chicken breast without liquid—it turns to leather.
Variations and Flavor Twists
Once you’ve mastered the basic method, you can play with flavors. Here are some of my favorites:
Lemon Herb — Swap the paprika and thyme for lemon zest and fresh rosemary. Squeeze fresh lemon juice over the chicken after it rests. It’s bright and fresh.
Spicy Cajun — Add 1 teaspoon of cayenne pepper and 1 teaspoon of Cajun seasoning to the spice mix. Serve with rice and beans for a kick.
Garlic Parmesan — After resting, sprinkle grated Parmesan cheese over the hot chicken. The residual heat will melt it slightly. Great for pasta dishes.
Honey Mustard — Brush a mixture of 2 tablespoons honey and 1 tablespoon Dijon mustard over the chicken during the last 5 minutes of cooking. It caramelizes beautifully.
Mediterranean — Use oregano, lemon, and a pinch of red pepper flakes. Serve with olives and feta cheese on the side.
Serving Suggestions
What do you serve with this chicken? It’s so versatile.
Salads — Slice it up and throw it on top of a Caesar salad, a Greek salad, or a simple green salad with balsamic vinaigrette. It’s my go-to lunch all week long.
Rice and Veggies — Serve with steamed broccoli and brown rice. Simple, healthy, and filling. I often make a big batch of rice on Sunday to go with this.
Pasta — Slice the chicken and toss it with marinara sauce and pasta. Or make a creamy garlic sauce (like in my Street Corn Chicken Casserole) and mix it in.
Sandwiches — Use it for chicken salad sandwiches, BLTs, or just a simple turkey club style sandwich with avocado.
Grain Bowls — Pair with quinoa, roasted sweet potatoes, and black beans. It’s a high-protein power bowl that keeps you full.
Nutrition Information
I’m not a nutritionist, but here’s the breakdown if you’re tracking. This is per serving, based on 4 breasts (about 6-8 ounces each).
| Nutrient | Amount |
|---|---|
| Calories | 280 |
| Protein | 42g |
| Fat | 10g |
| Carbs | 1g |
| Fiber | 0g |
| Sugar | 0g |
This is a high-protein, low-carb option. The fat comes mostly from the olive oil. If you want to reduce calories, use less oil or spray it on. But honestly, the olive oil is what keeps it juicy, so I don’t recommend skimping too much.
Final Thoughts
So there you have it. The never-dry oven-baked chicken breast that finally made me stop ordering pizza on weeknights. It’s simple, it’s reliable, and it tastes great. I hope you try it and find it as useful as I have.
Make it your own. Experiment with spices. Try different sides. And most importantly, rest the chicken. That’s the secret. If you make this, let me know how it turns out in the comments. I love hearing from you. And if you need more easy weeknight ideas, check out my Healthy Chicken and Vegetable Stir-Fry for a quick alternative.
Happy cooking! I hope your kitchen smells amazing and your dinner is delicious.
Frequently Asked Questions
Q: Can I use frozen chicken breasts?
A: You can, but it’s not ideal. Frozen chicken cooks unevenly and often ends up dry. If you must use frozen, thaw it completely in the fridge overnight first. Thawing in cold water works in a pinch, but fridge thawing is best.
Q: Why is my chicken still pink after cooking?
A: If it’s pink and the temperature is 160°F, it’s safe to eat. Sometimes the smoke from the paprika or the nitrogen in the freezing process can cause a pink tint. Trust the thermometer, not the color.
Q: Can I grill this chicken instead of baking?
A: Yes! The seasoning works great for grilling. Just oil the grates well and cook over medium heat for about 6-7 minutes per side. Use a thermometer to check for 160°F.
Q: How do I store leftovers?
A: Store in an airtight container in the fridge for up to 4 days. To reheat, add a splash of water or broth and cover. Microwave on low or heat in a skillet over low heat. Do not microwave dry chicken.
Q: Can I double this recipe?
A: Yes, but you’ll need two baking sheets. Do not overcrowd the pan. If you put too many on one pan, they’ll steam. Cook in two batches if necessary.
Q: What if I don’t have smoked paprika?
A: Use regular paprika or sweet paprika. You’ll lose the smoky flavor, but the chicken will still be delicious. You can add a pinch of cumin for extra depth.
Q: Can I make this in the air fryer?
A: Yes! Cook at 375°F for 10-12 minutes, flipping halfway through. Check the temperature at 10 minutes. Air fryers vary, so keep an eye on it.
Pin This Recipe!
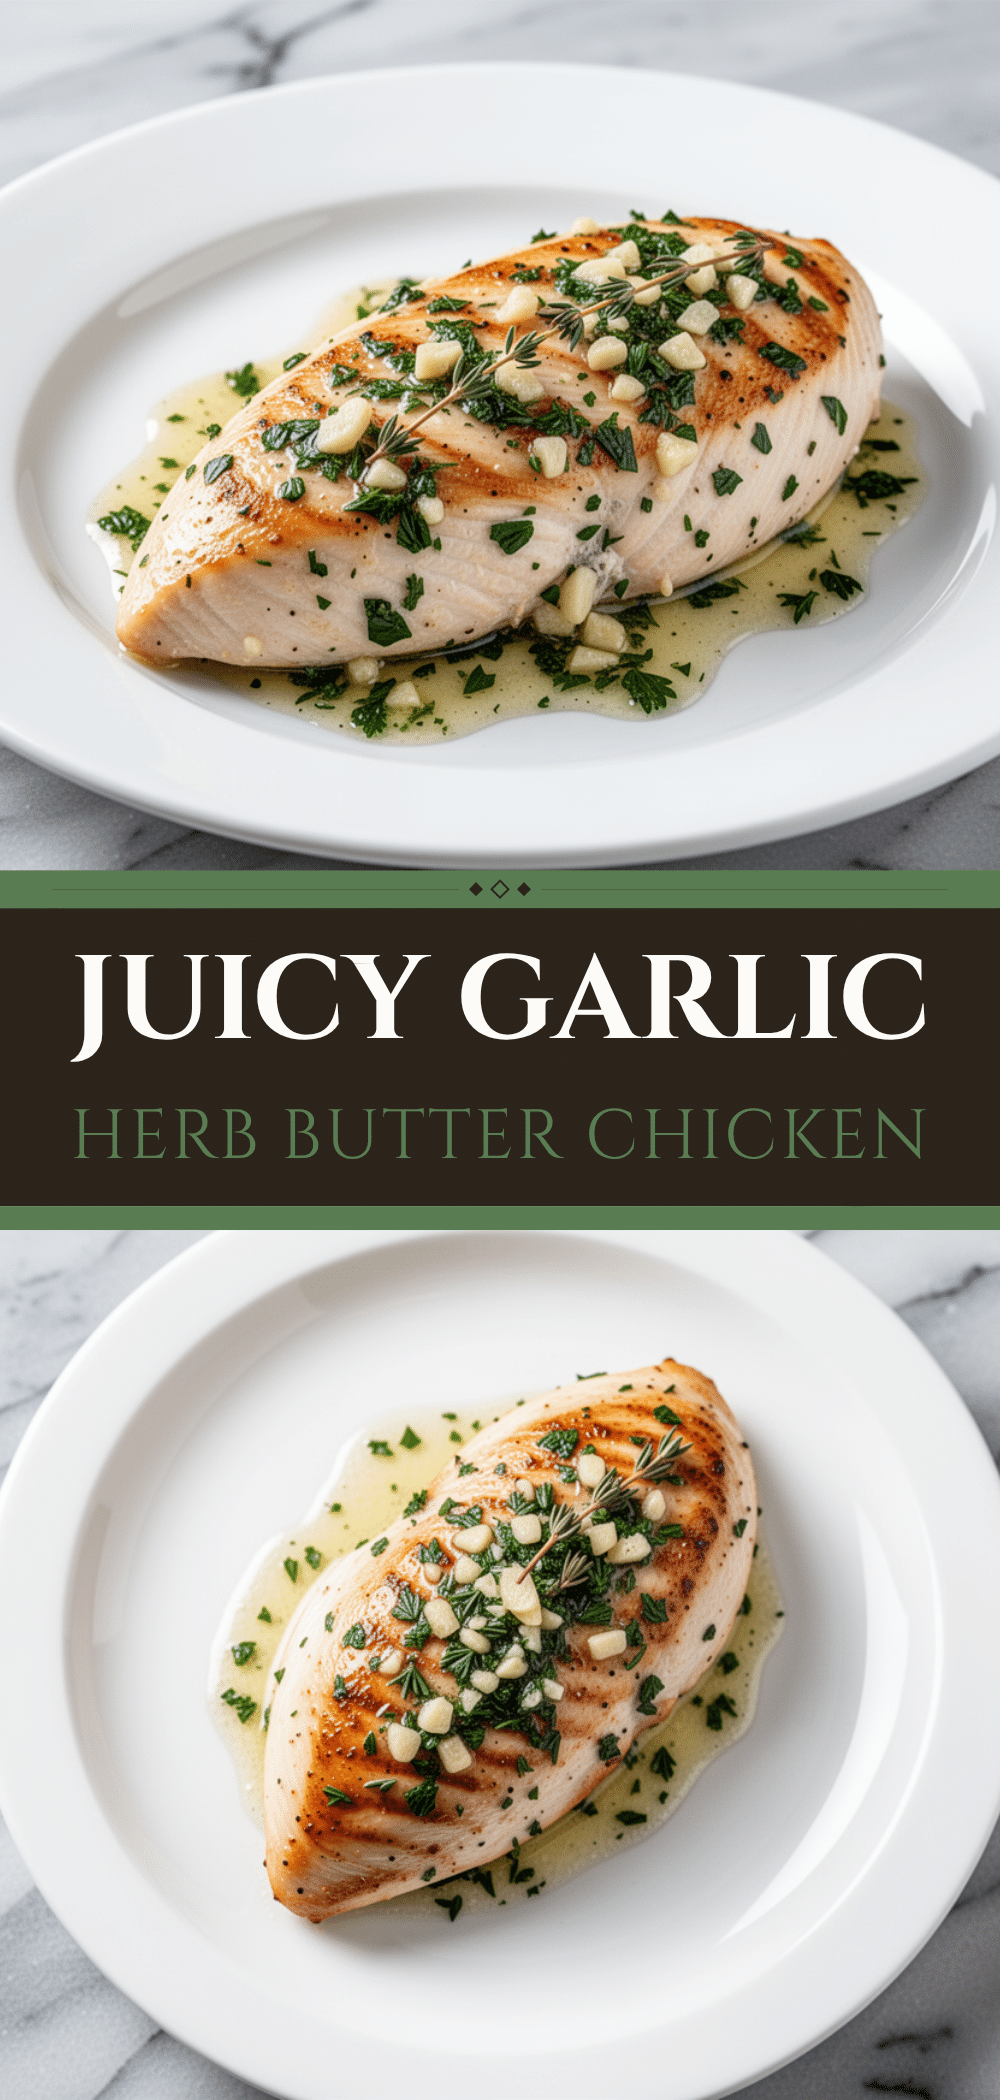
Never-Dry Oven-Baked Chicken Breast: Easy Weeknight Meal
- Total Time: 30 minutes
- Yield: 4 servings 1x
Description
A reliable method for cooking juicy, tender chicken breasts in the oven using simple ingredients and temperature control, ensuring a perfect result every time.
Ingredients
- 2 pounds (900g) boneless, skinless chicken breasts
- 3 tablespoons (45ml) extra virgin olive oil
- 1 teaspoon (5g) garlic powder
- 1 teaspoon (5g) onion powder
- 1 teaspoon (2g) smoked paprika
- 1 teaspoon (1g) dried thyme
- 1.5 teaspoons (9g) kosher salt
- 0.5 teaspoon (1g) freshly cracked black pepper
- Lemon (optional, for serving)
- Fresh parsley (optional, for garnish)
Instructions
- Remove chicken from the fridge and let it sit on the counter for 10-15 minutes to take the chill off. Pat dry with paper towels.
- Preheat the oven to 400°F (200°C).
- Place chicken breasts in a mixing bowl. Drizzle with olive oil and sprinkle with garlic powder, onion powder, smoked paprika, thyme, salt, and pepper.
- Toss the chicken with your hands until evenly coated in the oil and spices.
- Line a baking sheet with parchment paper or a silicone mat. Arrange chicken breasts on the pan, ensuring they do not touch or overlap.
- Bake for 18-22 minutes. Do not open the oven door during this time.
- Check the internal temperature with an instant-read thermometer. It should read 160°F (71°C) in the thickest part.
- Remove from the oven and transfer to a plate or cutting board. Loosely tent with foil and let rest for 5-10 minutes.
- Slice against the grain and serve immediately.
Notes
For even cooking, pound the thicker end of the chicken breasts with a rolling pin to make them uniform in thickness. Do not overcrowd the pan, as this causes steaming. Resting the chicken is crucial to retain juices. Leftovers can be stored in an airtight container in the fridge for up to 4 days.
- Prep Time: 5 minutes
- Cook Time: 20 minutes
- Category: Main Course
- Cuisine: American
Nutrition
- Serving Size: 1 chicken breast (ap
- Calories: 280
- Sodium: 600
- Fat: 10
- Saturated Fat: 2
- Carbohydrates: 1
- Protein: 42
Keywords: chicken breast, oven baked chicken, juicy chicken, weeknight dinner, meal prep, healthy dinner, easy chicken recipe


