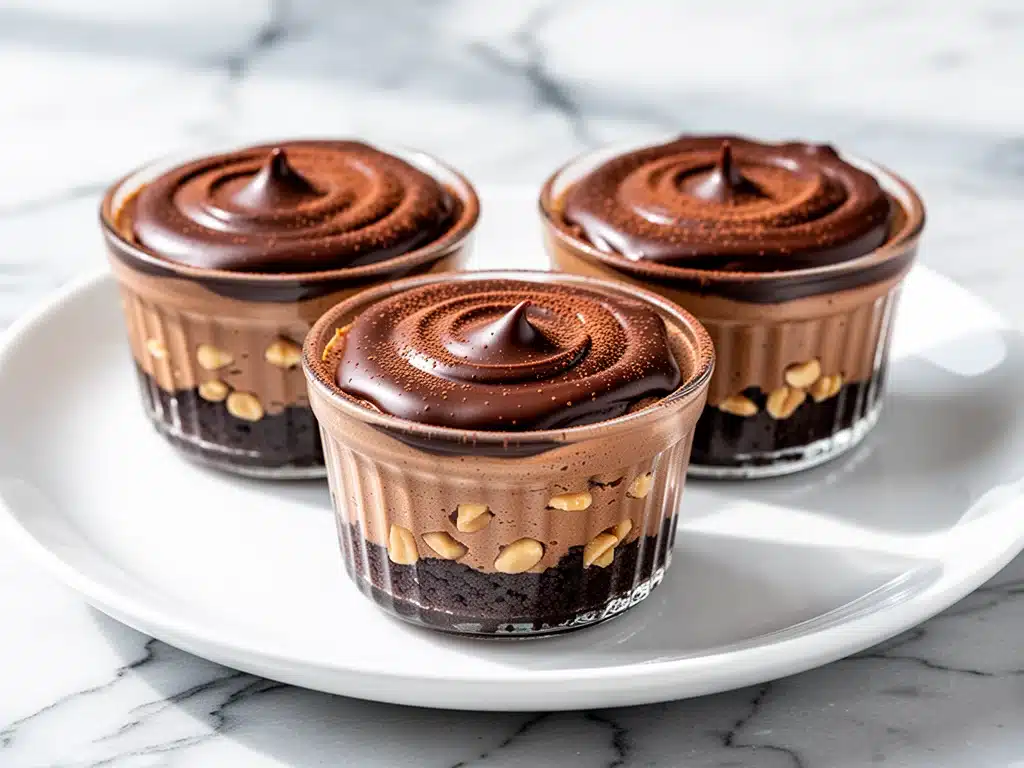
I still remember the exact moment I almost gave up on healthy desserts. It was 9:30 PM on a Tuesday, my workout gear was still on the floor, and I was staring into my fridge like it owed me money. I wanted something rich, creamy, and decadent—specifically, the kind of chocolate peanut butter cheesecake that usually comes with a side of guilt and a calorie count that makes me wince. But I also wanted to stick to my protein goals. I felt like I was asking for something impossible: dessert that tastes like a cheat day but fuels like a meal.
So I did what any desperate home cook does: I started playing with ingredients. I grabbed my blender, threw in some greek yogurt, a scoop of chocolate protein powder, and a spoonful of peanut butter. I figured it would be a disaster. It wasn’t. It was actually incredible. Creamy, dreamy, and packed with enough protein to make my post-workout shake jealous.
That accidental experiment turned into these High-Protein Chocolate Peanut Butter Cheesecake Cups. I’ve made them probably fifty times since that night—sometimes for myself, sometimes for my kids (who think they’re getting away with something), and sometimes for friends who are convinced I’m hiding actual cream cheese in there. The truth? There’s no heavy cream, no baked crust, and no complicated techniques. Just simple ingredients you probably already have, blended into pure comfort.
If you’ve been looking for a way to satisfy your sweet tooth without derailing your nutrition, you need to try this. It’s frozen, it’s portable, and it’s ridiculously easy. Let me show you how to make these little cups of joy.
Why You’ll Love This Recipe
Look, I’m not going to lie to you. This isn’t a salad. It’s chocolate and peanut butter. But it’s the kind of treat that fits into a busy, health-conscious life without the stress. Here’s why these cups have become a staple in my freezer:
- Zero Baking Required — Seriously. If you have a blender and a spoon, you can make this. No oven, no water baths, no waiting for things to cool. I make these on weeknights when I’m too tired to stand at the stove for an hour.
- High Protein, Low Guilt — Each cup packs about 15-20 grams of protein (depending on the powder you use). It’s basically a dessert that helps you recover. I usually have one after my evening walk, and it keeps me full until morning without that heavy, bloated feeling.
- Meal Prep Friendly — I make a big batch on Sunday afternoon. They freeze perfectly for up to three weeks. When I’m craving something sweet at 8 PM on a Thursday, I just grab one from the freezer. It’s my secret weapon against late-night snack raids.
- Simple Ingredients — You don’t need fancy superfoods or hard-to-find items. Just greek yogurt, protein powder, peanut butter, and a few basics. It’s pantry-friendly in the best way possible.
- Kid-Approved — My kids think these are “magic pudding cups.” They don’t know they’re getting a protein boost. If you’re trying to sneak nutrition into picky eaters, this is your golden ticket. It’s sweeter than my high-protein cottage cheese pancakes but just as easy to make.
This is my go-to when I need a treat that actually supports my goals. No complicated techniques, no weird ingredients, just reliable, delicious food that makes everyone happy.
Ingredients You’ll Need
Here’s the best part: you probably have most of this already. I’m not exaggerating when I say this recipe uses five core ingredients. Let’s break down what you need and why it matters.
For the Cheesecake Filling
Greek Yogurt (2 cups / 450g) — This is the base. Use plain, non-fat or 2% Greek yogurt. Full fat works too, but it changes the texture slightly. I stick to 2% for that perfect creamy balance. Make sure it’s thick and strained; if it’s runny, your cups will be soupy.
Protein Powder (1 scoop / about 30g) — Chocolate whey or casein works best here. I use a vanilla or chocolate whey blend because it dissolves easily. Avoid plant-based powders if you can—they can get gritty and sandy. If you’re using a very sweet powder, you might not need the sweetener below.
Peanut Butter (½ cup / 125g) — Natural creamy peanut butter is ideal. Look for one with just peanuts (and maybe salt) in the ingredients. If you use the kind with added sugar and oils, reduce any added sweetener. This gives it that rich, dessert-like flavor.
Maple Syrup or Honey (2-3 tablespoons) — Optional, depending on how sweet your protein powder is. I usually add 2 tablespoons because my protein powder isn’t super sweet. Taste your mixture before freezing—you want it to taste slightly sweeter than you like it, since cold dulls sweetness.
Vanilla Extract (1 teaspoon) — Just a splash to round out the flavors. It makes the chocolate taste more like actual cheesecake.
For the Chocolate Layer
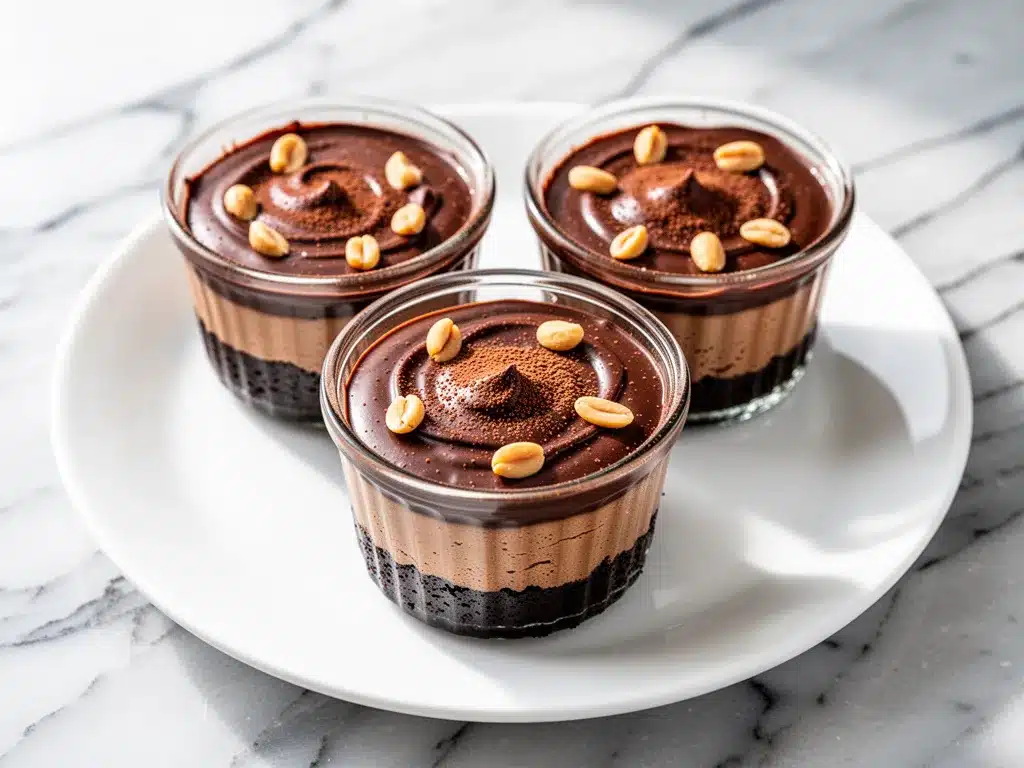
Dark Chocolate Chips (½ cup / 85g) — Semi-sweet or dark chocolate chips melt beautifully. I like to mix in a few mini chips and a few regular ones for texture variety.
Coconut Oil (1 tablespoon) — This helps the chocolate layer set firmly in the freezer. Without it, the chocolate might stay soft. You can skip it if you don’t mind a softer finish.
For the Crust
Crushed Graham Crackers (½ cup / 50g) — Or use almond flour for a lower-carb version. I like the classic graham cracker crunch. You can crush them in a bag with a rolling pin if you don’t have a food processor.
Melted Butter (2 tablespoons) — Or melted coconut oil for dairy-free. This binds the crumbs together so they stick to the bottom of the cup.
Pinch of Salt — Always add a pinch to balance the sweetness.
Equipment Needed
You don’t need fancy equipment for this. Here’s what I actually use:
Blender or Food Processor — A high-speed blender (like a Vitamix) makes the smoothest texture, but a standard blender works fine. You just might need to scrape down the sides a bit more. I use mine for everything from smoothies to fudgy peanut butter brownies.
Muffin Tin — A standard 12-cup muffin tin. I use silicone liners or paper cups to make removal easy. If you don’t have liners, grease the tin well with butter or oil.
Silicone Spatula — For scraping bowls and smoothing the tops. A regular spoon works, but a spatula gives you better control.
Small Microwave-Safe Bowl — For melting the chocolate chips. If you don’t have a microwave, use a double boiler on the stove.
Freezer-Safe Containers — If you’re making these in small jars or ramekins instead of a muffin tin, make sure they’re freezer-safe.
How to Make It: Step-by-Step
Alright, let’s make this! I’m walking you through exactly how I do it, including the little tricks I’ve picked up over time.
Step 1: Prep Your Cups (5 minutes)
Line your muffin tin with paper liners or grease them well. If you’re using silicone liners, you don’t need grease. Set the tin aside. This step is quick, but it saves you from a sticky mess later.
Step 2: Make the Crust (2 minutes)
In a small bowl, mix the crushed graham crackers, melted butter, and a pinch of salt. It should look like wet sand. Divide the mixture evenly among the 12 muffin cups. Press it down firmly with the bottom of a measuring cup or a spoon. You want it flat and compact. If it’s loose, your crust will crumble when you eat it. Freeze the crusts for 10 minutes while you make the filling.
Step 3: Blend the Filling (3 minutes)
In your blender, combine the Greek yogurt, protein powder, peanut butter, maple syrup, and vanilla extract. Blend on high until completely smooth. This usually takes about 30-60 seconds. Scrape down the sides and blend again. Taste it! If it’s too thick, add a splash of milk. If it’s too thin, add a bit more yogurt. The texture should be like thick mousse or cheesecake filling.
Step 4: Assemble the Cups (5 minutes)
Take the muffin tin out of the freezer. Spoon the filling into each cup, filling them about ¾ full. Leave a little space at the top for the chocolate layer. Smooth the tops with your spatula. You don’t need to be perfect here; these are rustic and homemade.
Step 5: Add the Chocolate Layer (2 minutes)
In a microwave-safe bowl, melt the dark chocolate chips and coconut oil together. Microwave in 20-second intervals, stirring in between, until smooth. Let it cool for a minute so it’s not piping hot (you don’t want to melt the yogurt). Drizzle the melted chocolate over the tops of the cups. Use a toothpick or skewer to swirl the chocolate into the filling for a marbled effect. This looks fancy but takes seconds.
Step 6: Freeze (4+ hours)
Place the muffin tin in the freezer. Let them freeze for at least 4 hours, or overnight if you can wait. They need to be completely solid before you try to remove them. Once solid, you can pop them out and store them in a freezer bag for up to three weeks.
Expert Tips & Tricks
Here’s everything I’ve learned from making these dozens of times. These tips will save you from my mistakes.
- Taste Before Freezing — Cold numbs your taste buds. Your mixture needs to taste slightly sweeter than you want it to be. If it tastes perfect while it’s warm, it’ll taste bland after freezing.
- Don’t Skip the Salt — Salt enhances the chocolate and peanut butter flavors. It’s not optional. Even a tiny pinch makes a huge difference.
- Use Thick Yogurt — If your Greek yogurt is watery, strain it through a cheesecloth for 30 minutes first. Runny yogurt = runny cheesecake.
- Chill the Chocolate — If your melted chocolate is too hot, it will create bubbles in the filling. Let it cool to room temperature before drizzling.
- Swap the Peanut Butter — Almond butter works too! It’s slightly drier, so you might need a teaspoon more milk. I’ve made these with almond butter and they’re just as good.
Common Mistakes:
Mistake: The filling is grainy.
Fix: Your protein powder didn’t dissolve. Blend longer, or sift the powder before adding it. Casein protein blends smoother than whey, but both work if you blend enough.
Mistake: The crust falls apart.
Fix: You didn’t press it down hard enough, or there wasn’t enough butter. Make sure the mixture holds together when you squeeze it in your hand before putting it in the cup.
Variations & Substitutions
Once you’ve nailed the basic version, here’s how you can mix it up. I’ve tried all of these.
- Strawberry Cheesecake — Swap the chocolate chips for a drizzle of strawberry jam or blended fresh strawberries. Use vanilla protein powder instead of chocolate.
- Cookie Dough — Add mini chocolate chips to the filling instead of the top layer. Use vanilla protein powder and a little extract. It tastes like raw cookie dough!
- Low-Carb/Keto — Use almond flour for the crust, sugar-free protein powder, and sugar-free chocolate chips. Use erythritol or stevia instead of maple syrup. I love these for my keto friends.
- Vegan — Use coconut yogurt instead of Greek yogurt, vegan protein powder, and dairy-free chocolate chips. The texture is slightly different but still creamy.
- Protein Boost — Add a tablespoon of collagen peptides to the filling. It’s flavorless and dissolves instantly. Great for skin and joint health.
Serving & Storage
How to Serve:
I usually serve these straight from the freezer. They’re like frozen yogurt bars. Let them sit on the counter for 5 minutes if you want them slightly softer. I pair them with a hot coffee or tea—it’s the perfect afternoon pick-me-up.
Side Dishes:
These are a standalone treat, but they go well with a fresh fruit salad or a handful of almonds if you want to make it a more substantial snack.
Storage Instructions:
Freezer:
Store in an airtight container or freezer bag for up to 3 weeks. They keep their texture perfectly. Label them with the date so you don’t forget.
Refrigerator:
You can store them in the fridge for 2-3 days, but they’ll be soft and more like cheesecake mousse. Freezing is best for that cupcake texture.
Pro Tip:
If you’re making these for a party, make them the night before. They’ll be perfectly set and ready to go. I’ve brought these to potlucks and watched people line up for seconds.
Nutrition Information
I’m not a nutritionist, but here’s the breakdown if you’re tracking. These are estimates based on standard ingredients.
Per Serving (1 cup, based on 12 servings):
- Calories: 180
- Protein: 15g
- Carbs: 12g
- Fiber: 2g
- Sugar: 8g
- Fat: 9g
- Saturated Fat: 3g
What’s Good:
– High protein content helps with satiety.
– Healthy fats from peanut butter and dark chocolate.
– No refined flour in the crust (unless you choose to use it).
What to Know:
– Protein powder brands vary significantly in sugar and calorie content. Check your label.
– Peanut butter is calorie-dense, so portion control matters if you’re watching calories.
My Take:
Look, this is a treat. It’s not a vegetable. But it’s a smart treat. It gives you the satisfaction of chocolate and peanut butter without the sugar crash of a candy bar. When I’m craving something sweet, this is what I reach for. It keeps me on track and happy.
Final Thoughts
So that’s my go-to High-Protein Chocolate Peanut Butter Cheesecake Cups! I’ve probably talked your ear off at this point, but when you make a recipe this often, you have a lot to say about it.
This has saved me from buying ice cream more times than I can count. It’s my answer to “what’s for dessert” when I’m tired, don’t want to cook, and still want something that tastes really good. My kids are happy, my husband’s happy, and I’m happy because I’m not stressing about my protein intake.
Make it yours! Try different protein powders, swap the peanut butter for almond butter, or add different mix-ins. The best recipes are the ones you adapt to your family’s tastes.
If you make this, drop a comment and let me know what you think! I love hearing how recipes turn out in your kitchen. And if something doesn’t work, tell me that too—I’m here to help troubleshoot.
Happy cooking! And I hope your kitchen smells half as good as mine does right now.
Frequently Asked Questions
Can I use vanilla protein powder instead of chocolate?
Absolutely! If you use vanilla powder, you’ll get a vanilla cheesecake cup. You can still drizzle chocolate on top, or skip it entirely. I actually prefer vanilla sometimes because it tastes more like actual New York cheesecake. Just make sure the vanilla powder is sweet enough.
Why did my filling turn out grainy?
This usually happens if the protein powder didn’t fully dissolve. Blend the mixture for a full minute, and scrape down the sides of the blender. If you’re using a gritty plant-based protein, consider sifting it first. Casein protein blends smoother than whey, so it’s worth trying if you have issues.
Can I make these without a freezer?
No, these need to be frozen to set. They rely on the cold to firm up the yogurt and chocolate. If you don’t have a freezer, you won’t get the cupcake texture. You could make them as a chilled mousse in the fridge, but they’ll be soft.
How long do these last in the freezer?
They last up to 3 weeks in an airtight container. After that, they might start to get freezer burn or lose their texture. I usually make a batch once a month, so I eat them before they go bad.
Can I use natural peanut butter with oil separation?
Yes, but stir the oil in thoroughly before measuring. If you don’t stir it, you’ll get a chunk of peanut butter and a pool of oil, which messes up the texture. Natural peanut butter works great, but it might make the filling slightly less dense.
Are these keto-friendly?
They can be! Swap the graham crackers for almond flour, use sugar-free protein powder, and use sugar-free chocolate chips. The maple syrup should be replaced with a keto-friendly sweetener like erythritol or monk fruit. Check your specific ingredients to make sure they fit your macros.
Can I double this recipe?
Yes! Just double all the ingredients and use two muffin tins. The cooking and freezing times stay the same. I often double this recipe because my family goes through them quickly. Just make sure you have enough freezer space!
Pin This Recipe!
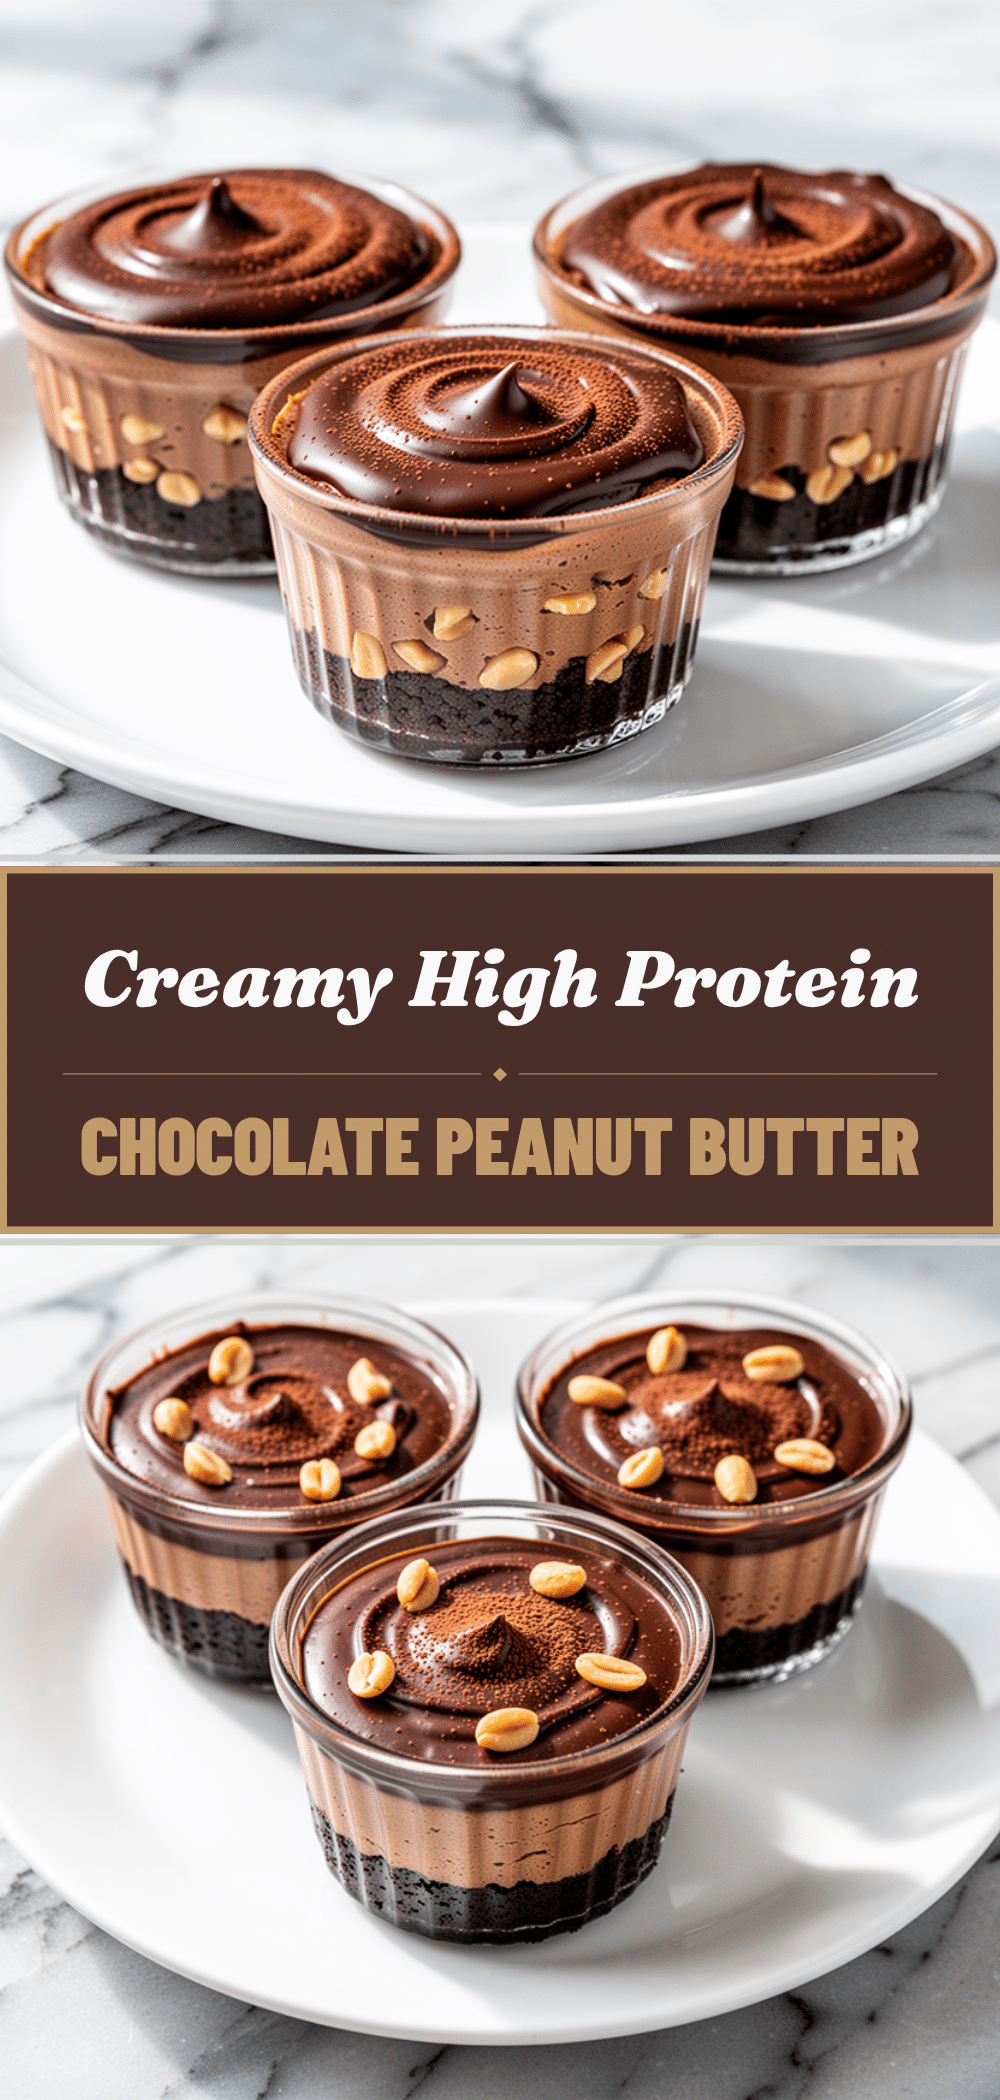
High-Protein Chocolate Peanut Butter Cheesecake Cups
- Total Time: 4 hours 15 minutes
- Yield: 12 servings 1x
Description
A no-bake, frozen dessert that combines creamy Greek yogurt, chocolate protein powder, and peanut butter with a graham cracker crust and dark chocolate topping. These cups are high in protein, meal-prep friendly, and require only a blender and freezer.
Ingredients
- 2 cups (450g) plain Greek yogurt (2% or non-fat)
- 1 scoop (30g) chocolate whey or casein protein powder
- ½ cup (125g) natural creamy peanut butter
- 2–3 tablespoons maple syrup or honey
- 1 teaspoon vanilla extract
- ½ cup (50g) crushed graham crackers
- 2 tablespoons melted butter (or coconut oil for dairy-free)
- Pinch of salt
- ½ cup (85g) dark chocolate chips
- 1 tablespoon coconut oil
Instructions
- Line a standard 12-cup muffin tin with paper liners or grease well.
- In a small bowl, mix crushed graham crackers, melted butter, and a pinch of salt until it resembles wet sand.
- Divide the crust mixture evenly among the 12 muffin cups and press down firmly to create a compact base.
- Freeze the crusts for 10 minutes.
- In a blender, combine Greek yogurt, protein powder, peanut butter, maple syrup, and vanilla extract.
- Blend on high for 30-60 seconds until completely smooth, scraping down sides as needed.
- Remove muffin tin from freezer and spoon the filling into each cup, filling about ¾ full.
- Smooth the tops with a spatula.
- In a microwave-safe bowl, melt dark chocolate chips and coconut oil together in 20-second intervals, stirring until smooth.
- Let the chocolate cool slightly, then drizzle over the filling.
- Use a toothpick to swirl the chocolate into the filling for a marbled effect.
- Freeze for at least 4 hours or overnight until completely solid.
- Store in an airtight container or freezer bag for up to three weeks.
Notes
Cold numbs taste buds, so the filling should taste slightly sweeter than desired before freezing. Ensure Greek yogurt is thick and strained to avoid a soupy texture. If using natural peanut butter with oil separation, stir thoroughly before measuring. Casein protein blends smoother than whey if you experience graininess.
- Prep Time: 15 minutes
- Cook Time: 0 minutes
- Category: Dessert
- Cuisine: American
Nutrition
- Serving Size: 1 cup
- Calories: 180
- Sugar: 8
- Fat: 9
- Saturated Fat: 3
- Carbohydrates: 12
- Fiber: 2
- Protein: 15
Keywords: high protein dessert, no bake cheesecake, healthy peanut butter cups, meal prep dessert, frozen yogurt cups, post workout snack


