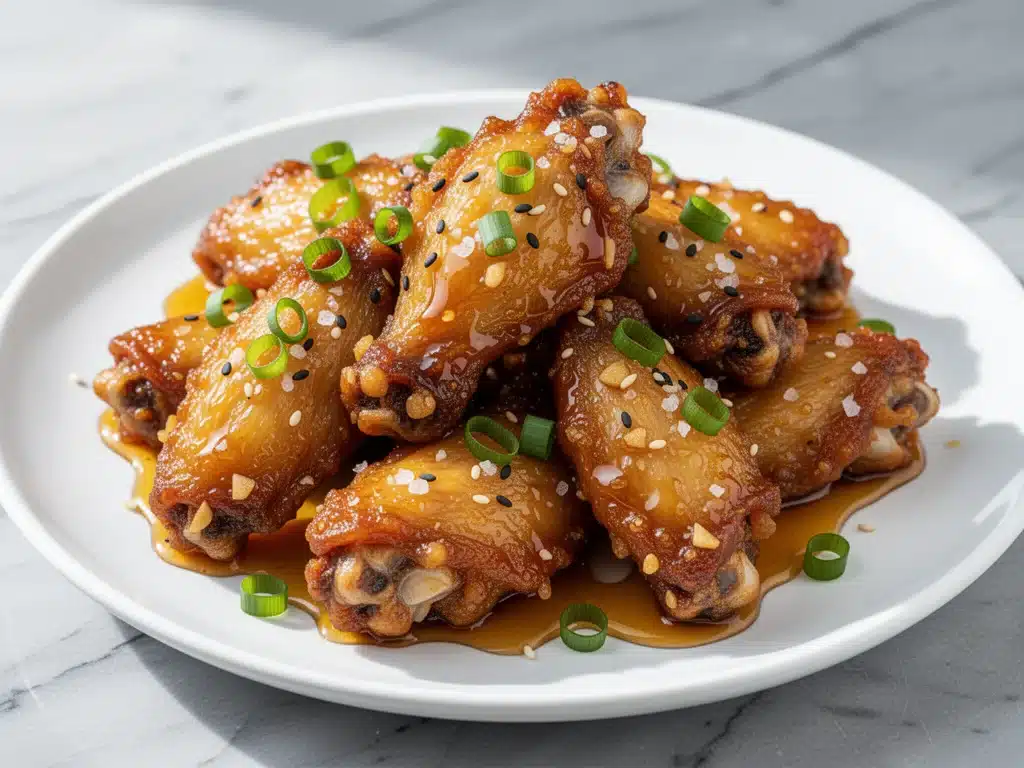
It’s 11:45 PM on a Tuesday. The kids are finally asleep. The house is quiet. I’m standing in my kitchen, staring into the abyss of my empty refrigerator, and I realize I have two things: a half-pound of chicken wings and a bottle of honey that’s been sitting there since Thanksgiving. My husband walks in, rubs his eyes, and asks, “What’s for dinner?” I could have made a sandwich. I could have ordered takeout. But I looked at those wings, looked at the air fryer humming quietly on the counter, and thought, “Why not?”
Twenty minutes later, the smell of garlic and caramelizing honey filled the house. My husband sat down, took one bite, and actually stopped chewing to look at me like I’d performed magic. “These are better than the restaurant,” he said. And here’s the thing—he’s right. These Extra-Crispy Air Fryer Chicken Wings with Honey Garlic Glaze are hands-down the best wings I’ve ever made, and I’ve tried dozens of methods.
I used to think air-frying chicken wings was a gimmick. I thought they’d be rubbery or dry. But after testing this recipe about fifteen times (yes, I’m that person who eats wings for breakfast occasionally), I’ve cracked the code. The secret isn’t just the air fryer; it’s the drying process and the glaze timing. This honey garlic chicken wing recipe delivers that restaurant-quality crunch without the guilt of deep-frying, and the sticky, sweet-savory glaze is addictive. It’s become my go-to late-night snack, my game-day hero, and honestly, the reason my husband thinks I’m a culinary genius on busy weeknights.
Why You’ll Love This Recipe
There are about ten reasons I keep making this, but here are the big ones. This isn’t just another wing recipe; it’s the one that actually works every single time.
- Stupid Simple Crispiness — Seriously, if you can boil water, you can make these. The trick is patting them dry and using a little baking powder (more on that later). I’ve walked my teenage son through it over FaceTime, and he got perfect wings on his first try. No fancy skills required.
- Lightning Fast — 20 minutes from start to finish. That’s it. I make these on weeknights when I get home at 7pm and realize I forgot to defrost something. The air fryer preheats in 3 minutes, and the wings cook while I chop the garlic and mix the sauce.
- Glaze That Actually Sticks — You know how restaurant wings get soggy if you wait too long? This glaze is designed to cling. The honey creates a sticky barrier that keeps the crunch alive for at least 15 minutes after plating. I’ve tested this by letting them sit while I set the table, and they stayed crisp.
- Pantry-Friendly Ingredients — You probably have 90% of this already. Chicken wings, honey, garlic, soy sauce, butter. That’s it. I keep these stocked just so I can make these on a whim when I need comfort food.
- Crowd-Pleaser — I’ve served these to my picky eater nephew, my foodie friend who judges everything, and my husband’s boss. Everyone asks for the recipe. Even people who claim they “don’t like wings” end up eating three.
- Budget-Smart — Chicken wings are one of the cheapest cuts of meat per pound. Feeds 4 people for under $20. That’s cheaper than a single order of takeout wings from the place down the street, and these taste way better.
This is my go-to when I need dinner or a snack to just work. No complicated techniques, no weird ingredients, just reliable, delicious food that makes everyone happy.
Ingredients You’ll Need
Here’s the best part: you probably have most of this already. I’m particular about three ingredients here, and I’ll tell you exactly why.
For the Wings
Chicken wings (2 pounds / 900g) — I use a mix of drumettes and flats. If you get whole wings, ask your butcher to separate them, or do it yourself. You need about 10-12 wings per pound. Avoid “wingettes” that are mostly bone; you want meat.
Baking powder (1 tablespoon / 15g) — Not baking soda! This is the secret weapon. It raises the pH of the skin, helping it break down and crisp up in the air fryer. Use aluminum-free baking powder for the best taste. I use Rumford.
Garlic powder (1 teaspoon / 5g) — For that initial savory base before the fresh garlic hits.
Onion powder (1 teaspoon / 5g) — Adds depth without the moisture of fresh onion.
Salt (1 teaspoon / 6g) — Kosher salt is best. If using table salt, use half a teaspoon.
Black pepper (½ teaspoon / 2g) — Freshly cracked is nice, but pre-ground works fine here.
For the Honey Garlic Glaze
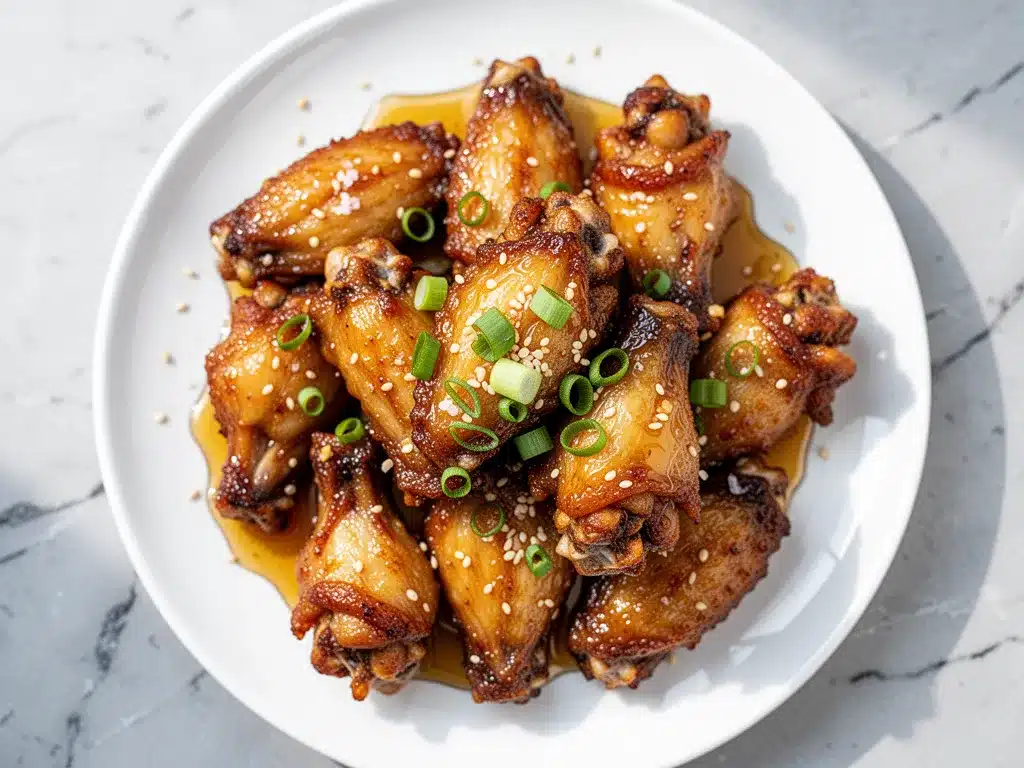
Honey (½ cup / 170g) — Use real honey. Corn syrup substitutes taste weird and don’t caramelize the same. I like clover or wildflower honey for a floral note.
Soy sauce (3 tablespoons / 45ml) — Adds the salty, umami backbone. Low-sodium is better so you can control the saltiness.
Fresh garlic (4 cloves, minced / about 2 tablespoons) — Yes, four cloves. Don’t skimp. Fresh only—no jarred garlic in this glaze. It has a sharp, bright flavor that cuts through the sweetness.
Butter (2 tablespoons / 30g) — Unsalted butter adds richness and helps the glaze emulsify and shine. It also prevents the honey from burning.
Apple cider vinegar (1 teaspoon / 5ml) — A tiny splash to balance the sweetness. You won’t taste it directly, but it makes the flavor pop.
Red pepper flakes (½ teaspoon) — Optional, but adds a nice kick. I always add this because I like a little heat to balance the honey.
Green onions (2, sliced) — For garnish. Adds color and a fresh onion bite.
Sesame seeds (1 teaspoon) — Optional garnish. Adds nuttiness and texture.
Shopping Tips
I buy wings in bulk when they’re on sale and freeze them flat in a ziplock bag. They freeze beautifully. For the honey, I keep a large bottle in the pantry because I use it in everything from crispy honey garlic salmon bites to marinades.
Equipment Needed
You don’t need fancy equipment for this. Here’s what I actually use.
Air Fryer — Obviously. I use a 5.8-quart basket style. It fits two pounds of wings in two batches comfortably. If you have a smaller air fryer, you might need three batches. Don’t overcrowd the basket!
Large Sheet Pan or Plate — For drying the wings. Paper towels are essential.
Medium Saucepan — For making the glaze. A small non-stick pan works well so it doesn’t stick.
Whisk — To emulsify the butter and honey.
Tongs — For flipping the wings. Metal tongs are best.
Large Bowl — For tossing the wings in the dry seasoning.
Colander — Optional, for rinsing if you wash your wings (I don’t, but some people do).
Garlic Mincer — I use a garlic press when I’m being lazy, but mincing by hand gives better texture for the glaze.
How to Make It: Step-by-Step
Alright, let’s make this! I’m walking you through exactly how I do it, including the little tricks I’ve picked up.
Step 1: Prep the Wings (10 minutes)
Take your wings out of the fridge. If they’re frozen, thaw them completely. Pat them extremely dry with paper towels. This is the most important step. If they’re wet, they’ll steam instead of crisp. I mean DRY. Like, I’ve used two rolls of paper towels dry.
Place the wings in a large bowl. Sprinkle the baking powder, garlic powder, onion powder, salt, and pepper over them. Toss until every wing is coated. The baking powder will make the skin look a bit chalky—that’s good. It means it’s working.
Step 2: Air Fry the Wings (15-18 minutes)
Preheat your air fryer to 400°F (200°C). This takes about 3-5 minutes. While it preheats, arrange the wings in a single layer in the air fryer basket. Do not overlap them. Air needs to circulate. If you have a small basket, cook in two batches.
Place the basket in the air fryer and cook for 10 minutes. Then, open the basket and flip the wings. Cook for another 5-8 minutes until they are deep golden brown and crispy. The internal temperature should reach 165°F (74°C). Mine usually take 17 minutes total.
Step 3: Make the Glaze (5 minutes)
While the wings cook, make the glaze. In a small saucepan over medium-low heat, combine the honey, soy sauce, minced garlic, apple cider vinegar, and red pepper flakes. Whisk gently.
Once it starts to bubble (about 2 minutes), reduce heat to low. Add the butter and whisk until melted and combined. The glaze will thicken slightly. It should coat the back of a spoon. Remove from heat immediately so the garlic doesn’t burn.
Step 4: Combine and Serve (2 minutes)
Transfer the crispy wings to a large bowl. Pour the warm honey garlic glaze over them. Toss quickly and gently to coat. You want the glaze to stick, not soak in and make them soggy. Serve immediately with sliced green onions and sesame seeds.
Total Time:
About 20 minutes (5 minutes prep, 15 minutes cook time).
Troubleshooting Tips:
Wings aren’t crispy? You didn’t dry them enough, or you overcrowded the basket. Air fryers need space. If they’re soft, put them back in for 2 more minutes.
Glaze is too runny? You didn’t simmer it long enough. Let it bubble for another minute.
Glaze is too thick? Add a teaspoon of water or more soy sauce.
Expert Tips & Tricks
Here’s everything I’ve learned from making this dozens of times. These tips will save you from my mistakes.
Pat Dry Like Your Life Depends On It
I can’t stress this enough. Moisture is the enemy of crispiness. If the wings are wet, they steam. I’ve made the mistake of rushing this step, and the result was sad, rubbery skin. Take your time. Use fresh paper towels. The drier the skin, the crispier the wing.
Don’t Skip the Baking Powder
This is the science part. Baking powder (not soda) helps draw out moisture and alters the pH level of the skin, promoting browning and crispiness. It’s not for flavor; it’s for texture. Trust the process.
Glaze Timing is Key
Don’t make the glaze too early. If you let the wings sit in the glaze for more than 10 minutes, they’ll lose their crunch. Make the glaze while the wings cook, and toss them right when they come out of the air fryer. This ensures maximum crunch with maximum flavor.
Use Real Honey
Cheap honey substitutes can be too watery or have a weird aftertaste. Real honey caramelizes beautifully and sticks to the wings. It’s worth the few extra dollars.
Don’t Burn the Garlic
Garlic burns fast. Keep the heat low when making the glaze. If you see the garlic turning brown, take it off the heat immediately. Burnt garlic tastes bitter and ruins the whole batch.
Flip Halfway
Even in an air fryer, flipping halfway ensures even cooking. I’ve tried skipping it, and one side is always darker than the other.
Variations & Substitutions
Once you’ve nailed the basic version, here’s how you can mix it up. I’ve tried all of these.
Spicy Honey Garlic
Add 1 teaspoon of sriracha or chili crisp to the glaze. This is my favorite version. The heat cuts through the sweetness perfectly. I add this when I want something with a kick.
Teriyaki Style
Swap the soy sauce for teriyaki sauce and add 1 teaspoon of grated ginger. It’s a different vibe but equally delicious. Great for a Asian-inspired night.
Buffalo Honey
Mix 2 tablespoons of Frank’s RedHot into the glaze. This is a classic combo. Sweet, spicy, and tangy. My husband loves this version for game day.
Gluten-Free
Use tamari instead of soy sauce. Everything else is naturally gluten-free. I’ve tested this, and it works perfectly.
Dairy-Free
Skip the butter in the glaze. Add a teaspoon of olive oil instead. The glaze will be slightly thinner, but still tasty. My lactose-intolerant friend requests this version.
Other Proteins
You can use chicken thighs or drumsticks, but adjust cooking time. Thighs take about 20-25 minutes. I’ve also used these wings with healthy chicken and vegetable stir fry techniques, but wings are best solo.
Serving & Storage
I usually serve these straight from the bowl at the dinner table—they look rustic and stay warm. But here are other ways I’ve enjoyed them.
Side Dishes
- Coleslaw (classic pairing)
- Steamed broccoli with lemon
- Simple green salad with vinaigrette
- Corn on the cob (if you’re feeling fancy)
Wine Pairing
Not a wine expert, but my wine-snob friend says a crisp Riesling or a light Pinot Noir works great with the sweet-savory profile. For beer, a lager or IPA is perfect.
Storage Instructions
Refrigerator: Store in an airtight container for up to 3 days. The wings will lose some crispiness, but they’re still good.
Reheating: Best method: Air fry at 400°F for 3-4 minutes. This brings back the crunch. Microwave makes them soggy. Avoid the microwave if you care about texture.
Freezing: You can freeze cooked wings for up to 2 months. Thaw in the fridge and reheat in the air fryer. Do not freeze with the glaze on; glaze gets weird when frozen.
Nutrition Information
I’m not a nutritionist, but here’s the breakdown if you’re tracking. This is per serving (based on 4 servings).
| Nutrient | Amount |
|---|---|
| Calories | 450 |
| Protein | 25g |
| Carbs | 30g |
| Fat | 22g |
| Sugar | 24g |
| Sodium | 600mg |
Look, this is comfort food with honey and soy sauce. It’s not a diet recipe. But it’s way better than takeout, costs less, and I know exactly what’s in it. When I want to make it lighter, I skip the butter in the glaze and use less honey. But usually? I just eat a reasonable portion and enjoy it.
Final Thoughts
So that’s my go-to Extra-Crispy Air Fryer Chicken Wings with Honey Garlic Glaze! I’ve probably talked your ear off at this point, but when you make a recipe this often, you have a lot to say about it.
This has saved weeknight dinners more times than I can count. It’s my answer to “what’s for dinner” when I’m tired, don’t want takeout, and still want something that tastes really good. My kids are happy, my husband’s happy, and I’m happy because I’m not stressed about cooking.
Make it yours! Try different add-ins, swap in your favorite vegetables, adjust the garlic (though more is always better in my opinion). The best recipes are the ones you adapt to your family’s tastes.
If you make this, drop a comment and let me know what you think! I love hearing how recipes turn out in your kitchen. And if something doesn’t work, tell me that too—I’m here to help troubleshoot.
Happy cooking! And I hope your kitchen smells half as good as mine does right now.
Frequently Asked Questions
Can I use frozen wings?
Yes, but thaw them completely first. Cooking frozen wings in an air fryer will result in uneven cooking. If you must cook them frozen, add 5-10 minutes to the cook time, but thawing is best for crispiness.
Why are my wings not crispy?
Usually, it’s because they weren’t dry enough before seasoning, or the basket was overcrowded. Make sure to pat them dry with paper towels and leave space between each wing for air circulation.
Can I make the glaze ahead of time?
Yes, you can make the glaze up to 3 days ahead and store it in the fridge. Reheat it gently before tossing with the wings. The flavors will meld together even more.
Is baking powder safe to eat?
Yes, it’s completely safe. It’s a common leavening agent in baking. In this recipe, it’s just helping to crisp the skin. You won’t taste it.
Can I use honey substitutes?
Maple syrup works, but it’s thinner and sweeter. Agave nectar is also an option. However, real honey provides the best texture and flavor for this glaze.
How do I reheat leftovers?
Use the air fryer at 400°F for 3-4 minutes. This restores the crunch. Microwaving will make them soft and chewy, which is not ideal.
Pin This Recipe!
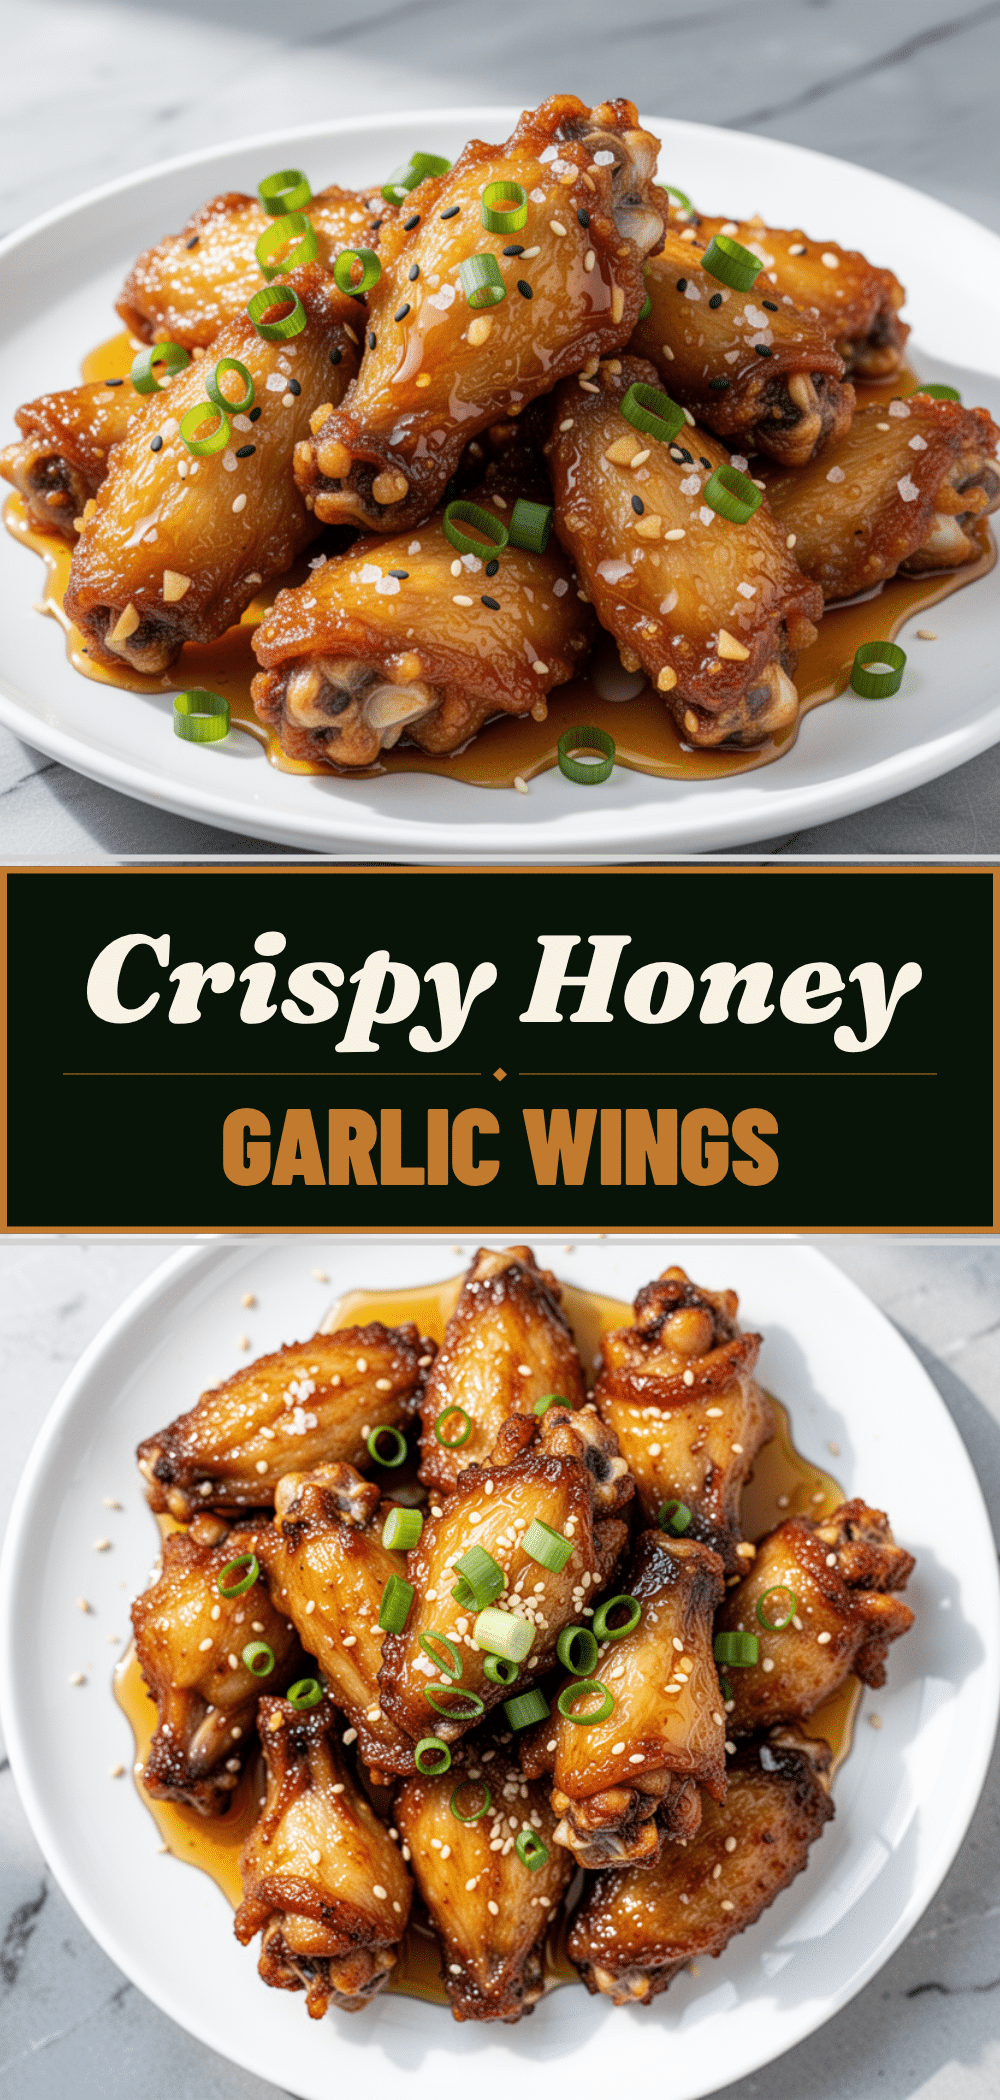
Extra-Crispy Air Fryer Chicken Wings with Honey Garlic Glaze
- Total Time: 20 minutes
- Yield: 4 servings 1x
Description
These extra-crispy air fryer chicken wings are coated in a sticky, sweet-savory honey garlic glaze. Ready in just 20 minutes, this recipe delivers restaurant-quality crunch without deep-frying, making it a perfect weeknight dinner or late-night snack.
Ingredients
- 2 pounds chicken wings (drumettes and flats)
- 1 tablespoon baking powder (aluminum-free)
- 1 teaspoon garlic powder
- 1 teaspoon onion powder
- 1 teaspoon kosher salt
- 1/2 teaspoon black pepper
- 1/2 cup honey
- 3 tablespoons soy sauce
- 4 cloves fresh garlic, minced
- 2 tablespoons unsalted butter
- 1 teaspoon apple cider vinegar
- 1/2 teaspoon red pepper flakes
- 2 green onions, sliced (for garnish)
- 1 teaspoon sesame seeds (optional, for garnish)
Instructions
- Pat chicken wings extremely dry with paper towels to ensure crispiness.
- Place wings in a large bowl and sprinkle with baking powder, garlic powder, onion powder, salt, and pepper. Toss until every wing is evenly coated.
- Preheat air fryer to 400°F (200°C).
- Arrange wings in a single layer in the air fryer basket, ensuring they do not overlap. Cook in batches if necessary.
- Air fry for 10 minutes, then flip the wings and cook for another 5-8 minutes until deep golden brown and crispy (internal temperature 165°F).
- While wings cook, combine honey, soy sauce, minced garlic, apple cider vinegar, and red pepper flakes in a small saucepan over medium-low heat.
- Once the mixture bubbles, reduce heat to low and whisk in butter until melted and combined. Remove from heat immediately.
- Transfer crispy wings to a large bowl and pour the warm glaze over them.
- Toss quickly and gently to coat. Serve immediately with sliced green onions and sesame seeds.
Notes
Ensure wings are completely dry before seasoning to maximize crispiness. Do not overcrowd the air fryer basket. The glaze should be applied immediately before serving to maintain crunch. For a spicy version, add sriracha to the glaze. For gluten-free, use tamari instead of soy sauce. For dairy-free, substitute butter with olive oil.
- Prep Time: 10 minutes
- Cook Time: 15 minutes
- Category: Main Course
- Cuisine: American
Nutrition
- Serving Size: Approximately 10-12
- Calories: 450
- Sugar: 24
- Sodium: 600
- Fat: 22
- Saturated Fat: 8
- Carbohydrates: 30
- Protein: 25
Keywords: air fryer chicken wings, honey garlic wings, crispy chicken wings, quick dinner, weeknight meals, air fryer recipes, honey garlic glaze


