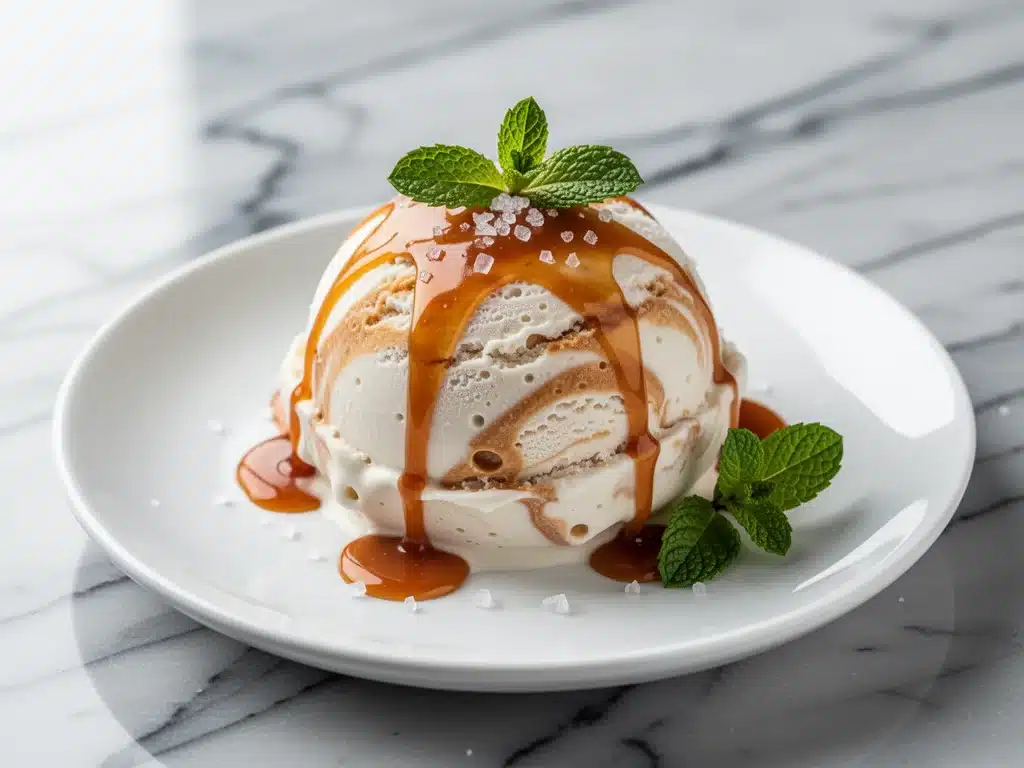
Last Tuesday, I was in full-blown crisis mode. You know the type. The clock was ticking past 7:30 PM, the kids had just finished their homework (and immediately asked for dessert), and I opened the freezer to find… nothing. Well, technically there was a block of ice cream, but it had been there so long it had the texture and personality of a frozen brick. Hard as a rock. Un-scoopable. Useless.
I was staring into that empty freezer slot, feeling that specific brand of parent panic, when I remembered I had a can of full-fat coconut milk in the back of the pantry. I also had some salted caramel sauce I’d bought on sale two weeks ago and never used. It was a desperate move. I was basically throwing ingredients at the wall to see if anything would stick.
But here’s the thing about desperate cooking: sometimes it’s the best kind.
I whipped up a quick mixture, poured it into a loaf pan, and shoved it in the freezer. I told the kids it was a “surprise.” I didn’t even expect it to freeze properly in time. But when I dug it out an hour later, it was perfect. Creamy. Swirled with salty-sweet caramel. And totally dairy-free. My daughter took one bite and said, “Mom, this is better than store-bought.” My son, who usually only eats chocolate chip cookie dough, asked for a second bowl.
That was the birth of this Dairy-Free No-Churn Salted Caramel Ice Cream. I’ve made it at least fifteen times since that Tuesday. I’ve tested different brands of coconut milk. I’ve experimented with homemade caramel versus store-bought. I’ve even tried adding different mix-ins. And every single time, it comes out silky, rich, and absolutely addictive.
If you’re looking for a dessert that feels fancy but takes five minutes of active time, this is it. It’s the perfect solution for busy weeknights when you want something special but don’t have the energy to turn on the oven or deal with an ice cream maker. Plus, it’s naturally dairy-free, so everyone at the table gets to enjoy it.
Why You’ll Love This Dairy-Free No-Churn Salted Caramel Ice Cream
There are about ten reasons I keep making this, but let’s be real: you’re probably here because you want ice cream without the hassle. Here’s why this recipe has completely changed my dessert game.
Stupid Simple
Seriously, if you can open a can of coconut milk and pour a jar of sauce, you can make this. I’ve walked my teenage son through it over FaceTime while I was at work. There’s no churning, no tempering, no weird equipment. Just mix, pour, freeze.
Lightning Fast (Active Time)
It takes about 5 minutes to mix. The rest is hands-off freezer time. I make this on weeknights when I get home at 7 PM, and it’s ready in time for a late-night treat. It’s faster than ordering delivery and way cheaper.
Pantry-Friendly
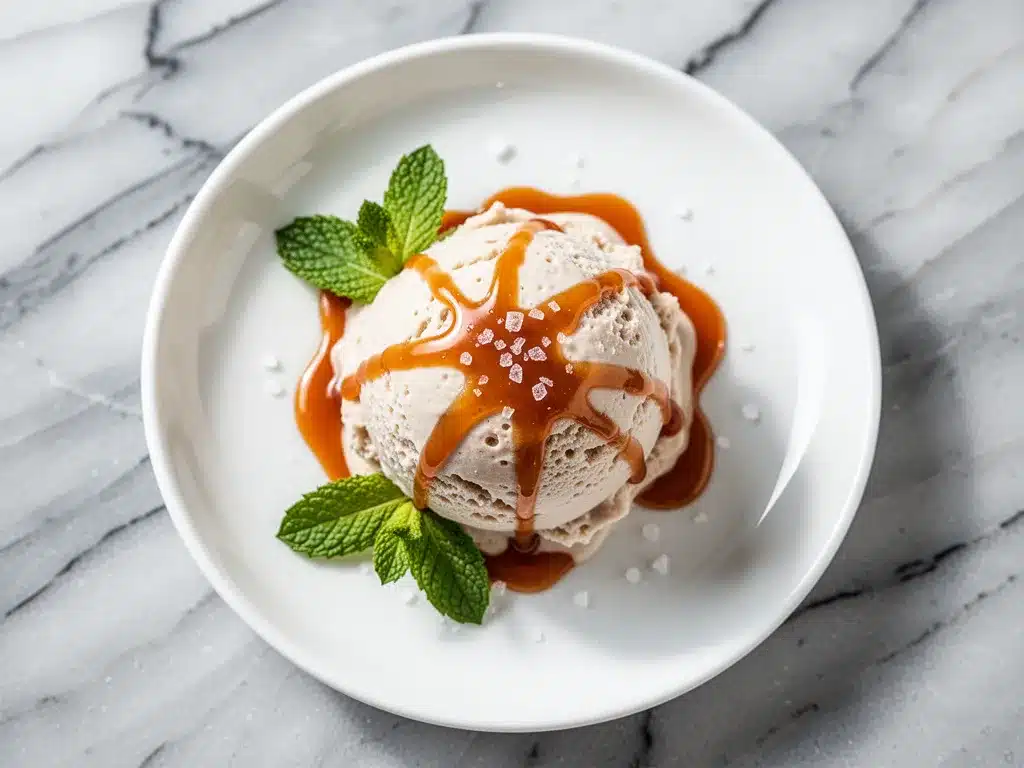
You probably have most of these ingredients already. Full-fat coconut milk is in the baking aisle. Salted caramel sauce is usually near the ice cream toppings. If you have those two things, you’re halfway done.
Crowd-Pleaser
I’ve served this to my nut-allergic cousin (using sunflower seed butter swirls instead of peanut butter), my lactose-intolerant friend, and my picky 6-year-old. Everyone loved it. It’s one of those rare desserts that satisfies every dietary restriction in the room.
Makes Amazing Leftovers
Actually tastes better the next day. The flavors meld together in the freezer, making it even richer. I deliberately make extra for lunch desserts throughout the week. It’s my secret weapon for avoiding the “what’s for dessert?” argument.
This is my go-to when I need a sweet treat to just work. No complicated techniques, no weird ingredients, just reliable, delicious food that makes everyone happy.
Ingredients You’ll Need for Dairy-Free Salted Caramel Ice Cream
Here’s the best part: you probably have most of this already. I’m particular about two ingredients here, and I’ll tell you exactly why.
For the Base:
Full-fat coconut milk (2 cans / 400g each) — This is the heavy cream substitute. Do not use light coconut milk. Do not use coconut water. You need the thick, creamy stuff that separates in the can. I always buy the small cans from Thai Kitchen or Aroy-D because they’re consistently thick. If you buy the big cartons, the texture will be too watery.
Salted caramel sauce (1 cup / 240ml) — I use store-bought for speed (see below), but homemade works too. Look for a sauce that’s thick and gooey, not runny. If it’s too thin, your ice cream will be icy. I like the brand Smucker’s or Trader Joe’s for convenience.
Vanilla extract (1 teaspoon) — Pure vanilla, please. I know it’s expensive, but it adds depth. I use Nielsen-Massey. If you don’t have it, you can skip it, but the flavor will be flatter.
For the Swirl (Optional but Recommended):
Extra caramel sauce (½ cup / 120ml) — Just a little extra for drizzling on top. You can use the same jar.
Flaky sea salt (a pinch) — For sprinkling on top. Maldon is my favorite, but any flaky salt works. It adds that professional finish.
Personal Tips & Substitutions:
Brand Recommendations: I always use Thai Kitchen full-fat coconut milk. I’ve tried generic brands, and they often have a thinner consistency that doesn’t whip up as well.
Shopping Shortcuts: If you’re being lazy, buy pre-made caramel sauce. It saves you from making a caramel on the stove, which is a whole other recipe. But if you have time, my ultra-rich salted caramel chocolate tart recipe uses a similar sauce that you can make ahead and freeze.
Substitutions: No coconut milk? You can use full-fat canned coconut cream, but it’s even richer, so you might want to reduce the amount slightly. Almond milk creamers don’t work here—they’re too thin and don’t freeze properly.
Storage: Caramel sauce keeps for months in the pantry. Coconut milk cans are shelf-stable until opened, so you can buy them in bulk when they’re on sale.
Equipment Needed
You don’t need fancy equipment for this. Here’s what I actually use.
Electric hand mixer or stand mixer — This is the most important tool. You need to whip the coconut cream until it’s fluffy. A whisk will take forever and your arm will fall off. I use a cheap $15 electric mixer from Walmart, and it works perfectly.
Large mixing bowl — A glass or metal bowl works best. Plastic can get greasy if the coconut milk is warm. I use a 4-quart bowl.
Loaf pan or freezer-safe container — An 8×4 inch loaf pan is perfect. It fits in most freezers. I also use a 9×5 pan sometimes. Make sure it’s freezer-safe.
Spatula — A silicone spatula is great for scraping the bowl. I prefer the ones with a hole in the handle for hanging.
Paring knife — For scooping the coconut cream out of the can if it doesn’t slide out easily.
Optional but nice:
- Small saucepan — If you’re making your own caramel sauce.
- Ziplock bags — For portioning out servings if you don’t want to dig into the whole loaf.
How to Make It: Step-by-Step
Alright, let’s make this! I’m walking you through exactly how I do it, including the little tricks I’ve picked up.
Step 1: Chill Your Coconut Milk (Overnight)
This is the most crucial step. Take your cans of full-fat coconut milk and put them in the fridge overnight. Do not shake them. You want the thick cream to separate from the watery liquid. If you forget, you can put them in the freezer for 2 hours, but the fridge is safer. I usually plan this the night before dinner.
Step 2: Scoop the Cream
Take the chilled cans out of the fridge. Open them carefully. You’ll see a solid layer of white cream on top and clear liquid at the bottom. Scoop only the solid cream into your mixing bowl. Discard or save the liquid (I use it in smoothies, but it’s too thin for this recipe). Don’t get any of the watery part in your bowl, or your ice cream will be icy.
Step 3: Whip the Coconut Cream
Using your electric mixer, beat the coconut cream on high speed for 2-3 minutes. It will transform from a solid block into a fluffy, whipped cream-like consistency. It should look light and airy. If it’s still too hard, let it sit at room temperature for 5 minutes and try again. Don’t over-whip it, or it might start to separate into butter.
Step 4: Add Flavor
Add the vanilla extract and 1 cup of salted caramel sauce to the whipped coconut cream. Gently fold them in with a spatula. Don’t mix too vigorously, or you’ll deflate the air you just whipped in. You want to keep it light. The mixture should look marbled.
Step 5: Layer and Freeze
Spoon half of the mixture into your loaf pan. Drizzle with half of the remaining caramel sauce. Add the rest of the mixture on top. Drizzle with the remaining caramel. Use a knife to swirl the caramel into the mixture. Don’t overdo it—just a few gentle swirls. Sprinkle with a pinch of flaky sea salt on top.
Step 6: The Wait
Cover the pan tightly with plastic wrap or a lid. Freeze for at least 6 hours, or overnight. I usually freeze it overnight so it’s ready for the next day. If you try to eat it too soon, it will be soft and scoopable but not fully set. Patience is key.
Step 7: Serve
Let it sit at room temperature for 5-10 minutes before scooping. This makes it easier to get nice scoops. Serve with extra caramel drizzle if you’re feeling fancy.
Total Time: About 5 minutes active, plus 6+ hours freezing.
Expert Tips & Tricks
Here’s everything I’ve learned from making this dozens of times. These tips will save you from my mistakes.
Chill Everything
If your kitchen is hot, the coconut cream might soften too fast while you’re whipping it. Keep your bowl and beaters in the fridge for 15 minutes before starting. I learned this the hard way when my ice cream turned out soupy.
Don’t Skimp on Salt
The salt isn’t just for garnish. It balances the sweetness of the caramel. Use flaky salt on top for texture and that burst of flavor. If you don’t have flaky salt, regular sea salt works, but crush it a bit first.
Homemade vs. Store-Bought Caramel
I usually use store-bought for speed, but if you make your own, let it cool completely before using. Warm caramel will melt the coconut cream. My salted caramel chocolate tart recipe uses a similar sauce, so you can make a batch and freeze it in portions.
Common Mistakes (and how to avoid them):
Mistake: Ice cream is icy
Fix: You probably got some of the watery coconut milk into the bowl. Make sure you only scoop the solid cream. Also, make sure your caramel sauce is thick, not runny.
Mistake: Ice cream is too soft
Fix: It needs more time in the freezer. If you eat it too soon, it will be soft. Let it freeze for at least 6 hours. If it’s still too soft, freeze it longer.
Mistake: Ice cream is too hard
Fix: Coconut cream freezes harder than dairy cream. Let it sit at room temperature for 10 minutes before scooping. It will soften up nicely.
Pro Tricks I’ve Learned:
For Extra Flavor
Add a tablespoon of almond extract to the mix. It pairs beautifully with the caramel. I do this when I want a “almond joy” vibe.
For Better Texture
Add a tablespoon of vodka to the mix before freezing. Alcohol doesn’t freeze, so it keeps the ice cream softer and easier to scoop. I know, it sounds weird, but it works. The alcohol taste cooks out or is negligible.
Make-Ahead Strategy
Make the caramel sauce ahead and store in the fridge for up to a week. This way, you can whip up the ice cream in 5 minutes on a whim.
Variations & Substitutions
Once you’ve nailed the basic version, here’s how you can mix it up. I’ve tried all of these.
Chocolate Chip Cookie Dough
Add 1 cup of mini chocolate chips and ½ cup of chopped cookie dough when you fold in the caramel. My kids love this version. It’s like a dessert within a dessert.
Strawberry Swirl
Swap the caramel for strawberry sauce. Mash fresh strawberries with a little sugar and lemon juice, let it cool, and swirl it in. It’s bright and refreshing.
Coconut Macaroop
Add ½ cup of shredded coconut to the mix. Toast the coconut first for extra flavor. It adds a nice chewy texture.
Peanut Butter Swirl
Swap the caramel for peanut butter sauce. Swirl in ½ cup of smooth peanut butter. It’s rich and salty. I make this version when I’m craving Reese’s Cups.
Dietary Modifications:
Vegan: This recipe is already vegan! Just make sure your caramel sauce is vegan (some have honey or dairy). Check the label.
Nut-Free: This is naturally nut-free if you use a nut-free caramel sauce. Perfect for school lunches or nut-free zones.
Lower Sugar: Use a sugar-free caramel sauce. It won’t be as sweet, but it still works. I’ve used Lakanto sugar-free caramel, and it’s good.
Different Flavors:
- Matcha: Add 1 tablespoon of matcha powder to the coconut cream.
- Lemon: Add zest of 1 lemon and 1 tablespoon of lemon juice.
- Coffee: Add 1 tablespoon of instant espresso powder.
Serving & Storage
How to Serve:
I usually serve this straight from the loaf pan at the dinner table. It looks rustic and stays warm. But here are other ways I’ve enjoyed it:
Side Dishes:
– Fresh berries (strawberries, raspberries)
– Warm brownies (check out my fudgy peanut butter brownies for a perfect pairing)
– Waffle cones (if you’re feeling fancy)
– Fresh fruit salad
Storage Instructions:
Refrigerator:
This doesn’t go in the fridge. It’s ice cream. It needs to stay frozen.
Freezer:
Store in the freezer for up to 2 weeks. After that, it might get freezer-burnt. Cover it tightly with plastic wrap to prevent ice crystals. I usually freeze it in a loaf pan with a lid.
Reheating:
Let it sit at room temperature for 5-10 minutes before scooping. If it’s too hard, microwave individual scoops for 10-15 seconds.
Meal Prep:
Make the caramel sauce on Sunday. Whip the coconut cream on Wednesday. Freeze on Thursday. It’s ready for the weekend.
Nutrition Information
I’m not a nutritionist, but here’s the breakdown if you’re tracking.
Per Serving (based on 8 servings):
- Calories: 280
- Protein: 3g
- Carbs: 22g
- Fiber: 1g
- Sugar: 18g
- Fat: 20g
- Saturated Fat: 16g
- Cholesterol: 0mg
- Sodium: 120mg
What’s Good:
– Dairy-free and vegan
– No refined sugar if you use sugar-free caramel
– Good source of healthy fats from coconut
– Nut-free option available
What to Know:
– Higher in saturated fat from coconut milk
– Contains sugar from caramel
– Not low-carb unless you use sugar-free ingredients
My Take:
Look, this is ice cream. It’s a treat. It’s not a health food. But it’s way better than store-bought ice cream with weird additives, and I know exactly what’s in it. When I want to make it lighter, I use sugar-free caramel and limit the portion size. But usually? I just eat a small bowl and enjoy it.
Final Thoughts
So that’s my go-to Dairy-Free No-Churn Salted Caramel Ice Cream! I’ve probably talked your ear off at this point, but when you make a recipe this often, you have a lot to say about it.
This has saved weeknight desserts more times than I can count. It’s my answer to “what’s for dessert?” when I’m tired, don’t want takeout, and still want something that tastes really good. My kids are happy, my husband’s happy, and I’m happy because I’m not stressed about cooking.
Make it yours! Try different mix-ins, swap in your favorite sauces, adjust the salt. The best recipes are the ones you adapt to your family’s tastes.
If you make this, drop a comment and let me know what you think! I love hearing how recipes turn out in your kitchen. And if something doesn’t work, tell me that too—I’m here to help troubleshoot.
Happy cooking! And I hope your kitchen smells half as good as mine does right now.
Frequently Asked Questions
Can I use light coconut milk?
No. Light coconut milk has too much water and not enough fat. Your ice cream will be icy and not creamy. You need full-fat coconut milk for the right texture. I’ve tried it, and it doesn’t work.
Why did my ice cream turn out watery?
You probably got some of the watery coconut liquid into the bowl. Make sure you only scoop the solid cream. Also, make sure your caramel sauce is thick, not runny. If it’s too thin, it will make the ice cream icy.
Can I make this ahead for a party?
Yes! Make it a day or two ahead. It actually tastes better after it’s been frozen for a while because the flavors meld together. Just make sure it’s covered tightly to prevent freezer burn.
Why did my ice cream get grainy?
This usually happens if you didn’t whip the coconut cream enough. Make sure you beat it until it’s fluffy and airy. Also, if your coconut milk wasn’t cold enough, the fat might not have solidified properly.
Can I use homemade caramel sauce?
Yes, but let it cool completely before using. Warm caramel will melt the coconut cream. I usually make my caramel sauce a few days ahead and store it in the fridge. Then I warm it slightly before using.
How do I store leftovers?
Store in an airtight container in the freezer for up to 2 weeks. Cover it tightly with plastic wrap to prevent ice crystals. I usually freeze it in a loaf pan with a lid.
Can I double this recipe?
Absolutely! Double everything and use a larger container, like a 9×13 pan or two loaf pans. The cooking times stay the same. I do this when I’m feeding a crowd or meal-prepping.
Pin This Recipe!
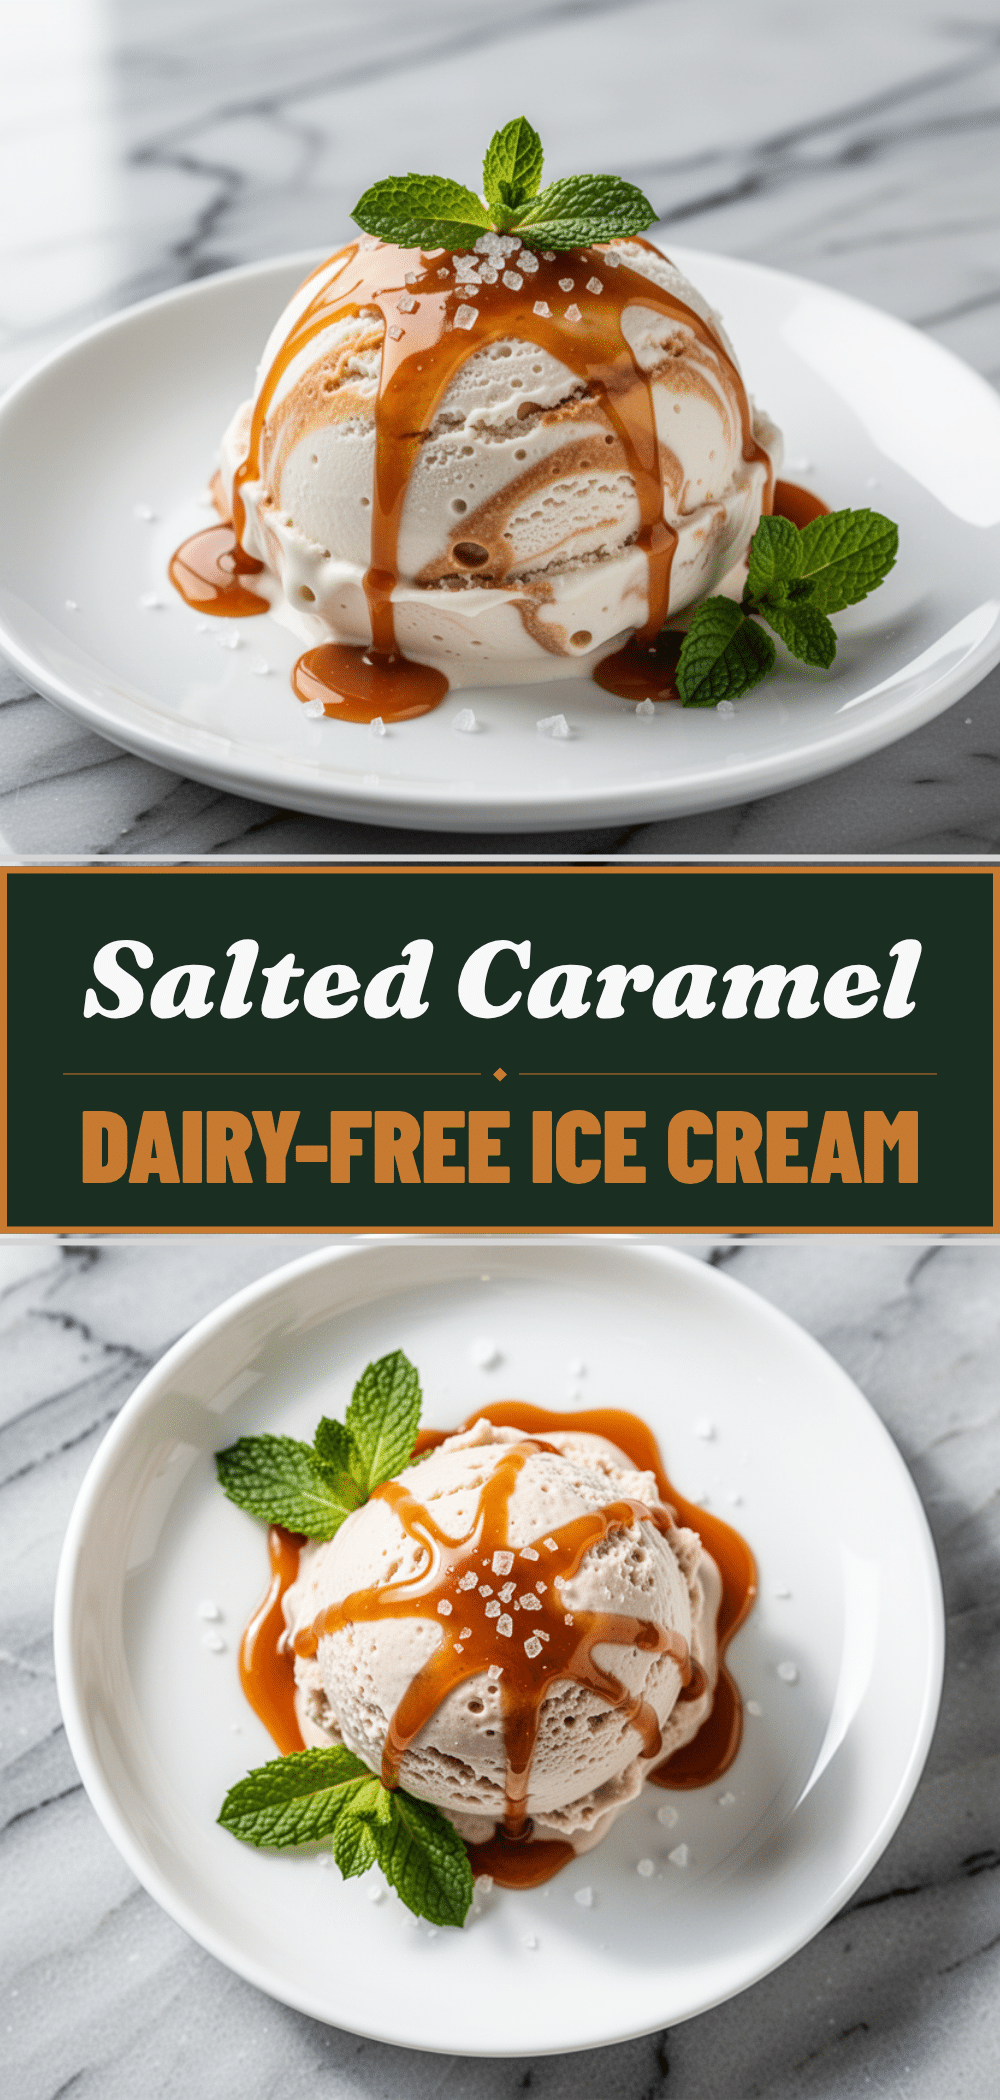
Dairy-Free No-Churn Salted Caramel Ice Cream
- Total Time: 6 hours 5 minutes
- Yield: 8 servings 1x
Description
A creamy, dairy-free ice cream made with full-fat coconut milk and salted caramel sauce. This no-churn recipe requires no ice cream maker and takes only 5 minutes of active prep time.
Ingredients
- 2 cans (400g each) full-fat coconut milk, chilled overnight
- 1 cup (240ml) salted caramel sauce
- 1 teaspoon vanilla extract
- ½ cup (120ml) extra caramel sauce for swirling
- Pinch of flaky sea salt for topping
Instructions
- Chill the cans of full-fat coconut milk in the refrigerator overnight without shaking them to allow the cream to separate.
- Open the chilled cans and scoop only the solid white cream into a large mixing bowl, discarding the watery liquid at the bottom.
- Using an electric hand mixer or stand mixer, whip the coconut cream on high speed for 2-3 minutes until light and fluffy.
- Add the vanilla extract and 1 cup of salted caramel sauce to the whipped cream, gently folding them in with a spatula to maintain airiness.
- Spoon half of the mixture into an 8×4 inch loaf pan. Drizzle with half of the remaining caramel sauce.
- Add the rest of the mixture on top and drizzle with the remaining caramel sauce.
- Use a knife to gently swirl the caramel into the mixture and sprinkle with flaky sea salt.
- Cover the pan tightly with plastic wrap or a lid and freeze for at least 6 hours or overnight.
- Let the ice cream sit at room temperature for 5-10 minutes before scooping to soften slightly.
Notes
Ensure you use full-fat coconut milk, not light milk or coconut water, for the correct texture. Chill the coconut milk overnight to separate the cream. Do not shake the cans before opening. If the ice cream is too hard, let it sit at room temperature for 10 minutes before serving. For a softer texture, add a tablespoon of vodka before freezing.
- Prep Time: 5 minutes
- Cook Time: 0 minutes
- Category: Dessert
- Cuisine: American
Nutrition
- Serving Size: 1/8 of the loaf pan
- Calories: 280
- Sugar: 18
- Sodium: 120
- Fat: 20
- Saturated Fat: 16
- Carbohydrates: 22
- Fiber: 1
- Protein: 3
Keywords: dairy-free, vegan, no-churn ice cream, salted caramel, coconut milk, gluten-free, nut-free, easy dessert, weeknight dessert


