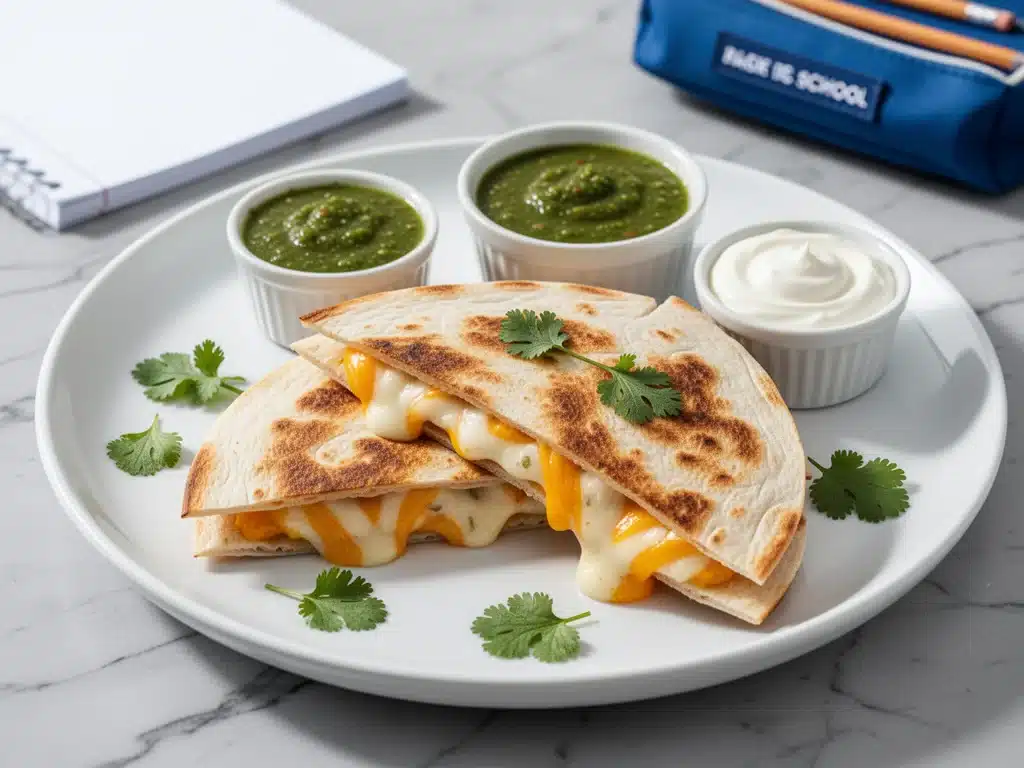
There is a specific kind of panic that hits every August. It’s not just about buying new notebooks or sharpening pencils. It’s the realization that the lazy, sleep-in mornings of summer are officially over. Suddenly, I’m staring at the clock at 6:30 AM, trying to figure out how to get three hungry humans out the door by 7:45 without serving them cereal for the hundredth time or buying gas station pastries that taste like cardboard.
Last year, I tried the “make-ahead muffin” route. It was a disaster. By Tuesday, the muffins were dry. By Thursday, they were stale. And my kids? They didn’t even touch them. They wanted something warm, cheesy, and familiar. They wanted comfort. They wanted a quesadilla.
But making quesadillas fresh every morning? Impossible. You can’t flip tortillas at 6:45 AM while brushing teeth and hunting for backpacks. So, I started experimenting. I needed something that tasted like it was made fresh off the griddle but could be prepped the night before (or even ahead of time) and frozen. I needed a solution that was freezer-friendly, easy to reheat, and actually good for you—well, as good as a cheesy breakfast can be.
That’s when I discovered the baked cheese quesadilla triangle method. I’ve now made this Back-to-School Baked Cheese Quesadilla Triangles recipe for every school year for the past five years. It’s become our non-negotiable breakfast staple. It’s crispy on the outside, gooey on the inside, and can be assembled in bulk on Sunday morning. Then, you just grab them from the freezer, pop them in the toaster oven, and you’re out the door in five minutes. No stress. No mess. Just happy kids eating actual food.
If you’re drowning in morning chaos or just looking for a reliable breakfast that doesn’t require standing over a hot stove, this is your answer. It’s simple, it’s cheap, and it saves your sanity.
Why You’ll Love This Freezer Breakfast Hack
I know what you’re thinking. “Another quesadilla recipe?” But hear me out. This isn’t your average lunchbox quesadilla. This is a specifically engineered breakfast tool. Here’s why this Back-to-School Baked Cheese Quesadilla Triangles method has completely changed our morning routine:
- True Make-Ahead Magic — Seriously, you can make 20 of these in 20 minutes on a Sunday. They freeze beautifully. I have a dedicated container in our freezer just for these. When the alarm goes off and I’m tired, I don’t have to think. I just grab three and toss them in the oven. It’s that simple.
- Crispy Without the Fry — The secret? Baking them. Baking gets them crispy in a way that steaming or microwaving never will. They hold their shape, they don’t get soggy, and they actually taste like they were just made. No greasy stove-top mess either.
- Picky-Eater Approved — My kids are notorious for refusing to eat “adult” food. But cheese? Cheese is a universal language. These triangles are mild enough for my youngest (age 6) but flavorful enough for my teenager. I’ve served these to friends’ kids, and they always ask for the recipe. It’s a crowd-pleaser that doesn’t require compromise.
- Under $15 for 20 Servings — Let’s talk budget. Between flour tortillas, shredded cheese, and a few eggs, you’re looking at pennies per quesadilla. That’s way cheaper than the $3 breakfast sandwich at the drive-thru. And you’re controlling the sodium and ingredients, which is a huge win for me.
- Customizable for Everyone — One tortilla can be plain cheese for the little one. Another can have diced ham and peppers for the husband. The third can have spinach and feta for me. They all bake at the same time, so you’re not cooking multiple meals. You’re just layering different fillings.
This recipe is my anchor. It’s the thing I rely on when I’m sick, when I’m traveling, or when I just don’t have the mental energy to cook. It’s reliable. It’s delicious. And it keeps us fed without keeping us in the kitchen all morning.
Ingredients You’ll Need
Here’s the best part: you probably have most of this already. This isn’t a recipe that requires a trip to three different specialty stores. It’s pantry staples and fridge basics. I’m particular about a few things, though, so pay attention to the details.
For the Base:
Flour tortillas (8-10 inch diameter) — I use large flour tortillas. They’re more pliable and hold up better to freezing than corn. Corn tortillas tend to crack when you reheat them after freezing. If you need gluten-free, I’ve tested this with GF tortillas, but they can get a bit brittle. You have to be gentle. I stick to regular flour for reliability.
Shredded cheese (4 cups total) — This is the star. I use a Mexican blend or a sharp cheddar. Why shredded? Because pre-shredded cheese has cellulose (anti-caking agents) that can make the texture slightly grainy when melted. Buying a block and shredding it yourself melts smoother. But, look, I’m a realist. If you’re using pre-shredded, it still works. Just know it might not be *quite* as gooey.
Large eggs (6 large) — We’re using eggs as a binder. Whisk them lightly with a pinch of salt and pepper. This helps the cheese stick to the tortilla and adds a bit of protein to make it a real breakfast.
For the Fillings (Pick Your Favorites):
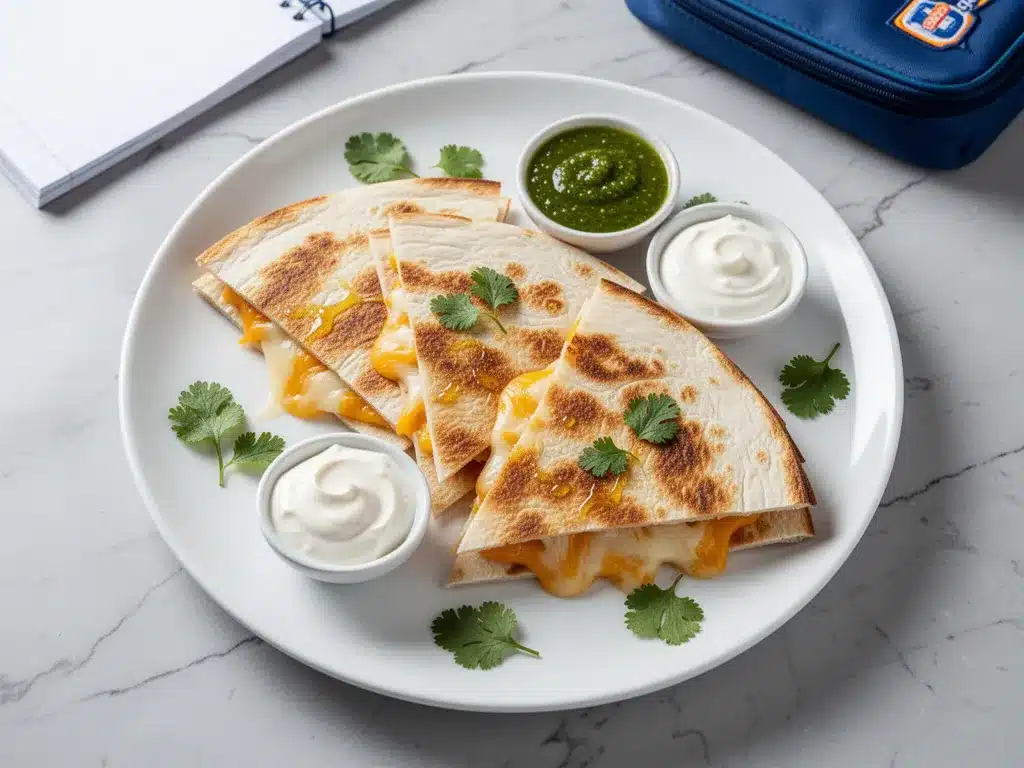
Cooked breakfast sausage or bacon (1 cup, crumbled) — I buy pre-cooked sausage crumbles when I’m busy. They save so much time. Just chop them up. If you use raw sausage, cook it first and drain the grease. You don’t want a soggy quesadilla.
Diced bell peppers and onions (1 cup total) — Sauté these beforehand! Raw veggies release water in the oven, which makes the tortilla soggy. If you sauté them until soft, they stay put. I use a mix of red and green peppers for color.
Black beans (1 can, drained and rinsed) — For a vegetarian boost. Rinse them well so they’re dry. Wet beans = wet quesadilla. Pat them dry with a paper towel if you’re feeling extra careful.
Salsa or pico de gallo (1/2 cup) — I add this *after* baking or on the side. Adding it before baking can make the tortilla too wet. But if you love it inside, use a thick salsa, not a runny one.
For the Egg Wash (The Secret Weapon):
Butter or olive oil (2 tablespoons, melted) — You’ll brush this on the outside of the tortillas before baking. This is what gives them that golden, crispy, bakery-style finish. Don’t skip it. It makes a huge difference in texture.
Equipment Needed
You don’t need fancy gear for this. Here’s what I actually use in my chaotic morning kitchen:
Large baking sheets — I use two half-sheet pans. You need space between the quesadillas so they crisp up. If you crowd the pan, they steam instead of bake. I bake in two batches if I’m making a full 20.
Pastry brush — For brushing the butter/oil on the tortillas. A silicone brush is easiest to clean. A regular basting brush works too.
Sharp knife or pizza cutter — For cutting the quesadillas into triangles. A pizza cutter is faster and cleaner than a knife. It doesn’t drag the cheese around.
Freezer-safe containers or bags — I use large gallon-sized freezer bags. Lay them flat in the bags so they stack neatly. You can also use airtight containers, but bags save space in the freezer.
Toaster oven or conventional oven — I have a toaster oven specifically for this. It heats up faster and keeps the kitchen cool in the fall. But a regular oven works perfectly fine.
How to Make It: Step-by-Step
Alright, let’s make this! I’m walking you through exactly how I do it. I usually do this on Sunday morning with a cup of coffee and some good music. It takes about 45 minutes total, but most of that is hands-off.
Step 1: Prep Your Fillings (10 minutes)
Before you start assembling, get your fillings ready. If you’re using raw veggies or sausage, cook them now. Let them cool completely. Warm fillings will start melting the cheese prematurely, making a mess. I usually cook the sausage and veggies, then spread them on a plate to cool while I set up the assembly line. This is crucial—cool fillings mean neat quesadillas.
Step 2: Assemble the Quesadillas (15 minutes)
Preheat your oven to 375°F (190°C). Line your baking sheets with parchment paper or silicone mats. This makes cleanup a breeze. Now, the assembly:
Take a tortilla. Lay it flat. Sprinkle a generous handful of cheese in the center. Add your fillings on top of the cheese. Sprinkle a little more cheese on top of the fillings. This “cheese sandwich” method helps seal the fillings inside. If you put fillings on top of the cheese, they might slide out. If you sandwich them, they stay put.
Fold the tortilla in half. Press down gently to seal the edges. Then, brush the top side with your melted butter or oil. Place it on the baking sheet. Repeat with the remaining tortillas. You want them spaced out, not touching.
Step 3: Bake Until Golden (15-20 minutes)
Slide the baking sheets into the oven. Bake for 15-20 minutes, flipping them halfway through. Flipping is important for even browning. You want both sides golden and crispy. The cheese should be fully melted and bubbly. If you’re using a toaster oven, you might only fit 4-6 at a time, so keep an eye on them.
Step 4: Cool and Cut (5 minutes)
Remove the quesadillas from the oven. Let them cool on the pan for 2-3 minutes. This lets the cheese set slightly so they don’t fall apart when you cut them. Then, use your pizza cutter to slice each half into two triangles. You’ll have four triangles per tortilla.
Step 5: Freeze or Serve
If serving now, eat them warm with salsa or sour cream. If freezing, let them cool completely to room temperature. This prevents condensation, which leads to ice crystals. Once cool, lay them flat in a single layer in your freezer bag or container. Stack them if you have to, but put parchment paper between layers so they don’t stick together. Label the bag with the date. They’ll last up to 3 months.
Expert Tips & Tricks
Here’s everything I’ve learned from making dozens of batches of this Back-to-School Baked Cheese Quesadilla Triangles recipe. These tips will save you from my mistakes.
Don’t Overstuff — I know it’s tempting to pack them full, but if you overstuff, the tortilla will tear or the filling will leak out during baking. Less is more. You want a nice ratio of crispy tortilla to gooey cheese.
Use a Cheese Blend — Cheddar melts well but can be oily. Mozzarella stretches but doesn’t brown. A Mexican blend or a mix of Cheddar and Monterey Jack gives you the best of both worlds: good melt and good flavor.
Drain Your Veggies — I cannot stress this enough. If you use spinach, wilt it and squeeze out ALL the water. If you use tomatoes, remove the seeds and juice. Any moisture will make your tortilla soggy. Dry ingredients are your friend.
Freeze Flat — When packing them for the freezer, lay them flat. Do not stack them loosely. If you stack them without parchment paper, they will fuse into one giant cheese brick. Parchment is non-negotiable.
Reheat from Frozen — You don’t need to thaw them. Just pop the frozen triangles directly into the toaster oven or conventional oven. It takes about 10-12 minutes in a 400°F oven to reheat until crispy and hot.
Variations & Substitutions
Once you’ve nailed the basic version, here’s how you can mix it up. I’ve tried all of these, and they all work.
Meat-Lover’s — Add diced ham, bacon bits, and breakfast sausage. This is my husband’s favorite. He calls them “breakfast pizza” in disguise.
Vegetarian Power — Use black beans, sautéed mushrooms, spinach, and feta cheese. It’s earthy and filling. I add a little hot sauce to the eggs for a kick.
Breakfast Taco Style — Use smaller tortillas (6-inch) and cut them into quarters. These are perfect for smaller appetites or as a snack.
Spicy Kick — Add diced jalapeños and use pepper jack cheese. My teenager loves this version. Just be careful with the jalapeños—seeds add heat.
Dairy-Free — Use a dairy-free cheese shreds (like Daiya or Violife) and coconut oil for brushing. It’s not exactly the same texture, but it works. The cheese doesn’t melt as well, so don’t expect gooey strings.
Serving & Storage
How to Serve:
I usually serve these straight from the toaster oven. They’re best when they’re crispy. I put out a bowl of salsa, a dollop of sour cream, and maybe some guacamole. Let everyone customize their own. It’s fun for the kids and easy for me.
Storage Instructions:
Refrigerator: Store in an airtight container for up to 3 days. They’ll soften a bit, so reheat them to crisp up.
Freezer: Store in freezer bags for up to 3 months. Label with the date. They don’t last that long in our house, but they’re good for up to 3 months.
Reheating:
The best method is the toaster oven or conventional oven at 400°F for 10-12 minutes. This restores the crispiness.
The microwave works in a pinch, but it will make the tortilla chewy and soft. If you must microwave, do it in 30-second intervals and don’t expect it to be crispy.
Never store them in a sealed container while warm. Condensation will make them soggy. Always cool completely first.
Nutrition Information
I’m not a nutritionist, but here’s the breakdown if you’re tracking. Keep in mind that this varies based on the cheese and fillings you use.
Per Triangle (based on 12 triangles per batch of 3 tortillas):
– Calories: 180
– Protein: 8g
– Carbs: 18g
– Fiber: 1g
– Sugar: 1g
– Fat: 9g
– Saturated Fat: 4g
– Cholesterol: 35mg
– Sodium: 280mg
What’s Good:
– Decent protein from the eggs and cheese.
– Quick energy from the tortilla.
– Customizable to add more veggies for fiber.
What to Know:
– Higher in sodium depending on the cheese and sausage.
– Contains gluten and dairy.
– Moderate calories, making it a solid breakfast fuel.
My Take:
Look, this is comfort food. It’s not a diet recipe. But it’s way better than a sugary donut or a processed breakfast bar. I know exactly what’s in it. When I want to make it lighter, I use lower-fat cheese and extra veggies. But usually? I just eat a reasonable portion and enjoy it. It’s about balance.
Final Thoughts
So that’s my Back-to-School Baked Cheese Quesadilla Triangles hack! I’ve probably talked your ear off at this point, but when you make a recipe this often, you have a lot to say about it. This has saved our mornings more times than I can count. It’s my answer to “what’s for breakfast” when I’m tired, don’t want takeout, and still want something that tastes really good. My kids are happy, my husband’s happy, and I’m happy because I’m not stressed about cooking.
Make it yours! Try different fillings, swap in your favorite cheeses, adjust the spice level. The best recipes are the ones you adapt to your family’s tastes. If you make this, drop a comment and let me know what you think! I love hearing how recipes turn out in your kitchen. And if something doesn’t work, tell me that too—I’m here to help troubleshoot.
Happy cooking! And I hope your kitchen smells half as good as mine does right now.
Frequently Asked Questions
Can I freeze these without baking them first?
You can, but I don’t recommend it. Raw eggs and cheese can get watery and separate when frozen and then baked. The texture of the tortilla might also suffer. It’s much better to bake them first, then freeze. That way, you’re just reheating a cooked product, which maintains the quality.
How do I prevent the cheese from leaking out?
The key is the “cheese sandwich” method. Put cheese on the tortilla, then fillings, then more cheese. The top layer of cheese acts as glue, sealing the fillings inside. Also, press the edges firmly with your fingers before folding. And don’t overstuff! If the tortilla is too full, it will burst.
Can I use corn tortillas instead of flour?
It’s possible, but corn tortillas are more fragile. They tend to crack when you freeze and reheat them. If you need gluten-free or corn tortillas, use smaller ones (6-inch) and be very gentle when handling them. They might not be as crispy, but they’ll still be tasty.
What’s the best way to reheat them for school lunch?
If you’re packing them for school lunch, they can be eaten cold or room temperature. Many kids prefer them cold! Just pack them in an insulated lunchbox with an ice pack. If you want them warm, you can microwave them for 30-60 seconds right before leaving the house. They’ll be soft, but warm.
Can I add fruit or yogurt to the quesadilla?
No, stick to savory fillings. Sweet fillings like fruit or jam will make the tortilla soggy and the cheese weird. This is a breakfast *savory* quesadilla. If you want sweet, try a French toast roll-up instead. But for these, keep it salty and cheesy.
How long do they last in the freezer?
They last up to 3 months in the freezer. After that, they might develop freezer burn or lose flavor. I usually go through a batch in 4-6 weeks because they’re so popular. Label your bags with the date so you know when to use them first.
Can I make these in an air fryer?
Yes! Air fryers are great for this. Cook them at 350°F for 5-7 minutes, flipping halfway. They’ll get extra crispy. Just make sure they fit in your basket without overlapping. Air frying is a quick way to reheat frozen quesadillas too—about 3-4 minutes at 375°F.
Pin This Recipe!
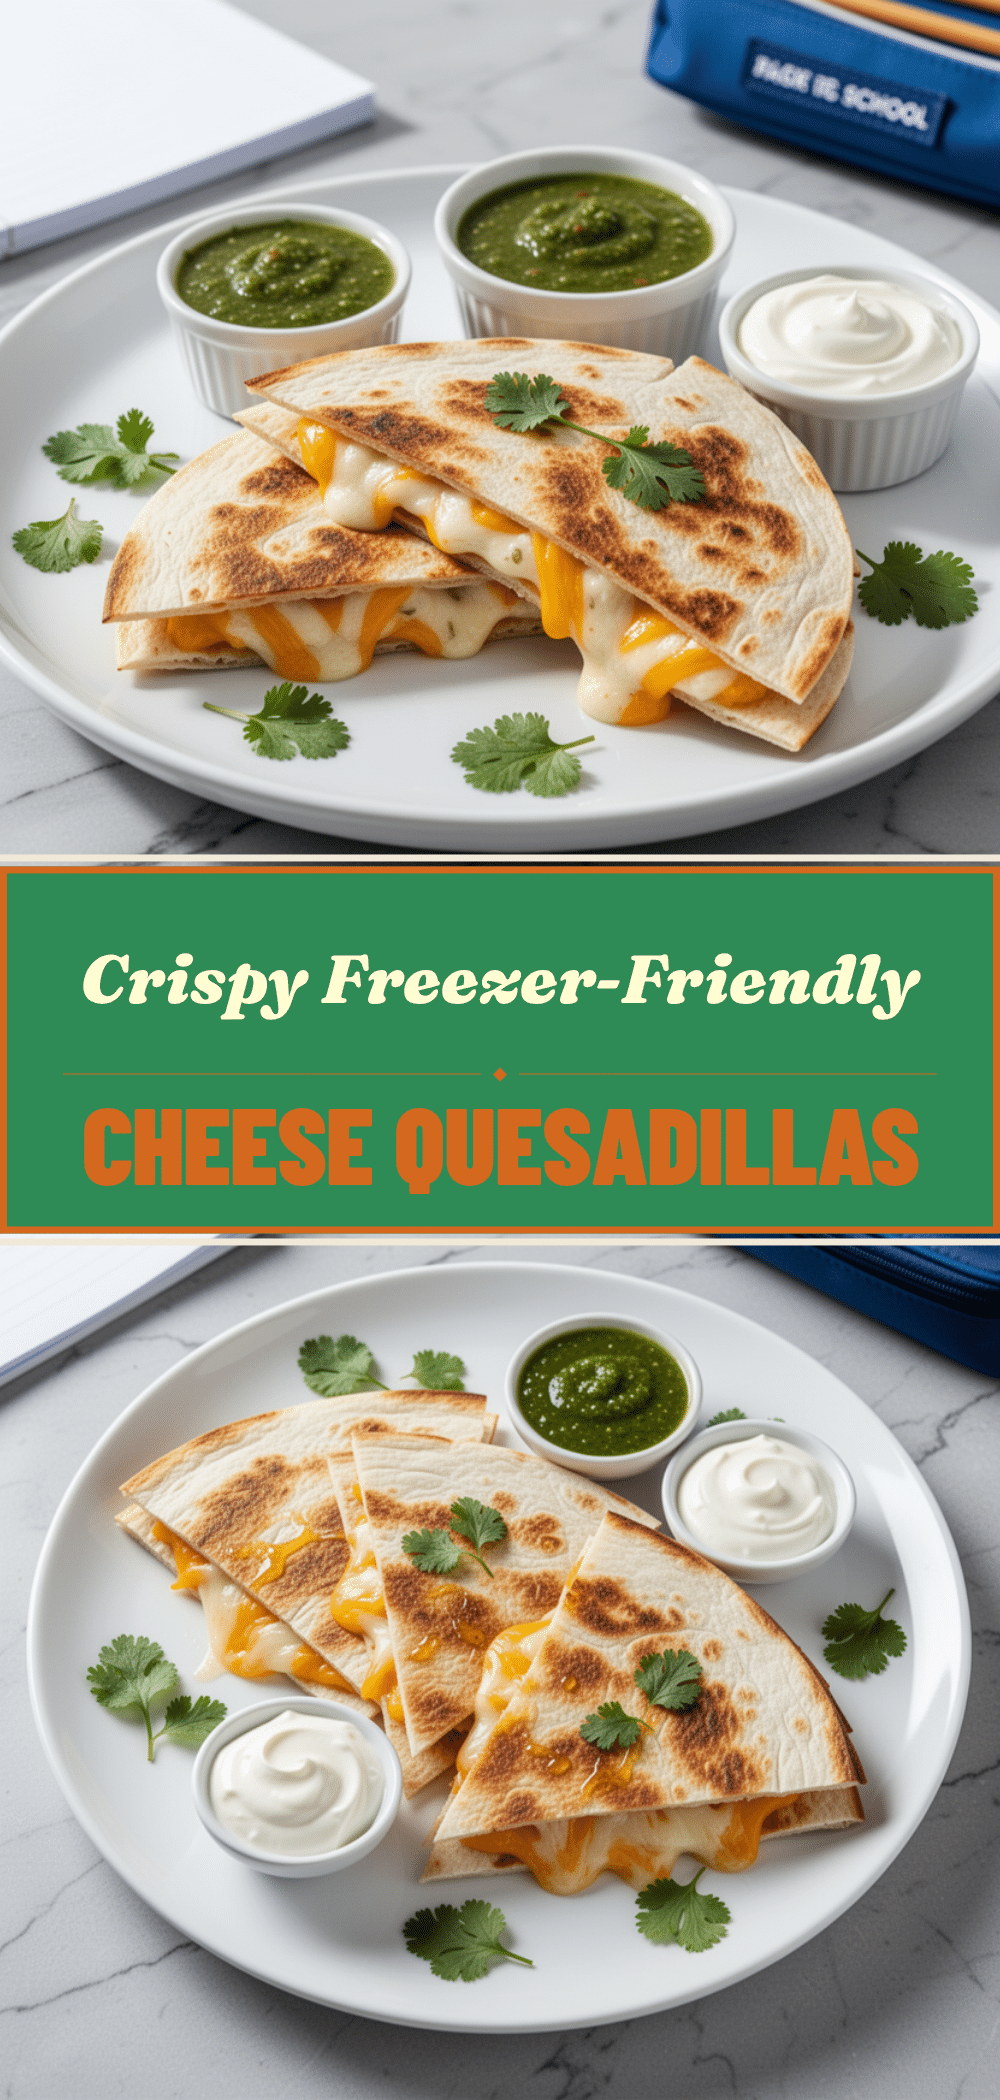
Back-to-School Baked Cheese Quesadilla Triangles
- Total Time: 45 minutes
- Yield: 20 servings 1x
Description
A freezer-friendly breakfast hack featuring crispy, cheesy quesadilla triangles that can be prepped in bulk and reheated quickly for busy mornings.
Ingredients
- 8–10 large flour tortillas
- 4 cups shredded cheese (Mexican blend or sharp cheddar)
- 6 large eggs, whisked with salt and pepper
- 1 cup cooked breakfast sausage or bacon, crumbled
- 1 cup diced bell peppers and onions, sautéed
- 1 can black beans, drained, rinsed, and patted dry
- 2 tablespoons butter or olive oil, melted
- Salsa or pico de gallo (optional, for serving)
Instructions
- Preheat oven to 375°F (190°C). Line two large baking sheets with parchment paper.
- Prepare fillings: Cook sausage and sauté vegetables until soft. Let cool completely to prevent premature melting.
- Assemble: Lay a tortilla flat. Place a layer of cheese, then fillings, then another layer of cheese on top. Fold tortilla in half and press edges to seal.
- Brush the top of each quesadilla with melted butter or oil.
- Place quesadillas on baking sheets, ensuring they are not touching.
- Bake for 15-20 minutes, flipping halfway through, until golden and crispy.
- Cool on the pan for 2-3 minutes to let cheese set.
- Cut each half into two triangles using a pizza cutter or sharp knife.
- Serve immediately or cool completely for freezing.
Notes
Ensure all fillings are cool before assembling to prevent sogginess. Use the ‘cheese sandwich’ method (cheese-filling-cheese) to seal ingredients inside. For freezing, lay triangles flat in bags with parchment paper between layers. Reheat from frozen in a 400°F oven for 10-12 minutes.
- Prep Time: 25 minutes
- Cook Time: 20 minutes
- Category: Breakfast
- Cuisine: Mexican-American
Nutrition
- Serving Size: 1 triangle
- Calories: 180
- Sugar: 1
- Sodium: 280
- Fat: 9
- Saturated Fat: 4
- Carbohydrates: 18
- Fiber: 1
- Protein: 8
Keywords: freezer breakfast, baked quesadilla, make-ahead breakfast, school breakfast, cheesy quesadilla, easy morning meal


