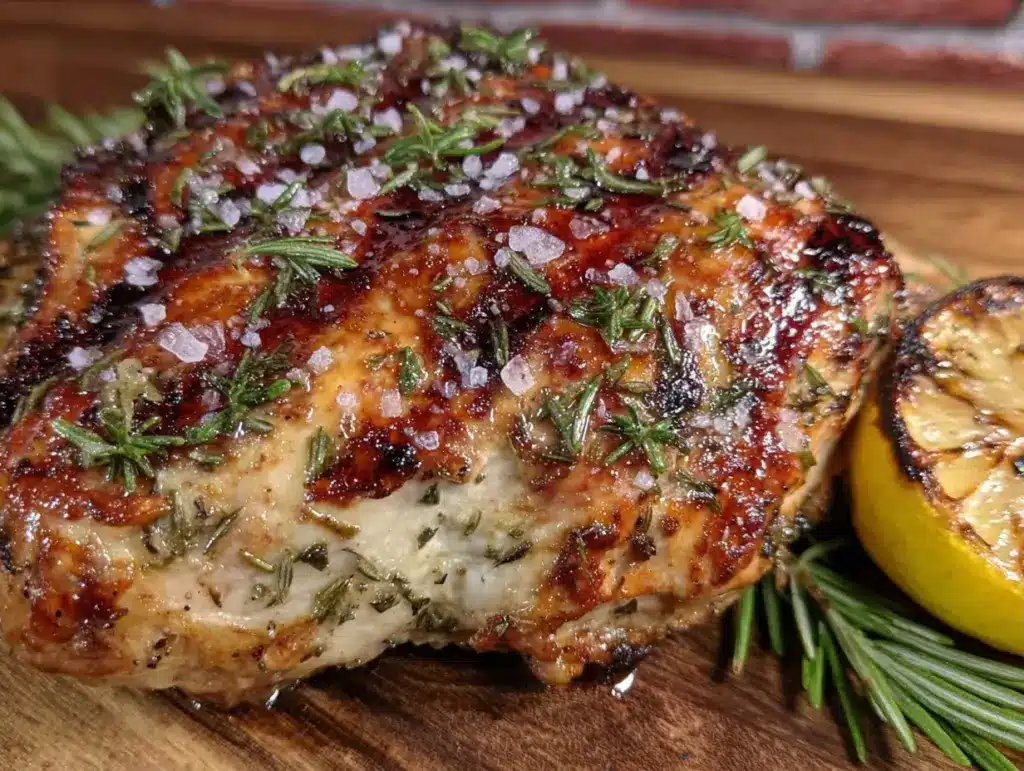
It’s 5:15 PM. The sun is still hanging low in the sky, stubbornly refusing to go down, and the air feels thick with that last-ditch effort of summer heat. I’m standing in my kitchen, staring at the clock, and I know exactly what’s happening: my brain has officially shut down. I don’t have the energy to chop, sauté, or clean up a mountain of dishes. I just want food. Real food. Something that doesn’t come from a box or a plastic clamshell.
This is the moment I usually reach for my phone to order takeout. But then I remember I have chicken breasts in the freezer and a grill that’s still warm enough to do the work for me. That’s how I ended up with this End of Summer Grilled Chicken Breast recipe. It’s not just a recipe; it’s my 5 PM savior. It’s the reason I haven’t ordered UberEats this week, even though my kids are eating like growing teenagers.
I’ve tested this method dozens of times, mostly during those chaotic August evenings when the kids are still home from school and the house is a mess. The secret isn’t fancy spices or hours of marinating. It’s speed. It’s simplicity. It’s getting juicy, charred chicken on the table in 15 minutes flat, with almost zero active effort. If you’re tired of dry, rubbery chicken and tired of cooking in a hot kitchen, this is your new best friend.
Why You’ll Love This Recipe
Let’s be real: chicken breasts have a bad reputation. Too dry. Too boring. Too much work to get right. I used to think the same thing until I stopped treating them like delicate flowers and started treating them like quick-cooking protein. This grilled chicken changes the game for weeknight dinners. Here’s why it’s become my go-to:
It’s Actually Fast — I mean it. 15 minutes from start to finish. That includes seasoning, grilling, and resting. I’ve timed it. If you’re rushing to get dinner before the school bus arrives or before the kids start complaining about hunger, this fits. It’s faster than waiting for a pizza delivery driver who is currently stuck in traffic.
Zero Dry Chicken — I used to overcook chicken until it was shoe leather. This method uses a quick brine (just salt and water, nothing fancy) and a strict temperature check. The result? Juicy, tender meat that falls apart when you poke it. My picky eaters can’t even tell the difference between this and the expensive restaurant version.
Minimal Cleanup — This is the big one for me. I season the chicken in a ziplock bag, throw it on the grill, and that’s it. No pots to scrub, no pans to soak. If you’re like me and hate the idea of doing dishes after a long day, this recipe is a gift from the culinary gods. It’s the ultimate low-effort, high-reward dinner.
Versatile AF — You can eat this straight off the grill with a side of roasted veggies, chop it up over a salad, or stuff it into honey mustard chicken wraps. It’s the blank canvas of weeknight dinners. Whatever is in your fridge, this chicken fits in.
Budget-Friendly — Chicken breasts are one of the cheapest proteins you can buy, especially when you buy them on sale and freeze them. This recipe stretches a pack of chicken to feed 4 people easily. That’s less than $2 per serving if you shop smart. It’s comfort food that doesn’t break the bank.
This is my answer to “what’s for dinner” when I’m exhausted. No stress, no mess, just good food. And honestly, that’s all any of us really want at the end of the day.
Ingredients You’ll Need
Here’s the best part: you probably have most of this already. I’m not asking you to run to the store for obscure spices or expensive cuts of meat. This is pantry-friendly cooking at its finest.
Chicken Breasts (1.5 to 2 pounds / 700-900g) — I use boneless, skinless breasts. Look for ones that are relatively even in size so they cook at the same rate. If you have some tiny ones and some huge ones, pound the big ones down a bit. Uniformity is key for even cooking. Don’t buy the pre-marinated ones from the store—they’re usually just salt water and sugar. Do it yourself for better flavor.
Vegetable Oil (2 tablespoons) — I use avocado oil or regular vegetable oil. You need something with a higher smoke point since the grill is hot. Olive oil can burn and taste bitter at high heat, so I skip it here. Just a simple coat to keep the chicken from sticking.
Garlic Powder (1 teaspoon) — Not fresh garlic. Fresh garlic burns on the grill in seconds. Garlic powder gives you that savory flavor without the charred bits. It’s a game-changer for quick grilling.
Onion Powder (1 teaspoon) — Adds a subtle sweetness and depth. If you’re sensitive to onion, you can skip it, but I think it balances the salt well.
Smoked Paprika (1 teaspoon) — This is where the flavor comes in. Smoked paprika gives you that “grilled” taste even if your grill isn’t firing on all cylinders. It adds a nice red hue, too. If you don’t have smoked, regular paprika works, but it won’t be as deep.
Dried Oregano (1 teaspoon) — Classic herb. It pairs perfectly with the garlic and paprika. If you’re out of oregano, dried thyme works too, but oregano is the traditional choice for a reason.
Salt (1 teaspoon) — Kosher salt is best because it’s easier to control. If you use table salt, start with half a teaspoon. You want the chicken to be seasoned all the way through, not just on the surface.
Black Pepper (½ teaspoon) — Freshly cracked is nice, but pre-ground is fine for this. It adds a little kick without overwhelming the other flavors.
Lemon (1, sliced) — Not for the marinade, but for serving. A squeeze of fresh lemon right before eating cuts through the richness and brightens everything up. It’s the final touch that makes it taste like a restaurant meal.
What to Avoid
Don’t use wet marinades for this. Wet marinades make the chicken steam instead of sear. You want dry heat for that nice char. Also, don’t skip the resting time. I know it’s tempting to cut into it immediately, but the juices need to redistribute. If you cut it right away, all that good juice runs out onto the cutting board, and you’re left with dry chicken. Patience pays off.
Equipment Needed
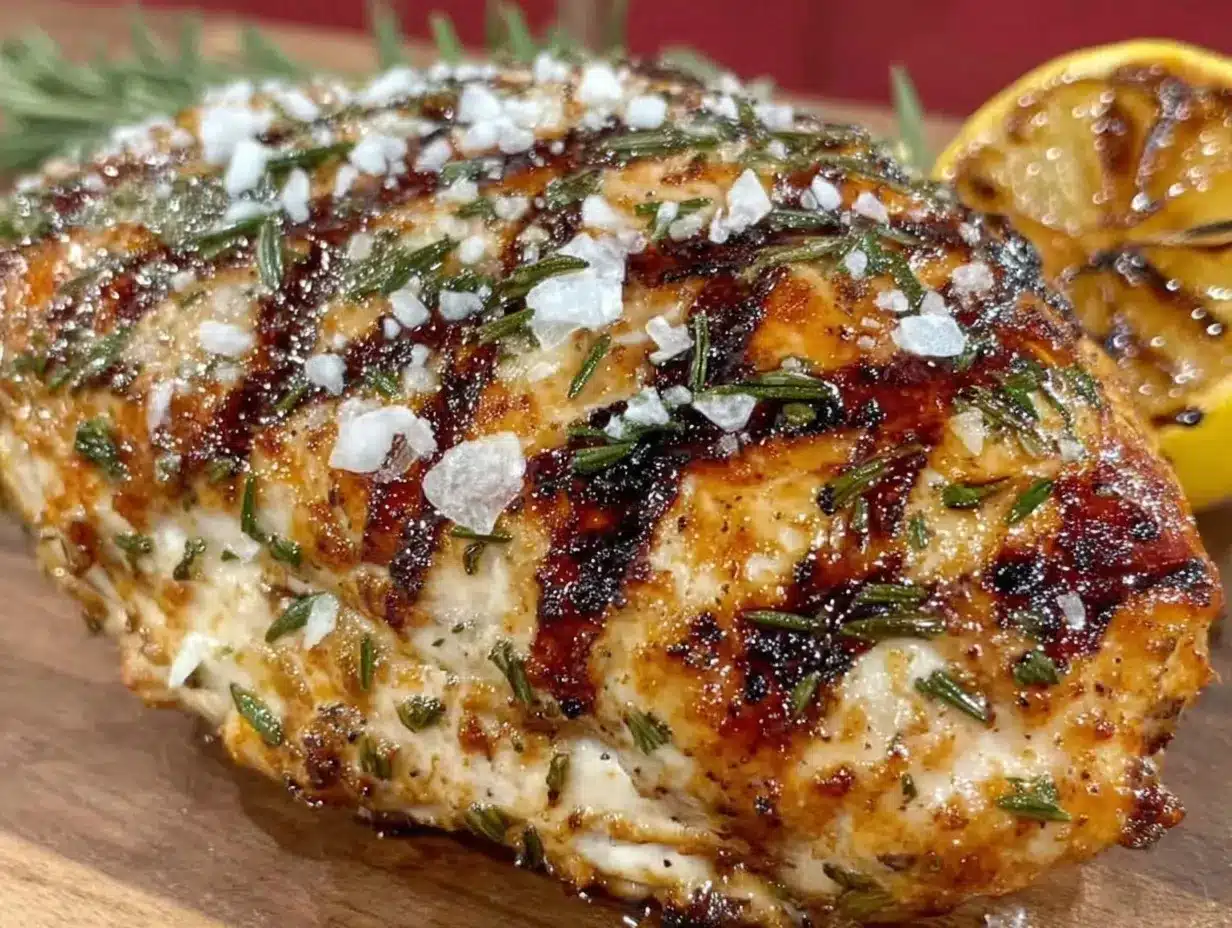
You don’t need a fancy smoker or a $500 grill to make this work. Here’s what I actually use:
Grill — Gas or charcoal. I prefer gas for convenience on weeknights, but charcoal adds flavor. Just make sure it’s clean. A dirty grill means sticky chicken.
Grill Grates — If they’re rusty or caked with old food, scrub them. A clean grate means a clean sear.
Tongs — Metal tongs. I use long-handled ones so I don’t burn my arms. Silicone tips are nice for grip, but metal is durable. Don’t use a fork to turn the chicken—it pierces the meat and lets the juices escape.
Cutting Board — For prepping the chicken. Plastic is easier to sanitize if you’re raw chicken handling all day.
Meat Thermometer — This is non-negotiable. I used to guess, and I was wrong a lot. A cheap instant-read thermometer saves you from dry chicken every time. Look for 165°F (74°C) in the thickest part.
Ziplock Bags — For tossing the chicken in the spices. It’s faster than using a bowl, and you can just toss it and go.
Aluminum Foil — Optional, but I like to have it handy to tent the chicken if it’s cooking too fast. Or just for easy cleanup if you’re lazy (which I am).
How to Make It: Step-by-Step
Alright, let’s make this! I’m walking you through exactly how I do it, including the little tricks I’ve picked up over the years.
Step 1: Prep the Chicken (2 minutes)
Take your chicken breasts out of the fridge. If they’re super thick, place them between two pieces of plastic wrap and pound them gently with a rolling pin or the bottom of a heavy pan until they’re about ½ inch thick. This ensures they cook evenly. Thin chicken cooks faster and stays juicier. Toss them in a large ziplock bag.
Step 2: Season Like a Pro (1 minute)
Add the vegetable oil, garlic powder, onion powder, smoked paprika, oregano, salt, and black pepper to the bag. Seal it tight, getting as much air out as possible. Shake it up! I usually shake it over the sink just in case. Make sure every piece is coated. If you have time, let it sit for 10 minutes, but if you’re rushing, you can grill it right away. The salt will start to penetrate even in a short time.
Step 3: Heat the Grill (5 minutes)
Preheat your grill to medium-high heat (about 400-450°F). You want it hot, but not blazing. If you hold your hand over the grate for 5 seconds and it’s too hot to keep there, it’s ready. Clean the grates with a brush while they’re heating up. A clean grate prevents sticking.
Step 4: Grill the Chicken (6-8 minutes)
Place the chicken on the grill. Close the lid. This is crucial. Closing the lid turns your grill into an oven, cooking the chicken through evenly. Grill for 3-4 minutes on the first side. Do not touch it! Let it develop those nice grill marks. If it sticks, it’s not ready to flip. Flip the chicken.
Step 5: Check and Finish (2-4 minutes)
Grill for another 3-4 minutes on the second side. About a minute before you think it’s done, check the temperature. Insert your thermometer into the thickest part. When it hits 165°F (74°C), it’s done. If it’s lower, give it another minute. If it’s higher, well, you might have overcooked it slightly, but it’s still edible. Remove from the grill.
Step 6: Rest the Meat (5 minutes)
Transfer the chicken to a clean plate or cutting board. Tent it loosely with foil. Let it rest for 5 minutes. I know, I know, it’s torture. But this step is what makes the chicken juicy. The muscles relax and reabsorb the juices. If you cut it now, you lose it all. Wait the 5 minutes.
Step 7: Serve
Slice the chicken against the grain. This makes it tender and easier to chew. Squeeze fresh lemon juice over the top. Serve with your favorite sides. It’s that simple.
Total Time: About 15 minutes (5 minutes active, 10 minutes cooking/resting)
Expert Tips & Tricks
Here’s everything I’ve learned from making this dozens of times. These tips will save you from my mistakes.
Pound It Even
Chicken breasts are weirdly shaped. One end is thick, the other is thin. If you don’t pound them, the thin end dries out before the thick end is cooked. Use the rolling pin trick. It takes 2 minutes and makes a huge difference.
Don’t Crowd the Grill
Give the chicken space. If you pack them in, they steam instead of sear. You want that charred flavor. If you have a small grill, cook in batches. It’s worth the extra 5 minutes.
Use a Thermometer
I can’t stress this enough. Eyes can lie. A thermometer doesn’t. 165°F is the magic number. If you’re paranoid, pull it at 160°F and let the residual heat finish it during the resting period. Carryover cooking adds about 5 degrees.
Season Generously
Chicken is mild. It needs salt. Don’t be shy with the seasoning. If it tastes bland after cooking, it’s because you didn’t season enough before cooking. You can’t add salt after it’s dry.
Rest, Rest, Rest
I’ve made the mistake of skipping the rest time so many times. The result is always dry chicken. Trust the process. Set a timer if you have to. 5 minutes. That’s it.
Variations & Substitutions
Once you’ve nailed the basic version, here’s how you can mix it up. I’ve tried all of these.
Spicy Kick
Add a pinch of cayenne pepper or red pepper flakes to the spice mix. If you like heat, this is for you. It adds a nice background warmth without being overwhelming.
Herb Garden
Swap the oregano for fresh rosemary or thyme. Fresh herbs add a different aroma. Just chop them finely so they don’t burn on the grill.
Asian-Inspired
Swap the paprika for ginger powder and add a splash of soy sauce to the oil. It’s a completely different flavor profile, but still fast and easy. Great for stir-fry style dishes.
Mediterranean Style
Add dried basil and a little lemon zest to the spice mix. Serve with feta cheese and olives. It’s like a Greek souvlaki without the skewers.
Dietary Modifications
This recipe is naturally gluten-free and dairy-free. If you’re watching sodium, reduce the salt to ½ teaspoon and use low-sodium broth if you’re marinating in liquid (though dry rub is better for grilling).
Serving & Storage
How to Serve:
I usually serve this straight off the grill with a side of roasted vegetables or a simple green salad. It’s also great in salads, wraps, or over rice. It’s the ultimate versatile protein.
Side Dishes:
– Grilled corn on the cob
– Roasted asparagus
– Caesar salad
– Quinoa pilaf
– Simple mixed greens with vinaigrette
Storage Instructions:
Store leftover chicken in an airtight container in the fridge for up to 3 days. Reheat gently in the microwave with a splash of water to keep it moist, or slice it cold for salads. It’s great for meal prep lunches.
Freezing:
You can freeze cooked chicken for up to 3 months. Let it cool completely, then wrap it tightly in plastic wrap and foil. Thaw in the fridge overnight. It won’t be as juicy as fresh, but it’s still good for soups or sandwiches.
Nutrition Information
I’m not a nutritionist, but here’s the breakdown if you’re tracking. This is per serving (based on 4 servings, using 1.5 lbs chicken):
– Calories: 220
– Protein: 35g
– Carbs: 1g
– Fat: 8g
– Sodium: 400mg
It’s high in protein and low in carbs, making it perfect for any diet. The main variables are the amount of oil and salt you use. Keep it simple, and it’s a healthy, lean meal.
Final Thoughts
So that’s my go-to End of Summer Grilled Chicken! It’s simple, it’s fast, and it actually tastes good. I’ve made this recipe more times than I can count, and it never gets old. It’s my answer to “what’s for dinner” when I’m tired, and it’s helped me avoid takeout more times than I’m willing to admit.
Make it yours! Try different spices, serve it with different sides, and enjoy the fact that you’re eating real food without spending hours in the kitchen. If you make this, drop a comment and let me know how it turned out. I love hearing from you. And if something doesn’t work, tell me—I’m here to help.
Happy cooking! And I hope your kitchen smells half as good as my grill does right now.
Frequently Asked Questions
Q: Can I use chicken thighs instead of breasts?
A: Yes! Chicken thighs are actually juicier and more forgiving. Just add 2-3 minutes to the cooking time since they’re often thicker. They’re great for grilling because they don’t dry out as easily.
Q: Why is my chicken sticking to the grill?
A: The grill wasn’t hot enough when you put the chicken on, or the grates weren’t clean. Make sure your grill is preheated and clean. Also, don’t try to flip the chicken too early. If it sticks, it’s not ready. Wait a minute and try again.
Q: Can I make this in the oven?
A: Yes, but it won’t have the same charred flavor. Bake at 400°F for 20-25 minutes, or until the internal temperature reaches 165°F. It’s still delicious, just different.
Q: How do I know when the chicken is done?
A: Use a meat thermometer. Insert it into the thickest part. When it reads 165°F, it’s done. If you don’t have a thermometer, cut into the thickest part. The juices should run clear, not pink.
Q: Can I marinate the chicken overnight?
A: You can, but since this is a dry rub, it’s not necessary. If you want to marinate, use a wet marinade like olive oil, lemon juice, and herbs. Let it sit in the fridge for up to 4 hours. Overnight is fine too, but the acid in lemon juice can start to break down the meat if left too long.
Pin This Recipe!
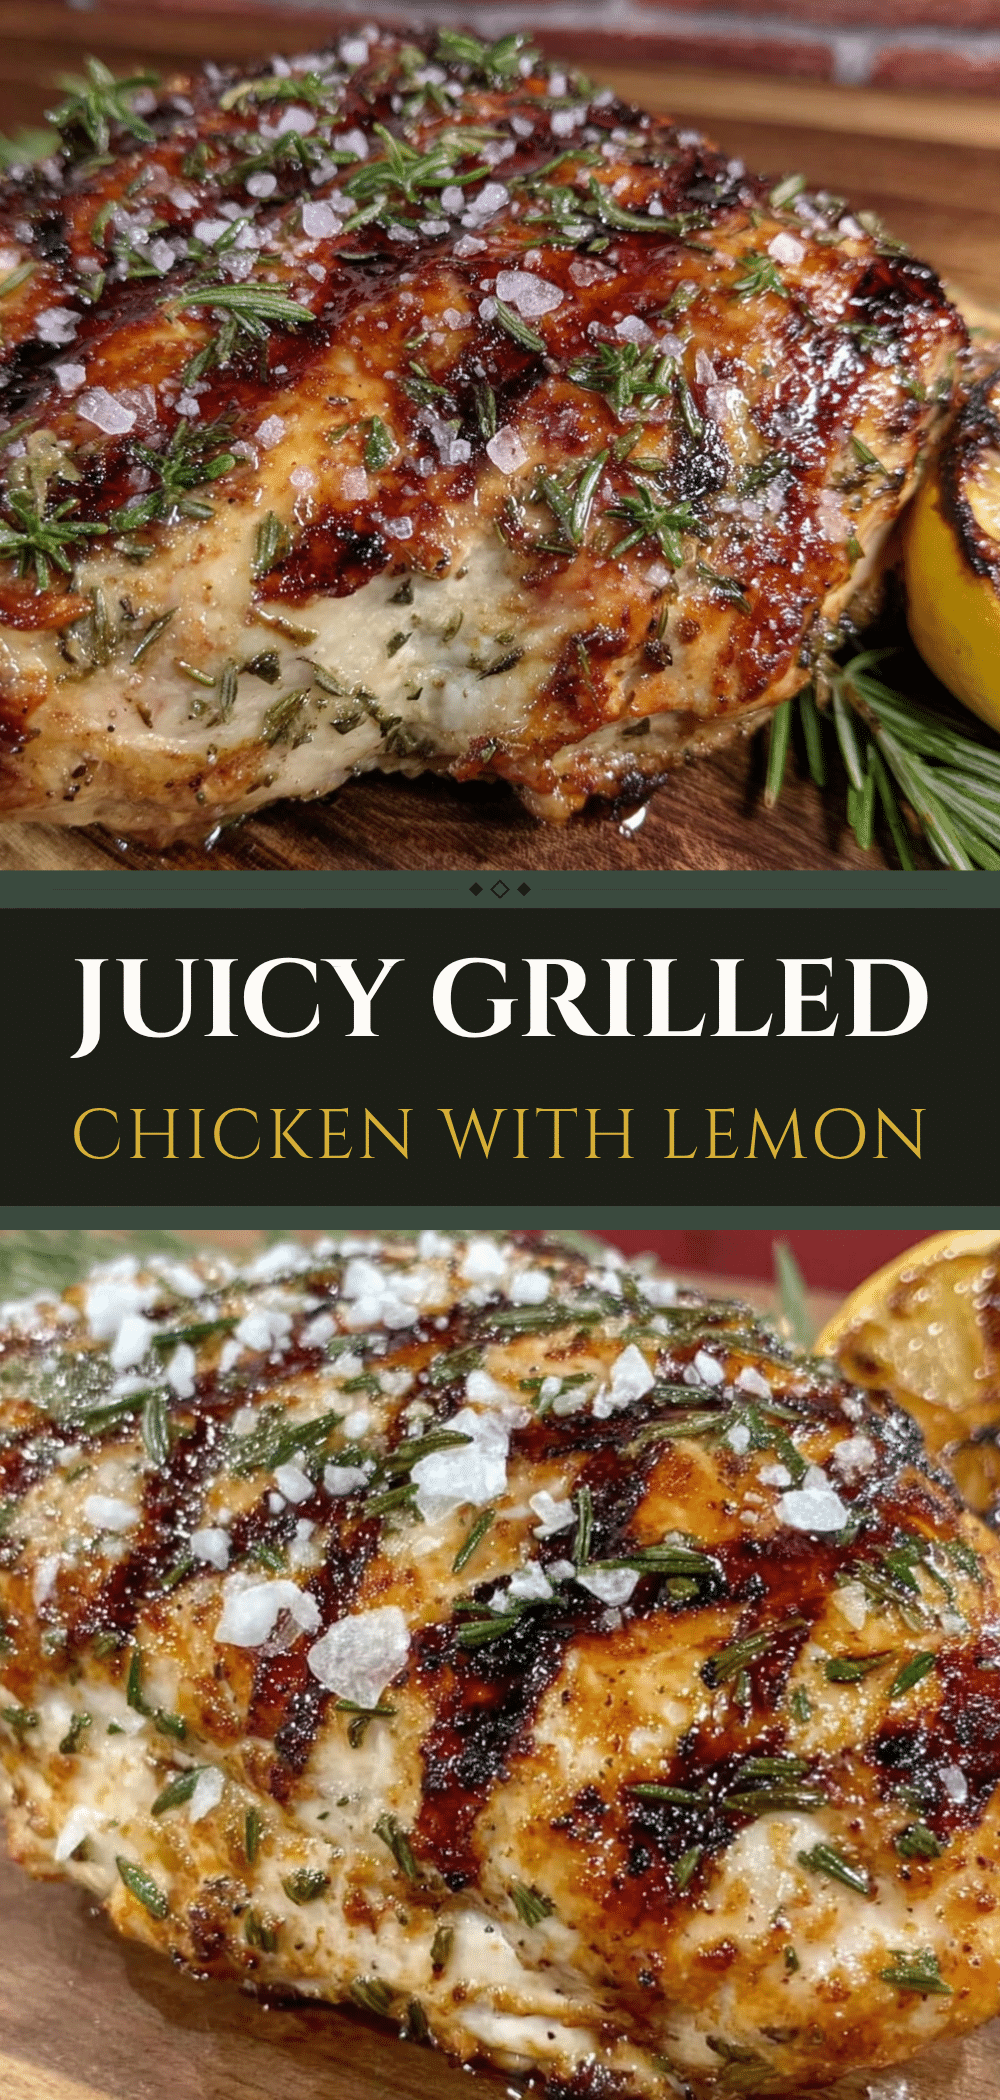
End of Summer Grilled Chicken: Best 15-Minute Dinner
- Total Time: 15 minutes
- Yield: 4 servings 1x
Description
A quick and juicy grilled chicken breast recipe that takes only 15 minutes from start to finish. Perfect for busy weeknights, this method uses a simple dry rub and proper grilling technique to ensure tender, flavorful chicken with minimal cleanup.
Ingredients
- 1.5 to 2 pounds boneless, skinless chicken breasts
- 2 tablespoons vegetable oil or avocado oil
- 1 teaspoon garlic powder
- 1 teaspoon onion powder
- 1 teaspoon smoked paprika
- 1 teaspoon dried oregano
- 1 teaspoon kosher salt
- 1/2 teaspoon black pepper
- 1 lemon, sliced for serving
Instructions
- Prep the chicken: If breasts are thick, pound them to about 1/2 inch thickness for even cooking. Place in a large ziplock bag.
- Season: Add vegetable oil, garlic powder, onion powder, smoked paprika, oregano, salt, and black pepper to the bag. Seal and shake to coat evenly. Let sit for 10 minutes if time permits, or grill immediately.
- Heat the grill: Preheat grill to medium-high heat (400-450°F). Clean the grates thoroughly.
- Grill: Place chicken on the grill and close the lid. Grill for 3-4 minutes on the first side without moving it to develop grill marks.
- Flip and finish: Flip the chicken and grill for another 3-4 minutes on the second side.
- Check temperature: Insert a meat thermometer into the thickest part. Chicken is done when it reaches 165°F (74°C).
- Rest: Remove chicken from the grill and tent loosely with foil. Let rest for 5 minutes to allow juices to redistribute.
- Serve: Slice against the grain and squeeze fresh lemon juice over the top before serving.
Notes
Do not use wet marinades as they cause steaming instead of searing. Ensure chicken breasts are uniform in thickness by pounding them down. Do not skip the resting period, as it is crucial for juiciness. Use a meat thermometer to avoid overcooking; pull at 160°F if desired as residual heat will bring it to 165°F.
- Prep Time: 5 minutes
- Cook Time: 10 minutes
- Category: Main Course
- Cuisine: American
Nutrition
- Serving Size: 1 chicken breast per
- Calories: 220
- Sodium: 400
- Fat: 8
- Saturated Fat: 2
- Carbohydrates: 1
- Protein: 35
Keywords: grilled chicken, quick dinner, weeknight meals, healthy chicken, gluten-free, dairy-free, low carb, easy recipe, summer grilling


