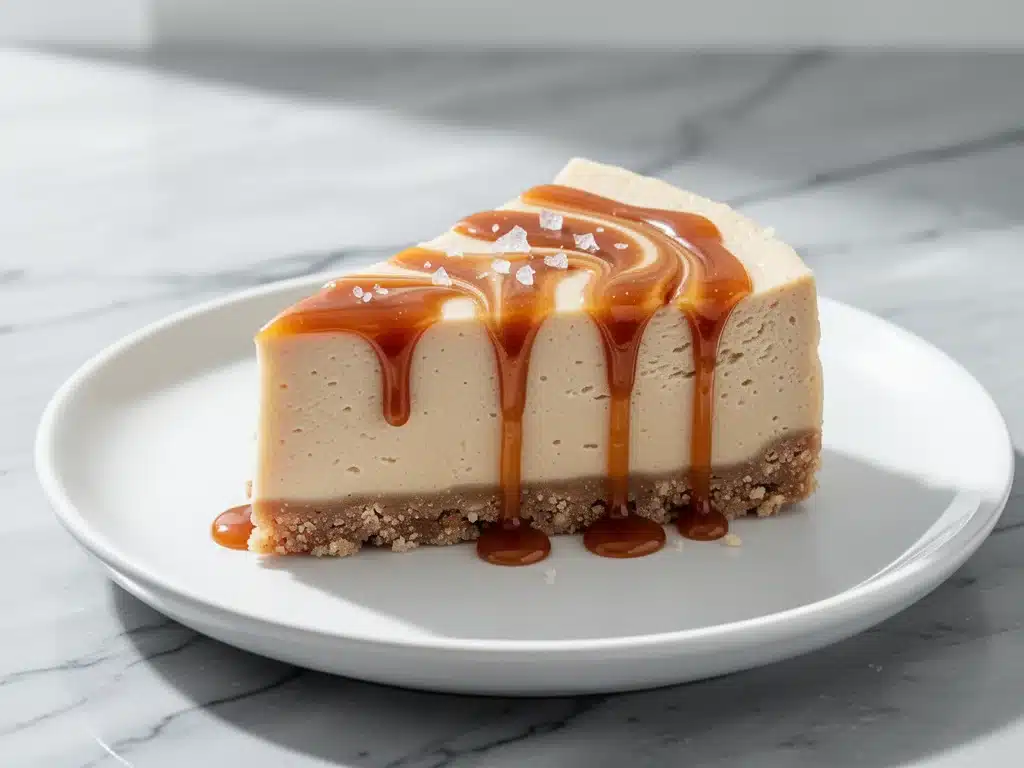
I still remember the panic of that holiday party in December. I was hosting, which meant I was responsible for the dessert table, and I had made a fatal error: I forgot to ask if anyone was vegan. Half my friends are plant-based, and they always bring their own treats to be safe. It felt awkward, honestly. Like I had left them out of the main event. So, I rushed out to the store at 5 PM and came back with a generic store-bought vegan cake that tasted like cardboard and sadness.
That was the moment I decided enough was enough. I wasn’t going to let dietary restrictions mean compromising on flavor or texture ever again. I started experimenting with cashew cheesecakes about three years ago, and after roughly twenty failed attempts (yes, twenty, and some of them were genuinely inedible), I finally cracked the code. This vegan salted caramel cashew cheesecake is the result. It’s rich, it’s creamy, it has that deep, buttery salted caramel flavor that makes people close their eyes when they take a bite, and it doesn’t require an oven.
I’ve made this for birthday parties, potlucks, and even just Tuesday nights when I’m craving something sweet but want to feel good about it. The best part? It’s no-bake. You blend, you chill, you serve. It’s become my secret weapon for gatherings because I can prep it two days ahead, and it actually tastes better after the flavors have had time to meld. If you’ve been looking for a dessert that impresses everyone—vegans, dairy-lovers, and everyone in between—this is it. It’s hands-down the best no-bake cheesecake I’ve ever tasted.
Why You’ll Love This Vegan Salted Caramel Cashew Cheesecake
There are a lot of “healthy” desserts out there, but let’s be real: most of them taste like health food. This vegan salted caramel cashew cheesecake is not about restriction. It’s about indulgence without the dairy heaviness. Here’s why this recipe has earned a permanent spot in my rotation:
Zero Baking Required — Seriously, you don’t need to turn on the oven. This is crucial in the summer when your kitchen is already hot, or in the winter when you don’t want to heat up the house. It’s just blending and chilling. I made this while helping my kids with homework last week, and it didn’t even require my full attention.
Creamy Texture That Blinds You — I know that sounds dramatic, but raw cashews, when soaked and blended properly, create a texture that is indistinguishable from traditional cream cheese. It’s smooth, dense, and luxurious. I’ve served this to my non-vegan friends, and they’ve genuinely asked if I used heavy cream. (I didn’t. I just used patience and a good blender.)
The Salted Caramel Factor — The homemade salted caramel sauce is the star here. It’s not that sticky, overly sweet syrup you get in a bottle. It’s cooked with coconut cream, so it’s rich and glossy, with just enough sea salt to cut through the sweetness. It pairs perfectly with the tangy cashew base.
Make-Ahead Friendly — This is the ultimate stress-reliever for hosts. You can assemble it on Saturday and serve it Sunday. In fact, I recommend making it 24 hours in advance. The texture firms up beautifully in the fridge, making it easy to slice cleanly. No more crumbling, no more messy slices.
Guilt-Free Indulgence — Yes, it’s still a dessert. But it’s made from whole foods. Cashews provide healthy fats and protein, the crust is made from nuts and dates, and the caramel is coconut-based. It feels lighter on the stomach than a traditional cheesecake, which means you can have a generous slice without the 2 PM slump.
This recipe has saved me from awkward party moments more times than I can count. It’s my go-to when I want to show love through food, ensuring everyone at the table feels included and delighted.
Ingredients You’ll Need for the Perfect Cheesecake
Here’s the thing about no-bake cheesecakes: the quality of your ingredients matters more than anything else. Since there’s no baking to mask imperfections, you need good stuff. Don’t worry, though—most of this is pantry staples or easy-to-find items.
For the Crust
Raw Cashews or Pecans (2 cups / 280g) — I usually use a mix of half cashews and half pecans for a deeper, nuttier flavor. Raw is key here. You want to grind them into a fine meal. If you use salted nuts, reduce the added salt in the recipe.
Medjool Dates (1 cup / pitted, about 12-15 dates) — These are the glue. They add natural sweetness and stickiness. Make sure they’re soft. If they’re hard, soak them in warm water for 10 minutes first. Medjool are best because they’re chewy and sweet; Deglet Noor dates are too dry and small for this.
Unsweetened Cocoa Powder (2 tablespoons) — I like a chocolate crust. It complements the caramel beautifully. If you prefer a plain nut crust, you can skip this, but I highly recommend it.
Coconut Oil (3 tablespoons, melted) — This helps bind the crust and adds a subtle richness. If you don’t like coconut flavor, use melted butter or a neutral oil like avocado oil, but coconut oil helps the crust set firmer in the fridge.
Sea Salt (½ teaspoon) — Just a pinch to enhance the nuttiness.
For the Cashew Filling
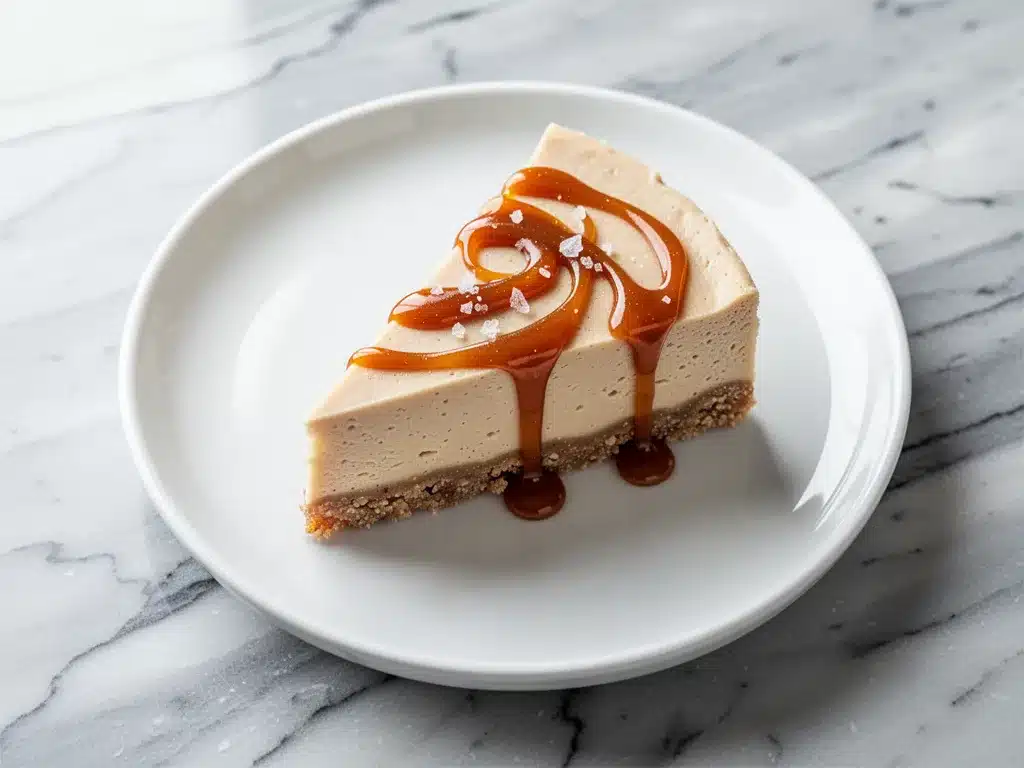
Raw Cashews (3 cups / 450g) — This is the base. You must use raw, unsalted cashews. They need to be soaked to soften them enough to blend into a silky cream. Do not use roasted cashews; they won’t blend as smoothly and will have a toasted flavor that clashes with the delicate cheesecake taste.
Full-Fat Coconut Milk (1 can / 400ml) — This is non-negotiable for that rich, creamy texture. Use the refrigerated full-fat kind, not the carton beverage. You want the thick, solid part, but shake the can well and use the whole contents. This adds the fat content needed for mouthfeel.
Maple Syrup (½ cup / 120ml) — Pure maple syrup gives a warm, complex sweetness. Agave works too, but maple adds a depth of flavor I love. Avoid honey since this is a vegan recipe.
Lemon Juice (3 tablespoons) — This is the secret to the “cheesecake” tang. Without acid, the filling will just taste like sweet cashew butter. The lemon brightens everything up. Don’t skimp!
Vanilla Extract (2 teaspoons) — Use real vanilla extract, not imitation. It makes a huge difference in the aroma.
Tahini (2 tablespoons) — Optional, but I swear by it. It adds a subtle savory note that mimics the complexity of cream cheese. If you don’t have it, you can skip it, but the filling might be slightly one-dimensional.
For the Salted Caramel Sauce
Full-Fat Coconut Milk (½ cup / 120ml) — Again, use the thick cream from the can or a high-quality coconut milk.
Coconut Sugar (1 cup / 200g) — Coconut sugar has a deeper, caramel-like flavor compared to white sugar. It’s less processed and adds a nice color.
Coconut Oil (2 tablespoons, melted) — Helps create the smooth, glossy texture.
Sea Salt (1 teaspoon, plus more for sprinkling) — The salt is what makes it salted caramel. Be generous.
Vanilla Extract (1 teaspoon) — Adds warmth.
Equipment Needed
You don’t need a fancy kitchen for this. Here’s what I actually use, and what works:
High-Speed Blender — I use a Vitamix, and it makes a huge difference. A standard blender might struggle to get the cashews perfectly smooth, leaving little gritty bits. If you don’t have a high-speed blender, you will need to soak the cashews longer (see tips below) and blend for a longer time, scraping down the sides frequently.
Food Processor — For the crust. A food processor is better than a blender for grinding nuts into a meal. It’s faster and more efficient.
9-Inch Springform Pan — This is essential. It allows you to release the sides easily so the cheesecake comes out in one piece. A regular pie dish will make serving a nightmare. If you don’t have a springform pan, you can use a regular cake pan lined with parchment paper, but unmolding will be harder.
Saucepan — Small to medium size for making the caramel sauce. Heavy-bottomed is best to prevent scorching.
Whisk — For the caramel sauce to ensure it stays smooth and doesn’t separate.
Measuring Cups and Spoons — Standard stuff. Accuracy matters more here than in baking, since there’s no leavening, but you still want the balance of sweet and tart to be right.
Refrigerator Space — You need a flat space in your fridge to let the cheesecake chill for at least 6 hours, ideally overnight. Make sure your pan fits!
How to Make It: Step-by-Step
Alright, let’s make this! I’m walking you through exactly how I do it, including the little tricks I’ve picked up over the years. It’s simpler than you think.
Step 1: Soak the Cashews (The Most Important Step)
This is where most people fail. If your cashews aren’t soft enough, your cheesecake will be gritty. Place your 3 cups of raw cashews in a large bowl and cover with boiling water. Let them soak for at least 2 hours, or ideally overnight. If you’re short on time, soak them in boiling water for 30 minutes, then drain and rinse with cold water. Drain them well. Pat them dry with a towel to remove excess water, which can throw off the consistency.
Step 2: Make the Crust
In your food processor, pulse the cashews and pecans until they form a fine meal. Be careful not to over-process, or they’ll turn into nut butter. Add the cocoa powder, maple syrup, melted coconut oil, and salt. Pulse until the mixture starts to clump together. It should hold together when you pinch it between your fingers. Press this mixture firmly into the bottom of your springform pan. Use the bottom of a measuring cup to pack it down evenly. Place the pan in the freezer while you make the filling. This helps the crust set quickly.
Step 3: Blend the Filling
Add the soaked cashews, full-fat coconut milk, maple syrup, lemon juice, vanilla extract, and tahini to your high-speed blender. Blend on high for 3-5 minutes. Stop and scrape down the sides as needed. You’re looking for a completely smooth, creamy texture with no grit. It should look like thick sour cream. Taste it at this stage. If it’s too sour, add a little more maple syrup. If it’s too sweet, add a splash more lemon juice. Pour the filling over the chilled crust and smooth the top with a spatula.
Step 4: Make the Salted Caramel Sauce
In a small saucepan over medium heat, combine the coconut milk, coconut sugar, and coconut oil. Whisk constantly until the sugar dissolves and the mixture comes to a gentle simmer. Do not boil vigorously, or it might seize. Let it simmer for 5-7 minutes, whisking frequently, until it thickens slightly. It should coat the back of a spoon. Remove from heat and stir in the vanilla and sea salt. Let the caramel cool for 10 minutes. It will thicken more as it cools.
Step 5: Assemble and Chill
Pour the cooled caramel sauce over the cheesecake filling. Use a knife or skewer to swirl it into the top for a marbled effect, or just let it pool on top for a rustic look. Cover the pan tightly with plastic wrap or aluminum foil. Refrigerate for at least 6 hours, but overnight is best. This gives the flavors time to meld and the texture to firm up completely.
Step 6: Serve
Before serving, run a hot knife around the edge of the springform pan and release the clasp. Transfer the cheesecake to a serving plate. Slice with a clean, sharp knife. I like to serve it with fresh berries or a few extra drizzles of caramel on the side. Enjoy!
Expert Tips & Tricks
Here’s everything I’ve learned from making this dozens of times. These tips will save you from my mistakes.
Soak Longer if You Have to — If your blender is not high-powered, soak the cashews in room temperature water for 8-12 hours instead of boiling water. This ensures they break down completely. The longer soak yields the smoothest texture.
Don’t Rush the Blend — I know it’s tempting to just blend for two minutes and call it done. But blending for a full 3-5 minutes is what creates that silky, luxurious mouthfeel. If it’s still gritty, keep blending. It’s worth it.
Control the Caramel Thickness — Coconut sugar can vary in moisture content. If your caramel is too thin after cooling, you can simmer it a bit longer. If it’s too thick, add a splash of warm coconut milk. You want it to be drizzle-able but not runny.
Use a Water Bath for the Caramel — If you’re worried about scorching the coconut sugar, you can make the caramel over a double boiler. It takes longer, but it’s foolproof. I usually just use medium heat and constant whisking, which works fine for me.
Chill the Pan — Putting the crust in the freezer for 10-15 minutes before adding the filling helps it set faster and prevents the crust from getting soggy. It’s a small step that makes a big difference.
Common Mistakes
Mistake: Gritty Texture — Fix: Your cashews weren’t soft enough, or you didn’t blend long enough. Next time, soak longer and blend for 5+ minutes.
Mistake: Caramel is grainy — Fix: The sugar didn’t dissolve completely before simmering. Make sure you whisk constantly until the sugar is fully dissolved.
Mistake: Cheesecake is too soft to slice — Fix: It didn’t chill long enough. Let it sit in the fridge for at least 6 hours, preferably overnight.
Variations & Substitutions
Once you’ve nailed the basic version, here’s how you can mix it up. I’ve tried all of these.
Chocolate Caramel Version — Add 2 tablespoons of cocoa powder to the filling. It creates a mocha-like flavor that is incredible with the caramel.
Strawberry Swirl — Instead of caramel, swirl in a homemade strawberry sauce. Blend fresh strawberries with a little maple syrup and lemon juice, then swirl it into the filling.
Gluten-Free — This recipe is naturally gluten-free! Just make sure your oats (if using in crust) and other ingredients are certified gluten-free.
Sugar-Free — Use a sugar-free maple syrup alternative and erythritol or monk fruit sweetener for the caramel. Note: The texture of the caramel might be slightly different.
Raw Vegan — To keep this strictly raw, use raw coconut sugar and ensure all ingredients are raw. The soaking step is crucial for raw vegan diets.
Serving & Storage
How to Serve — I usually serve this straight from the springform pan. It looks rustic and impressive. Top with fresh raspberries, blackberries, or sliced strawberries. A few mint leaves add a nice pop of color. Drizzle with extra caramel just before serving.
Side Dishes — This dessert stands alone well, but if you want sides, consider a simple fruit salad or some roasted figs. It pairs beautifully with a cup of herbal tea or a glass of red wine.
Storage — Store leftovers in an airtight container in the fridge for up to 5 days. The flavors actually get better after a day or two. Do not freeze this cheesecake, as the texture of the cashews and coconut cream can change upon thawing, becoming grainy or separated.
Nutrition Information
I’m not a nutritionist, but here’s the breakdown if you’re tracking. Keep in mind that this is a rich dessert, so portion control is key.
Per Serving (based on 12 slices):
- Calories: 320
- Protein: 6g
- Carbs: 35g
- Fiber: 3g
- Sugar: 22g
- Fat: 18g
- Saturated Fat: 12g
- Sodium: 150mg
What’s Good: It’s dairy-free, gluten-free, and uses natural sweeteners. The cashews provide healthy fats and protein.
What to Know: It’s still high in calories and sugar due to the nuts, dates, and caramel. Enjoy it as a special treat, not an everyday snack.
Final Thoughts
So that’s my go-to vegan salted caramel cashew cheesecake! I’ve probably talked your ear off at this point, but when you make a recipe this often, you have a lot to say about it.
This has saved me from awkward party moments more times than I can count. It’s my answer to “what’s for dessert” when I want to impress guests without spending hours in the kitchen. My vegan friends are happy, my non-vegan friends are confused (in a good way), and I’m happy because I’m not stressed about cooking.
Make it yours! Try different toppings, swap in your favorite nuts, or adjust the sweetness to your liking. The best recipes are the ones you adapt to your family’s tastes.
If you make this, drop a comment and let me know what you think! I love hearing how recipes turn out in your kitchen. And if something doesn’t work, tell me that too—I’m here to help troubleshoot.
Happy cooking! And I hope your kitchen smells half as good as mine does right now.
Frequently Asked Questions
Can I use roasted cashews instead of raw?
You can, but the texture won’t be as smooth. Roasted cashews have less moisture and a stronger flavor that can overpower the delicate cheesecake taste. If you must use them, soak them in hot water for at least 2 hours to soften them before blending. Raw cashews are definitely preferred for the best results.
Why did my cheesecake turn out runny?
Usually, this means it didn’t chill long enough. The coconut cream needs time to firm up. Let it sit in the fridge for at least 6 hours, but overnight is best. Also, make sure you’re using full-fat coconut milk, not the light version or the beverage carton kind. The fat content is what helps it set.
Can I make this ahead for a dinner party?
Absolutely! This is actually better when made ahead. You can assemble it 2-3 days in advance. Just keep it covered in the fridge. It will hold its shape well and the flavors will deepen. This makes it perfect for stress-free entertaining.
How do I slice the cheesecake cleanly?
Use a sharp knife and dip it in hot water between each cut. Wipe the blade dry with a towel before each slice. This prevents the filling from sticking to the knife and ensures clean, beautiful slices. If the cheesecake is too soft to cut, chill it for another 30 minutes.
Can I freeze this cheesecake?
I don’t recommend freezing it. The texture of the cashews and coconut cream can change upon thawing, becoming grainy or separated. It’s best enjoyed fresh from the fridge. If you must freeze it, wrap it tightly in plastic and foil, and thaw it slowly in the fridge overnight. But honestly, it’s not worth the risk.
What if I don’t have a springform pan?
You can use a regular 9-inch cake pan lined with parchment paper. Just make sure to leave overhang on the sides so you can lift the cheesecake out after chilling. It might be a bit messier to serve, but it works in a pinch.
Is this recipe gluten-free?
Yes! This recipe is naturally gluten-free. Just ensure that your oats (if using in the crust) and other ingredients are certified gluten-free. Most nuts and coconut products are naturally gluten-free, but cross-contamination can happen, so check labels if you have celiac disease.
Pin This Recipe!
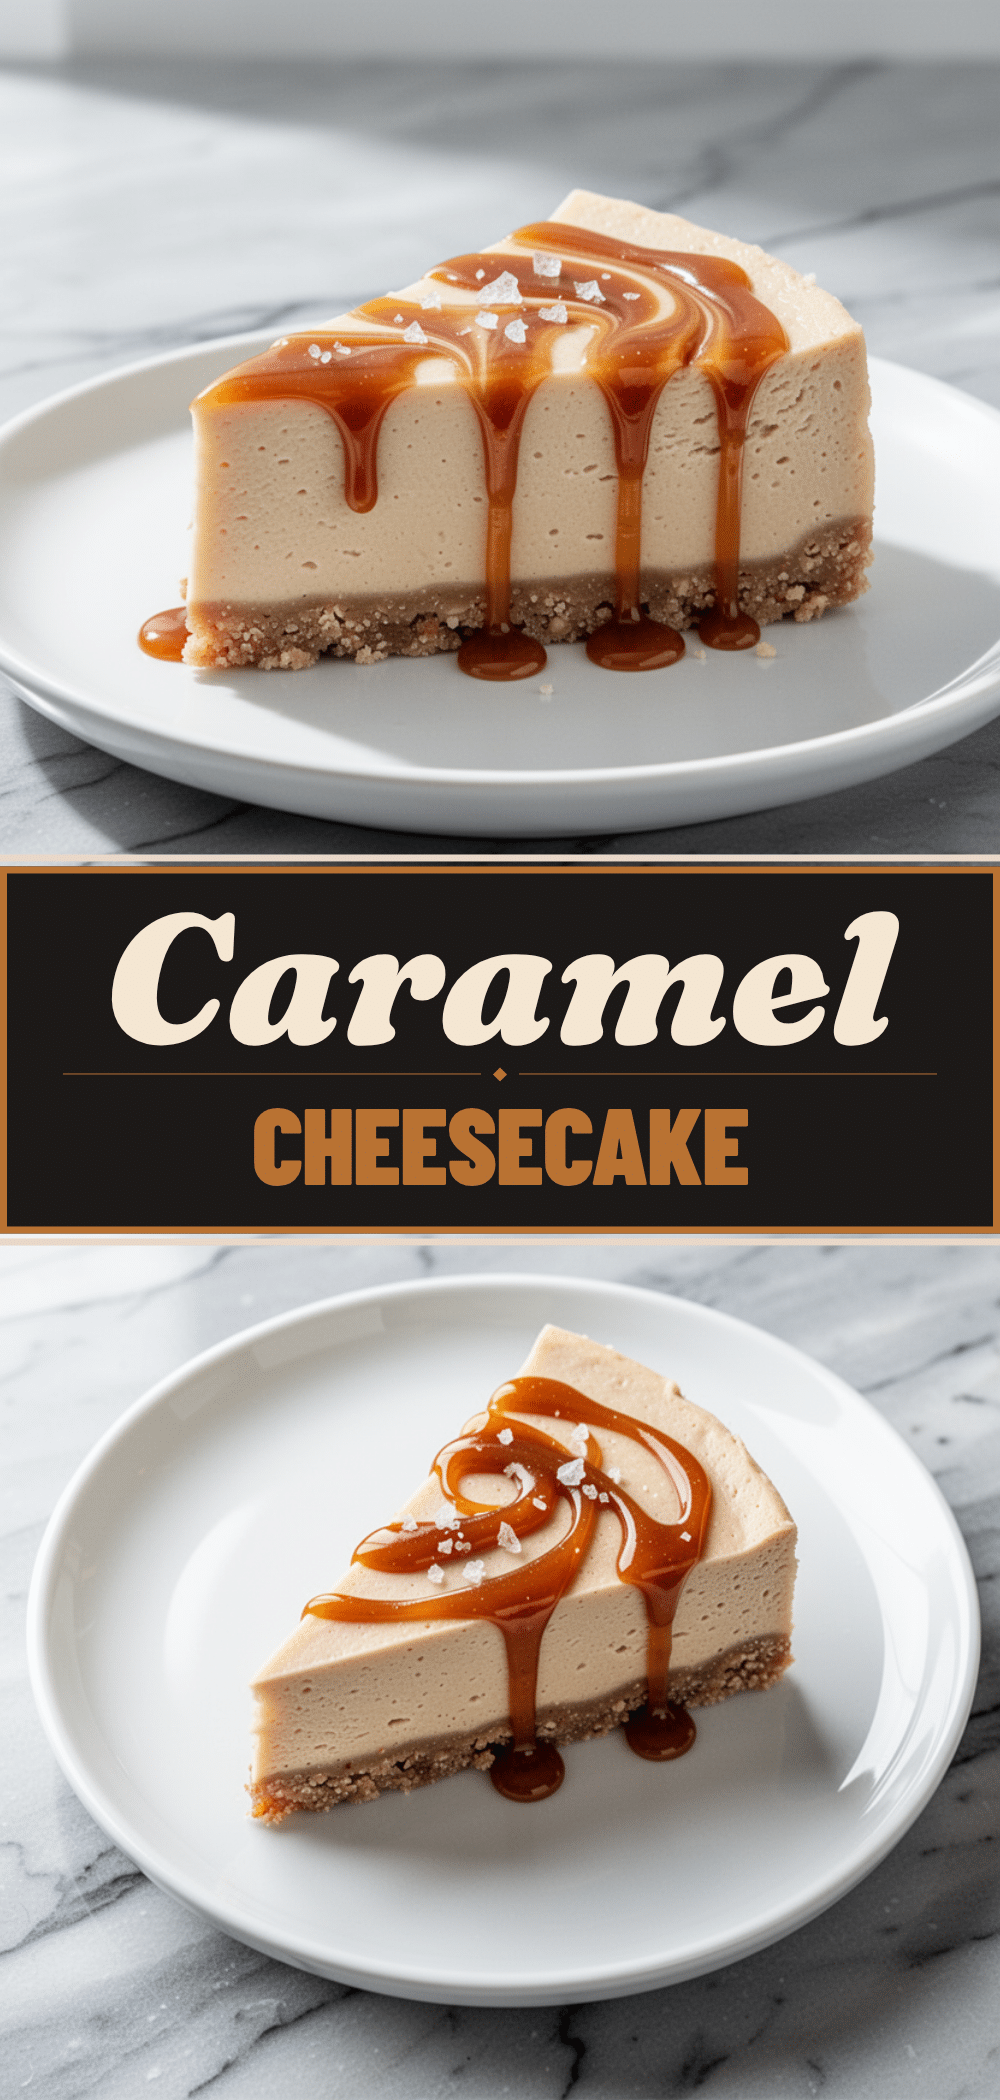
Vegan Salted Caramel Cashew Cheesecake
- Total Time: 45 minutes
- Yield: 12 servings 1x
Description
A rich, creamy, no-bake vegan cheesecake featuring a chocolate nut crust, a silky cashew filling, and a homemade coconut salted caramel sauce. This dairy-free dessert is perfect for impressing guests and can be made ahead of time.
Ingredients
- For the Crust:
- 2 cups raw cashews or pecans (or a mix)
- 1 cup Medjool dates, pitted
- 2 tablespoons unsweetened cocoa powder
- 3 tablespoons coconut oil, melted
- 1/2 teaspoon sea salt
- For the Cashew Filling:
- 3 cups raw cashews
- 1 can (400ml) full-fat coconut milk
- 1/2 cup pure maple syrup
- 3 tablespoons lemon juice
- 2 teaspoons vanilla extract
- 2 tablespoons tahini (optional)
- For the Salted Caramel Sauce:
- 1/2 cup full-fat coconut milk
- 1 cup coconut sugar
- 2 tablespoons coconut oil, melted
- 1 teaspoon sea salt, plus more for sprinkling
- 1 teaspoon vanilla extract
Instructions
- Soak the 3 cups of raw cashews in boiling water for at least 2 hours (or overnight). Drain, rinse with cold water, and pat dry.
- In a food processor, pulse the cashews/pecans for the crust until they form a fine meal. Add cocoa powder, maple syrup, melted coconut oil, and salt. Pulse until the mixture clumps together. Press firmly into the bottom of a 9-inch springform pan and place in the freezer.
- In a high-speed blender, combine the soaked cashews, full-fat coconut milk, maple syrup, lemon juice, vanilla extract, and tahini. Blend on high for 3-5 minutes until completely smooth and creamy. Pour over the chilled crust and smooth the top.
- In a small saucepan over medium heat, combine coconut milk, coconut sugar, and coconut oil for the caramel. Whisk constantly until sugar dissolves and mixture simmers. Simmer for 5-7 minutes until slightly thickened. Remove from heat and stir in vanilla and sea salt. Let cool for 10 minutes.
- Pour the cooled caramel sauce over the cheesecake filling. Swirl with a knife for a marbled effect or let pool on top. Cover tightly and refrigerate for at least 6 hours, preferably overnight.
- To serve, run a hot knife around the edge and release the springform pan. Slice with a clean, sharp knife and top with fresh berries or extra caramel.
Notes
Ensure cashews are soaked long enough to blend smoothly. Use full-fat coconut milk for the best texture. The cheesecake tastes better after chilling overnight. Do not freeze as the texture may become grainy.
- Prep Time: 30 minutes
- Cook Time: 15 minutes
- Category: Dessert
- Cuisine: American
Nutrition
- Serving Size: 1 slice
- Calories: 320
- Sugar: 22
- Sodium: 150
- Fat: 18
- Saturated Fat: 12
- Carbohydrates: 35
- Fiber: 3
- Protein: 6
Keywords: vegan cheesecake, no-bake dessert, cashew cheesecake, salted caramel, gluten-free, dairy-free, raw vegan, holiday dessert


