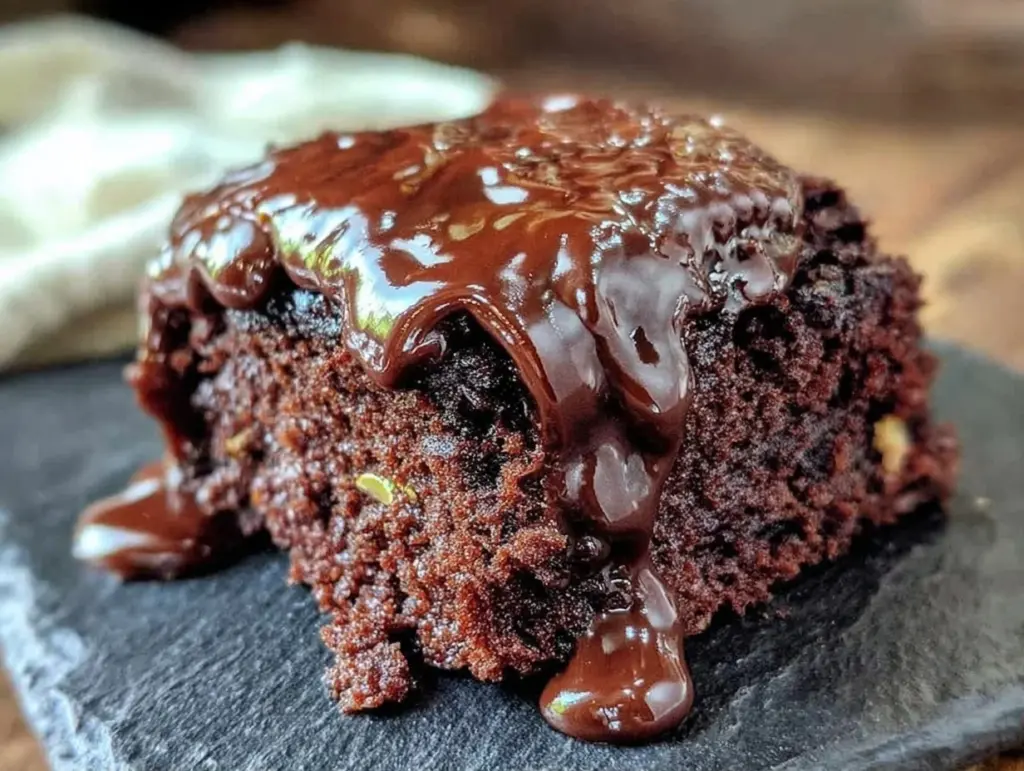
Last Saturday, my kitchen looked like a flour bomb had gone off in slow motion. There was cocoa powder on the counter, chocolate smudges on my three-year-old’s nose, and my six-year-old was standing on a step stool, stirring a pot of boiling sugar with the intensity of a bomb disposal expert. We were making this ultra-fudgy chocolate sheet cake, and for the first time in my life, neither of them wanted to leave the kitchen.
Usually, baking with kids is a lesson in patience. It’s a lot of waiting, a lot of “is it done yet?”, and a lot of cleaning up spilled milk. But this recipe? This is different. It’s designed for little hands. It’s forgiving. And that warm, poured frosting? That’s the magic moment that turns a baking session into a memory they’ll actually talk about.
I’ve been searching for the perfect “kids baking” project for years. I tried making cookies, but the dough was too sticky. I tried muffins, but the batter was too runny for small spoons. Then I found this sheet cake method. It’s simple, it’s messy in the best way, and the result is a cake so fudgy and rich that even my picky-eater nephew asks for seconds. If you’re looking for a way to spend quality time with your little ones without losing your mind, this is it. It’s easier than churro cheesecake bars because there’s no rolling, no frying, and no complex layering. Just mix, pour, and watch the magic happen.
Why You’ll Love This Fudgy Chocolate Sheet Cake
There are a few reasons this cake has become our weekend ritual, but honestly, it comes down to three things: the texture, the teamwork, and the lack of fuss.
It’s Actually Fudgy — I’m not talking about dry, cakey chocolate. I’m talking about dense, moist, almost brownie-like texture. The secret? We use boiling water. It sounds scary, but it blooms the cocoa powder and creates that incredible fudgy crumb. My kids love that it feels like they’re making a dessert, not a snack.
Kids Can Do Most of the Work — This recipe is structured so kids can handle the dry ingredients, the wet ingredients, and the stirring. The only dangerous part is the boiling water, which I handle. But even then, I let them pour it while I hold the kettle (supervised, of course). It’s safe, it’s fun, and it builds confidence. Unlike Rice Krispie treats, this feels like “real” baking, which makes them feel so grown-up.
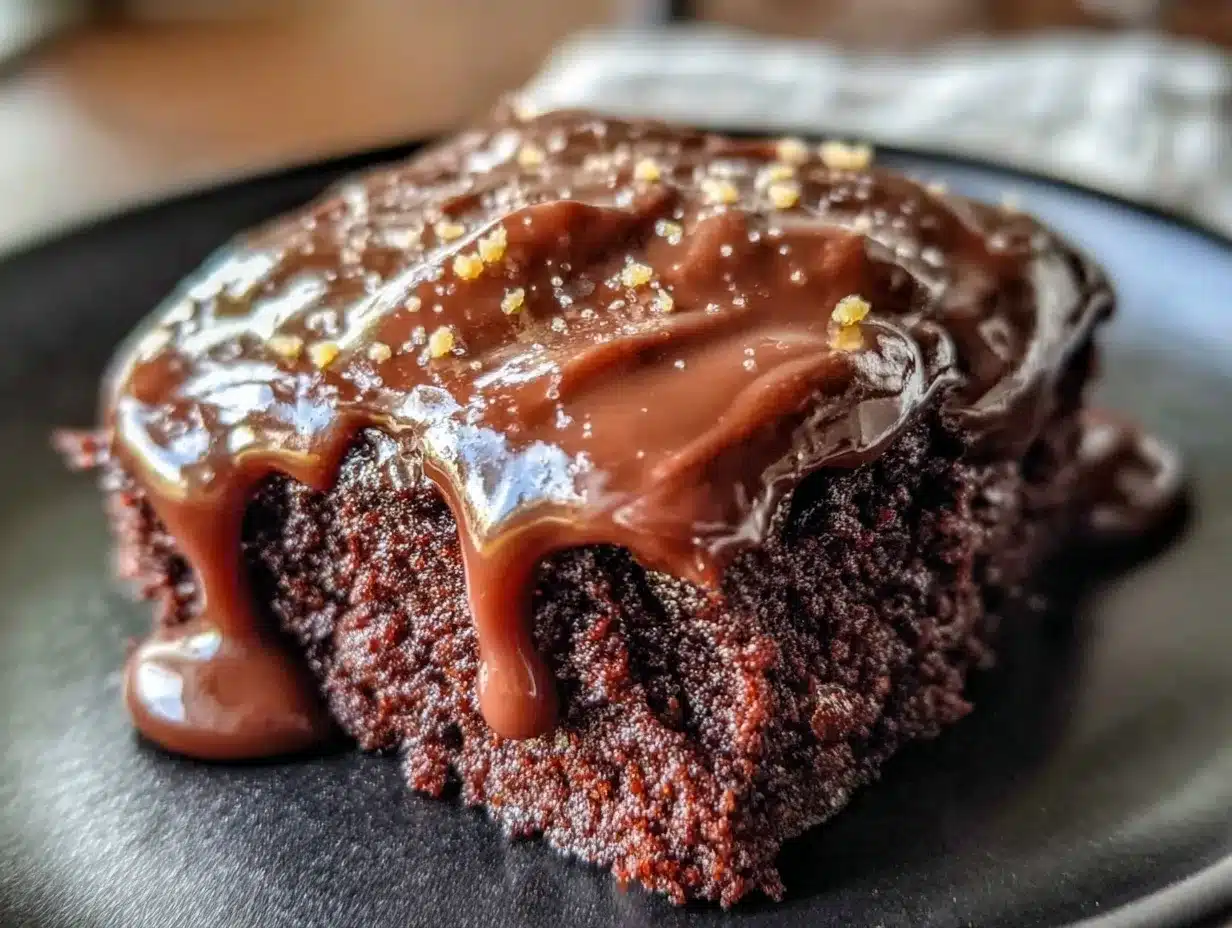
The Poured Frosting is a Game-Changer — Traditional frosting requires cooling the cake completely, which is impossible with impatient kids. With this warm poured frosting, you make it right while the cake bakes. You pour it hot, and it sets into a shiny, crackly crust. It’s instant gratification. Plus, watching the chocolate melt and spread is mesmerizing for little eyes.
Makes a Mess (But It’s Worth It) — Let’s be honest. Baking with kids is messy. But this recipe is in a sheet pan. No cupcakes to frost individually. No delicate layers. Just one big, beautiful cake that’s easy to slice and easy to clean up. It’s the perfect balance of fun and practicality.
Budget-Friendly — This uses pantry staples. Flour, sugar, cocoa, eggs, oil. No expensive chocolate chips or fancy vanilla extract needed. It’s cheap to make, which means you can let them experiment without worrying about wasting money.
This cake has saved our weekends. It’s my go-to when I want to slow down, connect with my kids, and end up with a delicious treat. It’s not just a recipe; it’s an experience.
Ingredients You’ll Need
Here’s the best part: you probably have most of this already. I’m particular about two things here—the cocoa powder and the boiling water. Don’t skip them.
For the Cake
All-purpose flour (2 cups / 250g) — The base. Don’t use self-rising; it’ll mess up the leavening. Spoon it into the cup and level it off. Don’t pack it down.
Granulated sugar (2 cups / 400g) — Yes, two full cups. This cake is meant to be sweet. Don’t try to reduce the sugar; it affects the texture. If you’re worried about sugar, serve it with fresh berries (like this apple crisp does with fruit) to balance it out.
Cocoa powder (¾ cup / 75g) — Use good quality unsweetened cocoa. Hershey’s Special Dark is my go-to because it has a deeper chocolate flavor. Natural cocoa works too, but Dutch-process will give a darker color.
Baking soda (1 teaspoon) — This reacts with the boiling water to create lift. Make sure it’s fresh!
Salt (1 teaspoon) — Enhances the chocolate flavor. Don’t skip it.
Eggs (2 large, room temperature) — Room temp eggs emulsify better. If you forget, soak them in warm water for 5 minutes.
Vegetable oil (½ cup / 120ml) — Oil keeps the cake moist longer than butter. Canola or sunflower oil work too.
Vanilla extract (2 teaspoons) — Pure vanilla, not imitation. It makes a huge difference in flavor.
Boiling water (1 cup / 240ml) — This is the secret weapon. It “blooms” the cocoa, making it taste more chocolatey. Be careful!
For the Warm Poured Frosting
Butter (½ cup / 115g) — Unsalted is best. Let it soften slightly so it melts easier.
Cocoa powder (½ cup / 50g) — Same as the cake.
Milk (⅓ cup / 80ml) — Whole milk is creamier, but 2% works too.
Powdered sugar (2 cups / 250g) — Sifted! This prevents lumps in your frosting.
Vanilla extract (1 teaspoon) — For that classic chocolate frosting smell.
Salt (a pinch) — Just a pinch to balance the sweetness.
Optional: Chocolate chips — I sometimes add a handful to the warm frosting for extra fudginess. Kids love the melty bits.
Equipment Needed
You don’t need fancy gadgets for this. Here’s what I actually use.
9×13 inch baking pan — Light-colored metal is best. Dark pans can over-brown the edges. Grease it well!
Large mixing bowl — Something big enough to hold all the dry ingredients. I use a 6-quart bowl.
Whisk — For mixing the dry ingredients. Kids can help with this part!
Medium saucepan — For the frosting. Something with a long handle so kids can’t reach the hot part.
Wooden spoon or silicone spatula — For stirring the cake batter and frosting.
Measuring cups and spoons — Standard stuff. I have a set that’s been in my family for years.
Wire cooling rack — Optional, but helps the cake cool evenly.
Small whisk — For the frosting to avoid lumps.
How to Make It: Step-by-Step
Alright, let’s make this! I’m walking you through exactly how I do it, including the little tricks I’ve picked up.
Step 1: Prep Your Pan and Oven (5 minutes)
Preheat your oven to 350°F (175°C). Grease your 9×13 inch baking pan with butter or non-stick spray. I like to dust it with a little cocoa powder after greasing—it prevents sticking and adds a nice chocolate flavor to the crust. While the oven heats, have your kids measure out the dry ingredients into the large bowl. This is a great time for them to practice pouring and leveling.
Step 2: Mix the Dry Ingredients (3 minutes)
In the large bowl, whisk together the flour, sugar, cocoa powder, baking soda, and salt. Make sure there are no lumps. If your kids are helping, let them take over the whisking. It’s good exercise for little arms!
Step 3: Add the Wet Ingredients (3 minutes)
Add the eggs, oil, and vanilla extract to the dry mixture. Beat with a mixer on medium speed (or stir vigorously by hand) for about 2 minutes. The batter will be thick. Don’t worry—it’s supposed to be thick. Scrape down the sides of the bowl.
Step 4: The Boiling Water Moment (2 minutes)
This is the part where you take charge. Carefully pour the boiling water into the batter while stirring constantly. The batter will become very thin and watery. This is normal! Do not be alarmed. The boiling water blooms the cocoa and creates that fudgy texture. Pour it evenly into the prepared pan.
Step 5: Bake the Cake (30-35 minutes)
Place the pan in the preheated oven. Bake for 30-35 minutes, or until a toothpick inserted in the center comes out clean or with a few moist crumbs (not wet batter). The cake will pull away slightly from the edges. While it bakes, start the frosting.
Step 6: Make the Warm Frosting (10 minutes)
In a medium saucepan over medium heat, combine the butter, cocoa powder, milk, and salt. Stir constantly until the butter melts and the mixture comes to a gentle boil. Let it boil for exactly 1 minute. Remove from heat.
Gradually whisk in the powdered sugar and vanilla until smooth. The frosting will be thin and warm. This is perfect for pouring!
Step 7: Pour and Cool (10 minutes)
As soon as you take the cake out of the oven, pour the warm frosting over the hot cake. Use a spatula to spread it evenly to the edges. The heat from the cake will help the frosting set into a shiny, crackly crust. Let it cool in the pan for at least 10 minutes before slicing. If you’re patient, let it cool completely for the best texture, but I know that’s hard with kids!
Step 8: Slice and Serve
Slice into squares and serve. Watch their faces light up when they see the shiny chocolate top.
Expert Tips & Tricks
Here’s everything I’ve learned from making this dozens of times. These tips will save you from my mistakes.
Don’t Skip the Boiling Water
I know it looks weird, but this is the key to the fudgy texture. Without it, the cake will be dry and cakey. Trust the process.
Sift Your Powdered Sugar
If you don’t sift, you’ll get lumps in your frosting. It’s frustrating. Just do it. A fine-mesh sieve works best.
Pour Frosting While Hot
The frosting needs to be warm to spread easily and create that crackly top. If it cools too much, it’ll be thick and hard to spread. If it thickens, just reheat it briefly in the microwave.
Let It Cool Before Cutting
I know, I know. But if you cut it while it’s hot, the frosting will slide off. Let it cool for at least 10 minutes. The cake will set up.
Kids Can Help With the Frosting
Once the frosting is off the heat, let your kids stir in the powdered sugar. It’s safe and fun. They’ll feel proud of their contribution.
Storage
This cake keeps well at room temperature for 2-3 days in an airtight container. It actually gets fudgier the next day!
Variations & Substitutions
Once you’ve nailed the basic version, here’s how you can mix it up. I’ve tried all of these.
Red Velvet Twist
Add 1 tablespoon of red food coloring to the batter. It’s pretty and festive for holidays.
Mint Chocolate
Add ½ teaspoon of peppermint extract to the frosting. It’s like a mint brownie!
Chocolate Chip
Fold 1 cup of chocolate chips into the batter before baking. Extra chocolate is always good.
Gluten-Free
Use a 1:1 gluten-free flour blend. The texture will be slightly different but still delicious.
Dairy-Free
Use dairy-free butter and milk. The frosting will be slightly less rich but still tasty.
Vegan
Replace eggs with flax eggs (2 tablespoons ground flaxseed + 6 tablespoons water) and use dairy-free butter and milk. It works surprisingly well.
Serving & Storage
How to Serve:
I usually serve this straight from the pan at the dinner table. It’s rustic and easy. But here are other ways I’ve enjoyed it:
Side Dishes:
– Fresh berries (strawberries, raspberries) to cut the sweetness
– Whipped cream (if you want to go all out)
– A scoop of vanilla ice cream
Storage Instructions:
Refrigerator:
Store in an airtight container for up to 4 days. The frosting will harden in the fridge, so let it sit at room temperature for 15 minutes before serving.
Freezing:
This cake freezes well! Wrap individual slices in plastic wrap and freeze for up to 3 months. Thaw at room temperature.
Meal Prep:
Make the cake the night before. It actually tastes better the next day as the flavors meld.
Nutrition Information
I’m not a nutritionist, but here’s the breakdown if you’re tracking. This is a rich, indulgent cake, so enjoy in moderation.
Per Serving (based on 12 servings):
- Calories: 380
- Protein: 4g
- Carbs: 58g
- Fiber: 2g
- Sugar: 42g
- Fat: 16g
- Saturated Fat: 6g
- Cholesterol: 35mg
- Sodium: 250mg
What’s Good:
– It’s a sheet cake, so you can control portion sizes
– You can add nuts for extra protein and healthy fats
– It’s made from scratch, so you know exactly what’s in it
What to Know:
– High in sugar and carbs (it’s a cake!)
– Contains dairy and gluten
– Moderate calories per slice
My Take:
Look, this is a treat. It’s not a health food. But it’s way better than store-bought cake, and you get to spend time with your kids making it. When I want to make it lighter, I reduce the sugar by ¼ cup and add a layer of fresh berries. But usually? I just eat one square and enjoy it.
Final Thoughts
So that’s my go-to ultra-fudgy chocolate sheet cake! I’ve probably talked your ear off at this point, but when you make a recipe this often, you have a lot to say about it.
This has saved our weekends more times than I can count. It’s my answer to “what should we do today?” when I want to slow down and connect with my kids. They’re happy, I’m happy, and the kitchen is messy—but that’s part of the fun.
Make it yours! Try different add-ins, swap in your favorite nuts, or just enjoy the process. The best recipes are the ones you adapt to your family’s tastes.
If you make this, drop a comment and let me know what you think! I love hearing how recipes turn out in your kitchen. And if something doesn’t work, tell me that too—I’m here to help troubleshoot.
Happy baking! And I hope your kitchen smells half as good as mine does right now.
Frequently Asked Questions
Can I use Dutch-process cocoa instead of natural cocoa?
Yes, but you’ll need to adjust the leavening. Dutch-process cocoa is neutralized, so it won’t react with the baking soda. You can add ½ teaspoon of baking powder to compensate. The color will be darker, which is nice!
Why did my cake sink in the middle?
This usually happens if the oven door was opened too early or if the cake was underbaked. Make sure to bake it until a toothpick comes out clean. Also, don’t open the oven door for the first 20 minutes.
Can I make this in a different pan?
You can use two 9-inch round pans, but reduce the baking time to 25-30 minutes. Check for doneness with a toothpick. The frosting will still work fine.
Why is my frosting grainy?
This happens if the powdered sugar wasn’t sifted or if the frosting cooled too much before spreading. Make sure to sift your sugar and pour the frosting while it’s still warm.
Can I freeze this cake?
Yes! Wrap individual slices in plastic wrap and freeze for up to 3 months. Thaw at room temperature. The frosting might lose some of its shine, but the taste will still be great.
Can I make this gluten-free?
Yes, use a 1:1 gluten-free flour blend. The texture will be slightly denser, but still delicious. Make sure your baking soda is certified gluten-free.
Can I make this dairy-free?
Yes, use dairy-free butter and milk. The frosting will be slightly less rich, but still tasty. You can also use coconut milk for a richer flavor.
Pin This Recipe!
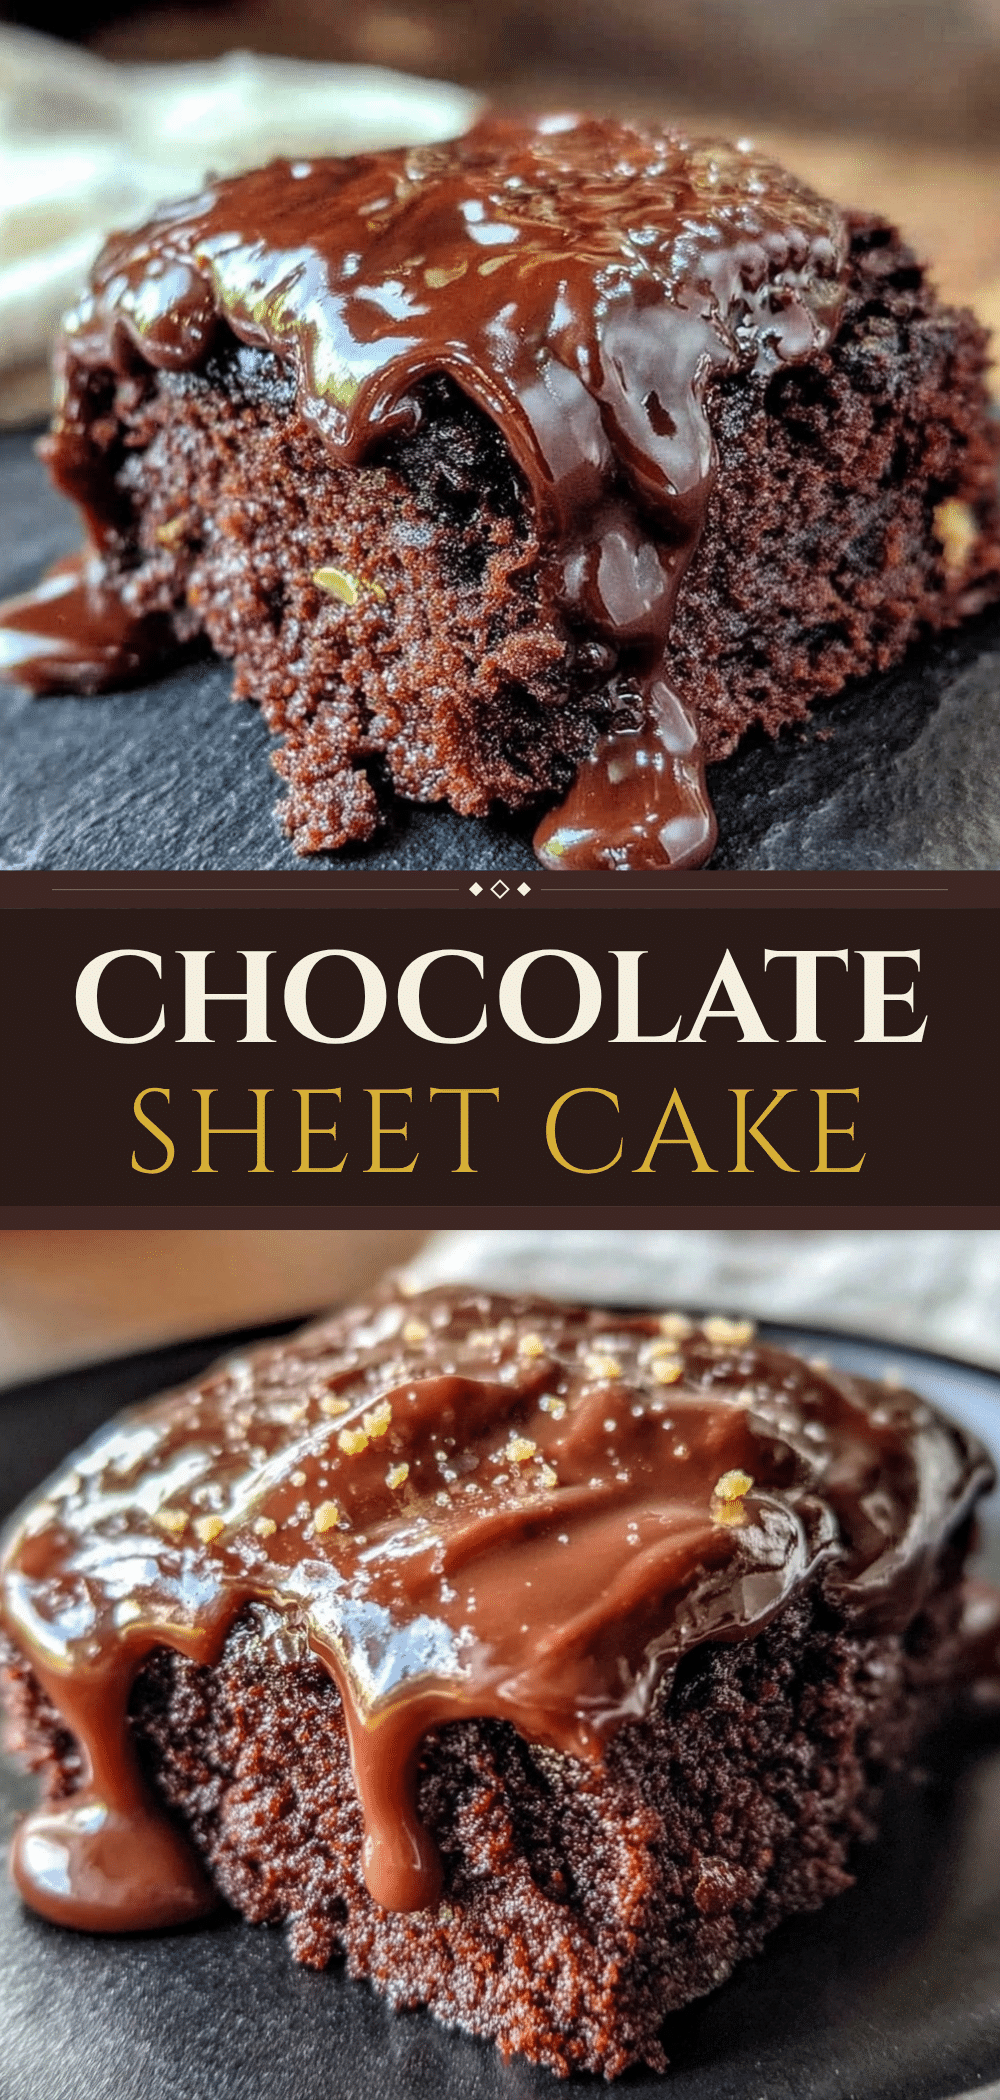
Ultra-Fudgy Chocolate Sheet Cake: Easy Kids Baking
- Total Time: 45 minutes
- Yield: 12 servings 1x
Description
An ultra-fudgy, moist chocolate sheet cake designed for baking with kids. It features a simple mix-and-pour method with a warm, crackly chocolate frosting that sets instantly.
Ingredients
- 2 cups (250g) all-purpose flour
- 2 cups (400g) granulated sugar
- ¾ cup (75g) unsweetened cocoa powder
- 1 teaspoon baking soda
- 1 teaspoon salt
- 2 large eggs, room temperature
- ½ cup (120ml) vegetable oil
- 2 teaspoons vanilla extract
- 1 cup (240ml) boiling water
- ½ cup (115g) butter, softened
- ½ cup (50g) cocoa powder
- ⅓ cup (80ml) milk
- 2 cups (250g) powdered sugar, sifted
- 1 teaspoon vanilla extract
- a pinch of salt
- optional: chocolate chips
Instructions
- Preheat oven to 350°F (175°C). Grease a 9×13 inch baking pan and dust with cocoa powder.
- In a large bowl, whisk together flour, sugar, cocoa powder, baking soda, and salt until no lumps remain.
- Add eggs, oil, and vanilla extract to the dry ingredients. Beat on medium speed or stir vigorously for 2 minutes until thick. Scrape down sides.
- Carefully pour boiling water into the batter while stirring constantly. The batter will become thin; this is normal. Pour into prepared pan.
- Bake for 30-35 minutes until a toothpick inserted in the center comes out clean or with moist crumbs.
- While cake bakes, make frosting: In a medium saucepan over medium heat, combine butter, cocoa powder, milk, and salt. Stir until butter melts and mixture boils. Boil for exactly 1 minute, then remove from heat.
- Gradually whisk in powdered sugar and vanilla until smooth. The frosting should be thin and warm.
- Pour warm frosting immediately over the hot cake. Spread evenly to edges.
- Let cool in pan for at least 10 minutes before slicing.
- Slice into squares and serve.
Notes
Do not skip the boiling water; it blooms the cocoa for a fudgy texture. Sift powdered sugar to avoid lumps in frosting. Pour frosting while hot for a crackly crust. Let cake cool for at least 10 minutes before cutting to prevent frosting from sliding off. Store in an airtight container at room temperature for 2-3 days.
- Prep Time: 15 minutes
- Cook Time: 30 minutes
- Category: Dessert
- Cuisine: American
Nutrition
- Serving Size: 1 slice
- Calories: 380
- Sugar: 42
- Sodium: 250
- Fat: 16
- Saturated Fat: 6
- Carbohydrates: 58
- Fiber: 2
- Protein: 4
Keywords: chocolate sheet cake, kids baking, fudgy cake, easy dessert, chocolate frosting, family baking, simple cake


