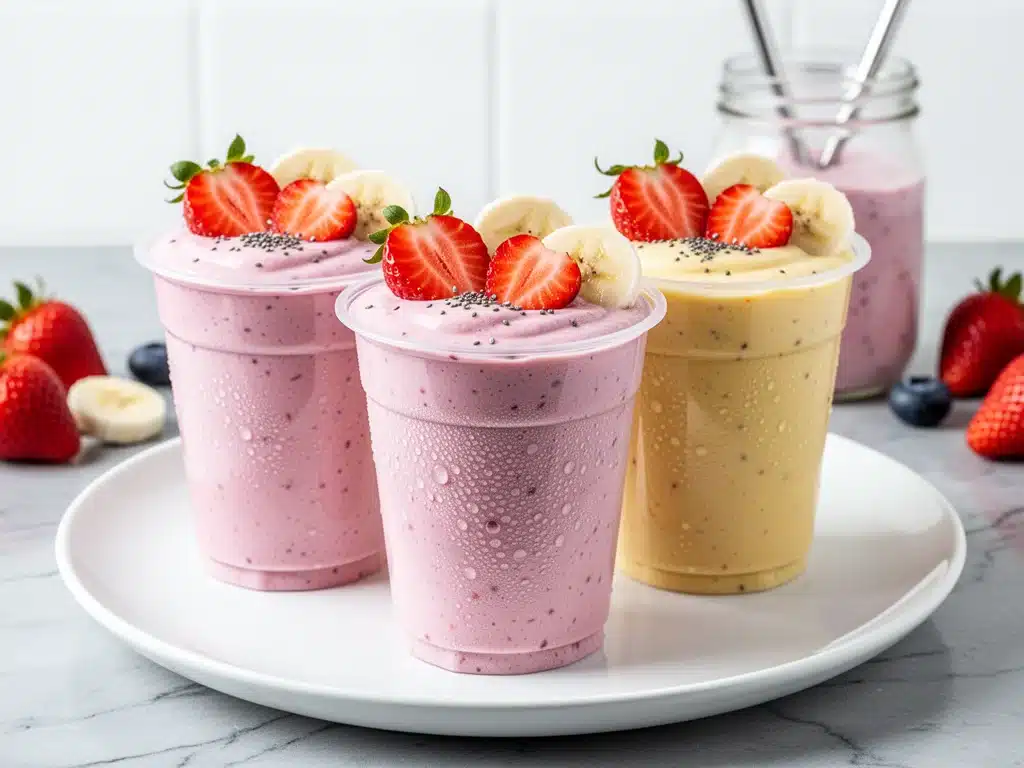
It was 6:45 AM on a Tuesday in August, and I was staring at the clock like it was going to magically slow down if I just wished hard enough. My son was already dressed (mostly), my daughter was hunting for her other shoe, and I was holding a blender pitcher that smelled like regret and over-ripe fruit. We had tried “breakfast smoothies” before, but they were always a disaster. Either they were too thin and spilled all over the car seat, or they were so thick I had to eat them with a spoon while running out the door. And let’s be honest, eating a smoothie with a spoon while driving is a recipe for a sticky steering wheel.
That morning, I had one goal: get two kids fed, get them out the door by 7:15, and hope we didn’t lose a shoe in the process. I dumped frozen strawberries, a banana, yogurt, and a splash of milk into the blender, hit pulse, and poured it into a cup. It sloshed. It leaked. My son spilled half of it before he even took a sip. I was ready to throw in the towel and just buy gas station bagels again.
But then I looked at the leftover batter in the blender and had a ridiculous idea. What if I didn’t drink it? What if I froze it? Like, actually froze it in a cup? I grabbed some muffin liners, spooned the mixture in, and popped them in the freezer. The next morning, I pulled one out, peeled off the liner, and handed it to my son. He took a bite, stopped mid-chew, and said, “It’s like a popsicle that tastes like breakfast.”
That was three months ago. Now, these Strawberry Banana Yogurt Smoothie Cups are the backbone of our back-to-school mornings. They are the reason we don’t have to argue about whether to eat cereal or toast. They are the reason I can pack a bag without sweating through my blouse. And they are the reason my kids actually look forward to breakfast, which, as any parent knows, is a small miracle.
If you are dreading the morning rush of the new school year, or if you’re just tired of the same old oatmeal routine, you need to try this. It’s not just a snack; it’s a strategy. It’s portable, it’s nutritious, and it tastes like a treat. I’ve tested this recipe with different yogurts, different fruits, and even different kid attitudes, and it works every single time. Here’s how to make your mornings less chaotic and your breakfasts more delicious.
Why You’ll Love These Smoothie Cups
Let’s be real for a second. Back-to-school mornings are a battle. You’re fighting sleep, you’re fighting laundry, and you’re fighting the universal law that says every item of clothing is always in the wrong place. This recipe isn’t just about food; it’s about buying you five extra minutes of peace. Here’s why these cups have completely changed our routine:
- Zero Morning Stress — Seriously, the work happens the night before. I blend the mix while making my coffee, pour it into cups, and freeze them. In the morning, there is no blending, no cleaning, no standing around waiting for a blender to do its thing. It’s grab-and-go. I’ve walked my daughter to the bus stop with one of these in her hand, and she was eating it before we even made it to the corner.
- Actually Nutritious — Most “breakfast bars” at the school store are just candy in disguise. These cups are packed with protein from the Greek yogurt, fiber from the banana, and vitamins from the strawberries. It’s real food. My kids are getting their dairy and fruit without me having to play referee over the vegetable drawer. They taste sweet because they are, but it’s the good kind of sweet.
- No Mess, No Stress — Remember that spill I mentioned? Gone. Because these are frozen solid, they don’t leak. They don’t drip. They don’t turn your car seat into a sticky mess. You peel the liner, take a bite, and it’s clean. No napkins required (though I pack them just in case). This is huge for school lunches, too. They thaw just enough by lunchtime to be a creamy, cold treat that kids actually want to eat.
- Costs Pennies — I did the math. A box of those fancy breakfast bars costs about $5 for four. These cups cost me about 40 cents each to make. That’s less than a quarter of the price. And they taste better. My son thinks they’re “fancy popsicles,” but I know they’re just strawberries and yogurt. The savings add up fast over a whole school year.
- Kid-Approved — This is the most important metric. If my kids won’t eat it, it’s trash. Period. These are sweet enough to satisfy a sugar craving but substantial enough to keep them full until snack time at 10 AM. I’ve had them ask for “the yogurt popsicles” specifically. That is the highest praise I’ve ever received in this kitchen.
I’ve tried making these with applesauce, with juice, with just fruit, but the yogurt is the secret weapon. It gives it that creamy texture that feels like a dessert but acts like a meal. Once you try this, you’ll wonder why you ever bothered with anything else. It’s my go-to when I need breakfast to just work. No complicated techniques, no weird ingredients, just reliable, delicious food that makes everyone happy.
Ingredients You’ll Need
Here’s the best part: you probably have most of this already. I’m not asking you to go to three different stores for exotic ingredients. This is simple, pantry-friendly, and uses stuff that lasts. I’m particular about three ingredients here, and I’ll tell you exactly why.
For the Base
Strawberries (1 cup / 150g, frozen) — I always use frozen. Fresh strawberries can be watery and bland in the winter, and frozen ones are picked at peak ripeness. They also help thicken the smoothie, which is crucial for these cups. If you only have fresh, chop them up and freeze them for an hour before using. Don’t skip the freezing step.
Banana (1 medium, frozen / about 100g) — This is non-negotiable. The banana provides natural sweetness and that creamy, thick texture. Use a ripe banana with brown spots for maximum sweetness. Peel it, break it in half, and freeze it in a baggie. It makes blending so much easier.
Greek Yogurt (1 cup / 240g) — I use plain, non-fat or 2% Greek yogurt. The protein content is higher than regular yogurt, which keeps the kids full. Plain is best because it lets the fruit flavor shine. If you use vanilla yogurt, you might need less added sweetener. I stick to plain for control over sugar.
Milk (½ cup / 120ml) — Any milk works. I use almond milk for a lighter version, but whole milk makes it creamier. You don’t need much; just enough to get the blender moving. Adjust based on how thick you like your cups.
For the Flavor Boost
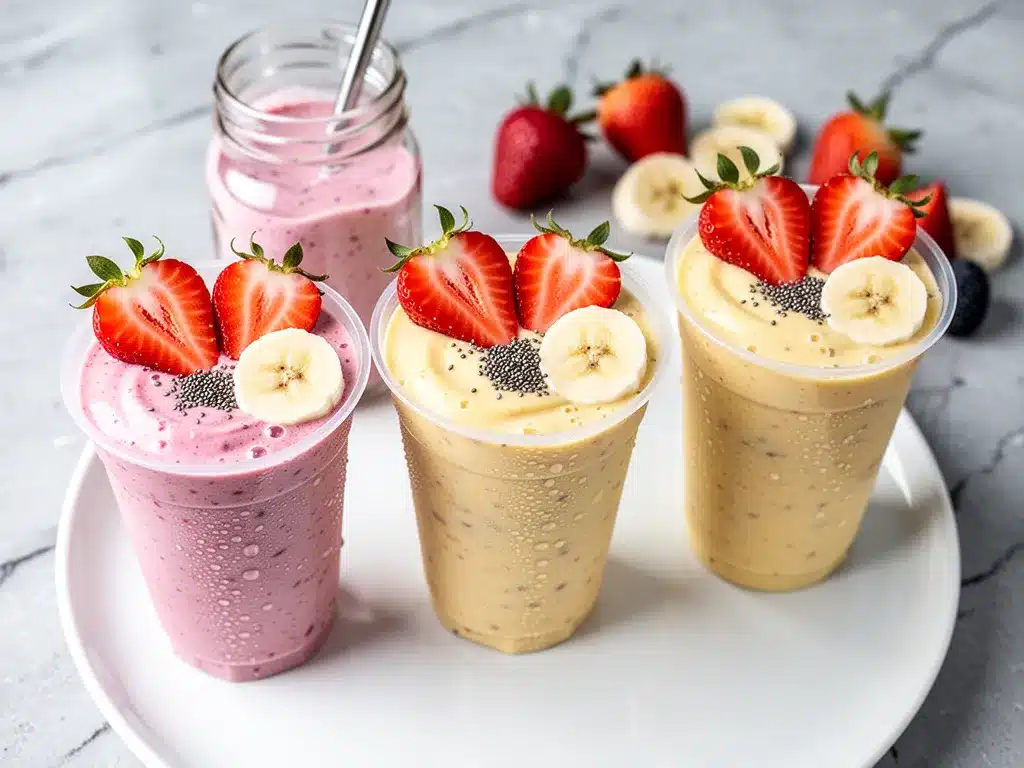
Honey or Maple Syrup (1-2 tablespoons) — Optional, but I usually add a drizzle. The frozen banana is sweet, but strawberries vary in sweetness. Taste the mix before pouring it into cups. If it tastes good to you, it’s ready. If you want it sweeter, add the honey. I use raw honey for its subtle flavor.
Lemon Juice (1 teaspoon) — This is my secret weapon. A tiny splash of lemon juice brightens up the strawberry flavor and cuts through the richness of the yogurt. You won’t taste the lemon, I promise. It just makes the fruit taste more like fruit.
Vanilla Extract (½ teaspoon) — Just a little bit. It adds depth and makes it taste like a dessert. Again, you won’t taste vanilla, but your brain will register it as “sweet and yummy.”
Optional Add-ins
Spinach (1 handful) — I know, I know. You’re thinking, “No way.” But trust me. You won’t taste it. The banana and strawberry mask it completely. It’s an easy way to sneak in greens. My kids have never complained. They just think it’s a “green smoothie” and are proud of themselves for eating veggies.
Chia Seeds (1 tablespoon) — Adds omega-3s and fiber. They swell up a bit in the yogurt, which is fine. If you don’t like the texture, skip them. I usually add them for the health boost.
Protein Powder (1 scoop) — If your kids are athletes or you need extra protein, a unflavored or vanilla protein powder works great. Just add an extra splash of milk if it gets too thick.
Common Questions:
- Can I use fresh fruit? Yes, but freeze it first. Fresh fruit makes the mixture too runny, and the cups won’t freeze properly.
- Where do I find frozen strawberries? Any grocery store. They’re usually in the frozen vegetable or berry aisle. Buy the bags, not the boxes.
- Can I make this ahead? Yes! That’s the whole point. Make a batch on Sunday and freeze them for the whole week.
Equipment Needed
You don’t need fancy equipment for this. Here’s what I actually use. Keep it simple.
Blender — I use a standard countertop blender. A high-speed one like a Vitamix is nice, but not required. A hand blender works too, but you might need to add a bit more milk to get it smooth. I prefer countertop for consistency.
Muffin Tin — Standard 12-cup muffin tin. I use mine for everything. It’s sturdy and easy to find.
Muffin Liners — Silicone or paper. I prefer silicone because they’re reusable and don’t stick. Paper works fine too, but sometimes the smoothie mix seeps under the liner if you’re not careful. Silicone is worth the investment.
Spoon or Ladle — To pour the mixture into the cups. A spoon is fine, but a small ladle is faster if you’re making a big batch.
Freezer Space — You’ll need room in your freezer. I usually clear out a section of the freezer for these cups. If your freezer is packed, you might need to wait until you have space.
Optional but nice:
- Silicone Spatula — To scrape the blender bowl clean. Don’t waste the good stuff.
- Ziplock Bags — For storing the frozen fruit before blending. Keeps it organized.
Tool Tips:
- Don’t have a muffin tin? You can use small ice cube trays or even small plastic cups. Just make sure they’re freezer-safe.
- I’m obsessed with my silicone spatula — It’s cheap and makes cleanup a breeze. Get one with a stiff edge.
How to Make It: Step-by-Step
Alright, let’s make this! I’m walking you through exactly how I do it, including the little tricks I’ve picked up. It’s simple, but there are a few details that make a big difference.
Step 1: Prep Your Fruit (5 minutes)
Before you start blending, make sure your fruit is ready. If you’re using fresh strawberries, wash them, hull them, and chop them in half. Spread them out on a baking sheet and freeze for at least 30 minutes. For the banana, peel it, break it in half, and freeze it. Having frozen fruit is key to getting that thick, popsicle-like texture. If you skip this step, your cups will be more like slushies.
Step 2: Blend the Base (2 minutes)
Add the frozen strawberries, frozen banana, Greek yogurt, milk, honey, lemon juice, and vanilla extract to your blender. Start on low speed and gradually increase to high. Blend for about 60-90 seconds until the mixture is completely smooth. Scrape down the sides of the blender with a spatula to make sure everything is incorporated. The mixture should be thick but pourable. If it’s too thick to blend, add a splash more milk. If it’s too thin, add more frozen fruit.
Step 3: Pour into Cups (3 minutes)
Line your muffin tin with muffin liners. Spoon or ladle the smoothie mixture into each liner, filling them about ¾ full. Leave a little space at the top because the mixture might expand slightly as it freezes. Don’t overfill them, or they’ll burst out of the liners. I usually make 12 cups at a time, but you can adjust based on your freezer space.
Step 4: Freeze (4-6 hours)
Place the muffin tin in the freezer. Let them freeze for at least 4 hours, or overnight if you can. They need to be completely solid. If you try to take them out too early, they’ll be mushy and hard to remove. Patience is key here. While you wait, you can prep for the next morning or just relax. This is the easiest part.
Step 5: Store and Serve
Once the cups are frozen solid, you can leave them in the liners and store them in a Ziplock bag in the freezer. This saves space in your muffin tin. To serve, just peel off the liner and hand it to your kid. If you’re packing them for lunch, let them sit on the counter for 5-10 minutes to soften slightly. They should be creamy but still cold.
Total Time: About 10 minutes active, plus freezing time.
Built-in Troubleshooting:
- Mixture too thick? Add milk, one tablespoon at a time.
- Mixture too thin? Add more frozen fruit or freeze longer.
- Cups sticking to liners? Run the bottom of the cup under warm water for a few seconds before peeling.
Expert Tips & Tricks
Here’s everything I’ve learned from making these dozens of times. These tips will save you from my mistakes.
Use Frozen Fruit
This is the #1 tip. Fresh fruit makes the mixture too watery. Frozen fruit gives you that thick, creamy texture that holds its shape. I always keep a bag of frozen strawberries and bananas in my freezer specifically for this. It’s so convenient.
Don’t Overfill
Leave space at the top. The mixture expands as it freezes, and if you overfill, it’ll spill out and stick to the muffin tin. It’s a pain to clean. ¾ full is the sweet spot.
Use Silicone Liners
They don’t stick. Paper liners can sometimes tear or let the mixture seep under. Silicone is reusable and makes removal a breeze. I bought a set of silicone liners years ago, and they’ve saved me so much time.
Freeze Overnight
4 hours is the minimum, but overnight is better. They freeze more evenly and are easier to remove. I usually make them on Sunday night for the week ahead.
Room Temperature Yogurt
If your yogurt is cold, it might make the mixture harder to blend. Take it out of the fridge 15 minutes before blending. If you forget, it’s okay, just blend longer.
Common Mistakes (and how to avoid them):
- Mistake: Cups are too hard to eat Fix: Let them sit on the counter for 5-10 minutes before eating. They should be creamy, not rock hard.
- Mistake: Mixture is too sweet Fix: Reduce the honey or use less ripe bananas. Taste the mix before freezing.
- Mistake: Cups fall apart Fix: Make sure they’re fully frozen. If they’re soft, put them back in the freezer.
Pro Tricks I’ve Learned:
- For Extra Creaminess Add a tablespoon of cottage cheese. It blends completely smooth and adds protein. My kids love the texture.
- For Better Flavor Toast the coconut flakes if you add them. Releases more flavor.
- For Better Texture Blend the yogurt and milk first, then add the fruit. Prevents chunks.
- Make-Ahead Strategy Make a double batch on Sunday. Store in the freezer. They last for up to 3 months.
Variations & Substitutions
Once you’ve nailed the basic version, here’s how you can mix it up. I’ve tried all of these.
Mango Tango Version
Swap strawberries for frozen mango chunks. Add a splash of orange juice. My daughter prefers this version—tastes like vacation.
Berry Blast
Use a mix of frozen blueberries, raspberries, and strawberries. Add a teaspoon of chia seeds. This is how I get my kids to eat berries. The colors are beautiful.
Peanut Butter Banana
Add a tablespoon of peanut butter to each cup. Adds protein and healthy fats. My son thinks it tastes like a Reese’s cup.
Green Machine
Add a handful of spinach and a tablespoon of flaxseed. You won’t taste the spinach. It’s a great way to sneak in veggies. I make this when I know they’ve been eating poorly during the day.
Lighter Version
Use low-fat Greek yogurt and apple juice instead of milk. It’s thinner but still good. I make this when I’m trying to be “healthy,” though I don’t think anyone can tell the difference.
Dietary Modifications:
- Vegan Use coconut yogurt and agave nectar. It’s creamy and delicious.
- Dairy-Free Use coconut milk yogurt. It has a slightly different flavor but works well.
- Sugar-Free Skip the honey and use stevia or monk fruit if needed. The fruit provides enough sweetness.
Serving & Storage
I usually serve these straight from the freezer at the breakfast table—it looks rustic and stays cold. But here are other ways I’ve enjoyed them:
How to Serve
Peel off the liner and hand it to your kid. If you’re packing them for lunch, let them sit on the counter for 5-10 minutes to soften slightly. They should be creamy but still cold. I usually pack them in a small insulated lunch bag with an ice pack to keep them from thawing too much.
Side Dishes
- Whole grain toast with butter
- Hard-boiled eggs
- A piece of fresh fruit
- A handful of nuts
Toppings Bar
When I have guests, I put out: granola, coconut flakes, chocolate chips, fresh fruit. Everyone customizes their cup. It’s fun for kids to choose their own toppings.
Storage Instructions
Refrigerator: Not recommended. They’ll melt. Store in the freezer.
Freezer: Store in a Ziplock bag for up to 3 months. They last a long time in the freezer. Just make sure the bag is sealed tight to prevent freezer burn.
Reheating: No reheating needed. Eat them cold or let them thaw slightly.
Pro tip: Label the bag with the date. I don’t know why, but I always forget when I made them. Writing the date on the bag saves time.
Nutrition Information
I’m not a nutritionist, but here’s the breakdown if you’re tracking. This is per cup (makes 12 cups).
| Nutrient | Amount per Cup |
|---|---|
| Calories | 110 |
| Protein | 6g |
| Carbs | 18g |
| Fiber | 2g |
| Sugar | 14g |
| Fat | 2g |
What’s Good:
- Decent protein from Greek yogurt
- Fiber from fruit
- Can add vegetables to boost nutrition
- More filling than it looks
What to Know:
- Lower in calories than most breakfast bars
- Contains dairy
- Moderate sugar (from fruit)
My Take:
Look, these are sweet treats that happen to be nutritious. They’re not a diet recipe, but they’re way better than a donut. When I want to make them lighter, I use low-fat yogurt and skip the honey. But usually? I just enjoy them as a healthy treat.
Final Thoughts
So that’s my go-to Strawberry Banana Yogurt Smoothie Cups! I’ve probably talked your ear off at this point, but when you make a recipe this often, you have a lot to say about it.
This has saved weeknight mornings more times than I can count. It’s my answer to “what’s for breakfast” when I’m tired, don’t want to cook, and still want something that tastes really good. My kids are happy, my husband’s happy, and I’m happy because I’m not stressed about cooking.
Make it yours! Try different add-ins, swap in your favorite fruits, adjust the sweetness. The best recipes are the ones you adapt to your family’s tastes. If you make this, drop a comment and let me know what you think! I love hearing how recipes turn out in your kitchen. And if something doesn’t work, tell me that too—I’m here to help troubleshoot.
Happy cooking! And I hope your kitchen smells half as good as mine does right now.
Frequently Asked Questions
Can I use fresh fruit instead of frozen?
You can, but the texture will be different. Fresh fruit makes the mixture more liquid, so the cups might not freeze as solid. If you use fresh fruit, freeze it for an hour before blending. It’s worth the extra step.
Why did my cups turn out icy?
Usually means there wasn’t enough yogurt or banana. The yogurt and banana provide the creamy texture. If you use too much fruit and not enough yogurt, you’ll get ice crystals. Stick to the ratios in the recipe.
Can I make these ahead for a lunchbox?
Yes! Make them on Sunday and store in the freezer. Pack them in an insulated lunch bag with an ice pack. They’ll thaw slightly by lunchtime, which is perfect. Just make sure the bag is sealed tight.
How long do they last in the freezer?
Up to 3 months. They stay fresh and tasty for a long time. Just make sure the bag is sealed tight to prevent freezer burn.
Can I add protein powder?
Absolutely! Add a scoop of unflavored or vanilla protein powder. You might need to add a splash more milk to compensate for the thickening. I do this when my kids have sports practice.
Why did my cups stick to the liners?
Use silicone liners. Paper liners can sometimes stick, especially if the mixture is very sweet. Run the bottom of the cup under warm water for a few seconds before peeling. It helps release them.
Can I double this recipe?
Yes! Double everything and use your biggest blender. The cooking times stay the same. I do this when I’m meal-prepping or feeding a crowd. Just make sure your freezer has space.
Pin This Recipe!
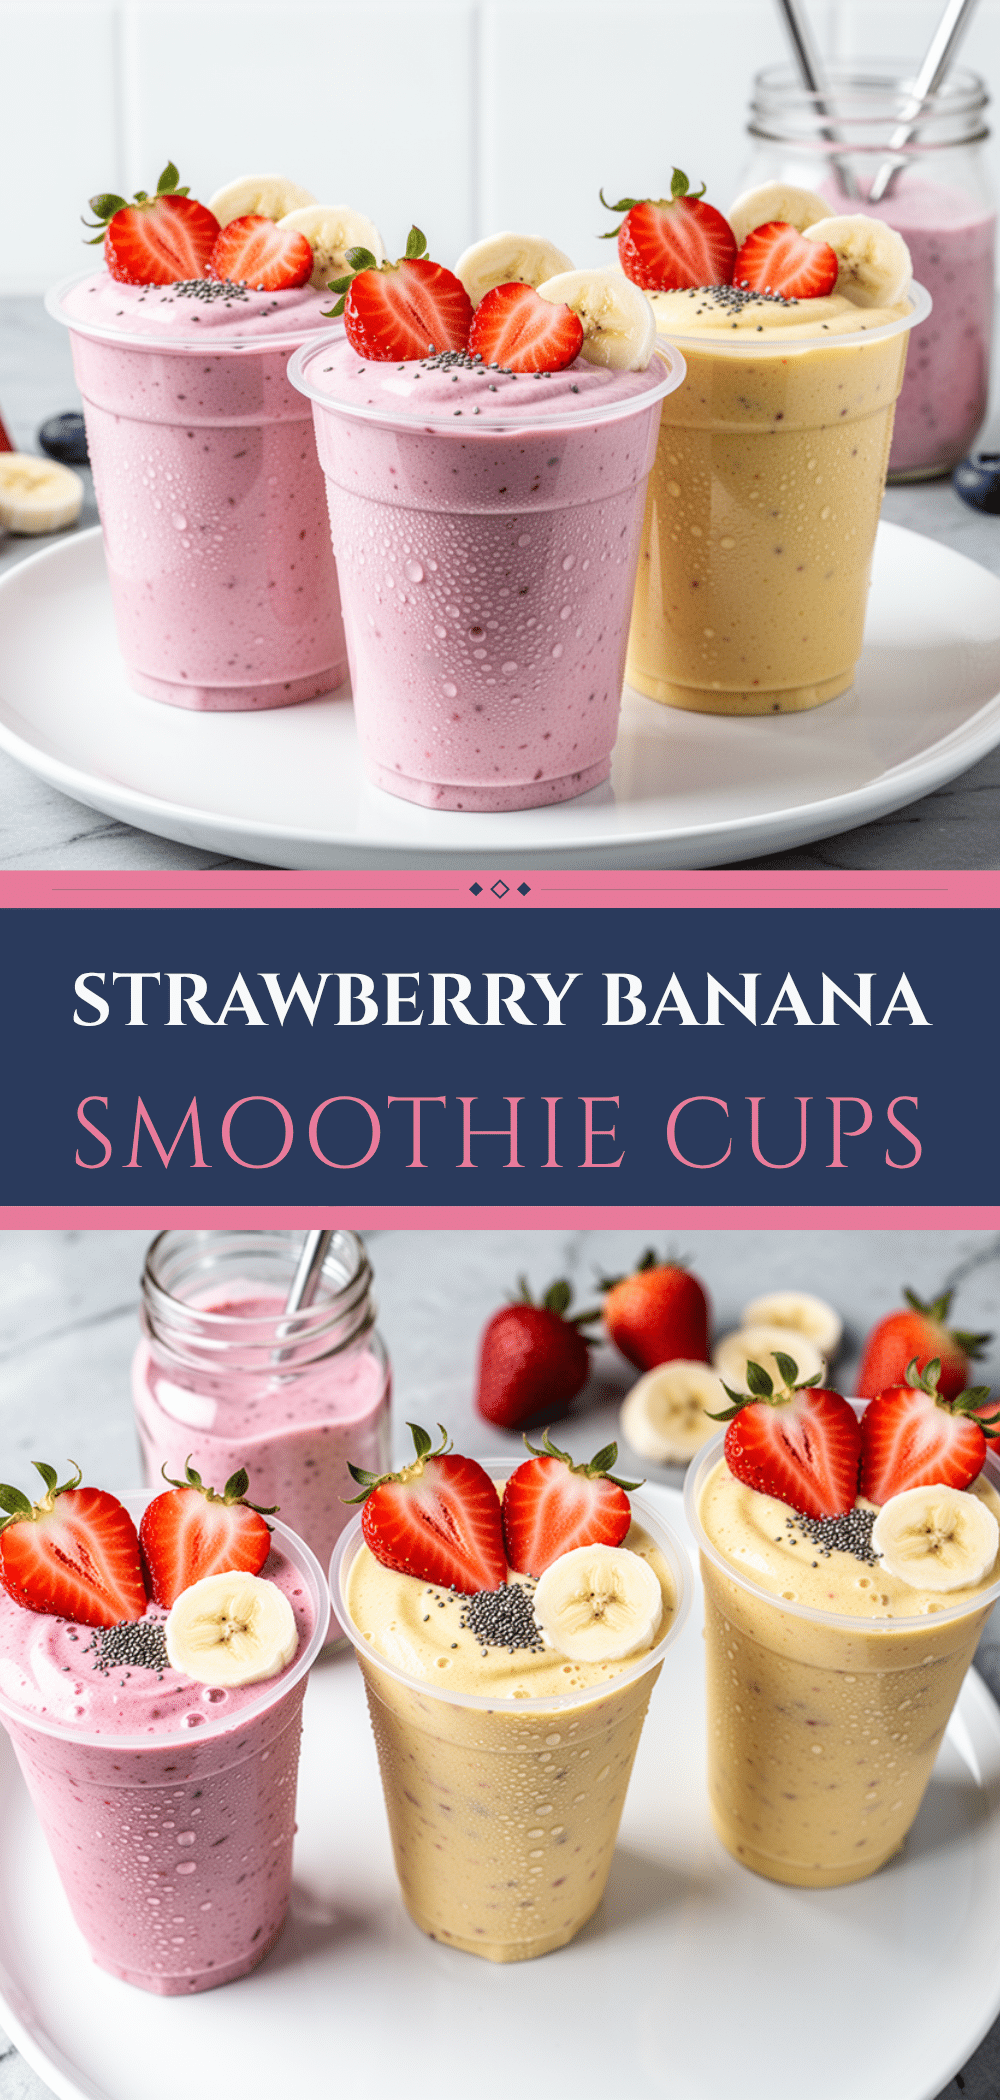
Strawberry Banana Yogurt Smoothie Cups
- Total Time: 4 hours 10 minutes
- Yield: 12 servings 1x
Description
A grab-and-go breakfast solution made by blending frozen fruit and yogurt, then freezing the mixture in muffin liners. These nutritious, mess-free cups are perfect for busy back-to-school mornings.
Ingredients
- 1 cup (150g) frozen strawberries
- 1 medium (100g) frozen banana
- 1 cup (240g) plain Greek yogurt
- 1/2 cup (120ml) milk (almond, whole, or other)
- 1–2 tablespoons honey or maple syrup (optional)
- 1 teaspoon lemon juice
- 1/2 teaspoon vanilla extract
Instructions
- Prep the fruit: If using fresh strawberries, wash, hull, chop, and freeze for at least 30 minutes. Peel and freeze the banana.
- Blend the base: Add frozen strawberries, frozen banana, Greek yogurt, milk, honey, lemon juice, and vanilla extract to a blender. Blend on low, then increase to high for 60-90 seconds until smooth. Scrape down sides as needed.
- Pour into cups: Line a standard 12-cup muffin tin with muffin liners (silicone or paper). Spoon the mixture into each liner, filling about 3/4 full to allow for expansion.
- Freeze: Place the muffin tin in the freezer for at least 4 hours, or overnight, until completely solid.
- Store and serve: Once frozen, transfer cups to a Ziplock bag in the freezer for storage. To serve, peel off the liner. For lunchboxes, let sit on the counter for 5-10 minutes to soften slightly before eating.
Notes
Use frozen fruit for the best thick, popsicle-like texture. If the mixture is too thick, add more milk. If too thin, add more frozen fruit. Silicone liners prevent sticking better than paper. These can be stored in the freezer for up to 3 months.
- Prep Time: 10 minutes
- Cook Time: 0 minutes
- Category: Breakfast
- Cuisine: American
Nutrition
- Serving Size: 1 cup
- Calories: 110
- Sugar: 14
- Sodium: 30
- Fat: 2
- Carbohydrates: 18
- Fiber: 2
- Protein: 6
Keywords: smoothie cups, breakfast, back-to-school, kid-friendly, healthy snacks, yogurt popsicles, meal prep, grab-and-go breakfast


