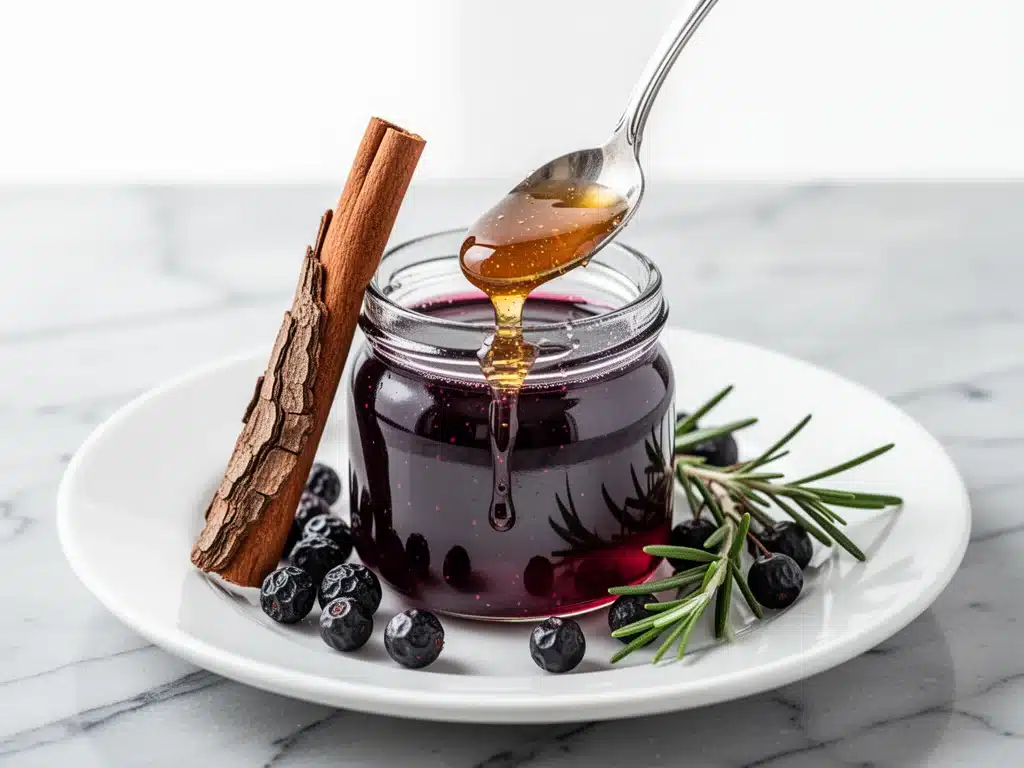
Three years ago, I walked into my living room coughing so hard I thought my ribs might crack. It was the worst cold of the decade, the kind that keeps you in bed for four days and makes your throat feel like you swallowed sandpaper. My mom, who has been making herbal remedies since before “holistic health” was a trendy buzzword, handed me a small glass jar of dark purple liquid and told me to take a tablespoon every few hours.
I didn’t expect much. It looked like grape juice, smelled like a witch’s cauldron, and tasted… intense. But within an hour, the scratchy irritation in my throat began to settle. By the next morning, I felt human again. That jar of elderberry syrup saved my sanity (and my voice) during a crucial work deadline.
I’ve been making Small-Batch Elderberry Syrup with Honey and Cinnamon ever since. Not because I’m obsessed with herbalism, but because it actually works. And unlike the giant bottles of syrup you buy at the store—which cost $18 and contain a mountain of preservatives—this version is clean, potent, and fits perfectly in my fridge without taking up half the shelf space.
This isn’t a medicinal potion you have to force down. The cinnamon and honey mask the tartness of the berries, making it taste like a cozy, spiced wine reduction. I keep a jar on the counter year-round, not just for cold season. Some days I drizzle it over high-protein peanut butter banana shakes for a flavor twist, and other times I sip it warm with tea when I feel a tickle in my throat. It’s simple, it’s fast, and it’s my go-to immunity booster.
Why You’ll Love This Recipe
There are a dozen reasons I keep coming back to this syrup, but they all boil down to one thing: it’s the ultimate kitchen hug in a jar. Here’s why this small-batch elderberry syrup has earned a permanent spot in my routine:
- It’s actually delicious — Most elderberry syrups taste like medicine because they’re overly tart. The combination of honey, cinnamon, and a touch of orange zest makes this syrup taste like dessert. My kids ask for it on their oatmeal. Yes, really.
- Small batch, big impact — This recipe makes about 1.5 cups. That’s perfect for my household. It lasts about 3-4 weeks in the fridge, so I’m not wasting a gallon of syrup I’ll never finish. I can make a fresh batch every month during cold season.
- Immunity-boosting power — Elderberries are packed with antioxidants and vitamins A, C, and E. Studies suggest they can shorten the duration of flu symptoms. Combine that with honey’s natural antibacterial properties and cinnamon’s anti-inflammatory effects, and you’ve got a serious health shield.
- Lightning fast — From start to finish, this takes about 20 minutes of active time. You don’t need special equipment or hours of simmering. It’s easier than making garlic butter roasted asparagus, and trust me, I’m a fan of both.
- Super versatile — It’s not just for sick days. Use it in dairy-free iced matcha coconut lattes, swirl it into yogurt, or mix it with sparkling water for a festive mocktail.
- Cost-effective — Dried elderberries are affordable, and you probably already have the honey and cinnamon. This costs a fraction of what store-bought versions run you.
Real talk? This syrup is my peace of mind. When the weather turns and the sniffles start circling, I don’t panic. I just reach for the jar. It’s comforting, practical, and genuinely good for you.
Ingredients You’ll Need
Here’s the best part: you probably have most of this already. This recipe relies on whole, recognizable ingredients. No weird powders or unpronounceable chemicals.
For the Elderberry Base
Dried elderberries (1 cup / 110g) — This is the star. Make sure you’re using black elderberries (Sambucus nigra). Red elderberries are toxic. I buy mine in the bulk section or online. They look like tiny, dried raisins but pack a punch.
Water (2 cups / 480ml) — Just plain old tap water. Distilled works too if you prefer, but it doesn’t change the flavor much.
Raw honey (½ cup / 170g) — This is where the sweetness comes from, but also the medicinal goodness. Raw honey retains enzymes that help with allergies. Manuka honey is amazing but pricey; I stick to local raw honey for balance.
Ground cinnamon (1 teaspoon) — Adds warmth and helps with inflammation. Cinnamon sticks work too, but ground is easier to strain out later. If you’re allergic to cinnamon, skip it or use a pinch of nutmeg.
Orange peel (1 large strip, optional) — I love adding this for a bright, citrusy note that cuts through the earthiness of the berries. Just make sure it’s pesticide-free or organic.
For the Flavor Boost
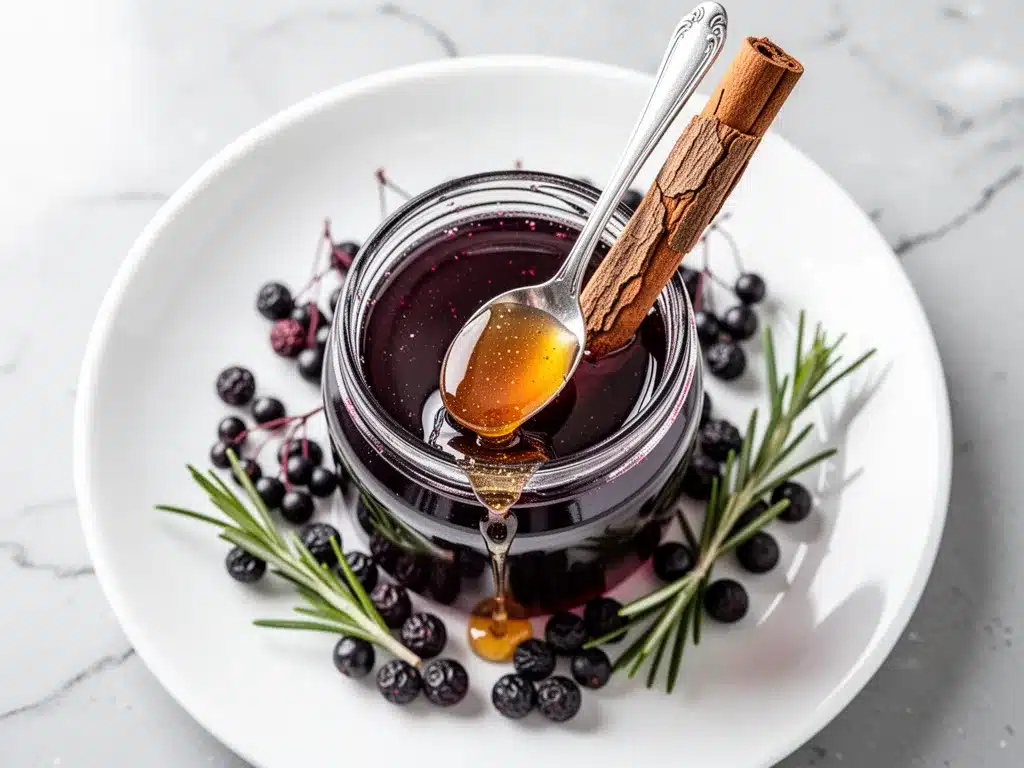
Vanilla extract (1 teaspoon) — A little vanilla goes a long way. It rounds out the flavors and makes the syrup taste richer, almost like a dessert sauce.
Pinch of salt — Seriously, add a tiny pinch. It enhances the sweetness and balances the tartness. You won’t taste the salt, but you’ll taste the difference.
Optional Add-Ins
Star anise (1 pod) — If you like licorice notes, this adds a sophisticated, spiced flavor. Remove before straining.
Fresh ginger (1-inch piece, sliced) — Great for nausea and extra immune support. I add this when I’m feeling really under the weather.
Apple cider vinegar (1 tablespoon) — Some people add this for an extra kick, but I find it changes the flavor profile too much. Skip it unless you’re brave.
Shopping Tips
I always check the expiration date on dried elderberries. They last for years, but older berries lose potency. I keep a backup jar just in case. Also, look for raw honey with the label still on it—processed honey is just sugar water.
Equipment Needed
You don’t need fancy gadgets for this. Here’s what I actually use:
Medium saucepan — I use a 2-quart pot. It needs to be big enough to hold 2 cups of water and berries without boiling over. My old stainless steel pot works perfectly.
Wooden spoon — For stirring. Metal can scratch non-stick, so wooden or silicone is best.
Mesh strainer or cheesecloth — This is crucial. You need to get all the berry bits out. I use a fine-mesh strainer lined with cheesecloth for the smoothest syrup. If you’re lazy, a regular strainer works but you’ll get some pulp.
Glass jar — For storage. I use a 16-ounce mason jar with a lid. Glass is best because the acidity in the berries can react with metal over time.
Measuring cups and spoons — Standard stuff. Dollar store versions work fine.
Funnel — Optional but nice. Makes pouring into the jar less messy. I use a small plastic funnel from the craft store.
Knife and cutting board — For peeling the orange (if you’re using it).
How to Make It: Step-by-Step
Alright, let’s make this! It’s incredibly simple, but there are a few tricks to get the texture and flavor just right.
Step 1: Combine and Simmer (10 minutes)
Grab your medium saucepan. Add the dried elderberries, water, cinnamon, and orange peel (if using). Stir it all together. Place the pot on the stove over medium-high heat. Bring it to a boil. Once it starts bubbling, reduce the heat to low. Let it simmer uncovered for 10 minutes. You’ll see the water turn a deep, dark purple. The berries will swell and burst. This is where the magic happens.
Step 2: Steep and Cool (15 minutes)
Turn off the heat. Let the pot sit on the stove for 15 minutes. Don’t skip this! Steeping allows the berries to release all their nutrients and flavor into the liquid. If you rush this, your syrup will be weak. The liquid will darken even more. It should smell earthy and spiced.
Step 3: Strain the Liquid
Set your mesh strainer over a large bowl. If you’re using cheesecloth, line the strainer with it. Pour the berry mixture through the strainer. Use the back of a wooden spoon to press down on the berries and squeeze out every drop of juice. This takes a minute, but it’s worth it. You want a smooth syrup, not a berry smoothie. Discard the solid bits (or compost them).
Step 4: Mix in Honey and Vanilla
While the liquid is still warm (not boiling hot!), add the raw honey and vanilla extract. Whisk it vigorously until the honey is completely dissolved. If the syrup is too cold, the honey won’t mix in well. Warm liquid helps it emulsify. Add the pinch of salt now. Taste it. It should be sweet, tart, and spiced. If it’s too tart, add a bit more honey. If it’s too sweet, add a splash of lemon juice.
Step 5: Bottle and Store
Use your funnel to pour the syrup into the glass jar. Seal it tightly. Let it cool to room temperature before putting it in the fridge. This prevents condensation, which can cause mold.
Total Time: About 30 minutes (10 active, 20 waiting)
Expert Tips & Tricks
Here’s everything I’ve learned from making this syrup dozens of times. These tips will save you from my mistakes.
Don’t Overcook the Honey — Heat destroys the beneficial enzymes in raw honey. That’s why I wait until the berry mixture has cooled slightly before adding it. If you boil the honey, you’re just adding sugar. Keep it raw for the immune benefits.
Press Those Berries — When straining, don’t just let it drip. Press the berries with a spoon. You’re extracting the last bit of concentrated nutrients. It’s like making tea; you want to get all the good stuff out.
Adjust Sweetness to Taste — Elderberries vary in tartness from batch to batch. Always taste before bottling. Some batches need more honey, some need less. Trust your palate.
Use a Funnel — I know it seems trivial, but pouring sticky syrup into a narrow jar without a funnel is a mess. I’ve spilled more syrup than I care to admit. Just use a funnel.
Label Your Jar — It sounds silly, but write the date on the jar. Elderberry syrup lasts 3-4 weeks in the fridge. If you forget, you might be drinking month-old syrup that’s gone bad. Safety first.
Add Ginger for Extra Kick — When I’m feeling a sore throat coming on, I add fresh ginger to the simmer step. It adds a spicy heat that really clears sinuses. Try it next time.
Variations & Substitutions
Once you’ve nailed the basic version, here’s how you can mix it up. I’ve tried all of these.
Elderberry & Turmeric — Add 1 teaspoon of turmeric powder during the simmer step. It adds a golden color and anti-inflammatory power. Great for joint pain and immunity.
Elderberry & Apple Cider Vinegar — Substitute half the honey with apple cider vinegar. It makes a more tart, medicinal syrup. Some people prefer this for colds. Start with 2 tablespoons and adjust.
Elderberry & Rosehips — Swap half the elderberries for dried rosehips. Rosehips are loaded with Vitamin C. This makes the syrup even more potent for immune support.
Elderberry & Lavender — Add 1 teaspoon of dried culinary lavender with the cinnamon. It adds a floral, calming note. Great for nighttime tea.
Gluten-Free & Vegan — This recipe is naturally gluten-free and vegan (as long as you use raw honey, which is technically not vegan but is often accepted. For strict vegan, use agave nectar instead of honey).
Child-Friendly Version — Reduce the cinnamon to ½ teaspoon and add a splash of orange juice. Kids love the sweeter, milder flavor.
Serving & Storage
How to Serve: I take 1 tablespoon daily for prevention. When I’m sick, I up it to 1 tablespoon every 3-4 hours. You can sip it straight, mix it with warm water and lemon, or stir it into tea. It’s also amazing in one-pan honey mustard chicken thighs for a glaze, though that’s a bit unusual, it works!
Storage: Keep in the fridge in a sealed glass jar. It lasts 3-4 weeks. If you see mold or it smells off, toss it. Don’t risk it.
Freezing: You can freeze this syrup! Pour it into ice cube trays and freeze. Then transfer the cubes to a bag. Thaw a cube in warm water or tea when you need it. This extends the shelf life to 6 months.
Pro Tip: If the syrup crystallizes in the fridge, just warm it slightly. It’ll return to liquid form.
Nutrition Information
I’m not a nutritionist, but here’s the breakdown if you’re tracking. This is per tablespoon.
- Calories: 35
- Protein: 0g
- Carbs: 9g
- Fiber: 1g
- Sugar: 8g
- Fat: 0g
- Vitamin C: 5% DV
- Antioxidants: High
What’s Good: Packed with antioxidants and vitamins. Honey provides natural energy. Cinnamon helps regulate blood sugar.
What to Know: High in natural sugar from honey. Not suitable for infants under 1 year (honey botulism risk). Moderate calories.
My Take: This is a supplement, not a meal replacement. Use it to boost your immune system, not to replace a balanced diet. A little goes a long way.
Final Thoughts
So that’s my go-to Small-Batch Elderberry Syrup with Honey and Cinnamon! I’ve probably talked your ear off at this point, but when you make a recipe this often, you have a lot to say about it.
This has saved my family from many a cold. It’s my answer to “what’s for immunity” when the weather turns. My kids are happy, my husband’s happy, and I’m happy because I’m not stressed about buying overpriced supplements.
Make it yours! Try different spices, adjust the sweetness, or add ginger. The best recipes are the ones you adapt to your family’s tastes.
If you make this, drop a comment and let me know what you think! I love hearing how recipes turn out in your kitchen. And if something doesn’t work, tell me that too—I’m here to help troubleshoot.
Happy cooking! And I hope your kitchen smells half as good as mine does right now.
Frequently Asked Questions
Can I use fresh elderberries instead of dried?
You can, but you’ll need about 3 cups of fresh berries for every 1 cup of dried. Fresh berries have more water, so you might need to simmer them longer. I stick to dried because they’re easier to store and have a more concentrated flavor. Also, fresh elderberries must be cooked to remove toxins.
Why did my syrup turn out watery?
This usually means you didn’t simmer it long enough or didn’t press the berries enough. Elderberries release their pectin and flavor when cooked down. Let it simmer for the full 10 minutes, and press the berries hard when straining. If it’s still too thin, simmer it a bit longer to reduce.
Can I make this ahead for the holidays?
Absolutely! This makes a great gift. Bottle it in nice jars with a ribbon and a label. It lasts 3-4 weeks in the fridge, so make it a week before you plan to give it away. You can also freeze it for longer storage.
Why did my syrup get moldy?
Mold happens if the syrup wasn’t stored properly or if water got into the jar. Always use a clean, dry spoon when scooping it out. Keep the lid tightly sealed. If you see mold, toss the whole batch. Don’t try to salvage it.
Can I use agave instead of honey?
Yes, for a vegan version. Agave has a milder flavor, so the cinnamon and orange will shine through more. It also has a thinner consistency, so you might need to simmer the berry mixture longer to thicken it.
How do I know if elderberries are safe?
Only use black elderberries (Sambucus nigra). Red and other varieties are toxic. Also, always cook the berries. Raw elderberries contain cyanogenic glycosides, which can cause nausea. Cooking breaks down these compounds.
Can I double this recipe?
Yes! Just use a larger pot. The cooking times stay the same. I double it when I’m meal-prepping or when I want to make gifts. Just make sure your strainer is big enough.
Pin This Recipe!
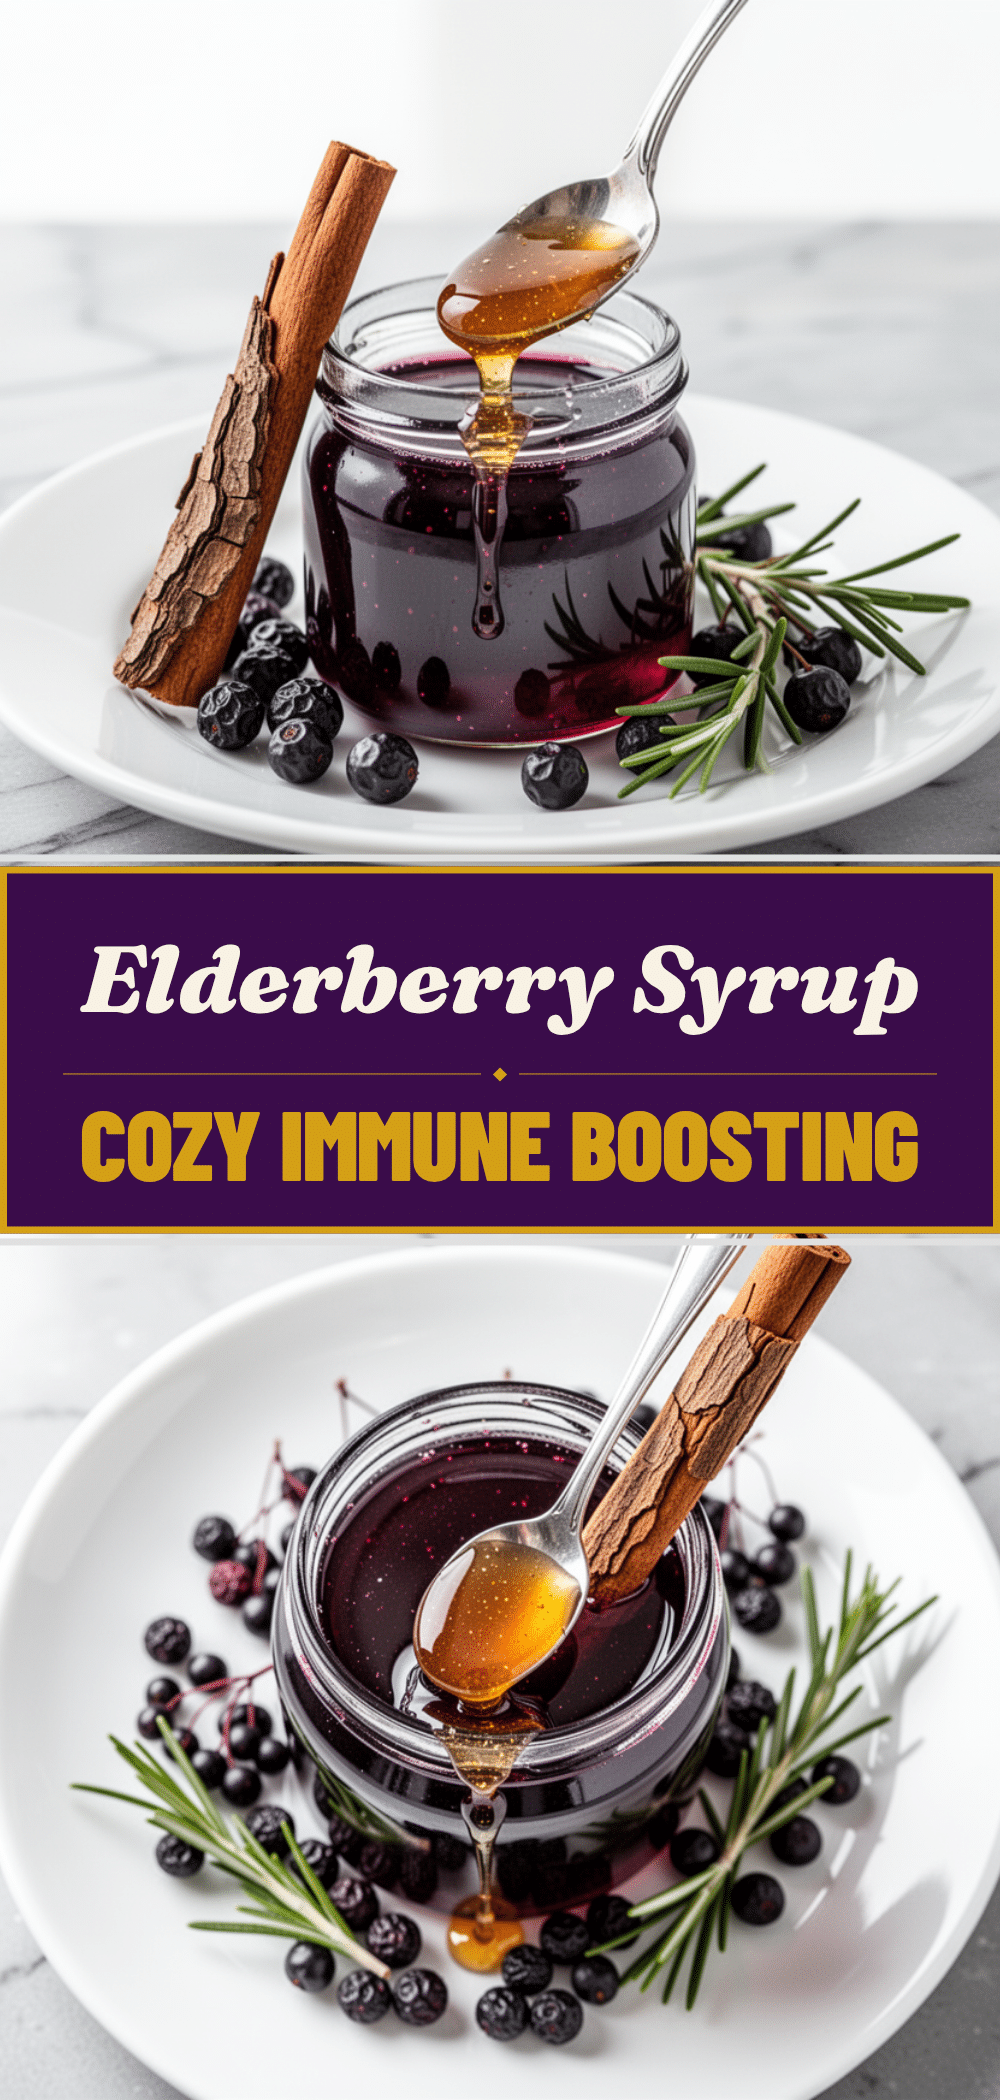
Small-Batch Elderberry Syrup with Honey and Cinnamon
- Total Time: 30 minutes
- Yield: 1.5 cups 1x
Description
A simple, immunity-boosting elderberry syrup made with dried berries, honey, and cinnamon. This small-batch recipe is ready in 30 minutes and provides a delicious, natural remedy for cold and flu season.
Ingredients
- 1 cup dried elderberries (black elderberries/Sambucus nigra)
- 2 cups water
- 1 teaspoon ground cinnamon
- 1 large strip orange peel (optional, pesticide-free)
- 1 teaspoon vanilla extract
- Pinch of salt
- 1/2 cup raw honey
Instructions
- Combine dried elderberries, water, cinnamon, and orange peel in a medium saucepan.
- Place over medium-high heat and bring to a boil.
- Reduce heat to low and simmer uncovered for 10 minutes until the liquid turns deep purple and berries burst.
- Turn off heat and let the mixture steep for 15 minutes to release nutrients and flavor.
- Strain the liquid through a mesh strainer lined with cheesecloth into a bowl, pressing the berries with the back of a spoon to extract all juice.
- While the liquid is still warm (not boiling), whisk in raw honey, vanilla extract, and salt until the honey is fully dissolved.
- Taste and adjust sweetness if necessary.
- Pour the syrup into a clean glass jar using a funnel.
- Let cool to room temperature before sealing and refrigerating.
Notes
Do not boil the honey, as heat destroys beneficial enzymes. Always use black elderberries (Sambucus nigra) as red varieties are toxic. Ensure berries are cooked to remove toxins. Store in the fridge for 3-4 weeks or freeze in ice cube trays for up to 6 months. Not suitable for infants under 1 year due to honey botulism risk.
- Prep Time: 10 minutes
- Cook Time: 10 minutes
- Category: Condiment
- Cuisine: American
Nutrition
- Serving Size: 1 tablespoon
- Calories: 35
- Sugar: 8
- Carbohydrates: 9
- Fiber: 1
Keywords: elderberry syrup, immunity booster, natural cold remedy, small batch recipe, honey syrup, cinnamon syrup, homemade syrup, flu season