It was 4:45 PM on a Tuesday, and I was staring into the abyss of my pantry. My husband had mentioned “something quick” over the phone, which is code for “I’m starving but don’t want to cook anything complicated.” My toddler was currently using the coffee table as a jungle gym, and I had exactly zero energy to chop, stir, clean, repeat.
This is the moment where most people order takeout. But I’ve been there too many times to let the delivery app win again. So I did what I always do: I looked for the one-pan wonder. The recipe that requires one pot, minimal prep, and tastes like you spent hours simmering when you actually spent ten minutes washing dishes.
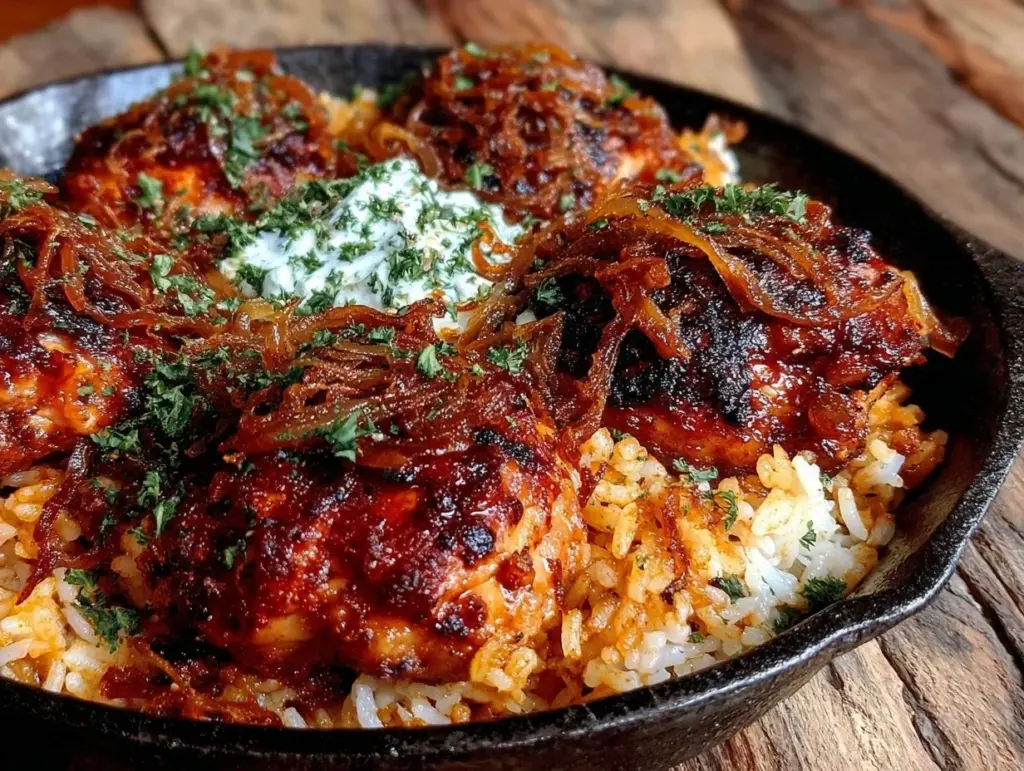
That night, I threw together a batch of one-pan chicken and rice with caramelized onions that completely saved the evening. It’s sweet, savory, tender, and smells like comfort food heaven. My kids ate every bite (rare), my husband asked for seconds (rarer), and I got to sit down while the pot did all the work.
If you’re looking for a weeknight dinner that doesn’t involve a mountain of dirty dishes or a 45-minute active cook time, this is it. It’s basically the ultimate 5 PM rescue mission. I’ve made this one-pan chicken and rice with caramelized onions at least a dozen times since that Tuesday, and it’s never failed me.
Why You’ll Love This One-Pan Chicken and Rice
Let’s be real. Weeknight cooking is less about culinary artistry and more about logistics. Can I make it? Can I clean it up? Will they eat it? This recipe checks every single box.
Here’s why this one-pan chicken and rice with caramelized onions has taken over my dinner rotation:
- Zero Cleanup Stress — Seriously, one pan. One pot. That’s it. If you can boil water and chop an onion, you can make this. I’ve even made this while balancing my toddler on my hip. It’s that forgiving.
- Flavor That Builds Itself — The secret isn’t just the chicken or the rice; it’s the onions. By caramelizing them first in the same pan, you get this deep, sweet, jammy richness that coats everything. It tastes like you simmered it for hours, but it only takes 30 minutes.
- Complete Meal in One Bowl — Protein, carb, veg (well, onions count, right?), and sauce. It’s a balanced dinner without the effort of plating three different sides. I serve it straight from the skillet, and it looks rustic and beautiful.
- Leftover Gold — This actually tastes better the next day. The rice absorbs all that oniony goodness and gets even more flavorful. I deliberately make extra for lunch because the microwave version is surprisingly good.
- Budget Friendly — Chicken thighs and rice are cheap. Onions are dirt. This feeds four people for under $15. That’s less than a pizza delivery with tip.
This is my go-to when I’m tired, broke, or just don’t want to think. It’s reliable, delicious, and makes everyone happy. No fancy techniques, no weird ingredients you have to order online. Just good, honest food.
Ingredients You’ll Need
Here’s the best part: you probably have most of this already. This isn’t a recipe that requires a special trip to the store. It’s pantry-friendly and fridge-clearing.
For the Chicken and Base
Chicken thighs (1.5 lbs / 680g) — Boneless, skinless. I prefer thighs over breasts because they stay juicy and don’t dry out in the pan. If you only have breasts, use them, but keep an eye on the cooking time so they don’t turn into rubber. I buy the family pack and freeze what I don’t use immediately.
Long-grain white rice (1 cup / 185g) — Jasmine or Basmati work great. I use Jasmine for that slight floral aroma. Do not use brown rice unless you want to adjust the liquid and time significantly. White rice is the key to that fluffy, tender texture in this one-pot method.
Chicken broth (2 cups / 480ml) — Low-sodium is best so you can control the saltiness. I keep a carton of good quality broth in the fridge at all times. If you’re out, water with a bouillon cube works, but broth adds so much more depth.
Olive oil (2 tablespoons) — For sautéing the chicken and onions. I use regular olive oil here, not extra virgin, because I’m cooking at a higher heat. Extra virgin is for finishing, not frying.
For the Caramelized Onion Magic
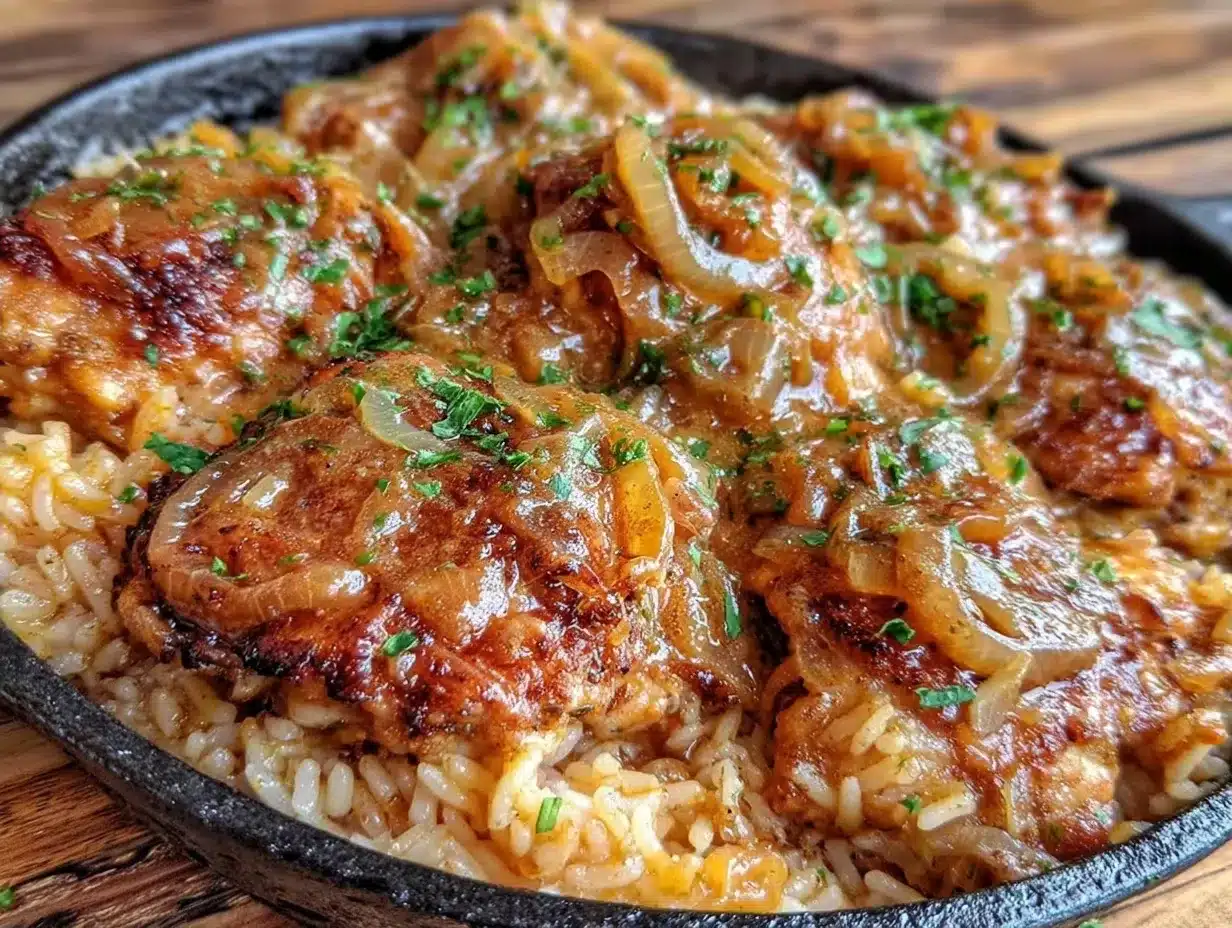
Yellow onions (2 large) — This is the star. Yes, two large onions. They shrink down to nothing, leaving behind this sweet, jammy concentrate. Sweet onions work too, but yellow gives that classic savory depth. Dice them roughly—size doesn’t matter much since they’ll cook down.
Butter (1 tablespoon) — I know, it’s one-pan, but a knob of butter with the olive oil makes the onions richer and helps them caramelize faster. Don’t skip it. It’s worth the extra splash.
Soy sauce (1 tablespoon) — This is the secret umami bomb. It doesn’t make the dish taste like Asian food; it just adds a savory backbone that salt alone can’t achieve. I use regular soy sauce, not low-sodium, because I need that flavor punch.
Garlic (3 cloves, minced) — Fresh only. Jarred garlic has a weird metallic taste that clashes with the sweet onions. Minced is fine, but grated garlic cooks more evenly. I grate mine with a microplane when I’m feeling fancy, but a knife works.
Seasoning and Finish
Dried thyme (1 teaspoon) — Or 1 tablespoon fresh if you have it. Thyme pairs perfectly with chicken and onions. I always have dried thyme stocked because it lasts forever.
Smoked paprika (½ teaspoon) — Adds a subtle smokiness that elevates the whole dish. It’s not spicy, just smoky. If you don’t have it, regular paprika works, but smoked is better.
Salt and black pepper — To taste. I usually add a generous pinch of salt to the rice water and season the chicken before searing.
Fresh parsley (optional, for garnish) — Adds a pop of color and freshness. I chop it up and sprinkle it over the top right before serving. It makes it look restaurant-quality.
Equipment Needed
You don’t need fancy equipment for this. Here’s what I actually use.
Large skillet or Dutch oven — I use a 12-inch cast iron skillet. It holds heat well and goes from stovetop to table. A heavy-bottomed stainless steel pan works too. Avoid non-stick if you can, because you want a good sear on the chicken. But if all you have is non-stick, use it. It still tastes great.
Sharp knife — For chopping onions and mincing garlic. A dull knife makes onion chopping a pain. Learned this the hard way with blisters.
Wooden spoon or spatula — For stirring. Silicone works too. Just don’t use metal on cast iron if you’re trying to keep your seasoning intact.
Measuring cups and spoons — Standard stuff. Dollar store versions work fine.
Lid for your pan — Essential for steaming the rice. If your pan doesn’t have a lid, foil works in a pinch, but a proper lid traps the steam better.
How to Make It: Step-by-Step
Alright, let’s make this! I’m walking you through exactly how I do it, including the little tricks I’ve picked up.
Step 1: Prep the Chicken (5 minutes)
Pat the chicken thighs dry with paper towels. This is crucial. Wet chicken steams instead of sears. Season both sides generously with salt, pepper, and the smoked paprika. Set aside. While the chicken sits, dice your onions and mince your garlic. I know it seems fussy, but it makes the actual cooking way less stressful.
Step 2: Sear the Chicken (5-7 minutes)
Heat the olive oil in your large skillet over medium-high heat. Once the oil shimmers, add the chicken thighs in a single layer. Don’t crowd the pan! If your pan is small, do this in batches. Sear for 3-4 minutes per side until golden brown and crispy. You don’t need to cook it through yet; we’ll finish it later. Remove the chicken to a plate and set aside. Leave that delicious browned stuff (fond) in the pan.
Step 3: Caramelize the Onions (10-12 minutes)
Reduce the heat to medium. Add the butter to the same pan. Once melted, add the diced onions. Stir to coat them in the chicken drippings and butter. Cook for 8-10 minutes, stirring occasionally. You want them soft, golden brown, and sweet. This is the caramelization step. Don’t rush it. If they start burning, lower the heat. Add a splash of water if they stick too much. This is where the magic happens.
Step 4: Build the Rice Mixture (2 minutes)
Add the minced garlic and dried thyme to the onions. Cook for 1 minute until fragrant. Pour in the chicken broth and soy sauce, scraping up any browned bits from the bottom of the pan. Those bits are flavor gold. Stir to combine.
Step 5: Simmer the Rice (15-18 minutes)
Nestle the seared chicken thighs back into the pan, on top of the onions and rice mixture. Pour in the uncooked rice. Make sure the rice is submerged in the liquid. If it’s not, add a little more broth or water. Bring to a boil, then immediately reduce the heat to low. Cover with a tight-fitting lid.
Let it simmer for 15-18 minutes. Do not lift the lid! I know it’s tempting, but every time you peek, you let steam escape, and the rice won’t cook evenly. Set a timer. Trust the process.
Step 6: Rest and Serve (5 minutes)
After 18 minutes, turn off the heat. Keep the lid on and let it rest for 5 minutes. This allows the rice to finish absorbing the liquid and become fluffy. Remove the lid, fluff the rice with a fork, and serve the chicken on top. Garnish with fresh parsley if you’re feeling fancy.
Total time: About 30 minutes. Active time: 10 minutes. Cleanup: One pan.
Expert Tips & Tricks
Here’s everything I’ve learned from making this dozens of times. These tips will save you from my mistakes.
Don’t Skip the Sear — It’s tempting to just boil the chicken, but searing first adds texture and flavor. That Maillard reaction is what makes it taste like a real meal, not boiled chicken.
Pat the Chicken Dry — I can’t stress this enough. Wet chicken = steamed chicken = sad chicken. Paper towels are your friend.
Low and Slow for Rice — If the heat is too high, the rice will burn on the bottom before it cooks on top. Low heat is key. If you don’t have a burner that goes low enough, put a heat diffuser under the pan.
Use the Right Rice — Long-grain white rice is standard for a reason. It stays separate and fluffy. Short-grain or sticky rice will turn into mush. Don’t swap unless you know what you’re doing.
Check the Liquid — Before you cover the pan, make sure the rice is mostly covered by liquid. It should be just below the surface of the rice. If it’s too dry, add a splash more broth.
Resting is Non-Negotiable — If you serve immediately, the rice might be slightly wet. Letting it rest for 5 minutes off the heat lets it firm up and become perfectly tender.
Variations & Substitutions
Once you’ve nailed the basic version, here’s how you can mix it up. I’ve tried all of these.
Veggie-Loaded — Toss in 1 cup of frozen peas or chopped broccoli when you add the rice. The steam will cook them perfectly. My kids love the added color and nutrition.
Spicy Version — Add a teaspoon of red pepper flakes with the garlic. Or stir in a tablespoon of sriracha at the end. For a kick that really sings.
Herb Swap — No thyme? Use rosemary or oregano. Both work well with chicken and onions. Fresh herbs at the end are great too.
Gluten-Free — Just use gluten-free soy sauce (or tamari) and rice. Everything else is naturally gluten-free.
Dairy-Free — Skip the butter and use extra olive oil. The dish is still delicious without it.
Protein Swap — You can use chicken breasts, but reduce the searing time and check for doneness earlier. Or use sausage slices for a different flavor profile. I’ve made this with andouille sausage before, and it was amazing.
Serving & Storage
How to Serve: I usually serve this straight from the skillet at the dinner table. It looks rustic and stays warm. But here are other ways I’ve enjoyed it:
- Side Dishes: A simple green salad with vinaigrette cuts through the richness. Roasted broccoli or green beans are also great.
- Toppings: I put out a bowl of extra chopped parsley and maybe some hot sauce for people who want more kick.
- Wine Pairing: Not a wine expert, but my wine-snob friend says a crisp Chardonnay or a light Pinot Noir works great with this.
Storage Instructions:
Refrigerator: Store in an airtight container for up to 4 days. The rice will absorb more liquid in the fridge, so it might look dry. That’s normal.
Reheating: Best method: Add a splash of broth or water to a skillet, add your leftover rice, and heat gently over low heat, stirring frequently. The extra liquid brings back the creamy texture. Microwave works too, but add a splash of water first and cover with a damp paper towel. It helps keep the rice moist.
Freezing: Honestly, this doesn’t freeze well. The rice texture changes when thawed. It’s better fresh or refrigerated. Make it fresh or store in the fridge for up to 4 days.
Meal Prep: This is great for meal prep. Divide into containers for lunches throughout the week. It reheats beautifully.
Nutrition Information
I’m not a nutritionist, but here’s the breakdown if you’re tracking.
Per Serving (based on 4 servings):
- Calories: 450
- Protein: 35g
- Carbs: 45g
- Fiber: 2g
- Sugar: 6g
- Fat: 12g
- Sodium: 680mg
What’s good? Decent protein from the chicken. Carbs from the rice. It’s a balanced meal. What to know? Higher in sodium from the broth and soy sauce. Use low-sodium broth to reduce that. It’s comfort food, not diet food. But it’s way better than takeout.
Final Thoughts
So that’s my one-pan chicken and rice with caramelized onions! I’ve probably talked your ear off at this point, but when you make a recipe this often, you have a lot to say about it.
This has saved weeknight dinners more times than I can count. It’s my answer to “what’s for dinner” when I’m tired, don’t want takeout, and still want something that tastes really good. My kids are happy, my husband’s happy, and I’m happy because I’m not stressed about cooking.
Make it yours! Try different add-ins, swap in your favorite vegetables, adjust the spices. The best recipes are the ones you adapt to your family’s tastes.
If you make this, drop a comment and let me know what you think! I love hearing how recipes turn out in your kitchen. And if something doesn’t work, tell me that too—I’m here to help troubleshoot.
Happy cooking! And I hope your kitchen smells half as good as mine does right now.
Frequently Asked Questions
Can I use brown rice instead of white rice?
You can, but you’ll need to adjust the liquid and cooking time. Brown rice takes longer to cook and needs more water. I’d recommend using 2.5 cups of broth and cooking for 30-35 minutes. But honestly, white rice is better for this one-pot method because it stays fluffy and doesn’t get mushy.
Why did my rice turn out mushy?
Usually means you used too much liquid or cooked it too long. Make sure you’re using long-grain rice and not stirring it while it simmers. Stirring releases starch and makes it sticky. Also, don’t skip the resting step—it helps firm up the rice.
Can I make this ahead for a dinner party?
Sort of. You can prep the chicken and onions ahead of time and store them in the fridge. When it’s time to cook, just follow the steps. It saves you active time during the party. But don’t cook it all the way through and reheat, because the rice will get dry.
Can I use chicken breasts instead of thighs?
Yes, but they cook faster and can dry out. Sear them for 2-3 minutes per side instead of 3-4, and check the internal temperature earlier. Aim for 165°F. Thighs are more forgiving, but breasts work if you’re careful.
Why did my rice burn on the bottom?
The heat was too high. Simmering rice needs low, gentle heat. If your burner doesn’t go low enough, use a heat diffuser. Also, make sure the rice is submerged in liquid before you cover it.
Can I freeze leftovers?
I don’t recommend it. The rice texture changes when frozen and thawed. It’s best eaten fresh or refrigerated for up to 4 days.
What if I don’t have chicken broth?
Use water with a bouillon cube or powder. Or vegetable broth if you want a vegetarian version (though the chicken will still be there). The flavor will be slightly different, but it’ll still work.
Pin This Recipe!
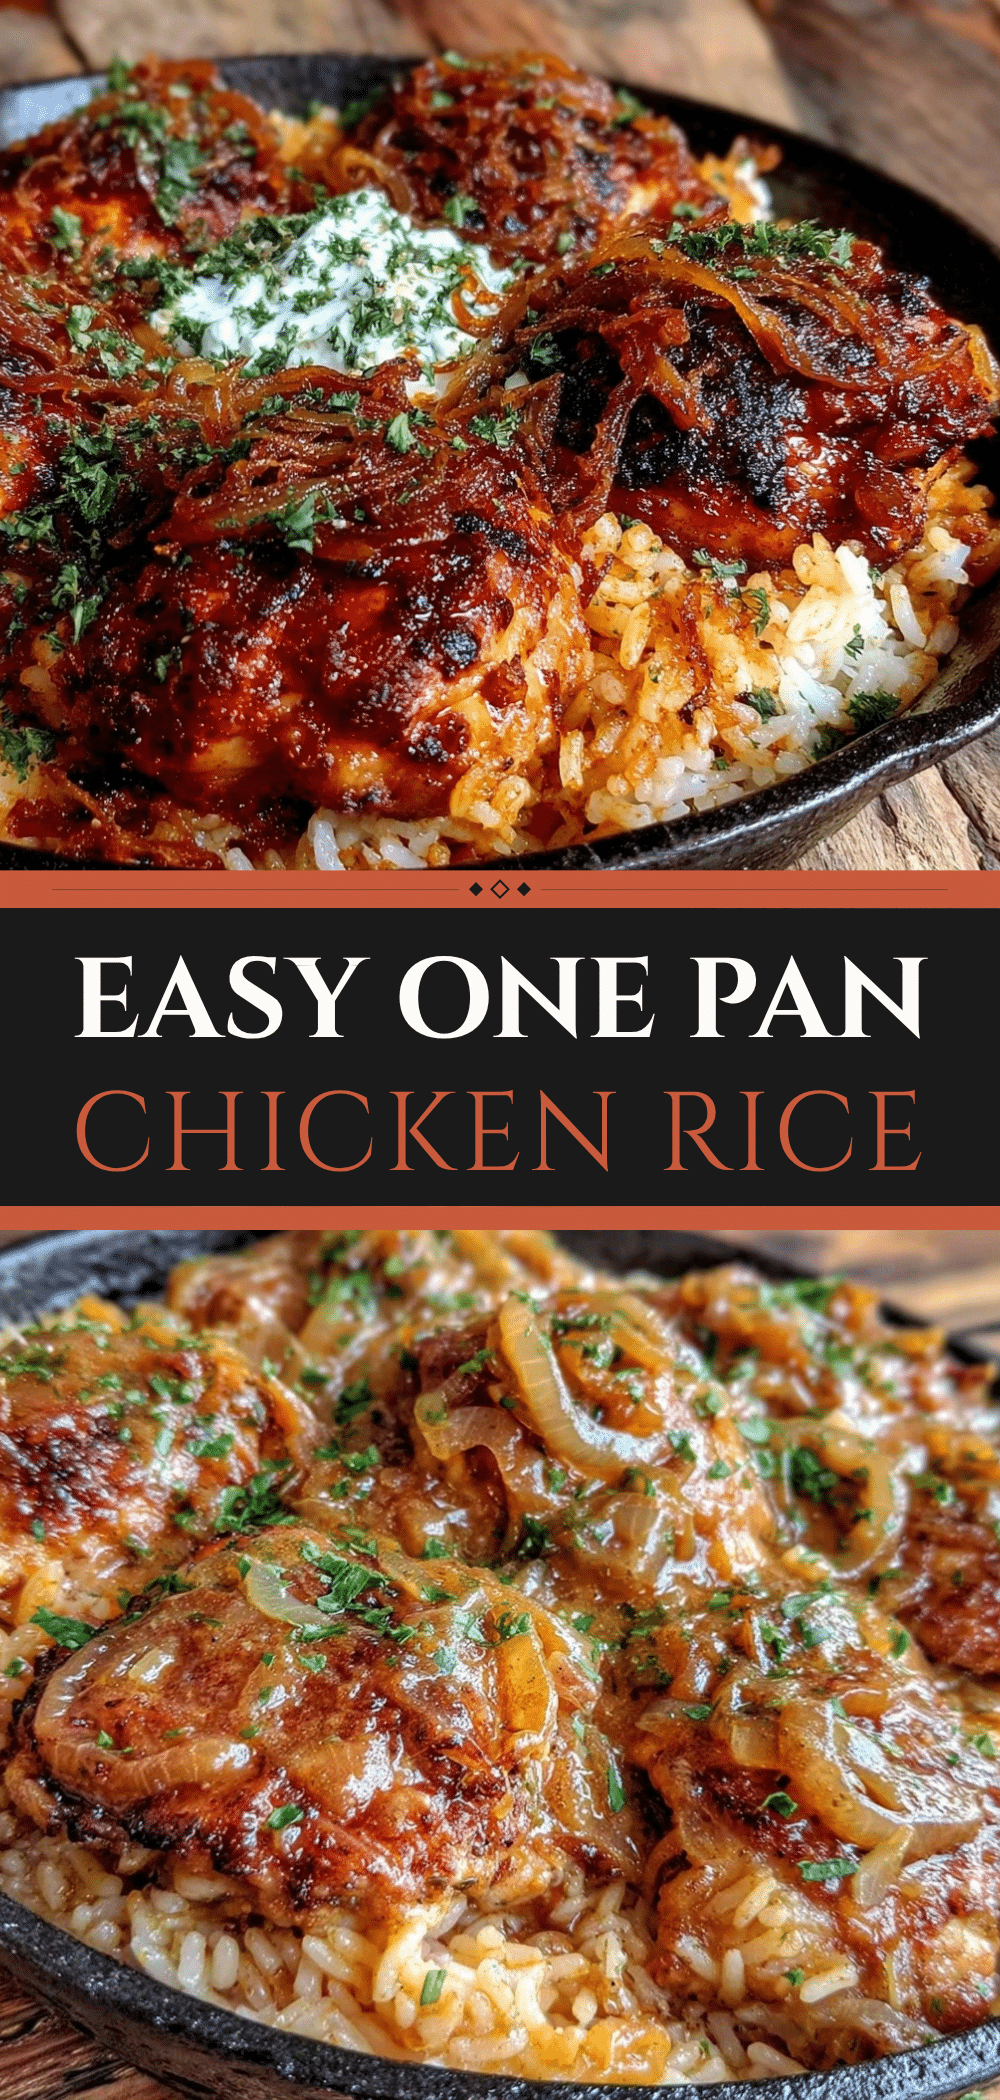

One-Pan Chicken and Rice with Caramelized Onions
- Total Time: 30 minutes
- Yield: 4 servings 1x
Description
A quick, weeknight-friendly one-pan dinner featuring seared chicken thighs, fluffy long-grain rice, and deeply caramelized onions in a savory soy-thyme broth. Minimal prep, maximum flavor, and easy cleanup.
Ingredients
- 1.5 lbs boneless, skinless chicken thighs
- 1 cup long-grain white rice (Jasmine or Basmati)
- 2 cups low-sodium chicken broth
- 2 tablespoons olive oil
- 2 large yellow onions, diced
- 1 tablespoon butter
- 1 tablespoon soy sauce
- 3 cloves garlic, minced
- 1 teaspoon dried thyme
- 1/2 teaspoon smoked paprika
- Salt and black pepper to taste
- Fresh parsley for garnish (optional)
Instructions
- Pat chicken thighs dry with paper towels and season both sides generously with salt, pepper, and smoked paprika.
- Heat olive oil in a large skillet or Dutch oven over medium-high heat. Sear chicken thighs in a single layer for 3-4 minutes per side until golden brown. Remove chicken to a plate and set aside.
- Reduce heat to medium. Add butter to the same pan. Once melted, add diced onions and cook for 8-10 minutes, stirring occasionally, until soft and golden brown.
- Add minced garlic and dried thyme to the onions; cook for 1 minute until fragrant.
- Pour in chicken broth and soy sauce, scraping up any browned bits from the bottom of the pan.
- Nestle the seared chicken thighs back into the pan on top of the onion mixture. Pour in the uncooked rice, ensuring it is submerged in the liquid.
- Bring to a boil, then immediately reduce heat to low. Cover with a tight-fitting lid and simmer for 15-18 minutes without lifting the lid.
- Turn off the heat and let the pan rest, covered, for 5 minutes.
- Remove lid, fluff rice with a fork, and serve chicken on top. Garnish with fresh parsley if desired.
Notes
Do not lift the lid while the rice is simmering to ensure even cooking. If using chicken breasts, reduce searing time to 2-3 minutes per side. For a spicy version, add red pepper flakes with the garlic. Leftovers can be stored in the refrigerator for up to 4 days; freezing is not recommended as rice texture may suffer.
- Prep Time: 10 minutes
- Cook Time: 20 minutes
- Category: Main Course
- Cuisine: American
Nutrition
- Serving Size: 1 chicken thigh and
- Calories: 450
- Sugar: 6
- Sodium: 680
- Fat: 12
- Saturated Fat: 3
- Carbohydrates: 45
- Fiber: 2
- Protein: 35
Keywords: one-pan dinner, chicken and rice, caramelized onions, weeknight meals, easy cleanup, family friendly, budget friendly


