I have a confession to make. For years, I was terrified of making cake. Not the big, complicated wedding cakes or the dense fruitcakes, but simple layer cakes. Why? Because I live alone (mostly). If I baked a standard 9-inch cake, I’d spend three days frosting it, eat one slice on Tuesday, and then watch the rest slowly dry out in the fridge while I guiltily ate cereal for dinner. It felt like a waste of good butter and sugar.
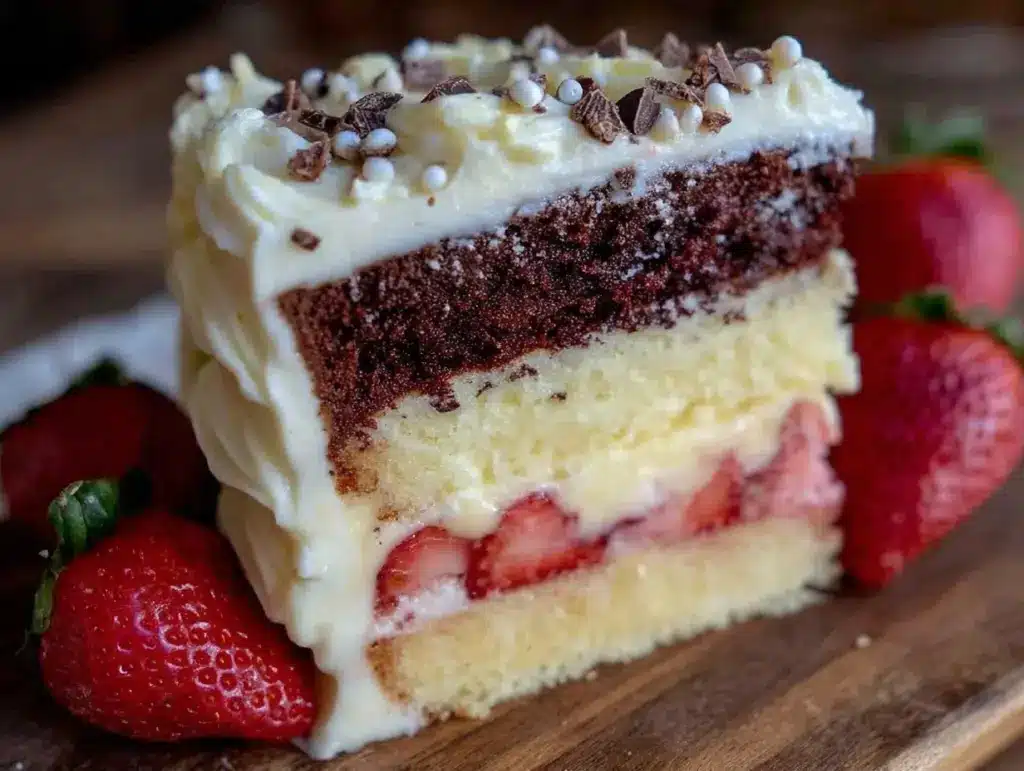
That changed last month when I decided to stop trying to force square pegs into round holes. I needed a dessert that was nostalgic, colorful, and—crucially—actually finished before the weekend was over. I found myself craving that specific childhood magic: the pink strawberry layer, the creamy vanilla, and the rich chocolate. But I didn’t want a whole cake. I wanted Neapolitan Layer Cake for Two.
So, I tweaked my usual small-batch baking methods. I scaled down the ingredients, adjusted the pan sizes, and figured out how to get those distinct flavors to play nice together without turning into a muddy mess. The result? A tiny, three-tiered masterpiece that fits perfectly on a small plate. It’s moist, it’s colorful, and it’s gone before you can even think about leftovers. Seriously, this is the Neapolitan Layer Cake for Two I’ve been dreaming of. No waste, just pure, nostalgic joy in every bite.
Why You’ll Love This Neapolitan Layer Cake for Two
There are about ten reasons I keep making this specific cake, but here are the big ones that will convince you to try it this weekend.
**Perfectly Portioned** — This recipe makes exactly two generous slices. That’s it. No third slice for “just in case,” and no wrapping up the rest of the cake for next week. It’s designed for two hungry bakers who want dessert tonight.
**No Leftovers** — I’ve tested this recipe so you don’t have to guess. It yields exactly two servings. This means zero food waste and zero guilt over a half-eaten cake sitting in the Tupperware for five days. It’s the ultimate “right-sized” dessert.
**Three Flavors in One** — Who says you have to choose? You get the fruity brightness of strawberry, the classic comfort of vanilla, and the deep richness of chocolate. It’s like getting three desserts for the price of one, but scaled down so it doesn’t overwhelm your palate.
**Quick to Make** — Because the cakes are smaller, they bake faster. You’re looking at about 20-25 minutes in the oven instead of the usual 35-40. That means less time waiting and more time eating.
**Great for Date Night** — Or just a “me” night. Serve this with a cup of coffee or a glass of wine, and it feels special without the effort of a full-sized celebration cake. It’s fancy enough for a treat, but simple enough for a random Tuesday.
**Freezer-Friendly (Sort of)** — Since it’s just two slices, you can freeze one immediately if you’re having a friend over later. It thaws perfectly in the fridge overnight.
This is my go-to when I want something sweet but don’t want to commit to a whole cake. It’s reliable, it’s delicious, and it respects your appetite.
Ingredients You’ll Need
Here’s the best part: you probably have most of this already. The beauty of small-batch baking is that you don’t need a warehouse of ingredients. I’m particular about three things here, and I’ll tell you exactly why.
**For the Cakes:**
**All-purpose flour** (1 ½ cups / 190g) — The base for all three layers. Don’t use self-rising; you need to control the leavening. Spoon and level it for accuracy.
**Granulated sugar** (1 cup / 200g total) — Divided between the three batters. White sugar keeps the crumb tender and light.
**Unsalted butter** (½ cup / 113g) — Room temperature is non-negotiable. If it’s cold, it won’t cream properly, and your cakes will be dense. I take mine out about an hour before baking.
**Eggs** (2 large) — Room temperature eggs blend better into the batter. Cold eggs can cause the butter to seize up slightly.
**Buttermilk** (¾ cup / 180ml) — This is the secret to tenderness. The acidity breaks down the gluten. If you don’t have buttermilk, add 1 tablespoon of lemon juice or vinegar to regular milk and let it sit for 5 minutes.
**Vanilla extract** (1 teaspoon) — Pure vanilla makes a huge difference in the vanilla layer and balances the chocolate.
**Leavening Agents:**
**Baking powder** (1 ½ teaspoons) — Helps the cakes rise. Make sure it’s fresh; old baking powder makes flat cakes.
**Baking soda** (½ teaspoon) — Reacts with the buttermilk for lift.
**Salt** (½ teaspoon) — Enhances all the flavors. Don’t skip it.
**For the Strawberry Layer:**
**Strawberry jam** (3 tablespoons) — I use a high-quality jam with real fruit pieces. It gives that authentic pink color and intense flavor. Avoid the super-sweet, jelly-like stuff.
**For the Chocolate Layer:**
**Unsweetened cocoa powder** (3 tablespoons) — Use good quality cocoa. Hershey’s is fine, but Dutch-processed gives a deeper, richer chocolate flavor.
**For the Buttercream:**
**Unsalted butter** (1 cup / 226g) — Softened to room temperature. This is the base for all three frostings.
**Powdered sugar** (4 cups / 480g) — Sifted to remove lumps. You need it fine for smooth frosting.
**Heavy cream** (3-4 tablespoons) — Just enough to thin the buttercream to a spreadable consistency.
**Food coloring** (Gel paste, red and brown/black) — Gel is better than liquid because it won’t change the texture of the frosting.
**Flavor extracts:**
**Strawberry extract** (½ teaspoon) — Boosts the fruit flavor.
**Vanilla extract** (1 teaspoon) — For the middle layer.
**Almond extract** (¼ teaspoon) — Optional, but adds a nice depth to the chocolate.
Equipment Needed
You don’t need fancy equipment for this. Here’s what I actually use.
**Three 4-inch round cake pans** — Or one 8-inch pan if you want a single-layer version (but the three-layer look is worth the extra pans). Grease and line the bottoms with parchment paper.
**Hand mixer or stand mixer** — A hand mixer works fine for this small batch. It’s less intimidating than wrestling a stand mixer for just two cups of flour.
**Small mixing bowls** (3) — One for each batter color.
**Spatula** — For folding in the jam and cocoa.
**Cooling rack** — Essential. Let the cakes cool completely before frosting, or the buttercream will melt.
**Offset spatula** — Makes frosting the sides easier, but a regular knife works too.
How to Make It: Step-by-Step
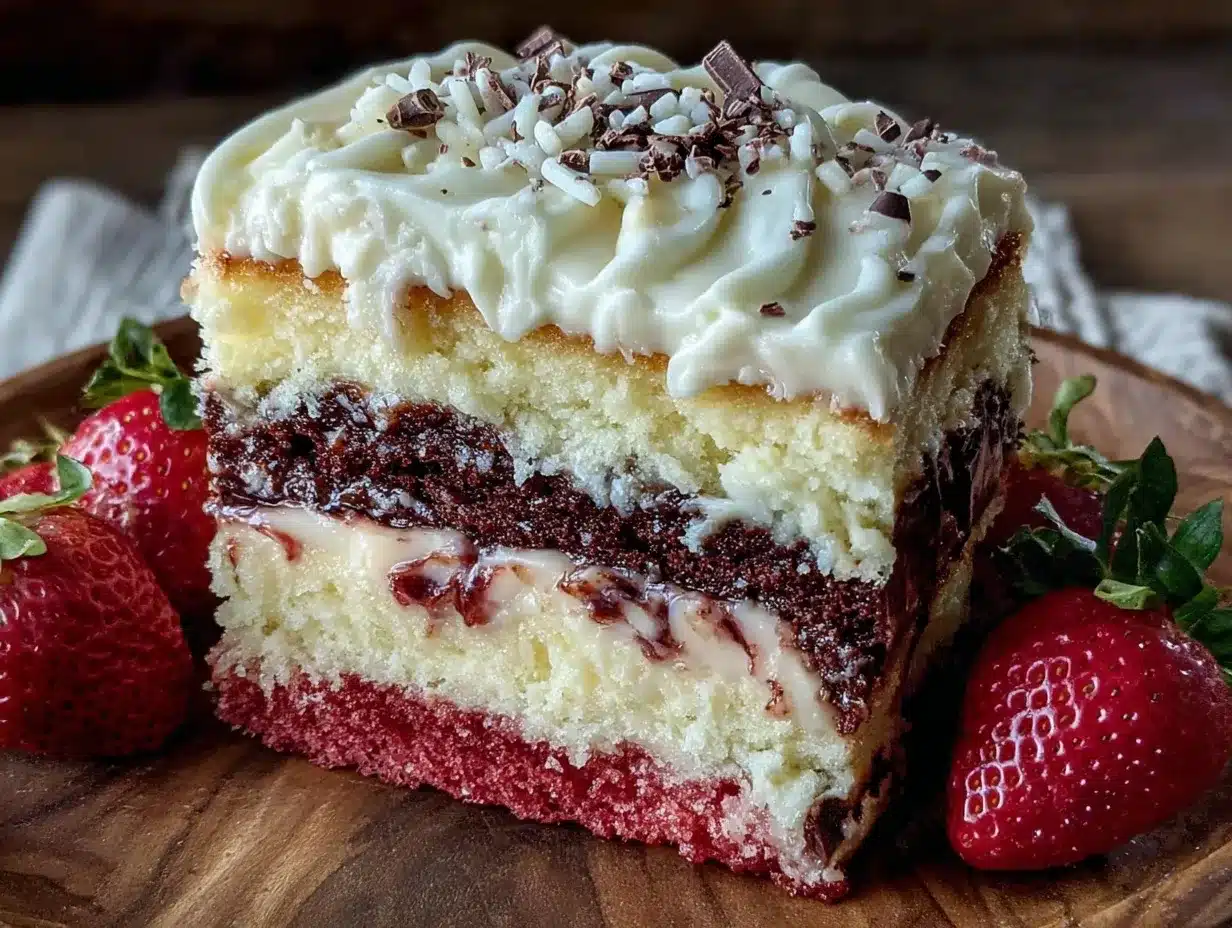
Alright, let’s make this! I’m walking you through exactly how I do it, including the little tricks I’ve picked up.
Step 1: Prep Your Pans and Oven (5 minutes)
Preheat your oven to 350°F (175°C). Grease three 4-inch cake pans with butter or non-stick spray. Line the bottoms with parchment paper circles. This ensures the cakes release easily and don’t stick. Dust with a little flour, tapping out the excess.
Step 2: Mix the Base Batter (10 minutes)
In a medium bowl, whisk together the flour, baking powder, baking soda, and salt. Set aside. In a large bowl, cream the softened butter and sugar until light and fluffy (about 3-4 minutes). This incorporates air, which makes the cakes tender. Add the eggs one at a time, beating well after each. Mix in the vanilla extract.
Step 3: Combine Wet and Dry (5 minutes)
Add half of the flour mixture to the butter mixture, then half of the buttermilk. Repeat, ending with the flour. Mix until *just* combined. Do not overmix, or the cakes will be tough.
Step 4: Divide and Flavor (5 minutes)
Divide the batter evenly into three bowls.
Vanilla Bowl: Leave as is. This is your middle layer.
Chocolate Bowl: Add the cocoa powder and almond extract. Mix until smooth and dark.
Strawberry Bowl: Add the strawberry jam and a few drops of red gel food coloring. Mix until evenly pink.
Step 5: Bake (20-25 minutes)
Pour the batter into the prepared pans. Bake for 20-25 minutes. Test for doneness by inserting a toothpick into the center; it should come out clean or with a few moist crumbs. The cakes are done when they spring back when lightly touched.
Step 6: Cool Completely (1 hour)
Let the cakes cool in the pans for 10 minutes, then turn them out onto a wire rack to cool completely. This is crucial. If you frost warm cake, the buttercream will slide right off.
Step 7: Make the Buttercream (15 minutes)
Divide the softened butter into three bowls. Beat each with powdered sugar and a splash of heavy cream until smooth.
Vanilla Frosting: Add vanilla extract.
Chocolate Frosting: Add a tablespoon of cocoa powder and a drop of brown food coloring if you want it darker.
Strawberry Frosting: Add strawberry extract and red gel coloring. Beat until fluffy.
Step 8: Assemble the Cake (10 minutes)
Place the chocolate layer on your serving plate. Spread a thin layer of chocolate frosting on top. Add the vanilla layer. Spread vanilla frosting. Add the strawberry layer. Spread strawberry frosting on top and around the sides. The result is a beautiful tri-color stack.
Step 9: Serve
Slice carefully with a sharp knife. Serve immediately. It’s best enjoyed fresh, but leftovers (if you have any!) keep well in the fridge.
Expert Tips & Tricks
Here’s everything I’ve learned from making this dozens of times. These tips will save you from my mistakes.
**Room Temperature Ingredients**
This is the #1 rule of baking. Cold butter and eggs create a grainy batter. Let everything sit out for at least 30 minutes before you start. It makes mixing easier and the final texture smoother.
**Don’t Overmix**
Once you add the flour, mix gently. Overmixing develops gluten, which makes your cake chewy instead of tender. Stop mixing as soon as you don’t see streaks of flour.
**Use Gel Food Coloring**
Liquid food coloring adds water to your frosting, which can make it runny. Gel paste gives vibrant color without altering the consistency. A little goes a long way.
**Cool Completely**
I know it’s tempting to frost while the cake is still warm, but resist. Warm cake = melted frosting = messy collapse. Patience pays off.
**Thin the Frosting Gradually**
Add heavy cream one tablespoon at a time. You want the frosting to be spreadable but not runny. If it gets too thin, add a bit more powdered sugar.
Variations & Substitutions
Once you’ve nailed the basic version, here’s how you can mix it up. I’ve tried all of these.
**Single-Layer Version**
If you only have one 8-inch pan, make the batter as usual but bake it in one layer for 30-35 minutes. Frost it as a single thick layer. It’s still delicious and saves time.
**Gluten-Free**
Use a 1:1 gluten-free flour blend. The texture might be slightly denser, but it works well. Add an extra ½ teaspoon of xanthan gum if your blend doesn’t include it.
**Dairy-Free**
Use vegan butter and almond milk instead of buttermilk. The frosting will be slightly softer, so chill it before assembling.
**Fresh Fruit Topper**
Instead of jam in the strawberry layer, fold in fresh diced strawberries. Be careful—they add moisture, so bake a minute longer if needed.
**Different Flavors**
Swap the strawberry for raspberry jam, or the chocolate for red velvet (add 1 tablespoon cocoa and 1 teaspoon red food coloring to the chocolate batter).
Serving & Storage
I usually serve this straight from the plate at the dinner table—it looks rustic and stays cool. But here are other ways I’ve enjoyed it:
**Side Dishes:**
– Fresh berries
– A scoop of vanilla ice cream
– A cup of hot coffee or tea
**Toppings Bar:**
When I have guests, I put out: whipped cream, chocolate shavings, fresh strawberries, and a drizzle of caramel sauce.
**Storage Instructions:**
**Refrigerator:**
Store in an airtight container for up to 3 days. The cake will firm up in the fridge, so let it sit at room temperature for 15 minutes before eating.
**Freezing:**
You can freeze individual slices for up to 2 months. Wrap tightly in plastic wrap, then foil. Thaw in the fridge overnight.
**Pro tip:** If the frosting gets too hard in the fridge, let it sit out for 10 minutes to soften.
Nutrition Information
I’m not a nutritionist, but here’s the breakdown if you’re tracking. This is per serving (one slice).
| Nutrient | Amount |
|---|---|
| Calories | 480 |
| Protein | 6g |
| Carbs | 65g |
| Fat | 22g |
| Sugar | 48g |
| Fiber | 2g |
Look, this is a dessert with butter, sugar, and cream. It’s not a health food. But it’s better than store-bought, and you know exactly what’s in it. When I want to make it lighter, I reduce the sugar in the frosting by ¼ cup and use Greek yogurt in the frosting (though the texture changes). But usually? I just enjoy a slice and move on.
Final Thoughts
So that’s my Neapolitan Layer Cake for Two! I’ve probably talked your ear off at this point, but when you make a recipe this often, you have a lot to say about it.
This has saved me from so many “what do I do with the rest of the cake?” moments. It’s my answer to dessert when I want something special but don’t want the commitment. My partner and I love it, and I love that it’s gone by the time I finish my coffee.
Make it yours! Try different jams, swap the cocoa for matcha, or add sprinkles. The best recipes are the ones you adapt to your tastes.
If you make this, drop a comment and let me know what you think! I love hearing how recipes turn out in your kitchen. And if something doesn’t work, tell me that too—I’m here to help troubleshoot.
Happy baking! And I hope your kitchen smells half as good as mine does right now.
Frequently Asked Questions
Can I use a 9-inch pan instead of three 4-inch pans?
You can, but you’ll get one big layer instead of three distinct ones. If you do this, bake for 30-35 minutes. It’s still delicious, but you lose the visual appeal of the layers. For the true Neapolitan Layer Cake for Two experience, I recommend the smaller pans.
Why did my cake sink in the middle?
Usually, this means it wasn’t baked long enough, or you opened the oven door too early. Check your toothpick test. Also, make sure your baking powder is fresh. Old leavening agents won’t give enough lift.
Can I make the frosting ahead of time?
Yes! Store the three frostings in separate airtight containers in the fridge for up to 3 days. Let them come to room temperature and beat them again before using to restore their fluffiness.
Is there a way to make this without food coloring?
For the strawberry layer, the jam will give a natural pink hue, though it might be more pale. For the chocolate layer, the cocoa provides the color. You can skip the gel coloring entirely if you prefer a more natural look.
Can I freeze the whole cake?
I wouldn’t recommend freezing the assembled cake because the buttercream can separate when thawed. Instead, freeze the unfrosted cake layers wrapped tightly in plastic. Thaw them, then frost and serve fresh.
What if I don’t have buttermilk?
Make your own! Add 1 tablespoon of lemon juice or white vinegar to 1 cup of milk. Let it sit for 5-10 minutes until it curdles slightly. It works perfectly as a substitute.
Pin This Recipe!
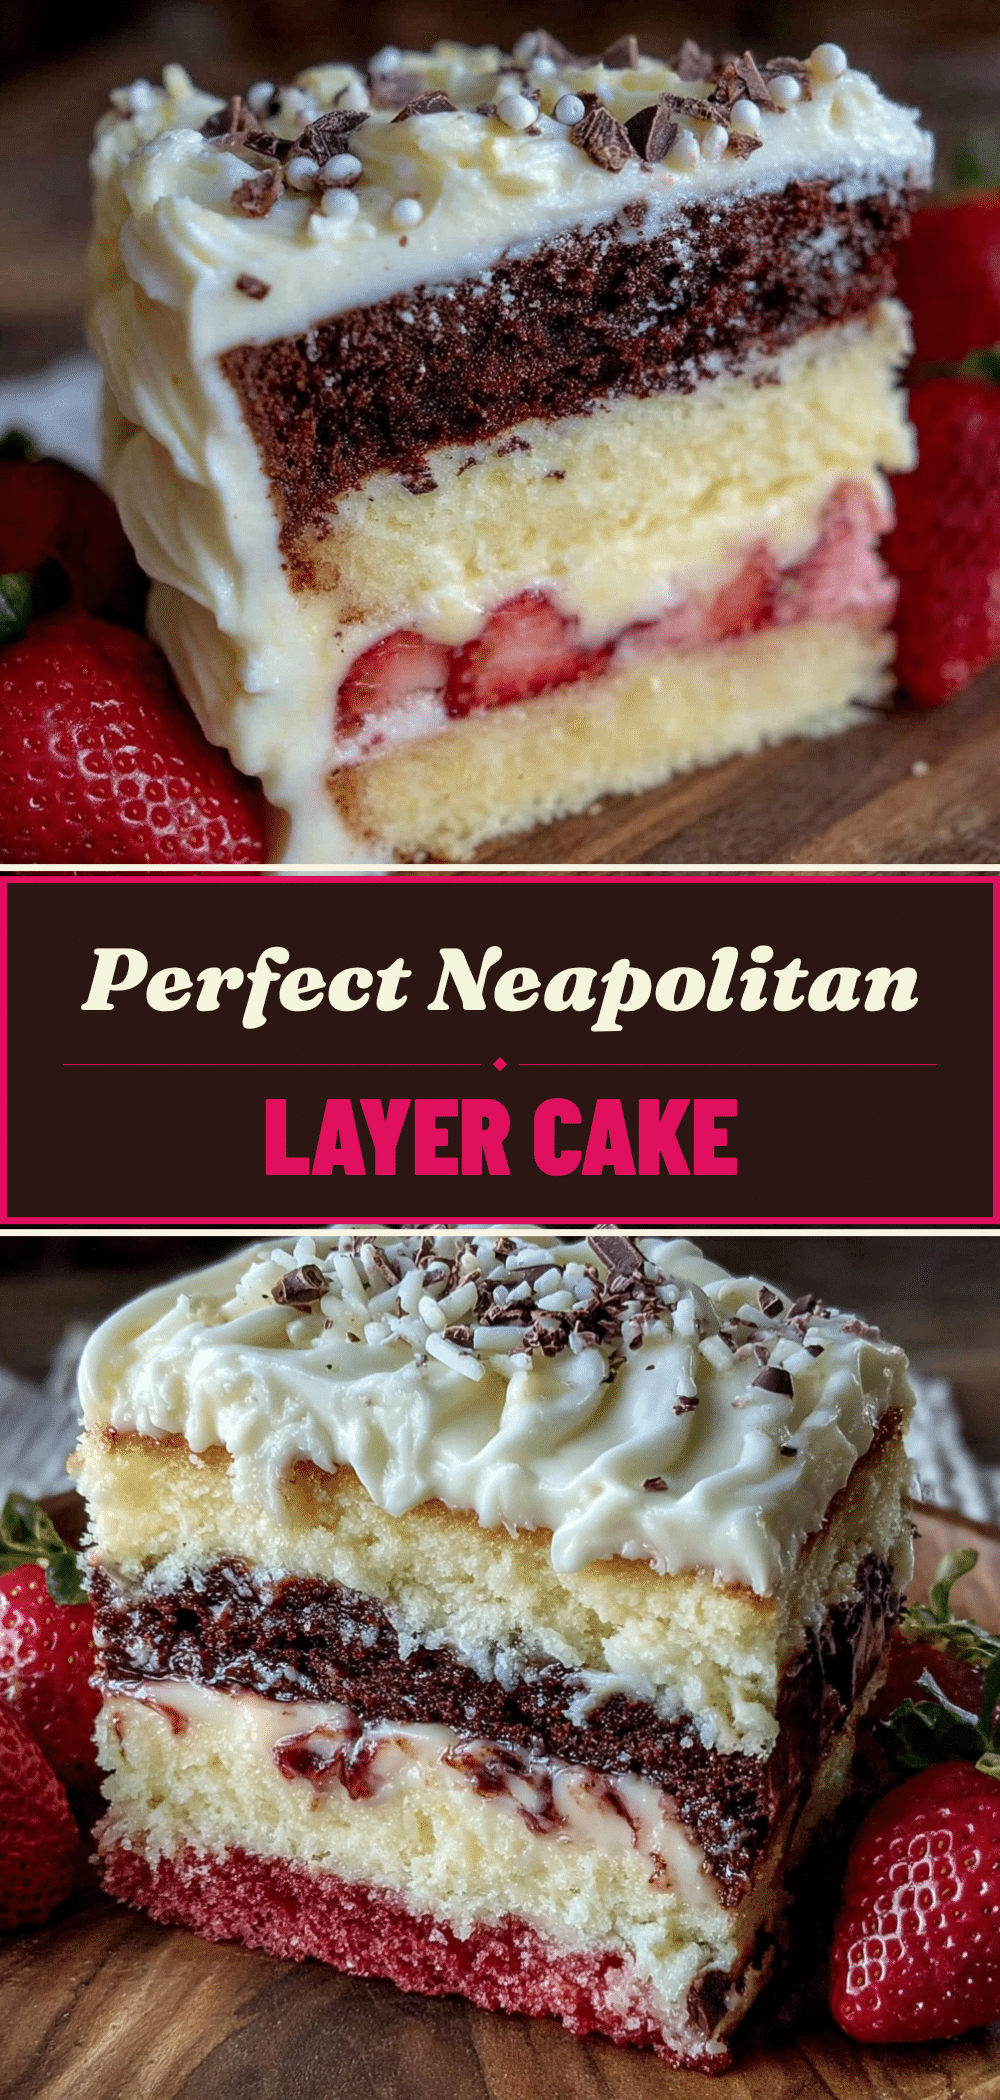
Neapolitan Layer Cake for Two: No Leftovers
- Total Time: 55 minutes
- Yield: 2 servings 1x
Description
A perfectly portioned, three-layer cake featuring strawberry, vanilla, and chocolate flavors, scaled down to yield exactly two servings with no leftovers.
Ingredients
- 1 ½ cups all-purpose flour
- 1 cup granulated sugar (divided)
- ½ cup unsalted butter (room temperature)
- 2 large eggs (room temperature)
- ¾ cup buttermilk
- 1 teaspoon vanilla extract
- 1 ½ teaspoons baking powder
- ½ teaspoon baking soda
- ½ teaspoon salt
- 3 tablespoons strawberry jam
- 3 tablespoons unsweetened cocoa powder
- 1 cup unsalted butter (softened, for frosting)
- 4 cups powdered sugar (sifted)
- 3–4 tablespoons heavy cream
- Gel paste food coloring (red and brown/black)
- ½ teaspoon strawberry extract
- 1 teaspoon vanilla extract (for frosting)
- ¼ teaspoon almond extract (optional)
Instructions
- Preheat oven to 350°F (175°C). Grease three 4-inch cake pans and line bottoms with parchment paper.
- In a medium bowl, whisk together flour, baking powder, baking soda, and salt.
- In a large bowl, cream softened butter and sugar until light and fluffy (3-4 minutes).
- Add eggs one at a time, beating well after each. Mix in vanilla extract.
- Add half of the flour mixture, then half of the buttermilk. Repeat, ending with flour. Mix until just combined.
- Divide batter evenly into three bowls.
- Leave one bowl plain for the vanilla layer.
- Add cocoa powder and almond extract to the second bowl for the chocolate layer.
- Add strawberry jam and red gel food coloring to the third bowl for the strawberry layer.
- Pour batter into prepared pans and bake for 20-25 minutes, or until a toothpick comes out clean.
- Cool cakes in pans for 10 minutes, then turn out onto a wire rack to cool completely.
- Divice softened butter into three bowls for frosting. Beat each with powdered sugar and heavy cream until smooth.
- Add vanilla extract to one frosting, cocoa powder to another, and strawberry extract/red coloring to the third.
- Assemble cake: Place chocolate layer on plate, frost, add vanilla layer, frost, add strawberry layer, and frost top and sides.
- Slice and serve immediately.
Notes
Ensure all ingredients are at room temperature for best results. Do not overmix the batter to avoid tough cakes. Cool cakes completely before frosting to prevent melting. Gel food coloring is preferred over liquid to maintain frosting consistency.
- Prep Time: 30 minutes
- Cook Time: 25 minutes
- Category: Dessert
- Cuisine: American
Nutrition
- Serving Size: 1 slice
- Calories: 480
- Sugar: 48
- Sodium: 350
- Fat: 22
- Saturated Fat: 13
- Carbohydrates: 65
- Fiber: 2
- Protein: 6
Keywords: Neapolitan cake, small batch baking, cake for two, no leftovers, strawberry vanilla chocolate cake, layer cake


