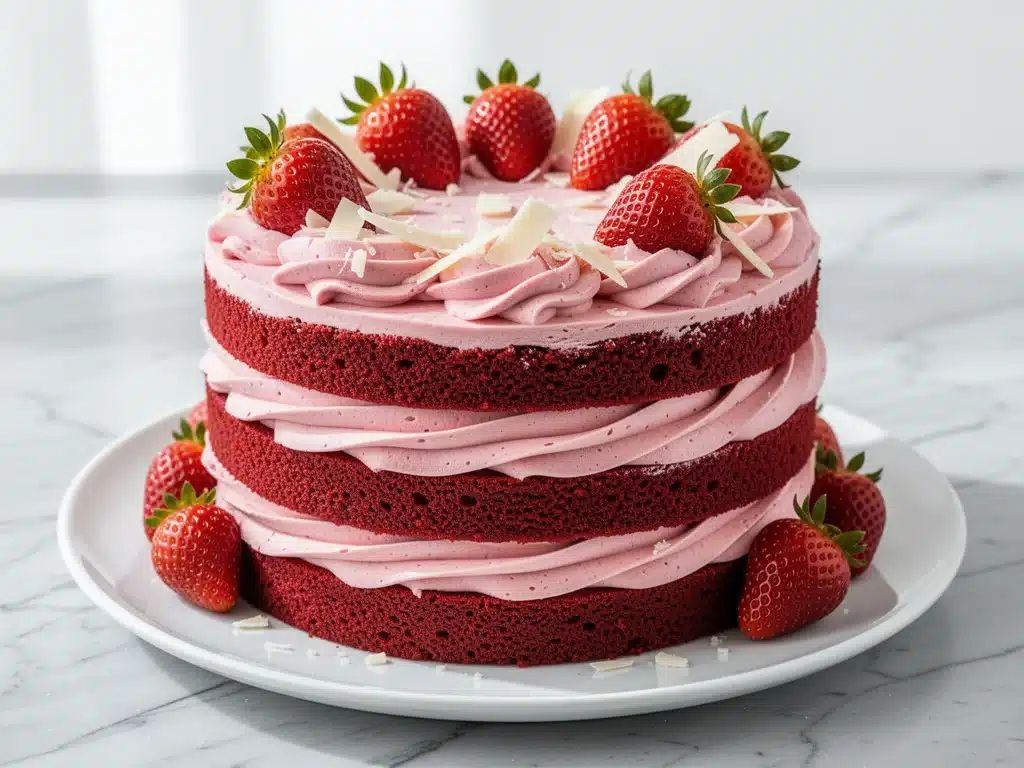
I have a confession to make. For years, I was the person who bought the box mix Neapolitan cake at the grocery store. You know the one—the pink, white, and brown layers stacked precariously high, covered in that glossy, artificial cherry-tasting icing that never quite set right. It was nostalgic, sure, but it was also a bit of a letdown. I wanted the flavor of my childhood, but I wanted it to taste like it came from a real kitchen, not a factory.
That changed last summer. I was supposed to bring a dessert to my niece’s birthday party, and in a moment of panic, I decided to try making a Neapolitan Layer Cake from scratch. I didn’t want to make three separate cakes from three different recipes (who has time for that on a Tuesday?). I wanted one batter, split into three flavors, baked together, and layered with a strawberry buttercream so fresh and bright it made me tear up. The result? My niece didn’t even notice the difference between this and a bakery cake. In fact, she asked for the recipe before she’d even finished her second slice.
This Neapolitan Layer Cake is the holy grail of dessert. It’s nostalgic but elevated. It’s complicated-looking but actually straightforward if you follow my method. I’ve tested this recipe about eight times now—some batches were too dense, some were too dry, and one time I accidentally used salt instead of sugar (don’t ask). But the version I’m sharing with you today? It’s the one. The one that’s tender, moist, and layered with a fresh strawberry buttercream that tastes like summer.
If you’ve ever been intimidated by layer cakes, this is your entry point. It’s easier than making a Reese’s Peanut Butter Chocolate Cake because you’re using one base recipe, just divided. And honestly, once you taste this, you’ll never go back to the box mix. Trust me. I’ve made the switch, and I’m not looking back.
Why You’ll Love This Neapolitan Layer Cake
There are plenty of cakes out there, but this one hits a special sweet spot. It’s not just about the colors—it’s about the balance of flavors and the ease of making it. Here’s why this Neapolitan Layer Cake has earned a permanent spot in my dessert rotation:
- One Batter, Three Flavors — No need to make three separate cakes. You make one vanilla batter, then split it. Add cocoa to one-third and strawberry puree to the other-third. It’s efficient and saves you from washing extra bowls.
- Fresh Strawberry Buttercream — This isn’t your typical buttercream. I use real strawberries, reduced down to a syrup, then whipped into the butter. It’s light, airy, and tastes like actual fruit, not artificial candy flavor.
- Impressive but Approachable — It looks like something from a high-end bakery, but the technique is simple. If you can cream butter and sugar, you can make this. I’ve walked my teenage niece through it over FaceTime, and she nailed it.
- Nostalgic with a Twist — It reminds you of childhood ice cream or school lunches, but the flavors are richer and more sophisticated. The chocolate layer is deeply cocoa-y, the vanilla is fragrant, and the strawberry layer is bright and floral.
- Perfect for Celebrations — Whether it’s a birthday, a summer barbecue, or just because it’s Tuesday, this cake fits. It’s colorful, cheerful, and always gets a reaction. I’ve served this at potlucks, and people always ask for the recipe.
This cake is my answer to “what should I bake?” when I want something special but don’t want to stress. It’s reliable, delicious, and makes everyone happy. Plus, the leftovers are great for breakfast (okay, maybe just for dessert, but you know what I mean).
Ingredients You’ll Need
Here’s the good news: you probably have most of these ingredients in your pantry and fridge. The key to a great Neapolitan Layer Cake is quality ingredients, especially for the buttercream. I’m particular about a few things here, so let’s break it down.
For the Cake Batter
All-purpose flour (3 cups / 375g) — This is your base. Don’t use self-rising flour; the leavening won’t be right. Spoon and level your flour for accuracy. I use King Arthur Flour because it’s consistent.
Granulated sugar (2 cups / 400g) — Yes, two cups. This cake is sweet, but the sugar also helps keep it moist. Don’t reduce it too much, or the texture will suffer.
Baking powder (1 tablespoon) — And baking soda (1 teaspoon). This combo gives the cake its lift. Make sure yours is fresh; old leavening agents make flat cakes.
Salt (1 teaspoon) — Crucial for balancing the sweetness. Don’t skip it.
Unsalted butter (1 cup / 225g, softened) — Room temperature butter is key. If it’s too cold, it won’t cream properly. If it’s melted, the texture will be dense. Softened is the sweet spot.
Eggs (4 large) — Room temperature eggs incorporate better into the batter. I take them out of the fridge 30 minutes before I start.
Vanilla extract (2 teaspoons) — Use real vanilla, not imitation. It makes a huge difference in the vanilla layer.
Whole milk (1.5 cups / 360ml) — Room temperature milk blends better. Buttermilk works too, but it will make the cake slightly tangier.
For the Chocolate Layer
Dutch-process cocoa powder (½ cup / 50g) — This gives the chocolate layer its deep, dark color and rich flavor. Regular cocoa powder works but is lighter in color. I use Hershey’s Special Dark.
Hot water (¼ cup / 60ml) — This blooms the cocoa powder, intensifying the chocolate flavor. Don’t skip this step.
For the Strawberry Layer
Fresh strawberries (1 cup / 150g, hulled) — Use ripe strawberries for the best flavor. If they’re out of season, frozen strawberries work too, but thaw and drain them first.
Strawberry jam (2 tablespoons) — I use a high-quality jam like Smucker’s or a local brand. It boosts the strawberry flavor without adding too much liquid.
For the Fresh Strawberry Buttercream
Unsalted butter (1 cup / 225g, softened) — Again, room temperature is non-negotiable. Cold butter makes lumpy buttercream.
Powdered sugar (4 cups / 480g) — Sift this to remove lumps. Nobody wants gritty frosting.
Fresh strawberry puree (¼ cup / 60ml) — Blend the strawberries until smooth, then reduce them on the stove to concentrate the flavor. This is what makes the buttercream taste like real fruit.
Vanilla extract (1 teaspoon) — For aroma.
Heavy cream (2-3 tablespoons) — To adjust consistency. Add gradually.
Optional Garnish
Whole strawberries — For decoration. Fresh, glossy berries look beautiful on top.
Whipped cream — A dollop of whipped cream adds a nice contrast.
Chocolate shavings — For a bit of crunch and visual appeal.
Equipment Needed
You don’t need fancy equipment for this. Here’s what I actually use:
- Three 8-inch round cake pans — Grease and line them with parchment paper. This prevents sticking and makes cleanup easy.
- Stand mixer or hand mixer — Creaming butter and sugar is easier with a mixer. I use a KitchenAid, but a hand mixer works fine.
- Large mixing bowls — One for the main batter, two for the divided portions.
- Spatula — For folding in the cocoa and strawberry puree. Silicone spatulas are best.
- Saucepan — For reducing the strawberry puree. Small and non-stick works well.
- Blender or food processor — To puree the strawberries. A hand blender works too.
- Cooling racks — Essential for cooling the cakes evenly. I have three small ones.
- Turntable (optional) — Makes decorating easier, but not necessary. I just use a lazy Susan.
Tool Tips: If you don’t have three 8-inch pans, you can use two 9-inch pans and bake one layer separately, but it changes the timing. I recommend getting three matching pans for consistency.
How to Make It: Step-by-Step
Alright, let’s make this! I’m walking you through exactly how I do it, including the little tricks I’ve picked up.
Step 1: Prep Your Pans and Oven (10 minutes)
Preheat your oven to 350°F (175°C). Grease three 8-inch round cake pans with butter or non-stick spray. Line the bottoms with parchment paper circles. This is crucial for easy removal. I write “vanilla,” “chocolate,” and “strawberry” on the outside of each pan with a marker so I don’t mix them up later.
Step 2: Mix the Dry Ingredients (5 minutes)
In a large bowl, whisk together the flour, baking powder, baking soda, and salt. Set aside. This ensures even distribution of leavening agents.
Step 3: Cream the Butter and Sugar (5 minutes)
In the bowl of your stand mixer, beat the softened butter and granulated sugar on medium-high speed for 3-4 minutes until light and fluffy. This step aerates the batter, which gives the cake its tender crumb. Scrape down the sides of the bowl with a spatula.
Step 4: Add Eggs and Vanilla (3 minutes)
Add the eggs one at a time, beating well after each addition. Mix in the vanilla extract. The mixture might look curdled at first—don’t worry, it’ll come together.
Step 5: Combine Wet and Dry Ingredients (5 minutes)
On low speed, add the dry ingredients in three parts, alternating with the milk in two parts. Start and end with the dry ingredients. Mix until just combined. Do not overmix, or the cake will be tough.
Step 6: Divide the Batter (5 minutes)
Divide the batter equally into three bowls. Leave one bowl plain for the vanilla layer. To the second bowl, add the Dutch-process cocoa powder and hot water. Stir until smooth. The batter will be thin, which is normal. To the third bowl, add the strawberry puree (made by blending and reducing fresh strawberries) and the strawberry jam. Stir until combined.
Step 7: Bake the Layers (25-30 minutes)
Pour the batter into the prepared pans. Bake for 25-30 minutes, or until a toothpick inserted into the center comes out clean. The vanilla layer might bake slightly faster than the chocolate layer due to moisture content, so check at 25 minutes. Let the cakes cool in the pans for 10 minutes, then turn them out onto cooling racks to cool completely.
Step 8: Make the Strawberry Buttercream (20 minutes)
While the cakes cool, make the buttercream. In a saucepan, simmer the fresh strawberry puree for 5-7 minutes until it reduces by half and thickens slightly. Let it cool completely. In a stand mixer, beat the softened butter until creamy. Add the powdered sugar gradually, then the cooled strawberry reduction, vanilla, and heavy cream. Beat on high speed for 3-4 minutes until light and fluffy. If it’s too thin, add more powdered sugar. If it’s too thick, add more cream.
Step 9: Assemble the Cake (15 minutes)
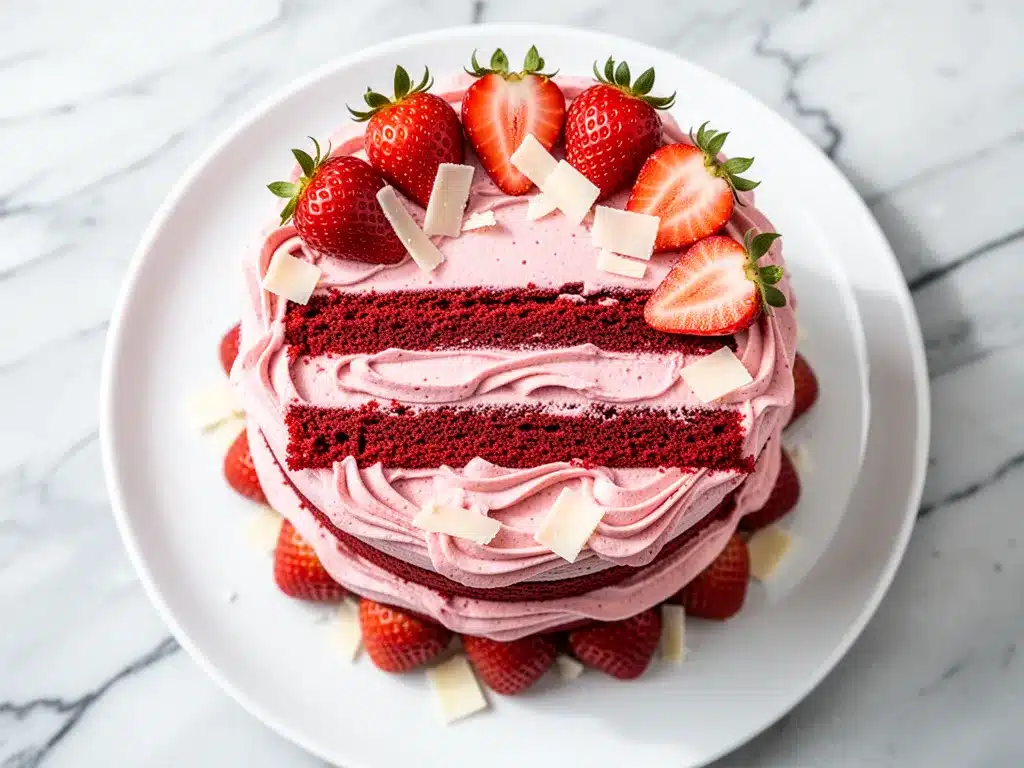
Place one cake layer on a plate or cake stand. Spread a layer of strawberry buttercream over the top. Add the second layer (chocolate), spread with buttercream, then add the third layer (strawberry). The final layer should be vanilla. Cover the top and sides with the remaining buttercream. Smooth with a spatula.
Step 10: Decorate and Serve (5 minutes)
Decorate with fresh strawberries, chocolate shavings, or a dusting of powdered sugar. Slice and serve. Enjoy!
Expert Tips & Tricks
Here’s everything I’ve learned from making this dozens of times. These tips will save you from my mistakes.
Room Temperature Ingredients
This is the #1 tip. Cold ingredients don’t mix well into the batter, leading to a dense cake. I take my butter, eggs, and milk out of the fridge 30-60 minutes before baking. If I forget, I can warm the butter in the microwave for 10-second bursts, and warm the eggs in a bowl of warm water.
Don’t Overmix the Batter
Once you add the flour, mix until just combined. Overmixing develops gluten, which makes the cake tough. It’s okay if there are a few small lumps.
Reduce the Strawberry Puree
Raw strawberries have a lot of water. If you don’t reduce the puree, the buttercream will be runny and the flavor will be weak. Simmer it until it’s syrupy and coats the back of a spoon. Let it cool completely before adding to the butter, or it will melt the butter.
Use Dutch-Process Cocoa
Regular cocoa powder is lighter in color and milder in flavor. Dutch-process cocoa is treated with an alkali, which makes it darker and richer. This is essential for that classic Neapolitan chocolate layer.
Chill the Cake Before Decorating
Once assembled, chill the cake in the fridge for at least 30 minutes before adding the final layer of frosting. This sets the crumbs and makes it easier to get a smooth finish.
Common Mistakes (and how to avoid them)
Mistake: Layers are domed. Fix: Use cake strips or bake at a slightly lower temperature (325°F) for a longer time. Or, level the tops with a serrated knife after cooling.
Mistake: Buttercream is grainy. Fix: The powdered sugar wasn’t sifted, or the strawberry puree was too hot. Sift the sugar and cool the puree completely.
Mistake: Cake is dry. Fix: Overbaking. Check the cake 5 minutes before the timer goes off. The toothpick should come out with a few moist crumbs, not completely clean.
Variations & Substitutions
Once you’ve nailed the basic version, here’s how you can mix it up. I’ve tried all of these.
Gluten-Free
Use a 1:1 gluten-free flour blend. The texture might be slightly different, but it’s still delicious. I’ve used Bob’s Red Mill and it works great.
Dairy-Free
Replace butter with vegan butter (like Miyoko’s or Earth Balance) and milk with almond or oat milk. For the buttercream, use vegan butter and coconut cream. It’s not quite the same, but it’s close.
Strawberry Jam Layer
Instead of strawberry puree in the batter, use strawberry jam mixed with a little water. It’s sweeter and more intense.
Chocolate Ganache
Replace the strawberry buttercream with a chocolate ganache for a richer, more decadent cake. Heat 1 cup of heavy cream and pour over 1 cup of chocolate chips. Let it sit for 5 minutes, then stir until smooth.
Mini Cakes
Divide the batter into 12 muffin cups for mini Neapolitan cakes. Bake for 15-18 minutes. Great for parties.
Different Flavors
Swap the cocoa for matcha powder for a green tea layer. Or use raspberry puree instead of strawberry. The possibilities are endless.
Serving & Storage
How to Serve: I usually serve this cake chilled, but let it sit at room temperature for 15 minutes before slicing. This makes the frosting softer and easier to cut. Pair it with a cup of coffee or tea.
Side Dishes: Fresh berries, whipped cream, or a scoop of vanilla ice cream. I also like to serve it with a glass of cold milk.
Storage Instructions:
Refrigerator: Store in an airtight container for up to 5 days. The cake will stay moist, and the flavors will meld together.
Freezing: You can freeze the cake layers before frosting. Wrap them tightly in plastic wrap and foil. Freeze for up to 3 months. Thaw in the fridge overnight before frosting.
Pro tip: If the buttercream gets too hard in the fridge, let the cake sit at room temperature for 30 minutes before serving. It will soften up nicely.
Nutrition Information
I’m not a nutritionist, but here’s the breakdown if you’re tracking. This is a rich dessert, so enjoy in moderation.
Per Serving (based on 12 servings):
- Calories: 450
- Protein: 5g
- Carbs: 65g
- Fiber: 1g
- Sugar: 45g
- Fat: 20g
- Saturated Fat: 12g
- Cholesterol: 60mg
- Sodium: 250mg
What’s Good: Real strawberries in the buttercream add some vitamins. The cake is made from scratch, so you control the ingredients.
What to Know: It’s high in sugar and fat, which is expected for a layer cake. Use the gluten-free or dairy-free variations if you have dietary restrictions.
Final Thoughts
So that’s my Neapolitan Layer Cake! I’ve probably talked your ear off at this point, but when you make a recipe this often, you have a lot to say about it. This cake has saved me from store-bought desserts more times than I can count. It’s my answer to “what’s for dessert?” when I want something special but don’t want to stress. My family is happy, my friends are happy, and I’m happy because I’m not ordering takeout or buying a sad box mix.
Make it yours! Try different add-ins, swap in your favorite berries, or adjust the sweetness. The best recipes are the ones you adapt to your family’s tastes. If you make this, drop a comment and let me know what you think! I love hearing how recipes turn out in your kitchen. And if something doesn’t work, tell me that too—I’m here to help troubleshoot.
Happy baking! And I hope your kitchen smells half as good as mine does right now.
Frequently Asked Questions
Can I use frozen strawberries for the buttercream?
Yes, but you need to thaw and drain them first. Fresh strawberries have a lot of water, and frozen ones are even wetter. Blend them, then simmer the puree to reduce the liquid. If you don’t reduce it, the buttercream will be runny. I’ve done this in winter when fresh strawberries are expensive, and it works fine.
Why did my cake layers dome?
This usually happens if the oven temperature is too high or if the batter is too full. Use cake strips to insulate the pans, or lower the oven temperature to 325°F and bake for a longer time. You can also level the tops with a serrated knife after they cool.
Can I make this cake ahead of time?
Absolutely. Bake the layers a day ahead and store them wrapped in plastic wrap at room temperature. Make the buttercream the day of, or store it in the fridge for up to 3 days. Assemble the cake the day before serving, then chill it overnight. This actually helps the flavors meld.
Can I use vanilla extract in the chocolate layer?
You can, but it’s not necessary. The cocoa flavor is strong enough. If you want to enhance the chocolate, add a teaspoon of espresso powder to the cocoa mixture. It deepens the chocolate flavor without making it taste like coffee.
How do I store leftovers?
Store in an airtight container in the fridge for up to 5 days. Let it come to room temperature before serving for the best texture. If the frosting gets too hard, let it sit out for 30 minutes.
Can I freeze the finished cake?
It’s not recommended. The buttercream can separate when thawed, and the cake layers might become dry. Freeze the unfrosted layers instead. Thaw in the fridge overnight, then frost and serve.
What kind of cocoa powder should I use?
Dutch-process cocoa powder is best for this recipe because it’s darker and has a richer flavor. Regular cocoa powder works but will result in a lighter-colored chocolate layer. I always use Hershey’s Special Dark.
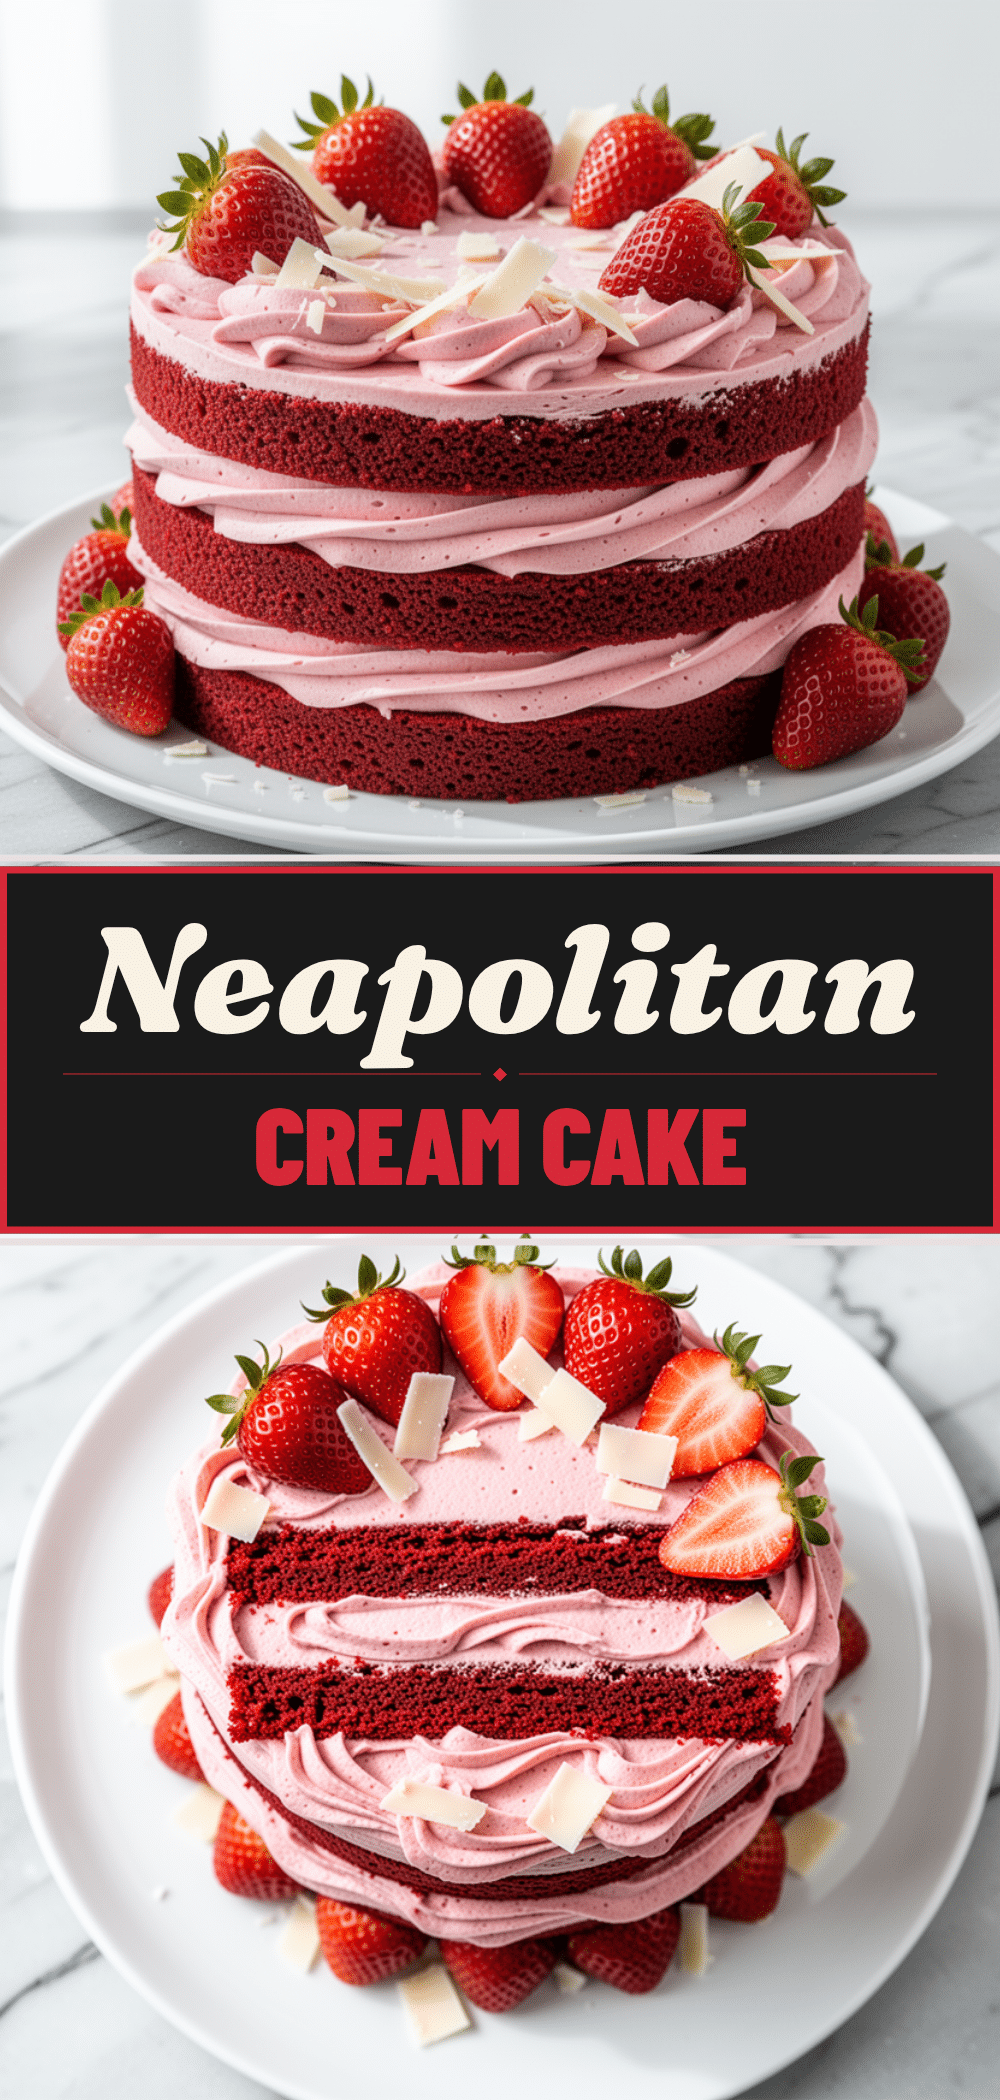
Pin This Recipe!
Neapolitan Layer Cake: Easy 3-Layer Recipe
- Total Time: 75 minutes
- Yield: 12 servings 1x
Description
A nostalgic yet elevated Neapolitan Layer Cake made from a single batter divided into vanilla, chocolate, and strawberry layers, topped with fresh strawberry buttercream.
Ingredients
- 3 cups (375g) all-purpose flour
- 2 cups (400g) granulated sugar
- 1 tablespoon baking powder
- 1 teaspoon baking soda
- 1 teaspoon salt
- 1 cup (225g) unsalted butter, softened
- 4 large eggs, room temperature
- 2 teaspoons vanilla extract
- 1.5 cups (360ml) whole milk, room temperature
- ½ cup (50g) Dutch-process cocoa powder
- ¼ cup (60ml) hot water
- 1 cup (150g) fresh strawberries, hulled
- 2 tablespoons strawberry jam
- 1 cup (225g) unsalted butter, softened (for buttercream)
- 4 cups (480g) powdered sugar, sifted
- ¼ cup (60ml) fresh strawberry puree, reduced
- 1 teaspoon vanilla extract (for buttercream)
- 2–3 tablespoons heavy cream
- Optional garnish: whole strawberries, whipped cream, chocolate shavings
Instructions
- Preheat oven to 350°F (175°C). Grease and line three 8-inch round cake pans with parchment paper.
- In a large bowl, whisk together flour, baking powder, baking soda, and salt.
- In a stand mixer, beat softened butter and granulated sugar on medium-high speed for 3-4 minutes until light and fluffy. Scrape down sides.
- Add eggs one at a time, beating well after each addition. Mix in vanilla extract.
- On low speed, add dry ingredients in three parts, alternating with milk in two parts. Start and end with dry ingredients. Mix until just combined.
- Divide batter equally into three bowls. Leave one plain for vanilla. Mix cocoa powder and hot water into the second bowl. Mix strawberry puree and jam into the third bowl.
- Pour batter into prepared pans. Bake for 25-30 minutes until a toothpick comes out clean. Cool in pans for 10 minutes, then transfer to cooling racks to cool completely.
- While cakes cool, simmer strawberry puree for 5-7 minutes until reduced by half. Let cool completely.
- Beat softened butter until creamy. Gradually add powdered sugar, then cooled strawberry reduction, vanilla, and heavy cream. Beat on high for 3-4 minutes until fluffy.
- Assemble cake: Place vanilla layer on stand, spread buttercream, add chocolate layer with buttercream, then strawberry layer. Cover top and sides with remaining buttercream.
- Decorate with fresh strawberries, chocolate shavings, or powdered sugar. Chill for 30 minutes before serving.
Notes
Ensure all ingredients are at room temperature for best results. Do not overmix the batter to avoid a tough texture. Reduce strawberry puree thoroughly to prevent runny buttercream. Use Dutch-process cocoa for the darkest chocolate layer. Chill the assembled cake before final frosting for easier smoothing.
- Prep Time: 45 minutes
- Cook Time: 30 minutes
- Category: Dessert
- Cuisine: American
Nutrition
- Serving Size: 1 slice
- Calories: 450
- Sugar: 45
- Sodium: 250
- Fat: 20
- Saturated Fat: 12
- Carbohydrates: 65
- Fiber: 1
- Protein: 5
Keywords: Neapolitan cake, layer cake, strawberry buttercream, chocolate cake, vanilla cake, homemade cake, birthday cake, easy baking


