It was 7:15 AM on a Tuesday. I was staring into my refrigerator, half-asleep, watching my seven-year-old daughter do her morning yoga stretches in the kitchen. We had thirty minutes before school started, twenty of which were spent arguing about who was getting the last banana. I knew what was coming. The lunchbox panic. The scramble to find something that wasn’t just a granola bar and a juice box, something that felt like I actually cared, but that we could assemble in the time it takes to brush teeth.
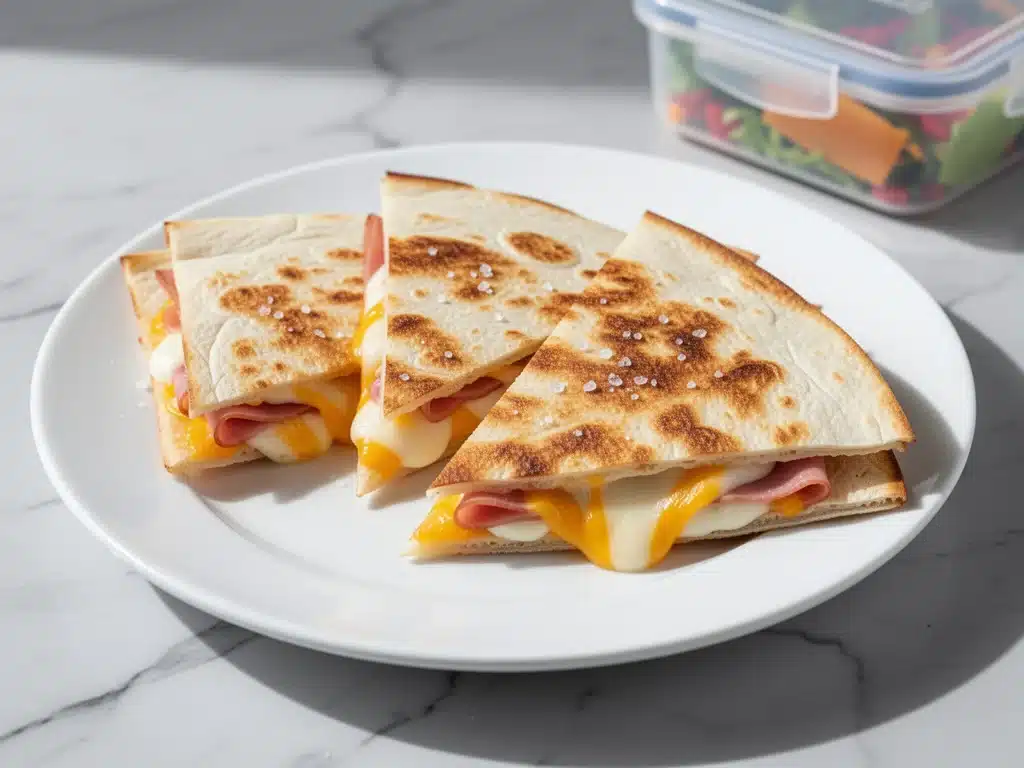
That was the week I stopped trying to be a Pinterest-perfect mom and started being a smart one. I discovered that mini ham and cheese quesadillas weren’t just a great snack—they were a legitimate freezer-friendly lunch solution. Now, my freezer drawer is lined with these golden, cheesy squares. When my kids ask what’s for lunch, or when I’m running late and need something grab-and-go, I pull out a handful. They reheat in the microwave in ninety seconds, they don’t get soggy like sandwiches do, and best of all? They taste like I spent time making them, even though I made them on Sunday night.
I’ve tested this method over dozens of batches. I’ve tried different cheeses, different breads, different ham cuts. Some worked, some were disasters (looking at you, pre-shredded cheese with the anti-caking powder). But this version? It’s the sweet spot. It’s crispy on the outside, melty on the inside, and small enough that it doesn’t feel like a heavy meal at 1 PM. If you’re drowning in meal prep anxiety, this is your life raft. Let’s get those quesadillas in the freezer.
Why You’ll Love This Freezer Lunch Recipe
Look, I get it. The idea of “meal prep” sounds exhausting. Who has time to chop, cook, assemble, and label? But here’s the thing about these mini quesadillas: they are stupid simple. I’m talking “I can do this while listening to the news” simple. Once you make them once, you’ll wonder why you didn’t start doing this months ago.
- Zero Morning Stress — Seriously. These go from freezer to microwave in under two minutes. No chopping, no heating a stove, no cleaning a skillet. Just pop, heat, eat. I’ve used these on days when I hit snooze three times and still got the kids fed and out the door on time.
- Actually Tastes Good Reheated — This is the biggest hurdle with freezer food. Most things turn rubbery or bland by Wednesday. Not these. The cheese stays gooey, the tortilla stays slightly chewy, and the ham keeps its salty punch. They taste freshly made, not like leftovers.
- Perfectly Portioned — Because they’re mini, they’re not overwhelming. My kids eat two or three as a lunch, plus a piece of fruit. It’s a balanced portion that doesn’t leave them feeling stuffed or sluggish in afternoon classes.
- Picky-Eater Approved — Cheese and ham are universal. Even my daughter, who usually picks the crusts off her bread, digs into these. It’s a safe, familiar flavor profile that feels like a treat rather than a “healthy lunch.”
- Cost-Effective — You’re buying bulk ham and block cheese, not individual lunch kits. This runs out to pennies per quesadilla. It’s cheaper than buying pre-made frozen meals and way better quality.
This has completely changed our weekday rhythm. No more staring into the fridge at 7 AM. No more guilt over processed snacks. Just reliable, delicious food that works. And honestly? It saves my sanity.
Ingredients You’ll Need
Here’s the best part: you probably have most of this already. This isn’t a recipe that requires a special trip to the store. It’s pantry staples and fridge basics. I’m particular about two things here—the cheese and the ham—but I’ll tell you exactly why.
The Core Components
Flour tortillas (6-inch / 15cm diameter) — These are non-negotiable for the “mini” aspect. I use standard flour tortillas because they stay flexible when frozen. Corn tortillas get brittle and crack in the freezer. I prefer the slightly larger 6-inch size; anything smaller is just a cracker, and anything bigger is too much of a mouthful for a kid’s lunchbox. Brands like Mission or La Tortilla Factory work great.
Shredded cheese (2 cups / 200g) — Do yourself a favor: buy a block of cheese and shred it yourself. Pre-shredded cheese is coated in cellulose (wood pulp) to keep it from clumping. That coating stops it from melting properly. You want a good melt. Cheddar is classic, but a Mexican blend or a mix of cheddar and Monterey Jack is even better. The Jack adds that stretchy, gooey texture.
Ham (1 cup / 150g, diced) — I use diced lunch ham or deli ham. Avoid the thick-cut roast ham; it’s too bulky and hard for kids to chew quickly. You want small, bite-sized pieces. If you buy deli slices, just stack them and chop them up. It takes thirty seconds.
The Flavor Boosters
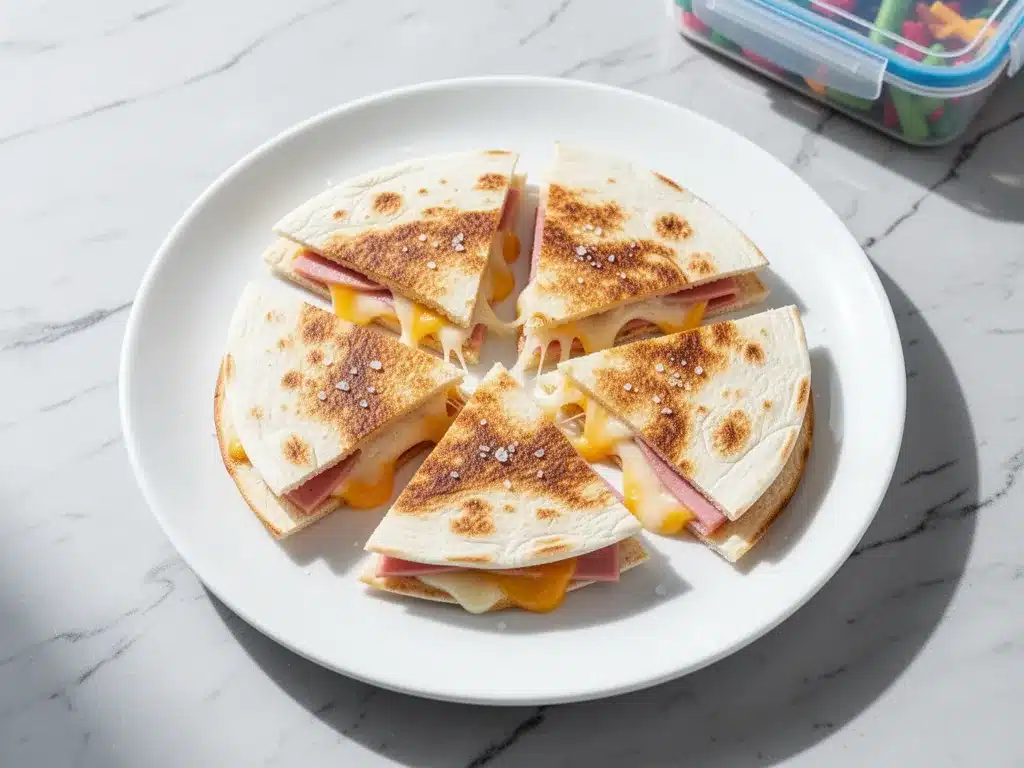
Butter (2 tablespoons / 30g) — We’re brushing the outside of the tortillas with butter before cooking. This gives that golden, crispy, restaurant-style finish. It’s the difference between a sad tortilla and a delicious one. Use real butter, not spray. Spray doesn’t brown evenly.
Optional: Sautéed Onions (½ cup / 50g) — If your family likes a little savory depth, quickly sauté some diced yellow onion until soft and sweet, then let it cool before adding. It adds a nice texture contrast. My kids love it; if yours don’t, skip it.
Optional: Spicy Kick (1 teaspoon jalapeños) — Finely diced pickled jalapeños add a fun zing. It’s like a mini breakfast taco vibe. Just be mindful of spice levels for younger eaters.
Seasoning (½ teaspoon garlic powder, ½ teaspoon smoked paprika) — I mix these with the cheese before assembling. It’s a tiny step that makes the flavor profile way more interesting than just plain ham and cheese.
Equipment Needed
You don’t need fancy equipment for this. Here’s what I actually use. If you don’t have these, don’t worry—there are cheap alternatives.
Large non-stick skillet — I use a 10-inch skillet. It needs to be big enough to fit the tortillas flat without overlapping. Non-stick is key because we’re using butter, and you don’t want the tortillas sticking and tearing.
Silicone brush or paper towel — For brushing the butter on the tortillas. A silicone brush is nice, but I often just use a folded paper towel dipped in melted butter. It’s faster and easier to throw away.
Cooling rack — This is the secret weapon. After cooking, I place the quesadillas on a wire rack instead of a plate. This lets air circulate so the bottoms don’t get soggy from steam. It’s a small detail that makes a huge difference in texture.
Freezer-safe containers or bags — You’ll need these for storage. I use gallon-sized ziplock bags, but rigid plastic containers work too if you want to stack them neatly. Make sure they’re airtight to prevent freezer burn.
Sharp knife or pizza cutter — To dice the ham and slice the cooked quesadillas. A pizza cutter is great for slicing the cooked quesadillas into triangles or squares without squishing them.
How to Make It: Step-by-Step
Alright, let’s make these! I’m walking you through exactly how I do it, including the little tricks I’ve picked up to ensure they freeze perfectly and reheat beautifully.
Step 1: Prep Your Ingredients (5 minutes)
Before you start cooking, have everything ready. Dice the ham into small cubes. Shred your cheese (if you haven’t already). Mix the garlic powder and paprika into the cheese in a bowl. This ensures every bite has flavor. Melt the butter in a small bowl so it’s ready to brush. This step takes longer than the actual cooking, so get organized first.
Step 2: Assemble the Quesadillas (5 minutes)
Lay a tortilla flat on your counter. Sprinkle a generous amount of cheese over half of the tortilla. Add a layer of diced ham on top of the cheese. If you’re adding onions or jalapeños, add them now. Fold the empty half of the tortilla over the filling to create a half-moon shape. Press down gently with your hand to help the cheese stick to the tortilla. This helps it hold together during freezing.
Step 3: Cook the Quesadillas (10 minutes)
Heat your skillet over medium heat. You don’t need oil in the pan yet. Place one quesadilla in the dry skillet. Cook for 2-3 minutes until the bottom is golden brown and crisp. Flip it over. Now, brush the top (cooked side) lightly with melted butter. Flip again so the buttered side is down. Cook for another 2-3 minutes until the second side is golden and the cheese is fully melted. Remove to the cooling rack. Repeat with remaining quesadillas. You want them golden, not burnt. Medium heat is your friend.
Step 4: Cool Completely (15 minutes)
This is crucial. Let the quesadillas cool completely on the wire rack. If you try to freeze them while they’re warm, condensation will form, leading to ice crystals and soggy tortillas. I usually set a timer for 15 minutes. If you’re impatient, you can speed this up by putting them in the fridge for 10 minutes, but room temp cooling is fine too.
Step 5: Freeze (5 minutes)
Once completely cool, place the quesadillas in a single layer on a baking sheet. Put the sheet in the freezer for 30 minutes. This “flash freezing” step prevents them from sticking together. After 30 minutes, they’ll be hard. Transfer them to your freezer bag or container. Squeeze out as much air as possible. Label with the date. They’ll last for up to 3 months.
Total Time: About 30 minutes (10 minutes active cooking, 20 minutes cooling/freezing)
Expert Tips & Tricks
Here’s everything I’ve learned from making these dozens of times. These tips will save you from my mistakes.
The Cheese Matters
I cannot stress this enough: shred your own cheese. Pre-shredded cheese contains potato starch or cellulose to prevent clumping. These additives stop the cheese from melting smoothly. You’ll end up with a quesadilla that has separate bits of cheese rather than a gooey, unified melt. Block cheese melts beautifully. It’s worth the extra two minutes.
Don’t Overstuff
It’s tempting to pile on the cheese and ham, but less is more. If you overstuff, the quesadilla will burst open in the microwave. The steam builds up and explodes the tortilla. Keep the filling to about ¼ cup per quesadilla. It’s enough flavor without the mess.
Butter the Outside
Brushing with butter isn’t just for flavor; it creates a barrier that helps the tortilla stay crispier after reheating. It also gives that appetizing golden color. Don’t skip this step. It’s what makes them taste like they were just made.
Flash Freeze is Key
If you skip the 30-minute flash freeze on the baking sheet, your quesadillas will stick together in the bag. You’ll end up with a frozen block of quesadillas that you have to break apart (and likely break the tortillas in the process). Take the time to flash freeze. It’s a game-changer.
Microwave Hack
When reheating, place a cup of water in the microwave alongside the quesadilla. This adds humidity to the microwave environment, preventing the tortilla from turning into a hard, chewy rock. It keeps the tortilla soft and pliable. Trust me, it works.
Variations & Substitutions
Once you’ve nailed the basic version, here’s how you can mix it up. I’ve tried all of these, and they’re all winners.
Bacon & Egg
Add cooked, crumbled bacon and a little scrambled egg (fully cooked, not runny) to the mix. It’s like a breakfast quesadilla for lunch. My husband loves this version. It’s higher in protein and feels like a treat.
Veggie Loaded
Sauté spinach, mushrooms, and bell peppers until soft. Cool completely, then add to the quesadilla. It’s a great way to sneak in veggies. The spinach wilts down so you barely notice it, but the kids get their greens. This is how I get my kids to eat vegetables.
Spicy Jalapeño
Add finely diced pickled jalapeños and use pepper jack cheese instead of cheddar. It adds a fun zing. It’s like a mini breakfast taco vibe. Just be mindful of spice levels for younger eaters.
Gluten-Free
Use gluten-free flour tortillas. They can be a bit more fragile, so handle gently. I’ve used Green Giant rice tortillas and they work surprisingly well. They don’t get as crisp, but they hold up in the freezer.
Dairy-Free
Use dairy-free cheese shreds and butter alternatives. It’s different, but there are good dairy-free cheeses that melt well now. I use Violife or Daiya. The flavor is slightly different, but it’s still satisfying.
Protein Swaps
Instead of ham, try diced cooked chicken, leftover honey mustard chicken, or even black beans for a vegetarian option. Leftover chicken and wild rice soup chicken works great too—just chop it up small.
Serving & Storage
How to Serve
I usually serve these straight from the microwave. They’re hot, gooey, and perfect for dipping in salsa or sour cream. But here are other ways I’ve enjoyed them:
- With Salsa — A classic dip. I keep a jar of mild salsa in the fridge for dipping.
- With Guacamole — Adds creaminess and healthy fats. My kids love this combo.
- With Hot Sauce — For those who like a kick. I use Cholula or Tapatio.
Storage Instructions
Refrigerator: Store in an airtight container for up to 3 days. They’re best eaten fresh, but they’ll keep.
Freezer: Store in freezer-safe bags or containers for up to 3 months. Make sure to squeeze out all the air to prevent freezer burn. Label with the date so you know when they were made.
Reheating: Microwave for 60-90 seconds. Place a cup of water in the microwave to keep the tortilla soft. If you have an air fryer, reheat at 350°F for 3-4 minutes for extra crispiness. This is my preferred method if I have time.
Meal Prep Strategy
I make a batch every Sunday night. It takes about 30 minutes, and then I have lunches for the entire week. I pack two or three per lunchbox. It’s my go-to when I’m tired, don’t want takeout, and still want something that tastes really good. My kids are happy, and I’m happy because I’m not stressed about cooking.
Nutrition Information
I’m not a nutritionist, but here’s the breakdown if you’re tracking. These are estimates per quesadilla (based on 12 quesadillas total).
| Nutrient | Amount |
|---|---|
| Calories | 180 |
| Protein | 10g |
| Carbs | 18g |
| Fiber | 1g |
| Sugar | 1g |
| Fat | 8g |
| Saturated Fat | 4g |
| Sodium | 450mg |
What’s Good: Decent protein from the ham and cheese. It’s filling and satisfying. Can add vegetables to boost nutrition. More filling than it looks.
What to Know: Higher in sodium from the ham. Use low-sodium ham if you’re watching salt. Contains dairy and gluten. Can be made gluten-free with GF tortillas.
My Take: Look, this is comfort food. It’s not a diet recipe. But it’s way better than takeout, costs less, and I know exactly what’s in it. When I want to make it lighter, I use less cheese and add veggies. But usually? I just enjoy it as a tasty, convenient lunch.
Final Thoughts
So that’s my go-to mini ham and cheese quesadillas for freezer-friendly lunches! I’ve probably talked your ear off at this point, but when you make a recipe this often, you have a lot to say about it.
This has saved weeknight dinners more times than I can count. It’s my answer to “what’s for lunch” when I’m tired, don’t want takeout, and still want something that tastes really good. My kids are happy, my husband’s happy, and I’m happy because I’m not stressed about cooking.
Make it yours! Try different add-ins, swap in your favorite vegetables, adjust the cheese. The best recipes are the ones you adapt to your family’s tastes. If you make this, drop a comment and let me know what you think! I love hearing how recipes turn out in your kitchen. And if something doesn’t work, tell me that too—I’m here to help troubleshoot.
Happy cooking! And I hope your kitchen smells half as good as mine does right now.
Frequently Asked Questions
Can I freeze uncooked quesadillas?
Yes, you can. Assemble them, flash freeze them on a baking sheet, then transfer to a bag. When you’re ready to cook, you can cook them from frozen. Just add 1-2 minutes to the cooking time. However, I prefer cooking them first because the texture is better. Uncooked frozen quesadillas can sometimes get soggy when reheated.
Why did my quesadillas get soggy in the microwave?
This usually happens if you don’t let them cool completely before freezing, or if you don’t use a cup of water in the microwave when reheating. The moisture from the steam makes the tortilla soft. If you want them crispy, use an air fryer or toaster oven instead of the microwave.
Can I use corn tortillas instead of flour?
You can, but they don’t freeze as well. Corn tortillas tend to crack and break when frozen and reheated. Flour tortillas are more flexible and hold up better. If you must use corn, use smaller ones and handle them gently.
How long do these last in the freezer?
They last up to 3 months. After that, they might start to develop freezer burn or lose flavor. I usually eat them within 6 weeks to ensure they taste fresh.
Can I make these ahead for a dinner party?
Absolutely. Make them, freeze them, and then reheat them in the oven or air fryer before serving. They’re great finger food for parties. Serve with salsa, guacamole, and sour cream on the side.
Can I double this recipe?
Yes! Just make sure you have enough space in your freezer. I usually double or triple the recipe on Sunday. It saves even more time during the week. Just label the bags with the date and quantity.
What’s the best cheese to use?
I recommend a mix of cheddar and Monterey Jack. The cheddar adds flavor, and the Jack adds meltiness. You can also use a Mexican blend cheese. Avoid pre-shredded cheese at all costs—it won’t melt properly.
Pin This Recipe!
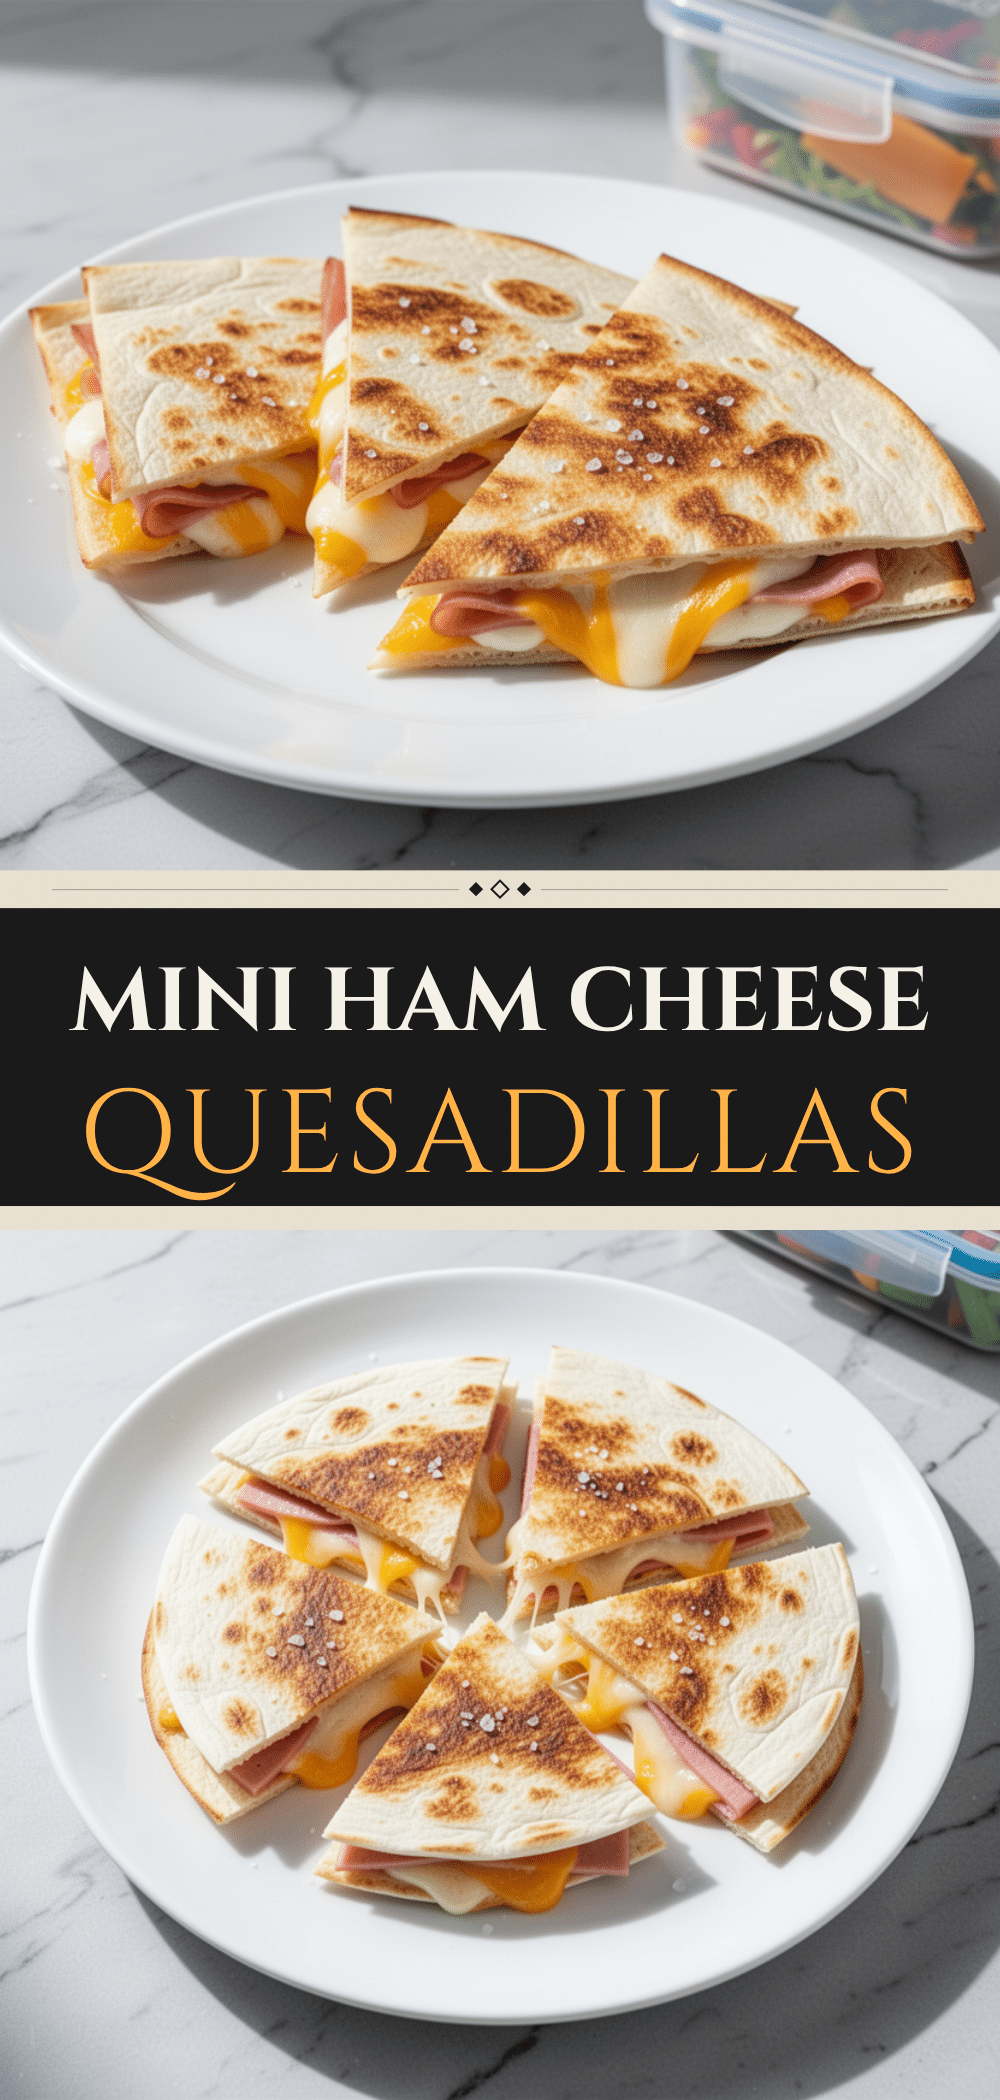
Mini Ham and Cheese Quesadillas: Easy Freezer Lunches
- Total Time: 30 minutes
- Yield: 12 servings 1x
Description
These mini ham and cheese quesadillas are a perfect freezer-friendly lunch solution that reheats in under two minutes. Crispy on the outside, melty on the inside, and easy to assemble, they are ideal for busy school mornings.
Ingredients
- 12 flour tortillas (6-inch / 15cm diameter)
- 2 cups (200g) shredded cheese (Cheddar, Monterey Jack, or Mexican blend)
- 1 cup (150g) diced ham
- 2 tablespoons (30g) butter, melted
- 1/2 teaspoon garlic powder
- 1/2 teaspoon smoked paprika
- Optional: 1/2 cup sautéed diced yellow onion
- Optional: 1 teaspoon finely diced pickled jalapeños
Instructions
- Prep ingredients: Dice the ham into small cubes. Shred the cheese and mix it with garlic powder and smoked paprika in a bowl. Melt the butter in a small bowl.
- Assemble: Lay a tortilla flat. Sprinkle cheese over half, then add diced ham (and optional onions/jalapeños). Fold the tortilla over to create a half-moon shape and press gently.
- Cook: Heat a large non-stick skillet over medium heat. Place a quesadilla in the dry skillet and cook for 2-3 minutes until golden brown. Flip, brush the cooked side with melted butter, flip again, and cook for another 2-3 minutes until the second side is golden and cheese is melted.
- Cool: Transfer cooked quesadillas to a wire cooling rack and let them cool completely (about 15 minutes) to prevent condensation.
- Flash Freeze: Place cooled quesadillas in a single layer on a baking sheet and freeze for 30 minutes to prevent sticking.
- Store: Transfer flash-frozen quesadillas to freezer-safe bags or containers, squeezing out excess air. Label with the date. They last up to 3 months.
- Reheat: Microwave for 60-90 seconds with a cup of water to keep the tortilla soft, or air fry at 350°F for 3-4 minutes for extra crispiness.
Notes
Shred your own cheese to ensure proper melting; pre-shredded cheese contains anti-caking agents that prevent a gooey texture. Flash freezing is crucial to prevent quesadillas from sticking together. When reheating in the microwave, always include a cup of water to maintain moisture and prevent the tortilla from becoming chewy.
- Prep Time: 10 minutes
- Cook Time: 10 minutes
- Category: Lunch
- Cuisine: Mexican-American
Nutrition
- Serving Size: 1 mini quesadilla
- Calories: 180
- Sugar: 1
- Sodium: 450
- Fat: 8
- Saturated Fat: 4
- Carbohydrates: 18
- Fiber: 1
- Protein: 10
Keywords: freezer lunch, mini quesadillas, ham and cheese, meal prep, kid-friendly lunch, easy lunch, microwave lunch