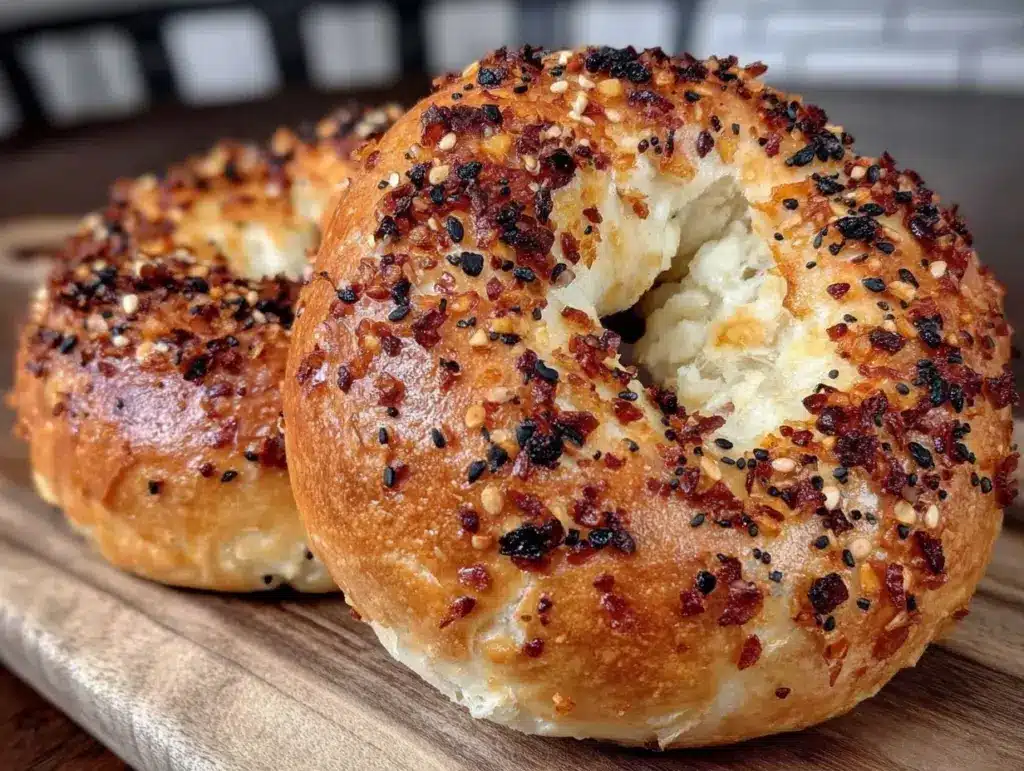
I still remember the first time I went gluten-free. It wasn’t a choice; it was a necessity. And let me tell you, the hardest thing to give up wasn’t bread, or even pasta. It was bagels. Specifically, everything bagels with cream cheese. The crunch, the chew, the sesame seeds, the poppy seeds, the garlic flakes—it was the whole package.
For years, I bought those frozen, plastic-wrapped disasters from the grocery store. They were dense, rubbery, and tasted like cardboard that had been left out in the rain. I was miserable. Then, about five years ago, I stumbled upon a recipe that actually worked. Not “good for gluten-free” good. Actually good. The kind of good that makes you stop mid-chew and stare at your toaster.
I’ve made this homemade everything bagels recipe more times than I can count. Seriously. It’s become a weekend ritual. There’s something deeply satisfying about mixing dough, shaping those perfect little rings, and watching them turn golden and glossy in the oven. And the best part? They’re vegan and gluten-free, but nobody needs to know unless you want to brag about it.
If you’ve been searching for a way to get your bagel fix without the gut issues or the animal products, stop scrolling. This is the one. It’s simple, it’s forgiving, and it tastes like victory. I’ve tested this with three different gluten-free flour blends, and I’m going to tell you exactly which one works best so you don’t waste your money.
Why You’ll Love This Recipe
Look, I know there are a million bagel recipes out there. Some require xanthan gum (ugh), some take three days to proof, and some need ingredients you have to order from a specialty shop in Brooklyn. This one? It’s different. Here’s why it’s stuck in my weekly rotation:
- Stupid Simple Dough — Seriously, if you can mix a bowl of batter, you can make these. There’s no kneading. No complex folding. Just stir, shape, and boil. I’ve made this while holding a toddler on my hip. It’s that easy.
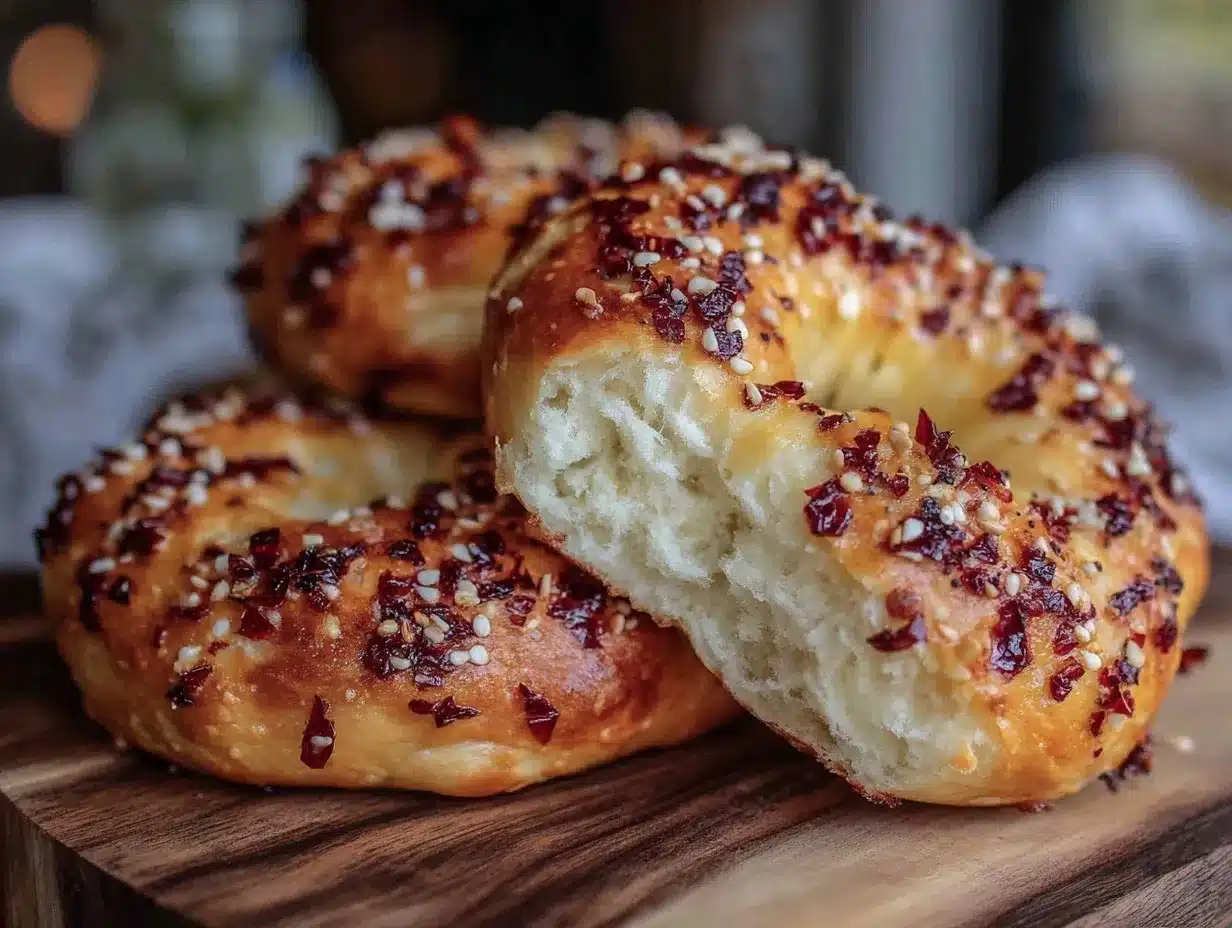
- Real Bagel Texture — This is the big one. Most GF breads are crumbly or gummy. These have that distinct bagel chew. The boiling step before baking creates that shiny, crisp crust that breaks when you bite in. It’s authentic.
- Pantry-Friendly Ingredients — You probably have the basics already. The “everything” seasoning is just common spices mixed together. And the dough uses a standard GF flour blend. No weird powders.
- Meal Prep Friendly — These freeze like a dream. I bake a batch on Sunday, freeze them, and toast one or two in the morning. They come out fresh-tasting, not stale. It’s the ultimate breakfast hack.
- Crowd-Pleaser — I’ve served these to my gluten-eating friends, and they ask for the recipe. I’ve served them to my vegan sister, and she cries (in a good way). It bridges the gap between “diet food” and “actual comfort food.”
This isn’t a compromise recipe. It’s not “healthy-ish” bagels. It’s just good bagels. Period.
Ingredients You’ll Need
Here’s the good news: you don’t need a fancy pantry to make these. I’m particular about a few things, but mostly, this is simple stuff.
For the Dough
Gluten-Free Flour Blend (2 cups / 240g) — This is crucial. Do not use rice flour alone. Do not use almond flour. You need a 1:1 baking flour blend that includes xanthan gum. I always use King Arthur Measure for Measure. It’s consistent, reliable, and gives that chewy texture. If your blend doesn’t have xanthan gum, add 1 teaspoon of xanthan gum to the dry ingredients.
Warm Water (1 cup / 240ml) — Not boiling, not cold. Think bathwater temperature. If it’s too hot, it kills the yeast. If it’s too cold, the yeast won’t wake up. I use a thermometer, but if you don’t have one, just make sure it’s comfortably warm to the touch.
Active Dry Yeast (2 teaspoons / 7g) — One standard packet. Make sure it’s not expired! I’ve ruined batches with old yeast. If it doesn’t foam up in the warm water, toss it and buy new.
Maple Syrup (1 tablespoon / 20ml) — This feeds the yeast and adds a tiny bit of sweetness. You can use honey if you’re not strictly vegan, but maple syrup keeps it plant-based and adds a nice subtle flavor.
Apple Cider Vinegar (1 teaspoon / 5ml) — This sounds weird, but it helps activate the yeast and adds that slight tang you get from traditional bagels. Don’t skip it.
Salt (1 teaspoon / 6g) — For flavor. Use kosher salt if you have it; table salt is fine too, just be careful not to over-salt.
For the Boiling Water
Water (8 cups / 2 liters) — Enough to cover the bagels in your pot.
Baking Soda (¼ cup / 30g) — This is the secret to the bagel crust. Boiling them in a baking soda bath (like pretzels) gives them that deep, golden-brown color and that signature chewy texture. It also helps the seasoning stick.
For the Everything Seasoning
Everything Bagel Seasoning (2-3 tablespoons) — You can buy it (Mrs. Dash is great) or make your own. To make your own, mix equal parts sesame seeds, poppy seeds, dried garlic flakes, dried onion flakes, and coarse salt. I keep a jar of this in my pantry year-round.
Water or Egg Wash — Since these are vegan, we’ll just use a little water or extra oil to help the seeds stick. No egg wash needed.
Equipment Needed
You don’t need fancy gear. Here’s what I actually use:
- Large Mixing Bowl — Just something big enough to mix the dough. A 4-quart bowl works perfectly.
- Medium Saucepan or Dutch Oven — For boiling the bagels. You need something deep so the water doesn’t splash everywhere. A 4-6 quart pot is ideal.
- Baking Sheet — Line it with parchment paper. Do not use silicone mats; the bagels stick to them during boiling. Parchment is your friend.
- Slotted Spoon or Spider Strainer — For lowering the bagels into the boiling water and lifting them out. A regular spoon works if you’re gentle.
- Pastry Brush — Optional, but nice for brushing the water/seasoning on top.
- Kitchen Scale — Highly recommended for GF baking. Volume measurements can be tricky with flour blends. But if you don’t have one, just be gentle when scooping.
How to Make It: Step-by-Step
Alright, let’s make these bad boys. I’m walking you through exactly how I do it. It sounds like a lot of steps, but it’s mostly waiting time.
Step 1: Activate the Yeast (5 minutes)
In your mixing bowl, combine the warm water, maple syrup, and apple cider vinegar. Sprinkle the yeast on top and stir gently. Let it sit for 5-10 minutes. You’ll see it get foamy and bubbly. If it doesn’t foam, your yeast is dead. Start over. If it foams, you’re good to go.
Step 2: Mix the Dough (3 minutes)
Add the gluten-free flour blend and salt to the yeast mixture. Stir with a wooden spoon or a sturdy spatula until it forms a thick, sticky dough. It will look more like a dense batter than a bread dough. That’s normal! GF dough doesn’t knead like wheat dough. Just mix until there are no dry spots.
Step 3: Shape the Bagels (10 minutes)
Preheat your oven to 425°F (220°C). Line a baking sheet with parchment paper. Wet your hands slightly with water (this prevents sticking). Scoop out a portion of dough—about the size of a tennis ball—and roll it into a ball. Then, poke a hole in the center with your thumb and stretch it into a ring. You don’t need to be perfect. If they’re slightly lopsided, that’s part of the charm. Place them on the baking sheet, about 2 inches apart.
Step 4: Boil the Bagels (15 minutes)
Bring a large pot of water to a boil. Once boiling, reduce heat to a simmer and stir in the baking soda. Be careful—it will foam up! Add 2-3 bagels at a time. Boil for 1 minute on each side (2 minutes total). Use the slotted spoon to flip them gently. This step creates the crust. Remove them and place them back on the parchment-lined baking sheet.
Step 5: Season and Bake (15-18 minutes)
While the bagels are boiling, mix your everything seasoning in a small bowl. Once the bagels are out of the water, brush the tops lightly with water or a tiny bit of oil. Sprinkle generously with the seasoning. Press the seeds down gently so they stick. Bake for 15-18 minutes, or until they are deep golden brown. They should sound hollow when you tap the bottom.
Step 6: Cool (Optional but Recommended)
Let them cool on a wire rack for at least 10 minutes. They’re incredibly hot inside, and the texture sets as they cool. I know it’s hard to wait, but trust me. Cutting into a hot bagel makes it gummy.
Expert Tips & Tricks
Here’s everything I’ve learned from making these dozens of times. These tips will save you from my mistakes.
- Don’t Overmix — GF flour doesn’t need kneading. Overmixing can make the dough tough. Just mix until combined.
- Keep Hands Wet — The dough is sticky. Keep a bowl of water nearby and dip your fingers in before shaping. It makes a huge difference.
- Boil Time is Key — Don’t boil them too long. 1 minute per side is perfect. If you boil them for 3 minutes, they’ll get too dense and gummy.
- Season Generously — These are *everything* bagels. Don’t be shy with the seeds. If you can’t see the bagel underneath, you’ve added enough.
- Freeze Immediately — Once completely cool, freeze them in a ziplock bag. They last up to 3 months. Toast them straight from frozen.
Variations & Substitutions
Once you’ve nailed the basic everything bagel, here’s how you can mix it up. I’ve tried all of these.
- Plain Bagels — Skip the seasoning. Brush with water and bake. Perfect for sandwiches.
- Garlic & Herb — Mix dried basil, oregano, and garlic powder with sesame seeds. Tastes like pizza bread.
- Cinnamon Raisin — Add 1 teaspoon cinnamon to the dough and 1/2 cup raisins. After boiling, brush with melted butter (or vegan butter) and sprinkle with cinnamon sugar.
- Seeded Everything — Use sunflower seeds, pumpkin seeds, flax seeds, and sesame seeds for a nuttier, heartier flavor.
Dietary Notes: These are naturally gluten-free and vegan. If you want to make them lower-carb, you can substitute half the flour with almond flour, but the texture will be denser. For a richer flavor, add 1 tablespoon of olive oil to the dough.
Serving & Storage
How to Serve: I serve these warm, sliced in half, and toasted. Top with vegan cream cheese, avocado slices, or hummus. They’re also great for breakfast sandwiches with tofu scramble.
Storage: Store in an airtight container at room temperature for up to 2 days. After that, they start to dry out. For longer storage, freeze them. They keep for 3 months in the freezer.
Reheating: Don’t microwave them! They’ll get chewy and rubbery. Toast them in a toaster or oven at 350°F for 5 minutes. If frozen, just toast them directly. They come out crispy and fresh.
Nutrition Information
I’m not a nutritionist, but here’s the breakdown if you’re tracking. These are relatively low in calories but high in satisfaction.
- Calories: ~180 per bagel
- Protein: 4g
- Carbs: 32g
- Fiber: 3g
- Fat: 3g
- Sugar: 2g
They’re a solid carb source for energy, and the seeds add healthy fats. Just watch the sodium if you’re sensitive to it.
Final Thoughts
So that’s my go-to homemade everything bagels recipe! I’ve talked your ear off, but when you make a recipe this often, you have a lot to say about it. This has saved my breakfasts more times than I can count. It’s my answer to “what’s for breakfast” when I’m tired, don’t want cereal, and still want something that tastes really good.
Make it yours! Try different seeds, add some everything seasoning to your cream cheese, or just enjoy them plain. The best recipes are the ones you adapt to your tastes.
If you make this, drop a comment and let me know what you think! I love hearing how recipes turn out in your kitchen. And if something doesn’t work, tell me that too—I’m here to help troubleshoot.
Happy baking! And I hope your kitchen smells half as good as mine does right now.
Frequently Asked Questions
Can I use a different gluten-free flour blend?
You can, but results vary. King Arthur Measure for Measure is the most reliable for this recipe. Bob’s Red Mill 1-to-1 also works well. Avoid blends with a lot of rice flour or almond flour, as they change the texture significantly. Stick to a “bread-style” GF blend.
Why did my bagels turn out dense?
This usually happens if the yeast was dead or if you overboiled them. Make sure your water is warm (not hot) and check the yeast expiration date. Also, don’t boil them longer than 2 minutes total. Too much boiling makes them dense and gummy.
Can I make these ahead of time?
Yes! You can shape the dough balls and freeze them raw. When you’re ready to bake, let them thaw for 30 minutes, then boil and bake as usual. They hold up surprisingly well frozen raw.
Is the baking soda bath safe?
Absolutely. It’s a standard technique for pretzels and bagels. It just gives them that shiny, dark crust. Make sure your pot is large enough to handle the foaming, and don’t worry if it bubbles up a bit.
Can I make these without yeast?
No, these rely on yeast for the rise and chew. Baking powder doesn’t give the same texture. If you’re avoiding yeast, you might want to try my fall cranberry pecan sourdough focaccia instead, though that requires a starter.
How do I keep the seeds from falling off?
Brush the boiled bagels with a little water or oil before adding the seasoning. Press the seeds down gently. If you’re still having trouble, mix the seeds with a teaspoon of flour to help them stick.
Pin This Recipe!
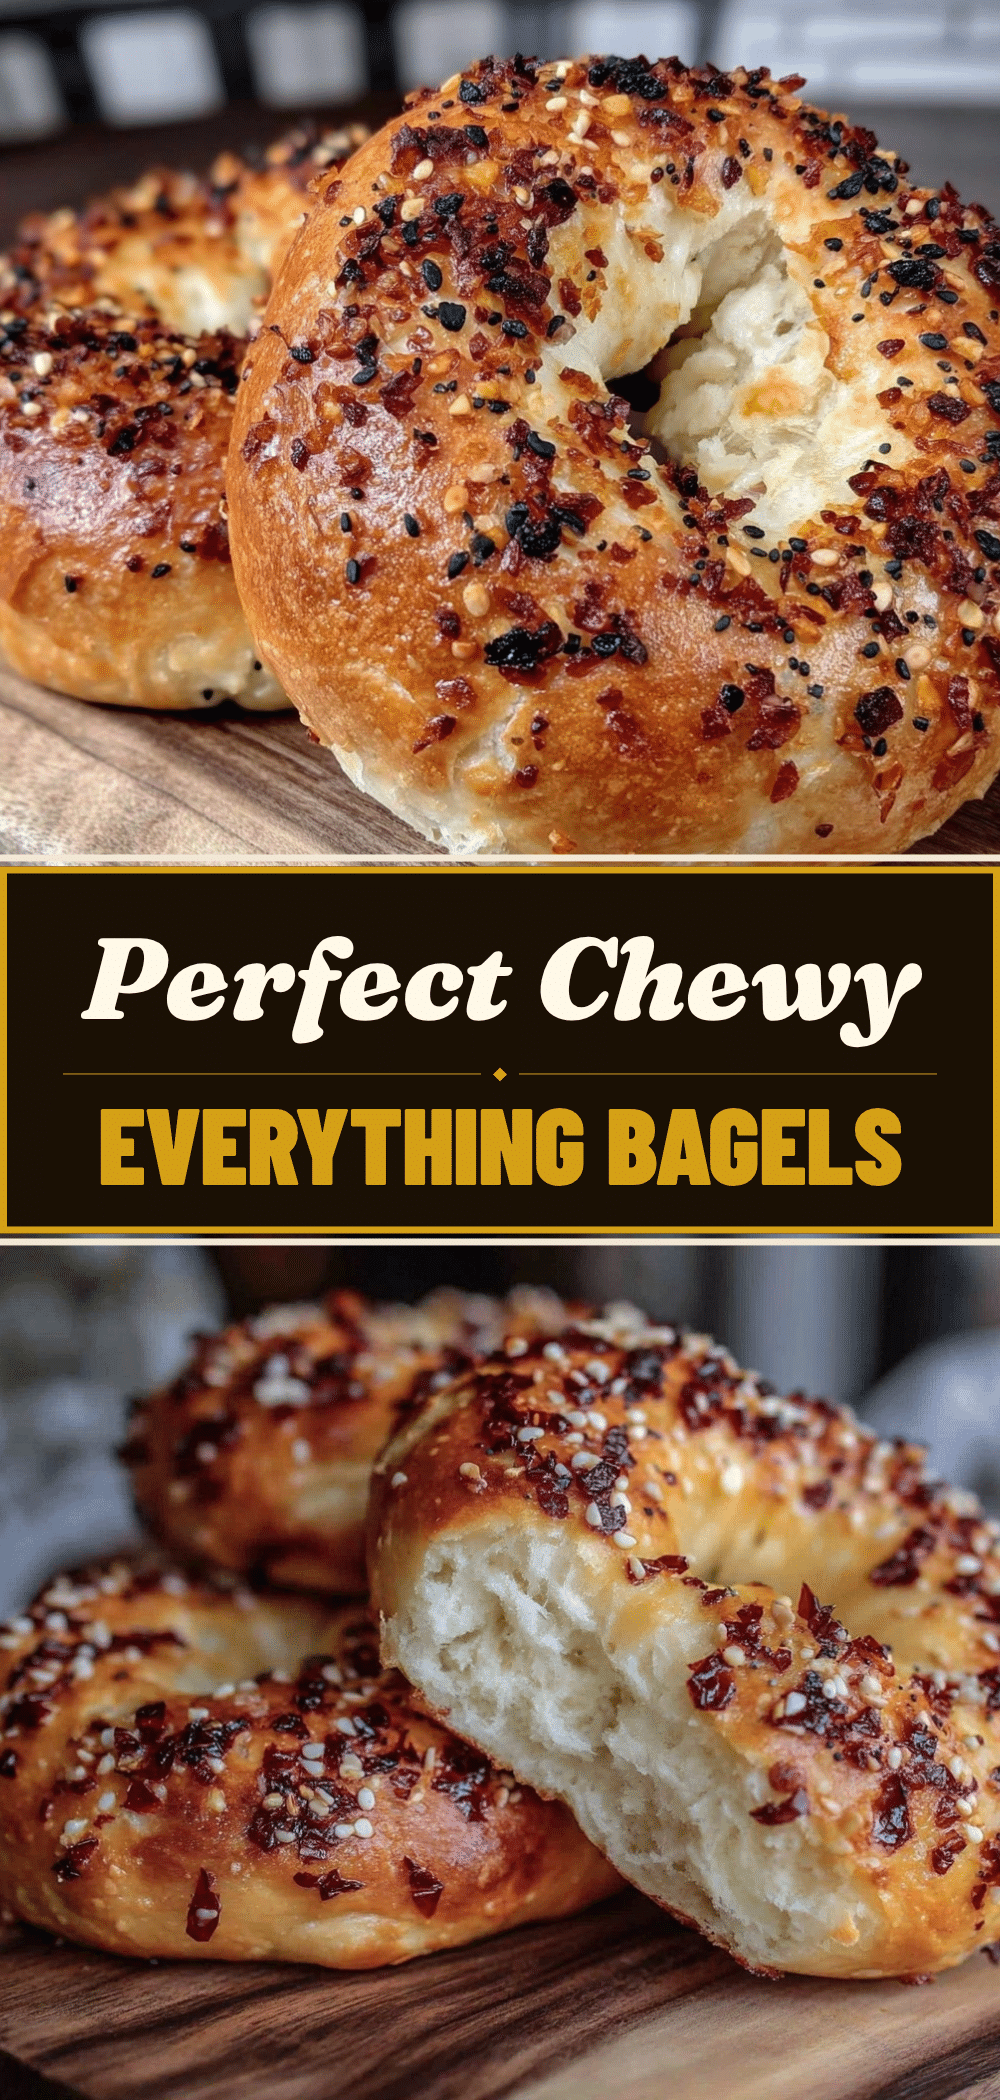
Homemade Everything Bagels: 5-Ingredient GF & Vegan Recipe
- Total Time: 50 minutes
- Yield: 6 servings 1x
Description
These homemade everything bagels are gluten-free, vegan, and incredibly easy to make with just a few pantry ingredients. They feature a distinct chewy texture and shiny crust thanks to a baking soda boil, making them a perfect breakfast or snack.
Ingredients
- 2 cups (240g) Gluten-Free 1:1 Baking Flour Blend (with xanthan gum)
- 1 cup (240ml) Warm Water
- 2 teaspoons (7g) Active Dry Yeast
- 1 tablespoon (20ml) Maple Syrup
- 1 teaspoon (5ml) Apple Cider Vinegar
- 1 teaspoon (6g) Salt
- 8 cups (2 liters) Water (for boiling)
- ¼ cup (30g) Baking Soda
- 2–3 tablespoons Everything Bagel Seasoning
- Water or Oil (for brushing)
Instructions
- In a mixing bowl, combine warm water, maple syrup, and apple cider vinegar. Sprinkle yeast on top and let sit for 5-10 minutes until foamy.
- Add the gluten-free flour blend and salt to the yeast mixture. Stir until a thick, sticky dough forms.
- Preheat oven to 425°F (220°C) and line a baking sheet with parchment paper.
- Wet hands slightly and shape the dough into tennis ball-sized rings, poking a hole in the center. Place on the baking sheet.
- Bring a large pot of water to a boil, reduce to a simmer, and stir in baking soda.
- Boil bagels for 1 minute per side (2 minutes total). Remove with a slotted spoon and place back on the baking sheet.
- Brush tops lightly with water or oil and sprinkle generously with everything seasoning.
- Bake for 15-18 minutes until deep golden brown.
- Cool on a wire rack for at least 10 minutes before slicing.
Notes
Ensure yeast is fresh and foams in warm water. Do not overboil bagels (max 2 minutes total) to avoid dense texture. Keep hands wet when shaping to prevent sticking. Freeze cooled bagels for up to 3 months.
- Prep Time: 20 minutes
- Cook Time: 30 minutes
- Category: Breakfast
- Cuisine: American
Nutrition
- Serving Size: 1 bagel
- Calories: 180
- Sugar: 2
- Fat: 3
- Carbohydrates: 32
- Fiber: 3
- Protein: 4
Keywords: gluten-free bagels, vegan bagels, everything bagels, homemade bagels, gluten-free baking, easy bagel recipe


