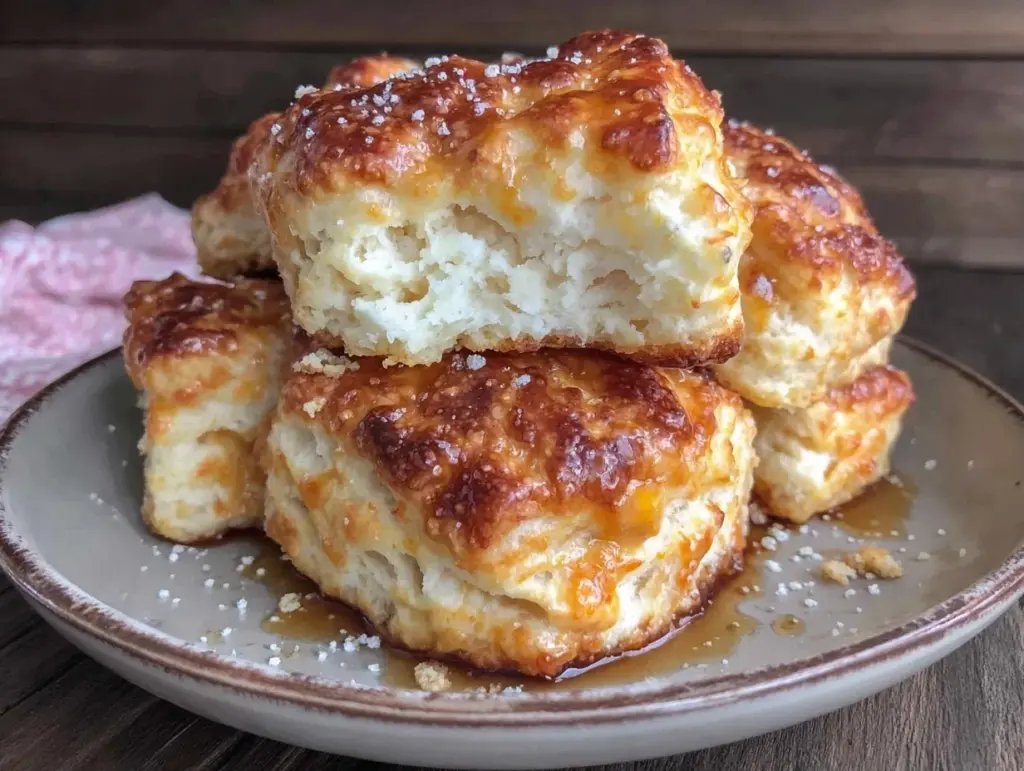
I still remember the first time I made these biscuits for a Sunday brunch. It was one of those lazy, rain-streaked mornings where the last thing I wanted to do was stand over a stove. But I had friends coming over, and I knew that dry, store-bought rolls wouldn’t cut it. I wanted something that smelled like comfort and looked like it came from a high-end bakery, not a box.
I pulled out my favorite mixing bowl, grabbed some cold butter, and got to work. When they came out of the oven, they were golden brown, towering high, and smelling like heaven. My friend Sarah broke one open right at the table. She didn’t even say anything. She just stared at those layers, pulled them apart slowly, and let out this little sigh of pure joy. “How did you do that?” she asked. “These are impossible to get right.”
That’s the thing about golden buttermilk biscuits with flaky pull apart layers everyone always asks for—they aren’t impossible. They just require a few specific techniques that most home cooks skip. It’s not about fancy equipment or expensive ingredients. It’s about understanding the chemistry of cold butter and hot ovens. Once you get the hang of it, you’ll make these for every weekend breakfast, every holiday morning, and probably every Tuesday night when you just want something good.
I’ve tested this recipe dozens of times. I’ve used different flours, different buttermilks, and even tried baking powder substitutions. This version is the winner. It’s tender, buttery, and has those dramatic, shattering layers that make people stop mid-bite and ask for the recipe. If you’ve ever struggled with dense, brick-like biscuits, this is your fix. Let’s get baking.
Why You’ll Love This Recipe
There’s a reason these biscuits have become the star of my kitchen table. They’re not just good; they’re transformative. Here’s why I keep coming back to this specific method:
- Dramatic, Shattering Layers — Most biscuits are uniform. These have distinct, paper-thin layers that separate easily. It’s the “pull apart” effect that makes them feel special and impressive.
- Golden Brown Exterior — Thanks to a brush of buttermilk and a sprinkle of sugar before baking, these turn out a deep, appetizing golden brown. They look like they belong on a fancy platter.
- Tender and Fluffy Interior — No dry crumbs here. The inside is soft, airy, and moist. It melts in your mouth before you even chew.
- Simple Ingredients — You don’t need a specialty store. Just flour, butter, baking powder, salt, and buttermilk. That’s it. If you can measure, you can make these.
- Perfect for Any Occasion — Whether it’s a holiday brunch with family or a cozy night in with takeout, these biscuits elevate any meal. They pair beautifully with cozy fall chicken and dumplings or a simple bowl of soup.
Real talk? These biscuits are the ultimate crowd-pleaser. I’ve served them to picky eaters, food critics, and my own dad (who usually complains about everything). They all agree: these are the best biscuits they’ve ever had. And the best part? They take less than 20 minutes from start to finish.
Ingredients You’ll Need
Here’s the good news: you probably have most of this in your pantry already. The secret to great biscuits isn’t exotic ingredients; it’s technique and temperature. Let’s break down what you need and why each item matters.
For the Dough
All-purpose flour (3 cups / 375g) — This is your base. Don’t use self-rising flour unless you adjust the baking powder and salt. I like King Arthur or Gold Medal—they’re consistent. Sift this if you can; it aerates the flour for lighter biscuits.
Baking powder (1 tablespoon) — This is the lift. Make sure it’s fresh! If your baking powder is older than 6 months, it won’t give you that rise. I keep a fresh canister just for baking.
Baking soda (½ teaspoon) — This reacts with the buttermilk to create extra tenderness and browning. It’s a small amount, but it makes a big difference.
Salt (1½ teaspoons) — Flavor enhancer. Don’t skip it. It balances the sweetness and brings out the butter flavor.
Cold unsalted butter (1 cup / 225g, cubed and chilled) — This is non-negotiable. Cold butter creates steam pockets as it melts in the oven, which creates those flaky layers. I cube it and put it back in the fridge for 10 minutes before mixing. If the butter is warm, you’re making pastry, not biscuits.
Granulated sugar (2 tablespoons) — Just a little bit. It helps with browning and adds a subtle sweetness that pairs well with the savory butter. It also helps create that golden crust.
For the Liquid and Finish
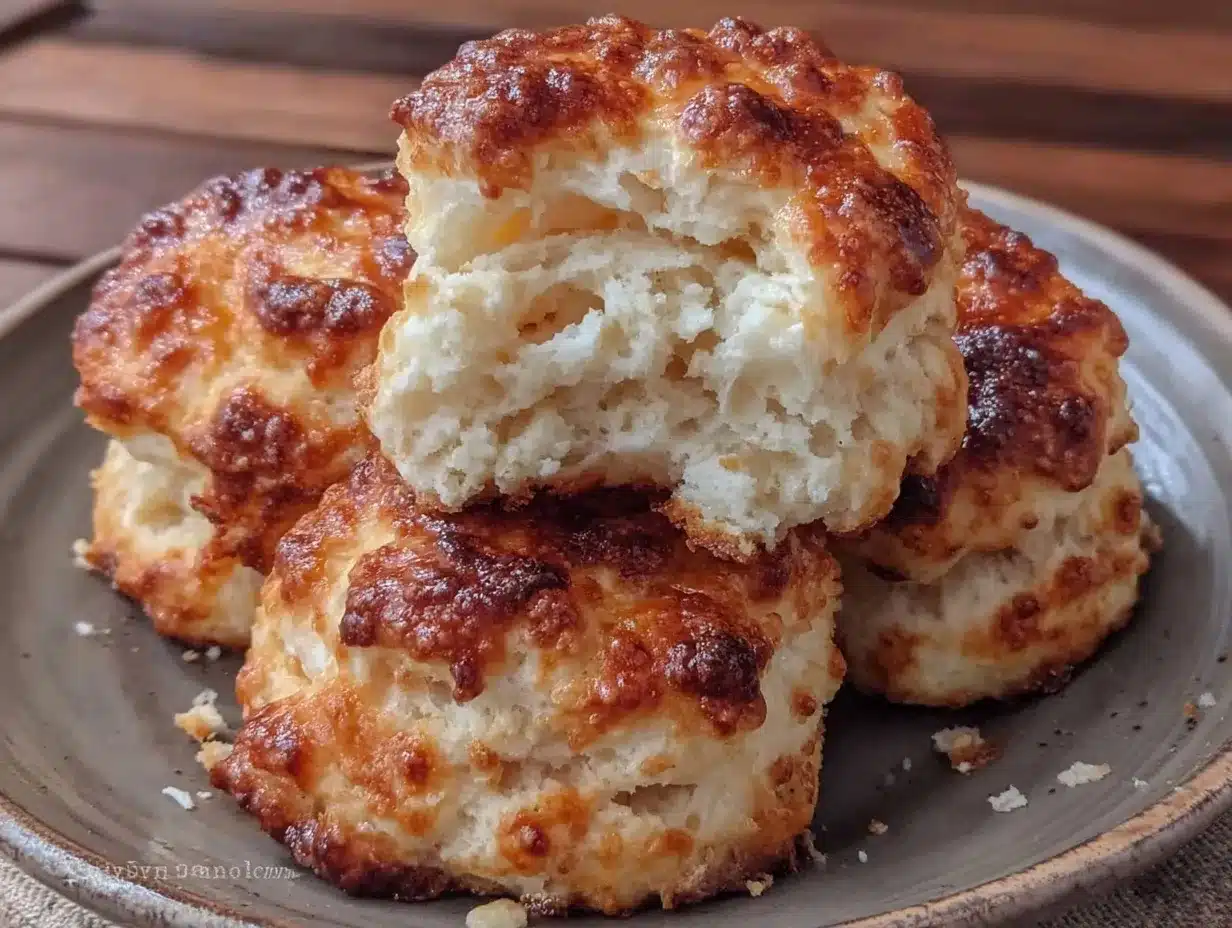
Buttermilk (1½ cups / 360ml, cold) — The acid in buttermilk tenderizes the gluten, making the biscuits soft. If you don’t have buttermilk, mix 1½ cups milk with 1½ tablespoons lemon juice or vinegar. Let it sit for 5 minutes until it curdles. But real buttermilk is best.
Buttermilk for brushing (¼ cup) — Brushing the tops before baking gives them that deep golden color and a slight tang.
Coarse sea salt or flaky salt (for sprinkling) — Optional, but adds a nice crunch and visual appeal.
Whipped cream or butter (for serving) — Because nothing says “I love you” like warm biscuits slathered in melting butter.
Equipment Needed
You don’t need fancy gadgets for this. Here’s what I actually use in my kitchen:
- Large mixing bowl — I use a 4-quart ceramic bowl. It’s sturdy and easy to mix in.
- Pastry cutter or food processor — I prefer a pastry cutter for control. A food processor works too, but watch the butter closely so it doesn’t get too warm.
- Rolling pin — A 12-inch wooden rolling pin is my go-to. It’s balanced and easy to handle.
- 2-inch round biscuit cutter — A sharp cutter is crucial. Dull edges will seal the layers shut. I don’t twist the cutter; I press straight down.
- Baking sheet — I use a half-sheet pan. Light-colored aluminum is best because it promotes even browning. Dark pans can burn the bottoms.
- Wire cooling rack — Letting them cool slightly prevents sogginess on the bottom.
Pro Tip: Keep everything cold. I even chill my bowl and rolling pin in the freezer for 10 minutes before starting. It sounds extreme, but it works.
How to Make It: Step-by-Step
Alright, let’s make these golden buttermilk biscuits with flaky pull apart layers. I’m walking you through exactly how I do it, including the little tricks that make the difference between okay and amazing.
Step 1: Prep Your Oven and Pan (5 minutes)
Preheat your oven to 425°F (220°C). This high heat is crucial for the initial rise. Line a large baking sheet with parchment paper. This prevents sticking and makes cleanup a breeze. I like to leave about 1 inch of space between each biscuit so they can expand without touching.
Step 2: Mix the Dry Ingredients (2 minutes)
In your large bowl, whisk together the flour, baking powder, baking soda, salt, and sugar. Make sure there are no lumps of baking powder. This ensures even rising. If you’re in a rush, you can skip the whisk, but it helps distribute the leavening agents evenly.
Step 3: Cut in the Butter (3-4 minutes)
Add the cold, cubed butter to the flour mixture. Use a pastry cutter to cut the butter into the flour. You’re looking for pea-sized pieces with some larger, flat shards of butter. Those shards are what create the layers. If you’re using a food processor, pulse 10-12 times. Don’t overmix! The butter should still be visible and cold.
Step 4: Add the Buttermilk (2 minutes)
Make a well in the center of the flour mixture. Pour in the cold buttermilk. Use a fork or a spatula to gently fold the liquid into the flour. Stop as soon as the dough starts to come together. It will look shaggy and uneven. This is good. Overmixing develops gluten, which makes biscuits tough. We want tender, not chewy.
Step 5: Knead and Roll (3 minutes)
Turn the dough out onto a lightly floured surface. Gently knead it 5-6 times. Just enough to bring it into a ball. Then, pat it out into a rectangle about 1 inch thick. Don’t use a rolling pin if you want maximum flakiness—patting it with your hands creates more irregular layers. Fold the dough in half, then pat it out again. This “book fold” creates those flaky layers everyone loves.
Step 6: Cut the Biscuits (2 minutes)
Using a 2-inch biscuit cutter, cut out as many biscuits as you can. Press straight down. Do not twist! Twisting seals the edges. Gather the scraps, pat them out gently, and cut again. You’ll get a few more, but they might be slightly less fluffy. Place them on the baking sheet.
Step 7: Brush and Bake (15-18 minutes)
Brush the tops with buttermilk. This helps them brown. Sprinkle with a little sugar if you like a sweet crust. Bake for 15-18 minutes until they are golden brown on top and cooked through. If you tap the bottom and it sounds hollow, they’re done. Remove from the oven and brush immediately with melted butter if you want extra richness.
Step 8: Serve Warm
Let them cool for 5 minutes on the pan. This sets the structure. Serve warm with jam, honey, or just plain butter. They’re best eaten fresh, but leftovers are still delicious.
Expert Tips & Tricks
Here’s everything I’ve learned from making these dozens of times. These tips will save you from my mistakes.
- Keep Everything Cold — This is the #1 rule. If the butter melts before it hits the oven, you lose the layers. Work quickly and keep your ingredients in the fridge until the last second.
- Don’t Overmix — The dough should look shaggy. If it’s smooth, you’ve mixed too much. Handle the dough as little as possible.
- Use a Sharp Cutter — A dull cutter will compress the layers. Dip your cutter in flour between cuts to prevent sticking.
- Push, Don’t Twist — When cutting, press straight down. Twisting seals the edges and prevents rising.
- High Heat is Key — 425°F is hot enough to create steam instantly, which lifts the layers. Lower temperatures result in flat, dense biscuits.
- Brush with Butter — Brushing with melted butter immediately after baking adds flavor and keeps the crust soft.
Common Mistakes:
- Flat Biscuits: Old baking powder or warm butter.
- Dry Biscuits: Overmixing or overbaking.
- Raw Center: Oven too hot or biscuits too thick.
Variations & Substitutions
Once you’ve nailed the basic version, here’s how you can mix it up. I’ve tried all of these.
- Cheese Biscuits — Add 1 cup of shredded cheddar to the dry ingredients. Great with roasted red pepper soup.
- Herb Biscuits — Add 1 tablespoon of dried chives or parsley.
- Garlic Biscuits — Add 1 teaspoon of garlic powder and ½ teaspoon of onion powder.
- Gluten-Free — Use a 1:1 gluten-free flour blend. Add ½ teaspoon of xanthan gum if your blend doesn’t include it.
- Dairy-Free — Use dairy-free butter and coconut milk (full fat) instead of buttermilk. Add 1 tablespoon of vinegar to the coconut milk.
Serving & Storage
These biscuits are best served warm, fresh from the oven. But here’s how to handle leftovers.
Storage: Store in an airtight container at room temperature for up to 2 days. They will stale quickly due to the butter content.
Reheating: Reheat in a 350°F oven for 5-7 minutes. This restores the crispiness. Microwave heating makes them chewy and tough.
Freezing: You can freeze baked biscuits for up to 3 months. Wrap them tightly in plastic wrap and foil. Thaw at room temperature and reheat in the oven.
Serving Suggestions: Serve with pumpkin bread for a autumn brunch, or alongside a hearty stew. They’re also amazing with honey and whipped cream for a sweet treat.
Nutrition Information
I’m not a nutritionist, but here’s the breakdown if you’re tracking. These are rich, so portion control is key.
Per Biscuit (approx. 12 biscuits total):
- Calories: 280
- Protein: 5g
- Carbs: 32g
- Fat: 15g
- Fiber: 1g
- Sugar: 2g
These are comfort food, so enjoy them! They’re made with simple, real ingredients.
Final Thoughts
So that’s my go-to golden buttermilk biscuits with flaky pull apart layers! I’ve probably talked your ear off at this point, but when you make a recipe this often, you have a lot to say about it.
These biscuits have saved my brunches, my dinners, and my sanity. They’re my answer to “what’s for breakfast” when I want to impress but don’t have much time. My family loves them, my friends ask for the recipe, and I love making them because they’re just… good.
Make them yours! Try different herbs, cheeses, or spices. The best recipes are the ones you adapt to your tastes. If you make these, drop a comment and let me know what you think! I love hearing how recipes turn out in your kitchen.
Happy baking! And I hope your kitchen smells half as good as mine does right now.
Frequently Asked Questions
Can I use self-rising flour instead of all-purpose?
You can, but you’ll need to adjust the baking powder and salt. Self-rising flour already has leavening agents. If you use it, skip the baking powder and baking soda, and reduce the salt by half. But I recommend starting with all-purpose flour for better control.
Why are my biscuits dense and not fluffy?
Usually, this is due to overmixing or warm butter. Overmixing develops gluten, making the biscuits tough. Warm butter doesn’t create steam pockets. Make sure your butter is cold and handle the dough gently.
Can I make these ahead of time?
You can cut the biscuits and freeze them on the baking sheet. Once frozen, transfer to a bag. Bake them straight from the freezer, adding 2-3 minutes to the baking time. This is great for meal prep!
What’s the best way to store leftovers?
Store in an airtight container at room temperature for up to 2 days. Reheat in the oven to restore crispiness. Don’t microwave them unless you don’t care about texture.
Can I use margarine instead of butter?
You can, but the flavor and texture won’t be as good. Butter has a higher fat content and better melting properties. Margarine has more water and additives, which can make the biscuits greasy or flat.
How do I get them to rise high?
High heat, cold butter, and not twisting the cutter are key. Also, make sure your baking powder is fresh. Old baking powder won’t give you the lift you need.
Pin This Recipe!
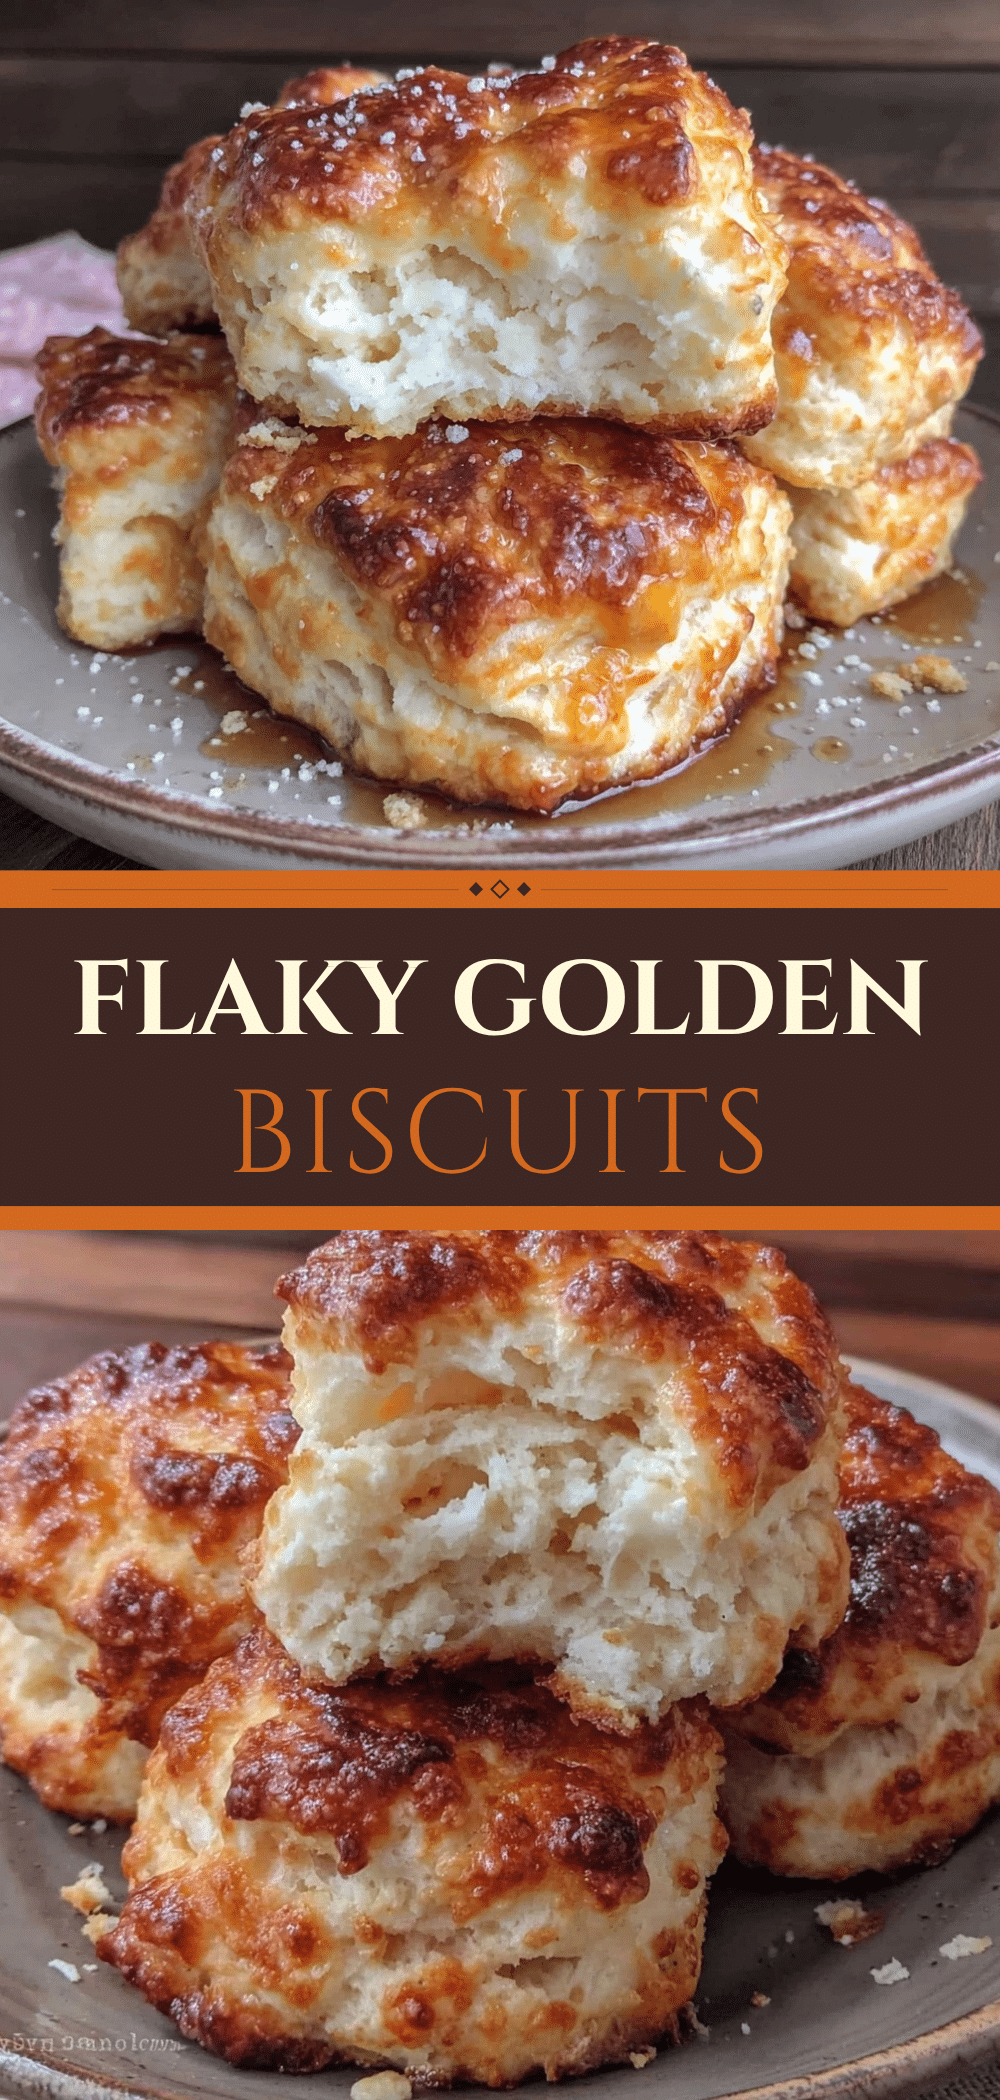
Golden Buttermilk Biscuits: Best Flaky Pull Apart Layers
- Total Time: 30 minutes
- Yield: 12 servings 1x
Description
These golden buttermilk biscuits feature dramatic, shattering layers and a tender, fluffy interior. Made with simple ingredients and specific techniques like keeping butter cold and using high heat, they are the ultimate crowd-pleaser for any breakfast or brunch.
Ingredients
- 3 cups (375g) all-purpose flour
- 1 tablespoon baking powder
- ½ teaspoon baking soda
- 1½ teaspoons salt
- 1 cup (225g) cold unsalted butter, cubed and chilled
- 2 tablespoons granulated sugar
- 1½ cups (360ml) cold buttermilk
- ¼ cup buttermilk for brushing
- Coarse sea salt or flaky salt for sprinkling (optional)
- Whipped cream or butter for serving
Instructions
- Preheat oven to 425°F (220°C). Line a large baking sheet with parchment paper, leaving 1 inch of space between biscuits.
- In a large bowl, whisk together flour, baking powder, baking soda, salt, and sugar to ensure even distribution.
- Add cold, cubed butter to the flour mixture. Use a pastry cutter or food processor to cut the butter in until pea-sized pieces and larger flat shards remain.
- Make a well in the center and pour in cold buttermilk. Gently fold with a fork or spatula until the dough just comes together; it should look shaggy.
- Turn dough onto a lightly floured surface. Gently knead 5-6 times, then pat into a 1-inch thick rectangle. Fold in half (book fold) and pat out again to create layers.
- Using a 2-inch round biscuit cutter, press straight down to cut biscuits. Do not twist the cutter. Place on the baking sheet.
- Brush tops with buttermilk and sprinkle with sugar if desired. Bake for 15-18 minutes until golden brown and cooked through.
- Remove from oven and brush immediately with melted butter if desired. Let cool for 5 minutes before serving.
Notes
Keep all ingredients cold to ensure flaky layers. Do not overmix the dough. Use a sharp cutter and press straight down without twisting. For gluten-free, use a 1:1 gluten-free flour blend. For dairy-free, use dairy-free butter and coconut milk with vinegar.
- Prep Time: 15 minutes
- Cook Time: 15-18 minutes
- Category: Breakfast
- Cuisine: American
Nutrition
- Serving Size: 1 biscuit
- Calories: 280
- Sugar: 2
- Sodium: 450
- Fat: 15
- Saturated Fat: 9
- Carbohydrates: 32
- Fiber: 1
- Protein: 5
Keywords: buttermilk biscuits, flaky biscuits, pull apart biscuits, homemade biscuits, breakfast recipes, southern biscuits, golden biscuits


