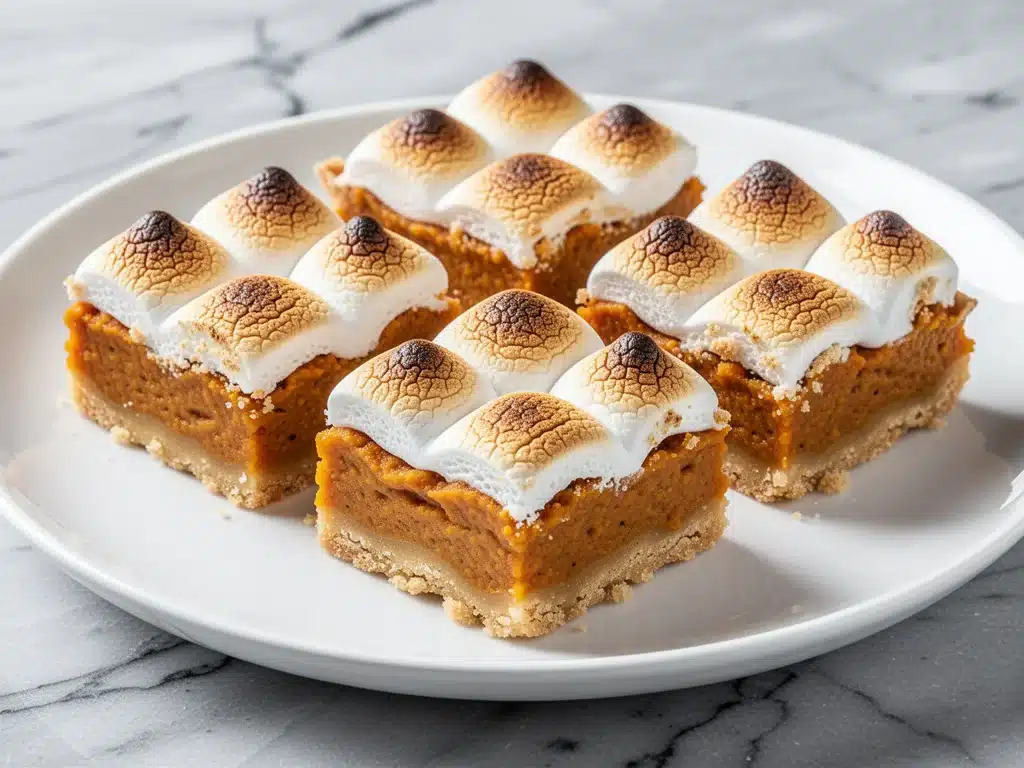
Last year, I stood in my kitchen at 9 PM on Thanksgiving Eve, staring at a piping bag that wouldn’t pipe, a crust that was weeping moisture, and a deep sense of panic. I had decided to make three separate pies that year. Three. Who does that? I thought I was being ambitious. I was being ridiculous.
My oven was crowded, my counter was a disaster zone of rolling pins and flour, and I was pretty sure my pumpkin pie filling was curdling because I’d added the eggs in too fast. I was one hour away from serving store-bought pecan pie in little plastic cups and calling it “rustic farm-style.” That’s when my husband, bless his heart, walked in, saw my face, and asked if I wanted to just make those sweet potato bars I saw on Pinterest. The ones with the marshmallow topping.
I was skeptical. Bars? On Thanksgiving? But honestly, the idea of skipping the crust drama sounded like heaven. We made a batch that night—just a simple sheet pan version—and the next morning, when the guests started arriving, those bars disappeared faster than the good silverware. They were creamy, spiced, and topped with perfectly toasted marshmallows that got all gooey and golden. By 2 PM, the pan was empty. No one even noticed the pies in the fridge.
That was the moment I realized that sometimes the best dessert isn’t the most complicated one. It’s the one that actually works. Since then, I’ve tested this fall sweet potato pie bars recipe about twenty times. I’ve tweaked the spice blend, I’ve experimented with different marshmallow techniques, and I’ve learned exactly how to keep the center fudgy but set. These bars have become my go-to for every autumn gathering, from office potlucks to family dinners. They’re easier than pie, look stunning on a plate, and honestly? They taste even better than the real thing because you get that amazing toasted marshmallow crunch in every bite.
If you’ve ever dreaded baking for a crowd, or if you just want a dessert that tastes like autumn in a bar form, you need to try this. It’s my new favorite way to use up leftover canned sweet potatoes or roasted squash. Let’s get baking.
Why You’ll Love These Sweet Potato Pie Bars
There are a few reasons these bars have taken over my recipe box, but I’m not just saying that because I’m biased (okay, maybe a little). Here’s the real talk on why this recipe works so well:
- No Pie Crust Stress — Seriously, goodbye flaky, shattering, sad crusts. This bar has a buttery graham cracker base that stays crunchy and holds everything together. If you can crush cookies in a bag, you can make this crust.
- Lightning Fast Prep — Compared to making three whole pies, this takes about 45 minutes of active time. I can mix the batter while my dinner is roasting. It’s the perfect “I need to contribute dessert but I’m tired” recipe.
- Marshmallow Magic — The toasted marshmallow topping is the game-changer. It adds a texture contrast that pie just doesn’t have. Plus, it makes the whole house smell like a campfire.
- Make-Ahead Friendly — These actually taste better the next day. The flavors meld together overnight, and they hold up well in the fridge for up to four days. I often make them on Sunday for a Wednesday night dinner party.
- Universal Crowd-Pleaser — I’ve served these to hardcore pie snobs who said the bars were “better,” and to kids who usually only eat chocolate cake. Everyone loves them. They’re sweet but not cloying, thanks to the earthy sweet potato.
Real talk: these bars are my secret weapon. They look fancy enough for a dinner party but are simple enough to throw together on a Tuesday night when you need a sugar fix. Plus, they pair beautifully with a cup of coffee or a glass of keto iced vanilla cold brew if you want to keep things light.
Ingredients You’ll Need
Here’s the best part: you probably have most of these ingredients already. This isn’t a recipe that requires a trip to three different specialty stores. It’s pantry-friendly, seasonal, and straightforward.
For the Graham Cracker Crust
Graham cracker crumbs (1 ½ cups / 150g) — You can buy pre-made crumbs, but I like to crush whole graham crackers in a food processor. It gives you better control over the texture. If you’re feeling lazy, the store-bought kind works fine, just make sure it’s the plain vanilla kind.
Unsalted butter (6 tablespoons / 85g, melted) — This binds the crust. Use good quality butter here. If it’s salted, reduce the salt in the filling by a pinch.
Granulated sugar (2 tablespoons / 25g) — Just a little bit to help the crust crisp up and add a hint of sweetness. Don’t skip this, or the crust will taste bland.
Salt (¼ teaspoon) — Essential to balance the sweetness. I use fine sea salt.
For the Sweet Potato Filling
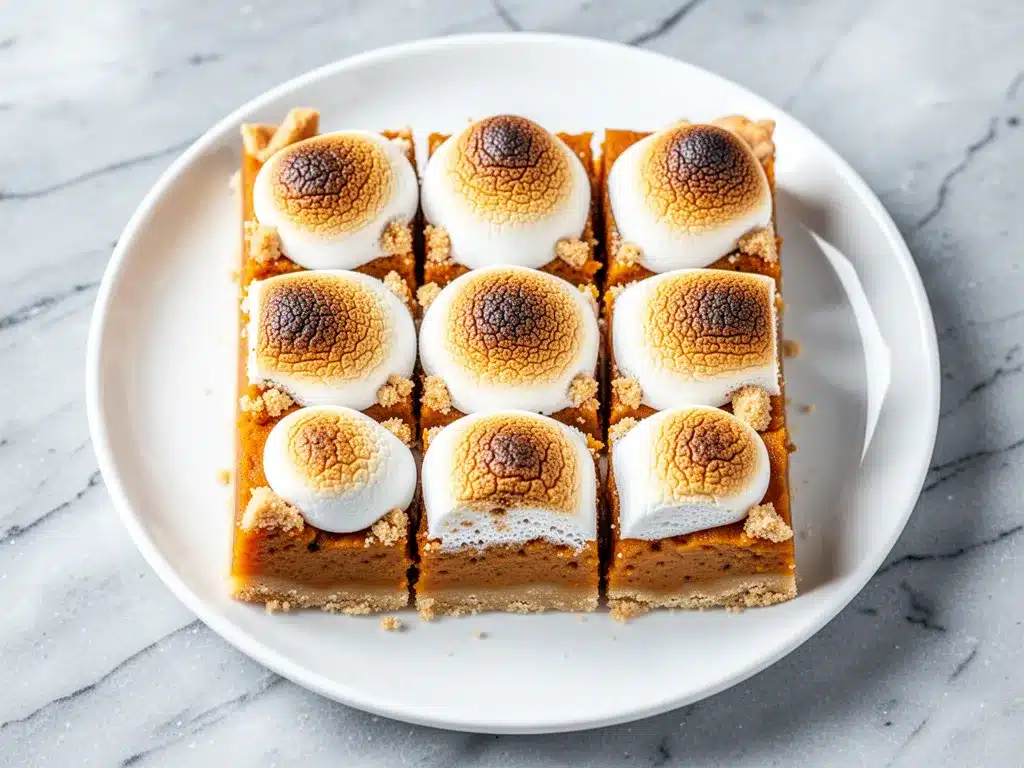
Canned sweet potato puree (15 ounces / 425g) — Or about one large can. Look for 100% pure sweet potato, not pie filling. Some brands are watery, so I recommend draining it in a fine-mesh sieve for 10 minutes to remove excess liquid. This step is crucial for a thick, fudgy bar.
Brown sugar (1 cup / 200g, packed) — This gives the filling that deep, molasses-like flavor that screams “fall.” Dark brown sugar is even better if you have it.
Heavy cream (½ cup / 120ml) — Adds richness and helps set the texture. Half-and-half works in a pinch, but heavy cream makes it luxuriously creamy.
Large eggs (2 large, room temperature) — Room temp eggs mix better and prevent the batter from curdling. I take them out of the fridge while the oven preheats.
Vanilla extract (1 teaspoon) — Pure vanilla only. I’ve used imitation once and it tasted chemical. Don’t do it.
Ground cinnamon (1 ½ teaspoons) — The backbone of the spice profile.
Ground ginger (½ teaspoon) — Adds a little zing and warmth.
Nutmeg (¼ teaspoon) — Freshly grated is best, but ground is fine. Don’t overdo it; nutmeg can be overpowering.
Garlic powder (¼ teaspoon) — I know, I know. It sounds weird. But it adds a savory depth that balances the sugar. You won’t taste “garlic,” just a nice complexity. I learned this trick from a pastry chef years ago.
For the Toasted Marshmallow Topping
Mini marshmallows (3 cups / 90g) — Use the mini kind. They melt more evenly and create a uniform layer. Jumbo marshmallows take forever to melt and burn easily.
Optional: Extra graham crumbs — For garnish.
Optional: Flaky sea salt — A sprinkle on top after toasting adds a gourmet touch.
Equipment Needed
You don’t need fancy equipment for this. Here’s what I actually use:
9×13 inch baking pan — I use a glass Pyrex pan. It bakes evenly and I can see the crust browning through the bottom. Metal pans work too, but they might brown the edges faster, so keep an eye on them.
Food processor or Ziploc bag — For crushing the graham crackers. If using a bag, use a rolling pin. It’s surprisingly satisfying.
Large mixing bowl — I use a 4-quart bowl with a pouring spout. It makes transferring the filling to the pan much easier and less messy.
Hand mixer or stand mixer — You can whisk by hand, but a mixer ensures the eggs and sugar are fully incorporated. I use my hand mixer because it’s faster to clean.
Pastry brush — Optional, but helpful for brushing any marshmallow bits off the edges of the pan.
Oven broiler — Most ovens have one. If yours doesn’t, you can use a kitchen torch, but the broiler is easier for large batches.
How to Make It: Step-by-Step
Alright, let’s make this! I’m walking you through exactly how I do it, including the little tricks I’ve picked up to ensure perfect bars every time.
Step 1: Prep and Preheat (5 minutes)
Preheat your oven to 350°F (175°C). Grease your 9×13 inch baking pan with butter or non-stick spray. I like to line the pan with parchment paper, leaving an overhang on the long sides. This makes lifting the bars out later a breeze. If you don’t have parchment, just grease it well.
Step 2: Make the Crust (5 minutes)
In a medium bowl, combine the graham cracker crumbs, melted butter, sugar, and salt. Mix until it looks like wet sand. Press this mixture firmly into the bottom of your prepared pan. Use the bottom of a measuring cup to pack it down tightly. You want it even and compact. Bake the crust for 8 minutes. It should look lightly golden. Remove from the oven and let it cool slightly while you make the filling. Don’t skip this blind baking step—it keeps the crust crisp against the wet filling.
Step 3: Prepare the Sweet Potato (5 minutes)
While the crust bakes, drain your sweet potato puree. Place it in a fine-mesh sieve over a bowl and let it sit for 10 minutes. Squeeze out as much liquid as you can with a spoon. This is the secret to bars that slice cleanly instead of falling apart. If your puree is still too wet, the bars will be gummy.
Step 4: Mix the Filling (5 minutes)
In your large mixing bowl, whisk the brown sugar and heavy cream until smooth. Add the drained sweet potato puree, eggs, vanilla, cinnamon, ginger, nutmeg, and garlic powder. Mix on medium speed until everything is fully combined and smooth. Scrape down the sides of the bowl to make sure there are no pockets of flour or spice. The batter should be thick but pourable.
Step 5: Assemble and Bake (35-40 minutes)
Pour the filling over the pre-baked crust. Spread it out evenly with a spatula. Bake for 35-40 minutes. The edges should be set and slightly pulling away from the pan, but the center should still have a slight jiggle. It will firm up as it cools. Do not overbake, or the texture will become cakey instead of fudgy.
Step 6: Toast the Marshmallows (2-5 minutes)
Remove the pan from the oven. Immediately sprinkle the mini marshmallows evenly over the hot filling. The residual heat will start to melt them. Turn your oven broiler to high. Place the pan back in the oven, about 6 inches from the heating element. Watch it like a hawk! Broil for 1-3 minutes until the marshmallows are puffy and golden brown. They burn fast, so stay nearby.
Step 7: Cool and Slice (1 hour)
Let the bars cool in the pan on a wire rack for at least 1 hour. This is the hardest part. If you cut them warm, they will be a mess. Once cooled, lift them out using the parchment paper, slice into squares, and serve. Dust with flaky salt if you’re feeling fancy.
Expert Tips & Tricks
Here’s everything I’ve learned from making this dozens of times. These tips will save you from my mistakes.
- Drain the Puree! I can’t stress this enough. Canned sweet potato is watery. If you skip draining, your bars will be soggy. Trust me.
- Don’t Overmix — Once you add the eggs, mix just until combined. Overmixing can incorporate too much air, leading to cracks on top.
- Watch the Broiler — Marshmallows go from golden to charcoal in seconds. Keep the oven door slightly ajar if your broiler is powerful, and rotate the pan halfway through if your oven has hot spots.
- Room Temperature Eggs — Cold eggs can cause the filling to seize or separate. Let them sit on the counter for 30 minutes before using.
- Use a Sharp Knife — For clean cuts, use a sharp chef’s knife. Wipe it clean between cuts. For neater squares, dip the knife in hot water and dry it before each cut.
Pro tip: If you want to make these ahead, you can bake them up to the broiling stage, cool them, cover tightly, and refrigerate for up to 2 days. When ready to serve, let them come to room temperature, add the marshmallows, and broil. Freshly toasted marshmallows are always best!
Variations & Substitutions
Once you’ve nailed the basic version, here’s how you can mix it up. I’ve tried all of these.
Gluten-Free Option
Use gluten-free graham crackers and make sure your sweet potato puree is certified GF. The rest of the ingredients are naturally gluten-free. The texture is identical.
Dairy-Free Version
Replace the butter with coconut oil or vegan butter. Use full-fat coconut cream instead of heavy cream. For the marshmallows, use vegan marshmallows (like Dandies). The flavor is slightly different but still delicious.
Spice It Up
Add a pinch of cayenne pepper or cardamom to the filling. It adds a warm kick that pairs well with the sweetness. I like a little cayenne for holiday dinners.
Chocolate Swirl
After pouring the filling, drizzle melted chocolate over the top and swirl it with a knife before baking. It’s like a sweet potato brownie bar.
Maple Glaze
Skip the marshmallows and brush the warm bars with a mixture of maple syrup and butter. Sprinkle with chopped pecans. It’s simpler but very elegant.
These bars are versatile enough to fit almost any dietary need, but the classic version with graham cracker crust and toasted marshmallows is hard to beat. It’s the ultimate comfort dessert.
Serving & Storage
These bars are best served at room temperature. The marshmallow topping softens slightly, becoming chewy and gooey. I usually serve them with a dollop of whipped cream or a scoop of vanilla ice cream, but they’re delicious on their own too.
Storage: Store leftovers in an airtight container in the refrigerator for up to 4 days. The marshmallows will harden in the fridge, so let them sit out for 15 minutes before serving to soften up.
Freezing: You can freeze these bars for up to 2 months. Freeze them without the marshmallow topping for best results. Add the marshmallows and broil just before serving. If you freeze them with the marshmallows, they may lose their texture. I prefer to freeze the base and toast fresh marshmallows later.
Meal Prep: These are perfect for meal prepping desserts. Make a batch on Sunday, and you have dessert ready for the week. They travel well too, so they’re great for office parties or picnics.
Nutrition Information
I’m not a nutritionist, but here’s the breakdown if you’re tracking. Keep in mind that these are indulgent bars, so enjoy them in moderation!
Per Serving (based on 16 bars):
- Calories: 280
- Protein: 4g
- Carbs: 42g
- Fiber: 2g
- Sugar: 28g
- Fat: 12g
- Saturated Fat: 7g
- Cholesterol: 45mg
- Sodium: 180mg
These bars are higher in sugar due to the brown sugar and marshmallows, but the sweet potato adds some fiber and vitamins. If you’re looking for a lower-sugar option, try reducing the brown sugar by half and using sugar-free marshmallows. It’s a bit less traditional but still tasty.
Final Thoughts
So that’s my go-to fall sweet potato pie bars recipe! I know I’ve talked your ear off at this point, but when you make a recipe this often, you have a lot to say about it. These bars have saved me from dessert disasters more times than I can count. They’re my answer to “what’s for dessert?” when I’m tired, don’t want to bake a whole pie, and still want something that tastes really good.
My kids are happy, my husband’s happy, and I’m happy because I’m not stressed about cooking. Make it yours! Try different spices, swap in your favorite toppings, or adjust the sweetness to your liking. The best recipes are the ones you adapt to your family’s tastes.
If you make this, drop a comment and let me know what you think! I love hearing how recipes turn out in your kitchen. And if something doesn’t work, tell me that too—I’m here to help troubleshoot. Happy baking!
Frequently Asked Questions
Can I use fresh sweet potatoes instead of canned?
Yes! Roast 2-3 medium sweet potatoes until tender, peel them, and mash them into a puree. You’ll likely need about 1 ½ cups of puree. Just be sure to drain it well, as fresh sweet potatoes can have more moisture depending on their variety.
Why did my bars crack on top?
Cracking usually happens from overmixing the batter or baking at too high a temperature. Make sure you mix the eggs in gently and don’t overbeat. Also, check your oven temperature with a thermometer. If it’s running hot, the top will rise too fast and crack.
Can I make these in a different pan size?
You can use a 9×9 inch square pan for thicker bars, but you’ll need to increase the baking time by about 5-10 minutes. Keep an eye on them to ensure the center is set.
Why did my marshmallows burn?
Broilers vary widely in intensity. Some ovens broil at 500°F, others at 1000°F. Start with 1 minute and check frequently. It’s better to under-toast than to burn. If your oven runs hot, leave the door slightly ajar to reduce the heat.
Can I prepare these ahead of time?
Absolutely. Bake the bars up to the broiling stage, cool completely, and cover tightly. Store in the fridge for up to 2 days. When ready to serve, let them come to room temperature, add the marshmallows, and broil. This is actually my preferred method for hosting!
Do these bars taste like pumpkin pie?
They’re similar but distinct. Sweet potato pie bars have a slightly earthier, milder flavor than pumpkin pie. The spices are the same, but the texture is fudgier and denser, like a brownie. Many people prefer the taste of sweet potato pie!
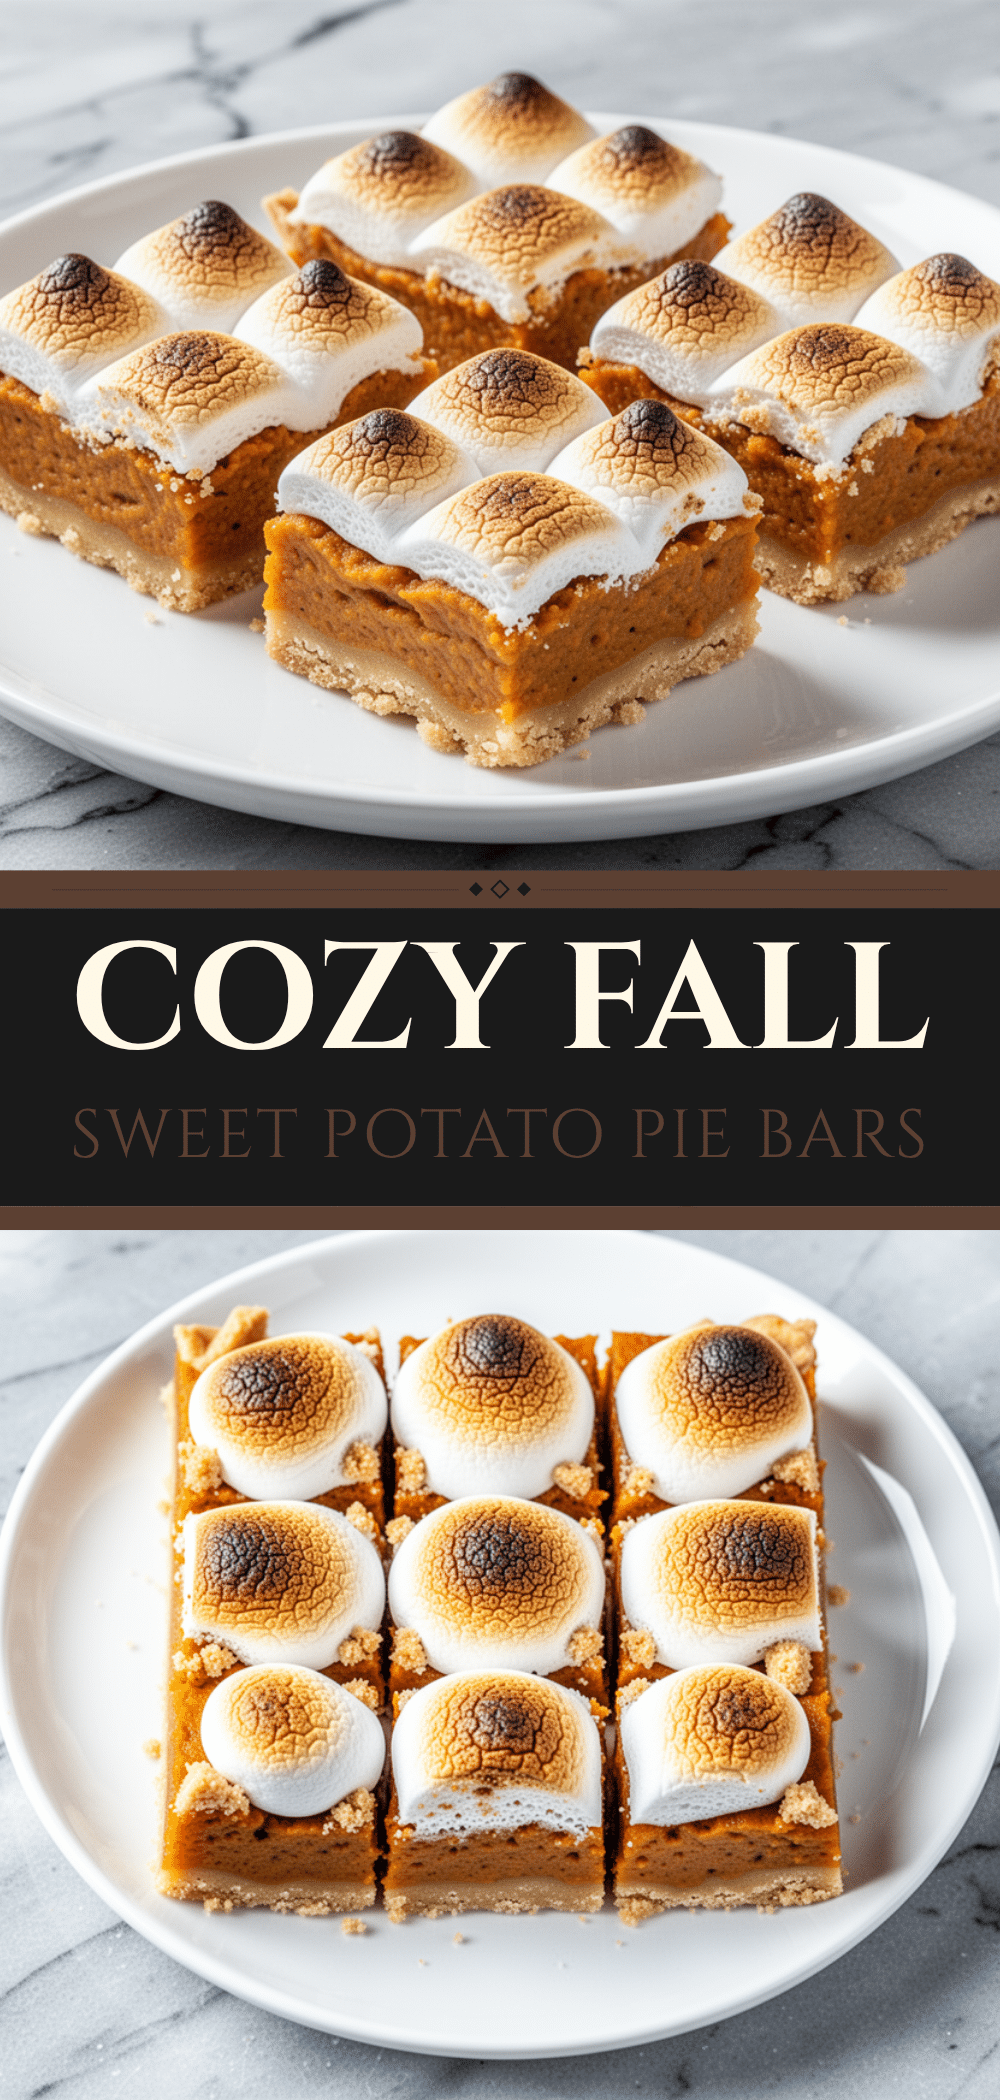
Pin This Recipe!
Fall Sweet Potato Pie Bars: Easy Marshmallow Treats
- Total Time: 1 hour 5 minutes
- Yield: 16 servings 1x
Description
These easy sweet potato pie bars feature a buttery graham cracker crust, a fudgy spiced sweet potato filling, and a toasted marshmallow topping. They are a make-ahead friendly dessert that is easier than traditional pie and perfect for autumn gatherings.
Ingredients
- 1 ½ cups (150g) graham cracker crumbs
- 6 tablespoons (85g) unsalted butter, melted
- 2 tablespoons (25g) granulated sugar
- ¼ teaspoon salt
- 15 ounces (425g) canned sweet potato puree (drained)
- 1 cup (200g) packed brown sugar
- ½ cup (120ml) heavy cream
- 2 large eggs, room temperature
- 1 teaspoon vanilla extract
- 1 ½ teaspoons ground cinnamon
- ½ teaspoon ground ginger
- ¼ teaspoon nutmeg
- ¼ teaspoon garlic powder
- 3 cups (90g) mini marshmallows
- Optional: Extra graham crumbs for garnish
- Optional: Flaky sea salt for garnish
Instructions
- Preheat oven to 350°F (175°C). Grease a 9×13 inch baking pan and line with parchment paper, leaving an overhang on the long sides.
- In a medium bowl, combine graham cracker crumbs, melted butter, granulated sugar, and salt. Mix until it resembles wet sand.
- Press the crust mixture firmly into the bottom of the prepared pan. Bake for 8 minutes until lightly golden. Remove and let cool slightly.
- While the crust bakes, drain the sweet potato puree in a fine-mesh sieve for 10 minutes, squeezing out excess liquid to ensure a fudgy texture.
- In a large mixing bowl, whisk brown sugar and heavy cream until smooth. Add the drained sweet potato puree, eggs, vanilla extract, cinnamon, ginger, nutmeg, and garlic powder. Mix on medium speed until fully combined and smooth.
- Pour the filling over the pre-baked crust and spread evenly.
- Bake for 35-40 minutes. The edges should be set and slightly pulling away from the pan, but the center should still have a slight jiggle.
- Remove from oven and immediately sprinkle mini marshmallows evenly over the hot filling.
- Turn oven broiler to high. Place pan back in oven, about 6 inches from the heating element. Broil for 1-3 minutes until marshmallows are puffy and golden brown. Watch closely to prevent burning.
- Let bars cool in the pan on a wire rack for at least 1 hour before slicing into squares.
Notes
Drain the sweet potato puree thoroughly to avoid soggy bars. Use room temperature eggs to prevent the filling from separating. Do not overmix the batter once eggs are added to prevent cracking. Marshmallows burn quickly, so watch them closely while broiling. These bars taste better the next day as flavors meld.
- Prep Time: 20 minutes
- Cook Time: 45 minutes
- Category: Dessert
- Cuisine: American
Nutrition
- Serving Size: 1 bar
- Calories: 280
- Sugar: 28
- Sodium: 180
- Fat: 12
- Saturated Fat: 7
- Carbohydrates: 42
- Fiber: 2
- Protein: 4
Keywords: sweet potato pie bars, fall dessert, marshmallow topping, graham cracker crust, easy Thanksgiving dessert, sheet pan dessert, autumn baking


