I have a confession. For the longest time, I treated canned chickpeas like a chore. I’d open a can, drain them, and stare at them with a mix of guilt and resignation. “Okay,” I’d think, “I’ll make hummus.” But then I’d end up with a giant tub of dip that I’d never finish, or worse, I’d try to bake a whole batch and end up with soggy, sad legumes that tasted like cardboard.
Here’s the thing about small-batch cooking: it’s supposed to be liberating, but it often feels like a trap. You want a snack. Just one. Not a meal prep container for next Tuesday. Not a side dish for a dinner party you aren’t having. And yet, most “easy” recipes assume you have a family of six and a pantry that needs clearing.
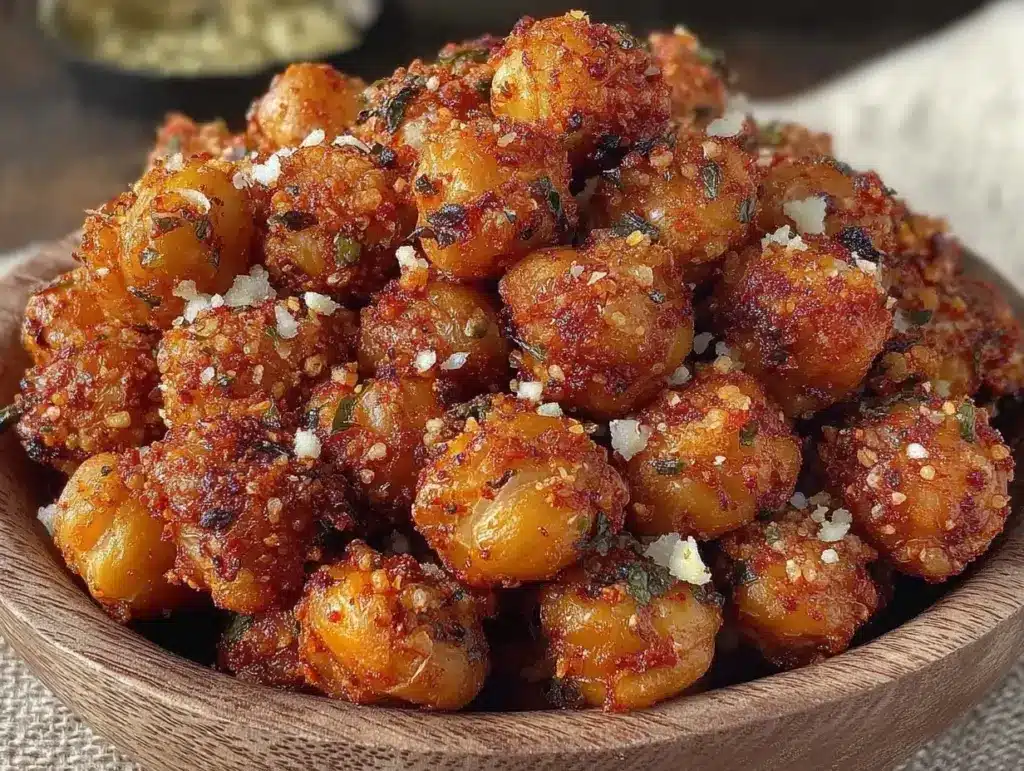
That’s why I finally cracked the code on crunchy air fryer chickpeas for small batches. It’s not just a recipe; it’s my escape hatch from the leftover loop. I’ve been making these for one or two people for months now. They take ten minutes of active time, five minutes of cooking, and leave exactly zero leftovers behind because I eat them all right out of the air fryer basket. (Don’t judge. It’s the best part.)
If you’ve ever felt frustrated by recipes that force you to cook for a crowd when you just want a late-night crunch, this is your new best friend. It’s simple, it’s savory, and it’s the kind of snack that makes you feel like you’ve actually taken care of yourself without the commitment of a full meal. Let’s get into how to make them perfectly crispy every single time.
Why You’ll Love This Small-Batch Snack
There are about ten reasons I keep coming back to these crunchy air fryer chickpeas, but honestly, they all boil down to one thing: they respect your time and your appetite. No more guessing how many servings a recipe makes. No more hiding half-eaten containers in the back of the fridge.
- Perfectly Portioned — Seriously, this recipe is designed for one person, or maybe two if you’re sharing and feeling generous. I make a single can’s worth, and that’s it. No scaling down math required. It just works.
- Lightning Fast — From opening the can to eating, it’s 15 minutes max. I make these on weeknights when I’m watching a show and need something to do with my hands. It’s way better than reaching for chips.
- Actually Crunchy — I’ve tried oven-baking chickpeas, and they usually turn out chewy or uneven. The air fryer? It blasts them with hot air and gets them shattering-crisp in half the time. I tested this against the oven method, and the air fryer wins hands-down.
- Customizable Cravings — Want spicy? Add cayenne. Want savory? Garlic powder and rosemary. Want sweet? Cinnamon and sugar. I rotate flavors weekly so I never get bored. It’s like having a mini snack bar in my kitchen.
- No Waste, No Stress — This is the big one. I don’t have to worry about preserving leftovers. If I make it, I eat it. If I don’t eat it, I toss it (though I never toss them, they’re too good). It’s the ultimate guilt-free indulgence.
This is my go-to when I need a snack that feels substantial but doesn’t weigh me down. It’s protein-rich, fiber-packed, and satisfies that urge to crunch without the guilt of processed junk food. Plus, it’s cheaper than buying pre-packaged trail mix. Real talk: you can buy a can of chickpeas for less than a dollar, and that’s more satisfying than most store-bought snacks.
Ingredients You’ll Need
Here’s the best part: you probably have most of this already. This isn’t a list that requires a special trip to the grocery store. It’s pantry staples and fresh bits you likely already have. I’m particular about a few things here, so pay attention to the details.
For the Base
Canned chickpeas (garbanzo beans) (1 can / 15 oz or 425g) — I use standard canned ones. Dried takes too long for a quick snack, and pre-cooked bags are expensive. Look for a brand that doesn’t use too much salt in the brine. I like Goya or Eden Foods. Drain and rinse them well—this is non-negotiable for crispiness.
High-smoke point oil (1 tablespoon / 15ml) — I use avocado oil or light olive oil. Coconut oil works too if you want a subtle sweetness. Avoid extra virgin olive oil here; it burns at high temps in the air fryer. I keep a bottle of avocado oil specifically for this.
For the Flavor
Garlic powder (1 teaspoon) — Not fresh garlic. Fresh garlic burns and gets bitter in the air fryer. Powder gives that savory punch without the risk. I use McCormick—it’s reliable.
Smoked paprika (½ teaspoon) — This adds that smoky depth that makes you think it’s fried. It’s the secret weapon. If you don’t have it, regular paprika works, but smoked is better.
Sea salt (½ teaspoon) — Adjust to taste. I like them well-seasoned. If your chickpeas were already salted, reduce this to ¼ teaspoon.
Black pepper (¼ teaspoon) — Freshly cracked is best. It adds a little heat and complexity.
Optional Add-ins
Cayenne pepper (¼ teaspoon) — If you like heat. I add this when I want a kick. Start small—you can always add more, but you can’t take it away.
Rosemary (½ teaspoon, dried) — I love the herbal note. It pairs beautifully with the garlic. Fresh rosemary works but needs to be chopped super fine so it doesn’t burn.
Nutritional yeast (1 tablespoon) — For a cheesy, nutty flavor. Great if you’re cutting back on dairy. My lactose-intolerant friend uses this, and she says it tastes like Parmesan.
Shopping Tips
I buy chickpeas in bulk cans when they’re on sale. They keep forever in the pantry. For the spices, check your cabinet first—chances are you have most of these. If you’re missing smoked paprika, you can substitute with regular paprika plus a dash of cumin for smokiness.
Equipment Needed
You don’t need fancy equipment for this. Here’s what I actually use.
Air Fryer — Obviously. I use a 4-quart basket model. It’s the perfect size for one can of chickpeas. If you have a larger one, just make sure you’re not overcrowding the basket. One layer is key.
Bowls — Two medium bowls. One for rinsing, one for tossing with oil and spices. I use stainless steel because they’re easy to clean.
Paper towels — Crucial. You need to dry the chickpeas thoroughly. I use a roll of paper towels to pat them dry. This step takes two minutes but makes all the difference in texture.
Measuring spoons — Standard stuff. Dollar store versions work fine.
Spatula — Silicone works best for stirring in the air fryer basket without scratching it.
Optional but nice: A small whisk to mix the spices together before adding them. It ensures even distribution. I do this when I’m being precise, but a spoon works too.
How to Make It: Step-by-Step
Alright, let’s make this! I’m walking you through exactly how I do it, including the little tricks I’ve picked up so you get that shattering crunch.
Step 1: Prep the Chickpeas (5 minutes)
Open the can and pour the chickpeas into a colander. Rinse them under cold water until the foamy liquid is gone. This starchy liquid is what makes them soggy. Then, spread them on a layer of paper towels. Pat them dry—really dry. I spend about two minutes here, pressing them gently. If they’re wet, they’ll steam instead of crisp. I’ve made the mistake of skipping this, and the result was chewy, not crunchy. Don’t skip it.
Step 2: Season and Toss (2 minutes)
Transfer the dried chickpeas to a bowl. Drizzle with the oil. Toss them until every single chickpea is coated. Then, sprinkle in the garlic powder, smoked paprika, salt, and pepper. Toss again. I want every chickpea to have a little flavor party on it. If you’re adding cayenne or rosemary, do it now.
Step 3: Air Fry (10-12 minutes)
Preheat your air fryer to 390°F (200°C). This takes about 3 minutes. Once preheated, add the chickpeas to the basket in a single layer. Don’t pile them up. If you have a small air fryer, you might need to cook in two batches. Overcrowding is the enemy of crispiness. Cook for 10-12 minutes, shaking the basket every 3-4 minutes. You want them to move around so they cook evenly.
Step 4: Check and Cool (3 minutes)
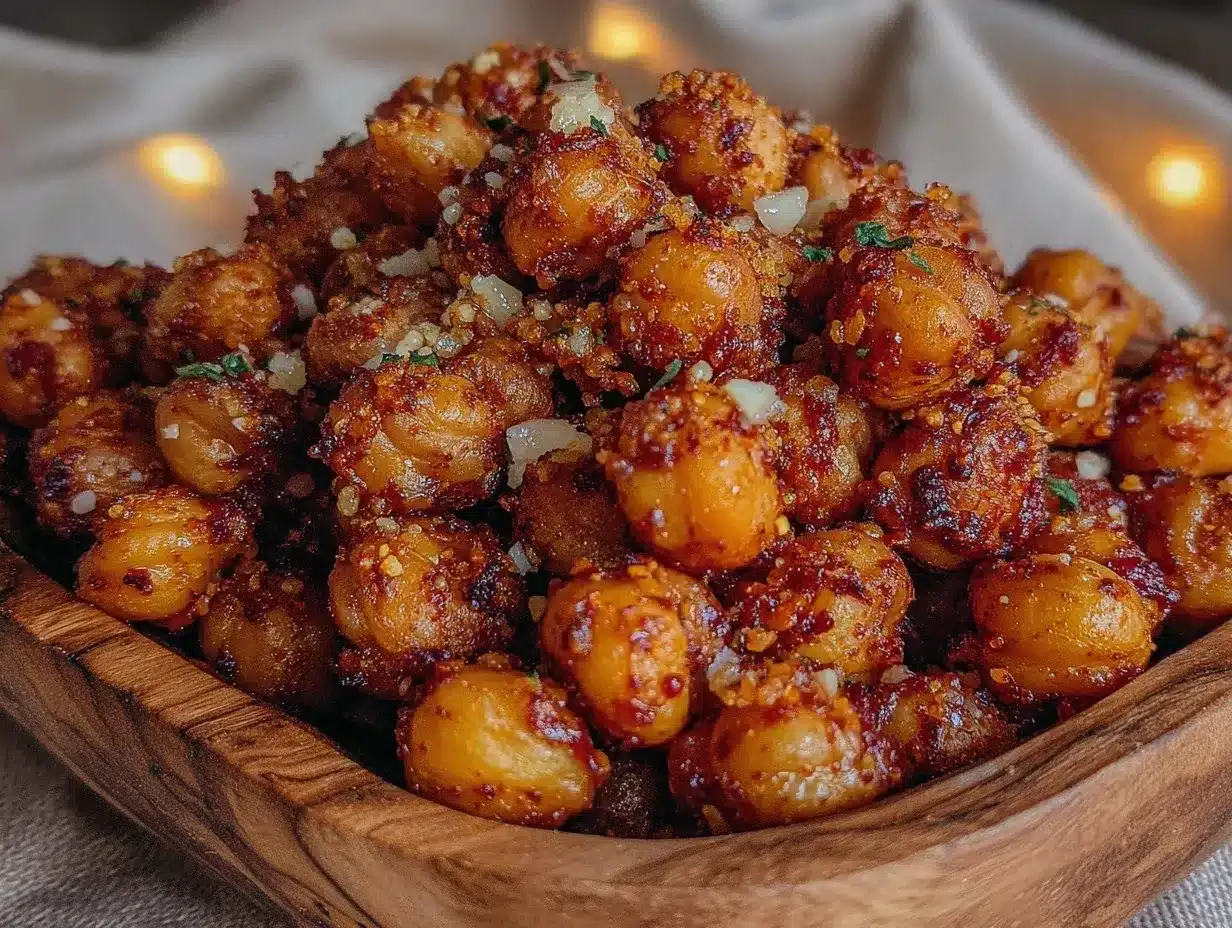
At the 10-minute mark, check them. They should be golden brown and sound hard when you tap them together. If they’re still soft, give them 2 more minutes. Once they’re done, dump them into a bowl. They will continue to crisp up as they cool. This is important—they’re not fully crunchy right out of the fryer. Let them sit for 2-3 minutes. This is the hardest part because they smell amazing.
Total Time:
About 15 minutes (5 prep, 10 cook). Active time is only 7 minutes.
Expert Tips & Tricks
Here’s everything I’ve learned from making this dozens of times. These tips will save you from my mistakes.
Dry Them Thoroughly
This is the #1 tip. I cannot stress this enough. If the chickpeas are wet, they won’t crisp. I use paper towels and press firmly. If you’re in a hurry, you can spread them on a clean kitchen towel for 10 minutes, but paper towels are faster. I learned this the hard way with a batch of soggy chickpeas that tasted like boiled beans.
Shake the Basket
Don’t just set it and forget it. Shake the basket every few minutes. This ensures even cooking and prevents burning on one side. I set a timer on my phone so I don’t forget. If you skip this, you’ll get half-burnt, half-soft chickpeas. Not ideal.
Cool Before Eating
I know, I know, they smell incredible. But they crisp up as they cool. If you eat them hot, they’ll seem soft. Let them sit for 2-3 minutes. This small wait makes a huge difference in texture.
Store Properly
If you do have leftovers (which is rare), store them in an airtight container at room temperature for up to 3 days. They’ll stay crispy if you keep them dry. If they get soft, pop them back in the air fryer for 2 minutes to revive them. I don’t usually have leftovers, but it’s good to know.
Variations & Substitutions
Once you’ve nailed the basic savory version, here’s how you can mix it up. I’ve tried all of these, and they’re all winners.
Sweet & Spicy
Skip the garlic and paprika. Use cinnamon, a little brown sugar, and a dash of cayenne. It tastes like a churro. I make this when I want a dessert-like snack. It’s surprisingly satisfying.
Herb Garden
Use dried rosemary, thyme, and oregano with a little lemon zest. It’s bright and herbal. Great with a glass of wine or a light salad.
Everything Bagel
Just sprinkle everything bagel seasoning on the oiled chickpeas before air frying. It’s lazy but delicious. I use this when I’m feeling lazy but want flavor.
Spicy Sriracha
Toss the chickpeas in a little sriracha and honey after they’re done cooking. The heat from the air fryer will caramelize the honey slightly. It’s sticky, spicy, and addictive.
Serving & Storage
How to Serve:
I usually eat these straight from the bowl, standing in my kitchen. But here are other ways I’ve enjoyed them:
- As a topping for salads (adds crunch instead of croutons)
- With hummus (double chickpea power, but hey, why not?)
- As a side for soups (like my cozy fall roasted red pepper soup)
- On their own, with a cold drink
Storage Instructions:
Refrigerator: Not recommended. They’ll get soggy. Room temperature is best.
Freezing: You can freeze them, but they lose some crunch. Thaw at room temp and re-crisp in the air fryer for 2 minutes.
Nutrition Information
I’m not a nutritionist, but here’s the breakdown if you’re tracking. Per serving (1 can).
- Calories: 220
- Protein: 10g
- Carbs: 35g
- Fiber: 9g
- Fat: 6g
It’s protein-rich, fiber-packed, and low in fat if you don’t go crazy with oil. It’s a smart snack choice compared to chips or candy.
Final Thoughts
So that’s my go-to crunchy air fryer chickpeas! I’ve probably talked your ear off at this point, but when you make a recipe this often, you have a lot to say about it. This has saved my late-night snacking habits. It’s my answer to “I’m hungry” when I don’t want to cook dinner but don’t want junk food. My partner loves them, my kids love them (when I make the sweet version), and I love them because they’re easy.
Make it yours! Try different flavors. Adjust the spices. The best recipes are the ones you adapt to your tastes. If you make this, drop a comment and let me know what flavor you tried! I love hearing how recipes turn out in your kitchen.
Happy snacking! And I hope your kitchen smells as good as mine does right now.
Frequently Asked Questions
Can I use dried chickpeas?
You can, but they take forever to cook. For a quick snack, canned is the way to go. If you do use dried, cook them until tender, then dry them thoroughly before air frying. It’s not worth the effort for a 15-minute snack.
Why are my chickpeas still soft?
Two reasons: they weren’t dry enough, or they were overcrowded in the basket. Make sure you pat them dry with paper towels, and don’t pile them up. They need space for the air to circulate.
Can I make these in the oven?
Yes, but it takes longer. Toss them with oil and spices, spread on a baking sheet, and bake at 400°F for 20-30 minutes, stirring halfway through. The air fryer is just faster and crispier.
How do I store leftovers?
Store in an airtight container at room temperature for up to 3 days. If they get soft, re-crisp in the air fryer for 2 minutes. Don’t refrigerate them—they’ll lose their crunch.
Can I make these spicy?
Absolutely. Add cayenne pepper, chili flakes, or a dash of hot sauce. I start with ¼ teaspoon of cayenne and adjust to taste. It’s a great way to add heat without changing the texture.
Are these healthy?
They’re a much better option than chips or candy. Chickpeas are high in protein and fiber, which keeps you full. The oil adds fat, but it’s a small amount. They’re a smart, satisfying snack.
Can I double this recipe?
You can, but you’ll need to cook in batches. Don’t overcrowd the basket, or they won’t crisp. I usually make one can at a time because that’s all I want to eat. If you’re meal-prepping, make two batches and store them separately.
Pin This Recipe!
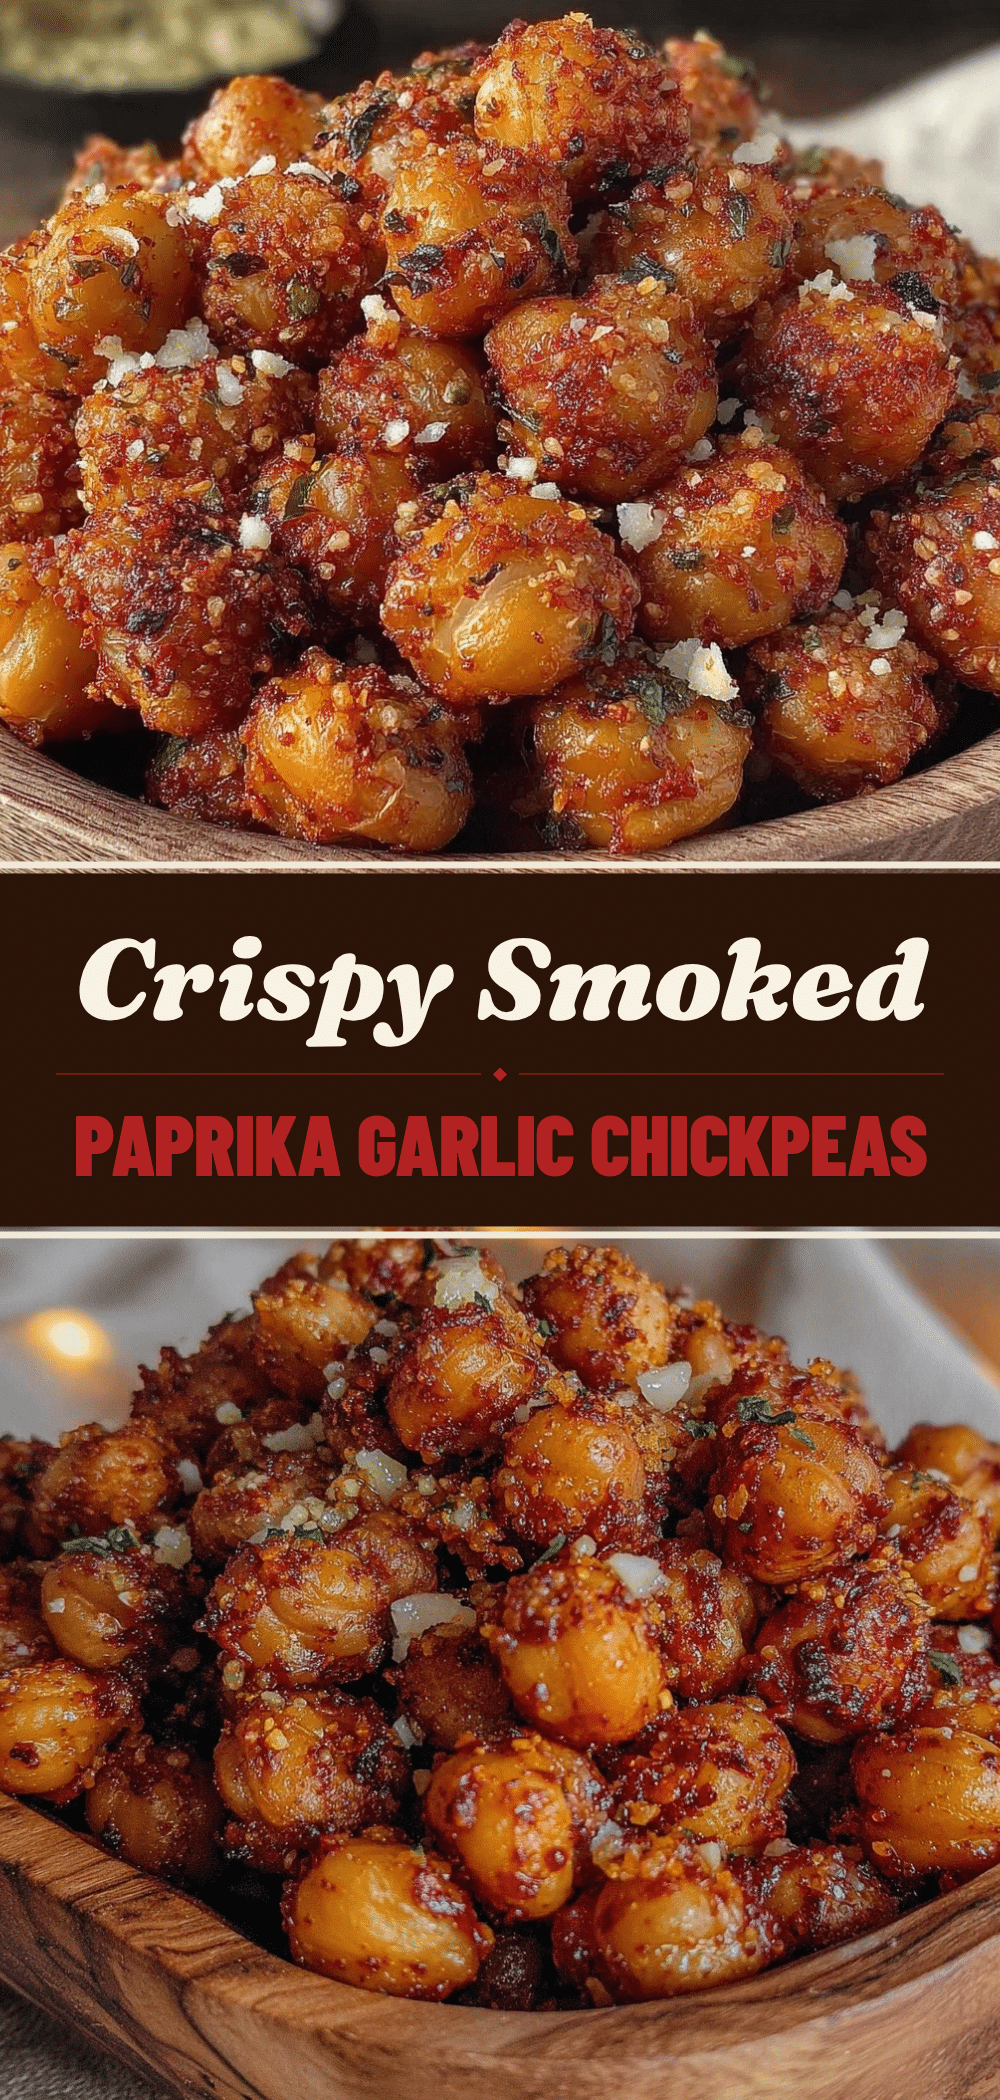

Crunchy Air Fryer Chickpeas: Perfect 1-2 Serving Snack
- Total Time: 15 minutes
- Yield: 1 serving 1x
Description
A quick, small-batch snack recipe for perfectly crispy air fryer chickpeas. Designed for one or two people, this savory treat takes only 15 minutes to make and uses simple pantry staples.
Ingredients
- 1 can (15 oz / 425g) canned chickpeas (garbanzo beans)
- 1 tablespoon avocado oil or light olive oil
- 1 teaspoon garlic powder
- 1/2 teaspoon smoked paprika
- 1/2 teaspoon sea salt
- 1/4 teaspoon black pepper
- Optional: 1/4 teaspoon cayenne pepper
- Optional: 1/2 teaspoon dried rosemary
- Optional: 1 tablespoon nutritional yeast
Instructions
- Open the can of chickpeas and drain them into a colander. Rinse thoroughly under cold water to remove starchy liquid.
- Spread the chickpeas on paper towels and pat them completely dry. This step is crucial for crispiness.
- Transfer the dried chickpeas to a bowl and drizzle with oil. Toss until every chickpea is coated.
- Sprinkle in garlic powder, smoked paprika, salt, and pepper. Toss again to ensure even seasoning. Add optional spices if desired.
- Preheat the air fryer to 390°F (200°C).
- Place the chickpeas in the air fryer basket in a single layer. Do not overcrowd.
- Cook for 10-12 minutes, shaking the basket every 3-4 minutes to ensure even cooking.
- Check for doneness at 10 minutes; they should be golden brown and hard when tapped. If soft, cook for 2 more minutes.
- Remove from air fryer and let cool for 2-3 minutes in a bowl. They will crisp up further as they cool.
- Serve immediately or store in an airtight container at room temperature for up to 3 days.
Notes
Ensure chickpeas are thoroughly dried before cooking to achieve maximum crispiness. Do not overcrowd the air fryer basket; cook in batches if necessary. If chickpeas become soft after storage, re-crisp in the air fryer for 2 minutes. Do not refrigerate as they will lose their crunch.
- Prep Time: 5 minutes
- Cook Time: 10 minutes
- Category: Snack
- Cuisine: American
Nutrition
- Serving Size: 1 can (15 oz)
- Calories: 220
- Sodium: 400
- Fat: 6
- Carbohydrates: 35
- Fiber: 9
- Protein: 10
Keywords: air fryer chickpeas, crunchy snack, small batch recipe, healthy snack, vegan snack, gluten-free snack, quick snacks, chickpea recipes


