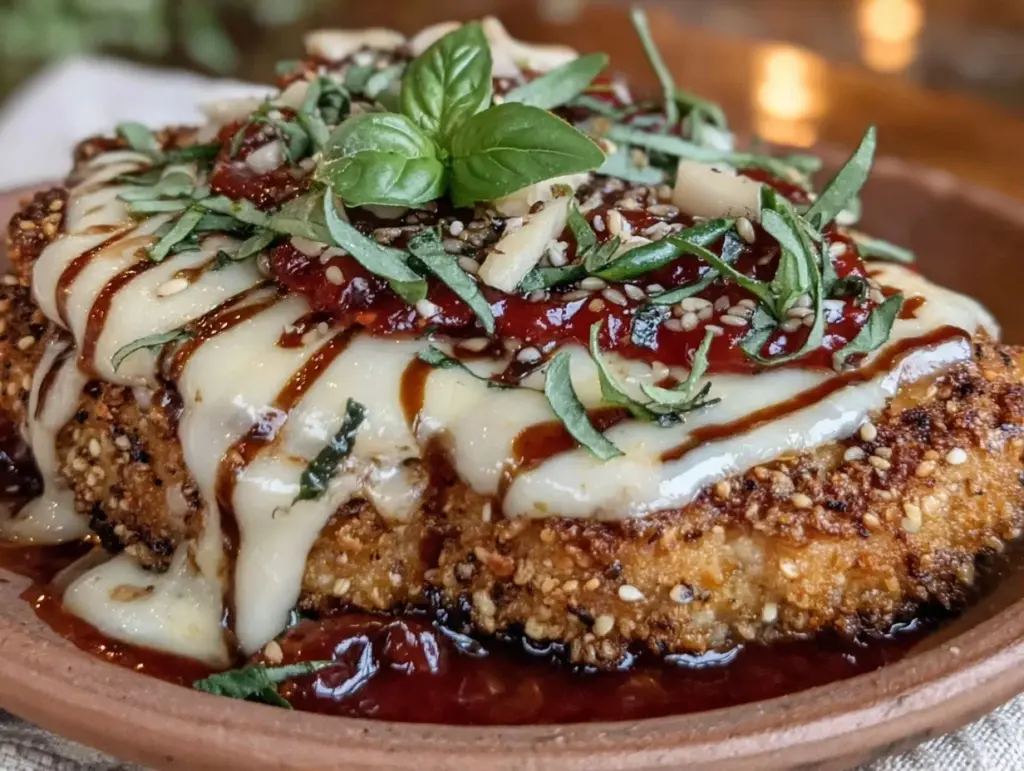
Last Tuesday, I stood in my kitchen at 6:30 AM with a half-empty coffee mug, staring at a calendar that looked like a disaster zone. Three meetings, a dentist appointment, and zero energy for cooking. My instinct? Order takeout. Again. But I remembered a batch of chicken I’d prepped on Sunday morning—crispy, golden, and ready to go—and decided to risk it.
By 6:45 AM, I had a hot, hearty meal in a container that tasted better than anything I could order. That was the moment I realized: Crispy Baked Chicken Parmesan isn’t just a Friday night treat. It’s the ultimate meal prep powerhouse for busy weeks.
I’ve tested this Crispy Baked Chicken Parmesan meal prep for busy weeks approach for over a year now. I’ve learned exactly how to keep the breading crunchy after reheating (spoiler: it’s all about the oven), how to store the sauce separately, and how to portion it so I don’t overeat by Wednesday. This isn’t about throwing leftovers in the fridge and hoping for the best. This is strategic, deliberate, delicious planning.
If you’re tired of the 5 PM panic and want a week of dinners that reheat like new, this is your blueprint. I’ll walk you through the exact steps, the equipment I swear by, and the little tricks that make this Crispy Baked Chicken Parmesan the star of your meal prep rotation.
Why You’ll Love This Meal Prep Strategy
There’s a reason this Crispy Baked Chicken Parmesan meal prep for busy weeks has become my Sunday non-negotiable. It’s not just about saving time; it’s about reclaiming your evenings. Here’s why this method works:
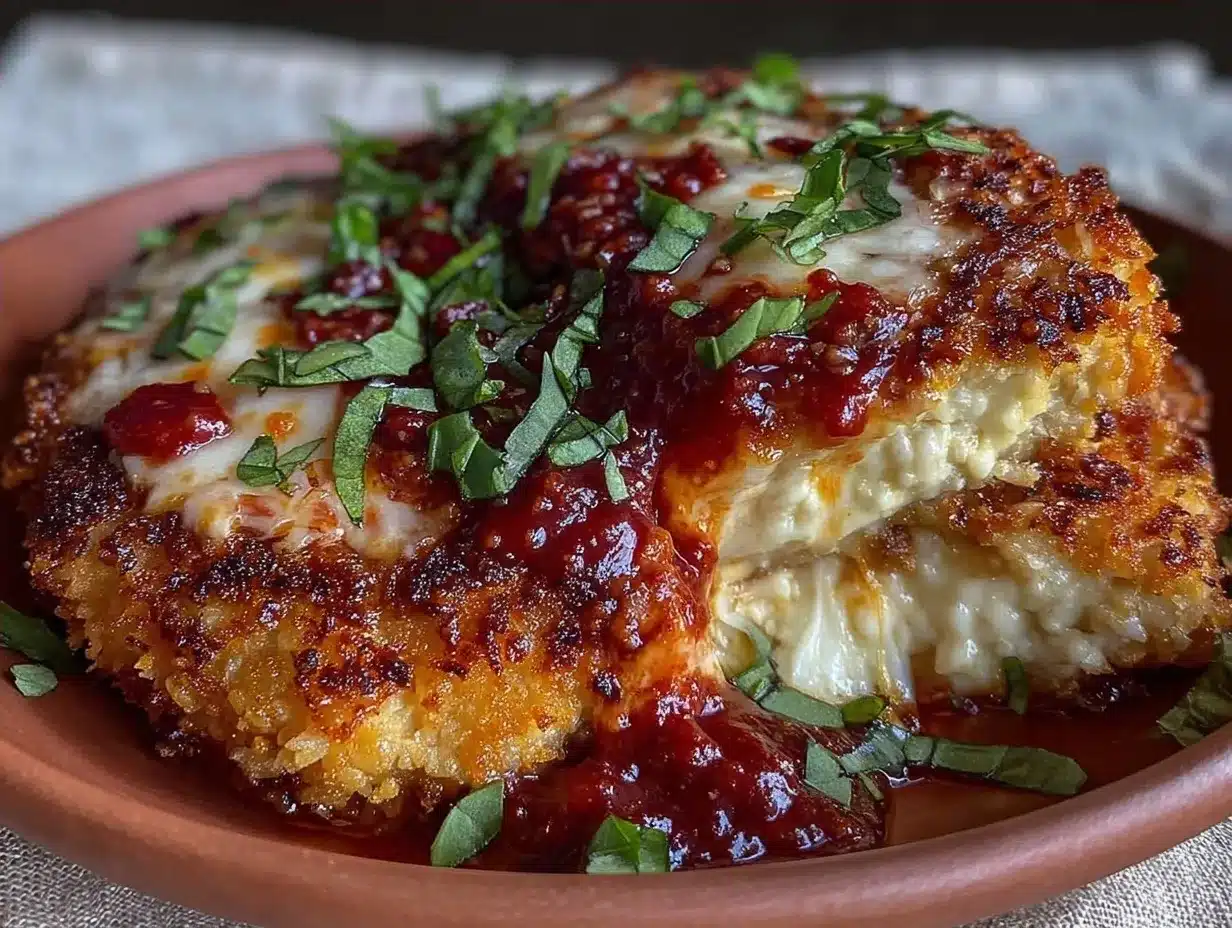
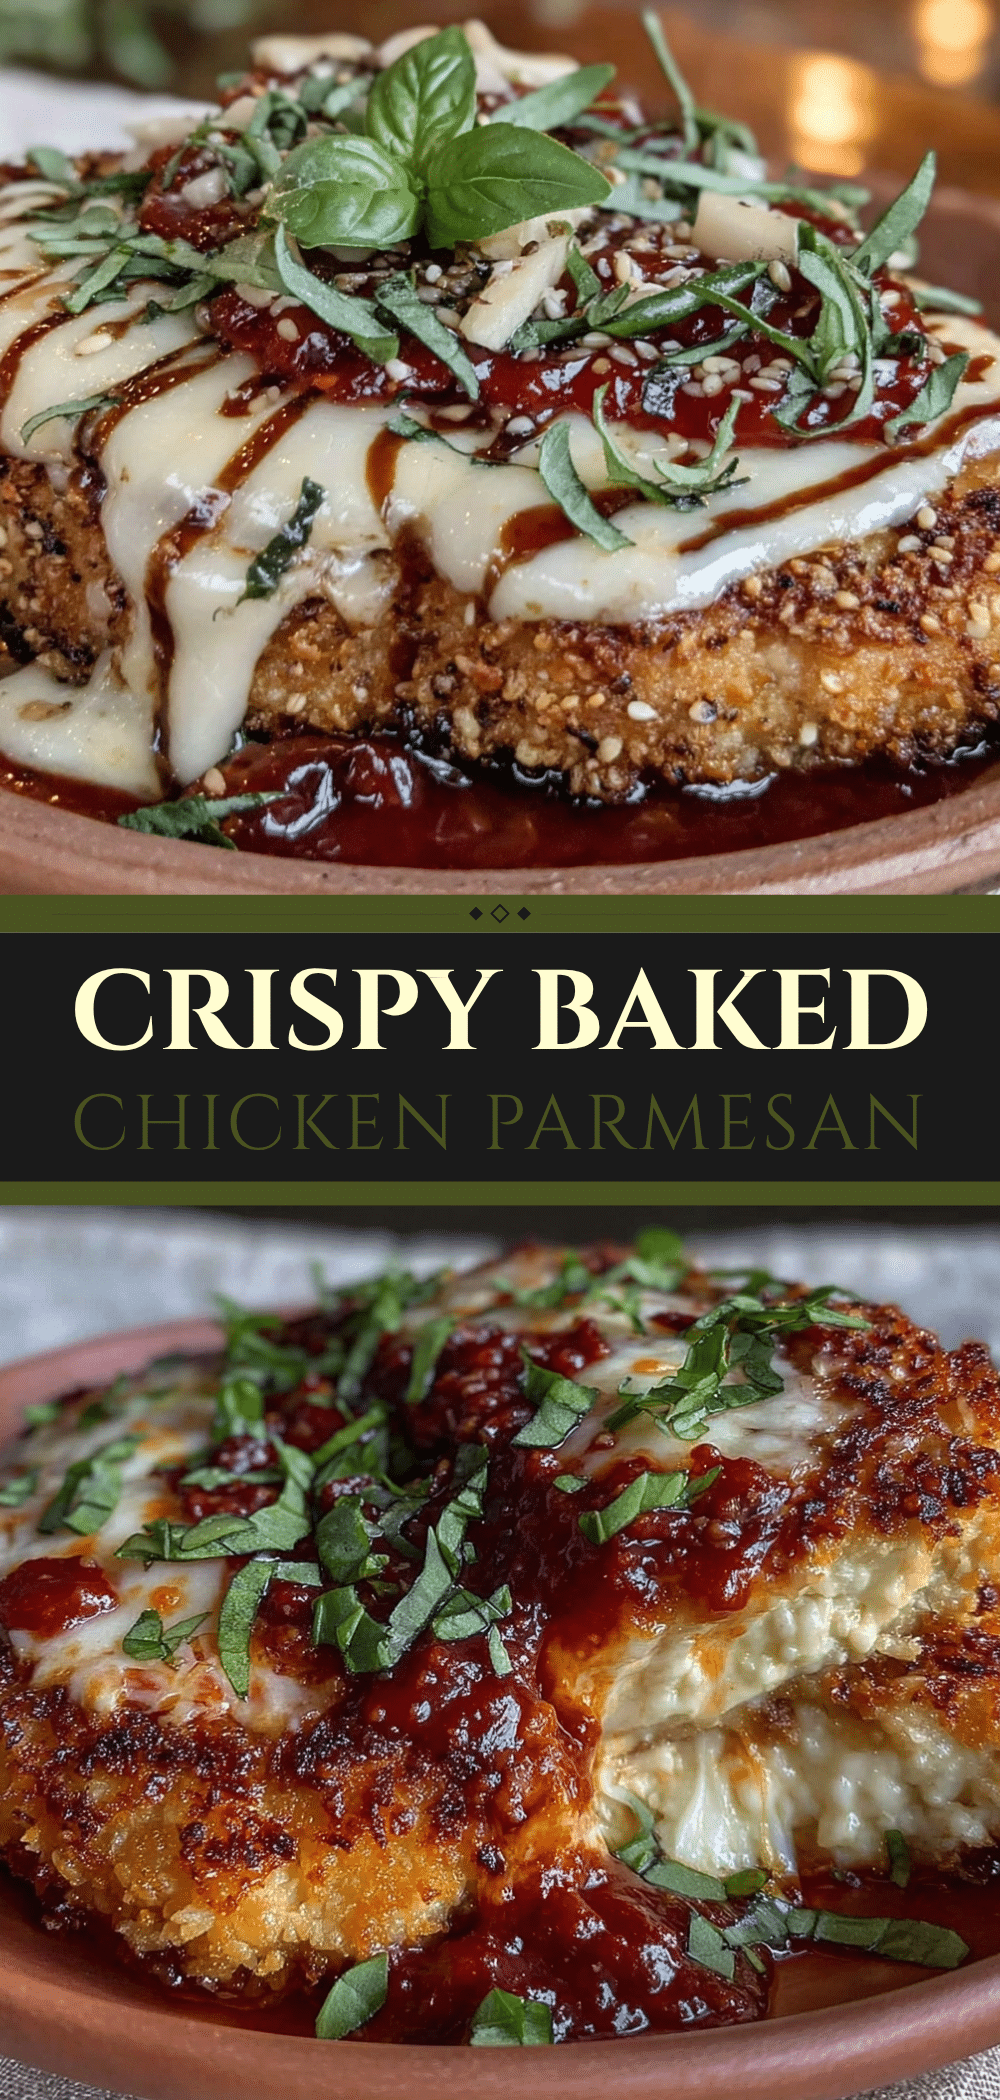
- Crispy Reheats, No Soggy Breading — Most meal prep chicken gets sad and soft in the microwave. Not this. By baking the chicken first and reheating in the oven or air fryer, the crust stays shatteringly crisp. I’ve tested this with my family, and even my picky eater notices the difference.
- Make It Once, Eat It Four Times — You spend one focused hour on Sunday creating four distinct meals. Monday is pasta night, Tuesday is salad bowl night, Wednesday is sandwich wrap night, and Thursday is leftovers night. Variety without extra work.
- Freezer-Friendly — Can’t make it Sunday? No problem. This Crispy Baked Chicken Parmesan freezes beautifully for up to three months. I keep a backup batch in the freezer for those weeks when life gets crazy.
- Family-Approved Flavor — This isn’t “diet food.” It’s rich, cheesy, savory, and satisfying. It tastes like a restaurant meal but costs a fraction of the price and has no mystery ingredients.
- Budget-Smart — Buying chicken breasts in bulk and making your own sauce saves you $50+ a month compared to ordering out or buying pre-made meals. Plus, you use the same ingredients for multiple meals, reducing waste.
This is my go-to when I need dinner to just work. No complicated techniques, no weird ingredients, just reliable, delicious food that makes everyone happy and leaves you with more time for the things you actually enjoy.
Ingredients You’ll Need
Here’s the best part: you probably have most of this already. I’m particular about three ingredients here, and I’ll tell you exactly why.
For the Chicken
Chicken breasts (2 large / about 1.5 lbs / 680g) — I use boneless, skinless chicken breasts. For meal prep, uniformity is key. If yours are huge, butterfly them or pound them to ½-inch thickness so they cook evenly. I buy mine from the butcher wrapped in paper, not the plastic tray—it’s fresher.
All-purpose flour (½ cup / 60g) — This creates the first layer of adhesion. Don’t skip it. It helps the egg wash stick to the chicken.
Eggs (2 large) — Beaten with a pinch of salt and pepper. I use a fork, not a whisk, for this. It’s faster.
Panko breadcrumbs (1 cup / 80g) — This is non-negotiable for crunch. Regular breadcrumbs turn soggy. Panko stays crisp. I buy the Japanese-style panko because it’s lighter and airier. It’s worth the extra dollar.
Grated Parmesan (½ cup / 50g) — Mixed into the panko for savory depth. Buy the block and grate it yourself. Pre-grated Parmesan has anti-caking agents that prevent it from melting properly and sticking to the breadcrumbs.
Italian seasoning (1 teaspoon) — Dried oregano, basil, and thyme blend. Or make your own: ½ tsp dried basil, ½ tsp dried oregano, ¼ tsp dried thyme. Fresh herbs get mushy in the oven, so dried is better here.
Garlic powder (½ teaspoon) — Adds a subtle savory note without burning like fresh garlic might.
Olive oil (3 tablespoons) — For brushing. This helps the breadcrumbs brown evenly in the oven. Don’t use butter; it burns at high temps.
For the Sauce
Marinara sauce (2 cups / 480ml) — I use a high-quality jarred sauce like Rao’s or Muir Glen for consistency. If you want to make your own, see my creamy pumpkin alfredo pasta no leftovers recipe for a similar sauce base, but stick to tomato-based for this one.
Granulated garlic (1 teaspoon) — For extra garlic flavor in the sauce without chunks.
For Assembly
Mozzarella cheese (1 cup / 100g, shredded) — Low-moisture, part-skim mozzarella melts best without becoming greasy. I shred my own from a block for the best texture.
Fresh basil (¼ cup, chopped) — For garnish. Adds brightness and color.
Equipment Needed
You don’t need fancy equipment for this. Here’s what I actually use.
Large baking sheet — I use a half-sheet pan (18×13 inches). It needs to fit all four chicken breasts in a single layer with space between them for air circulation. Crowding leads to steaming, not crisping.
Wire cooling rack — I place this on top of the baking sheet. This is the secret to crispy chicken. It allows heat to circulate underneath the chicken, preventing a soggy bottom. If you don’t have one, a baking sheet works, but flip the chicken halfway through.
Three shallow bowls — For the dredging station: flour, egg wash, and panko mixture. I use pie plates or shallow casserole dishes.
Meat mallet or rolling pin — To pound the chicken breasts to even thickness. This ensures they cook at the same rate. Uneven chicken means dry edges and raw centers.
Silicone brush — For brushing the olive oil on the breadcrumbs. It’s easier than pouring and gives better coverage.
Airtight containers — Glass containers with locking lids are best for meal prep. They don’t stain from the tomato sauce and can go from fridge to oven safely. I use 1-quart containers for single portions.
Air fryer (optional but recommended) — For reheating. If you have one, this is the game-changer for keeping the crust crisp. If not, a toaster oven works great too.
How to Make It: Step-by-Step
Alright, let’s make this! I’m walking you through exactly how I do it, including the little tricks I’ve picked up over dozens of meal prep sessions.
Step 1: Prep the Chicken (10 minutes)
Start by preheating your oven to 400°F (200°C). Line your baking sheet with parchment paper for easy cleanup, and place the wire rack on top. Pat the chicken breasts completely dry with paper towels. Moisture is the enemy of crispiness. If they’re wet, the breading slides off.
If the chicken breasts are thicker than ½ inch, place them between two sheets of plastic wrap and pound them with a meat mallet or rolling pin until they’re even. This ensures uniform cooking. Season both sides lightly with salt and pepper.
Step 2: Set Up the Dredging Station (5 minutes)
Prepare three shallow bowls. In the first, place the flour. In the second, whisk the eggs with a pinch of salt and pepper. In the third, mix the panko breadcrumbs, grated Parmesan, Italian seasoning, and garlic powder.
Pro Tip: Keep your stations organized. Dredge in flour, shake off excess, dip in egg (let excess drip off), then press firmly into the panko mixture. Make sure the chicken is fully coated, pressing the crumbs into the surface so they stick.
Step 3: Bake the Chicken (15-20 minutes)
Place the breaded chicken on the wire rack. Brush the tops lightly with olive oil. This helps them brown evenly. Bake for 15-20 minutes, or until the internal temperature reaches 165°F (74°C) and the coating is golden brown.
Visual Cue: The chicken should look golden and crispy. If it’s not browning enough, broil for 1-2 minutes at the end, but watch it closely—it can burn fast.
Step 4: Prepare the Sauce (5 minutes)
While the chicken bakes, heat the marinara sauce in a small saucepan over low heat. Stir in the granulated garlic. Let it warm through for 5 minutes. This melds the flavors and makes the sauce more aromatic. Keep it warm on the stove or transfer to a container.
Step 5: Assemble and Portion (10 minutes)
Once the chicken is cooked, let it rest for 5 minutes. This keeps the juices inside. Then, slice each breast in half horizontally to create four thinner cutlets. This makes them easier to reheat evenly and fits better in containers.
Now, portion out your meals. For each container, add a layer of sauce at the bottom. Place the chicken on top. Add a sprinkle of mozzarella cheese if you want that classic cheesy finish, but I recommend adding fresh mozzarella when reheating for best texture. Garnish with fresh basil.
Step 6: Store or Freeze
Let the containers cool to room temperature before sealing. Store in the fridge for up to 4 days, or freeze for up to 3 months. Label with the date!
Expert Tips & Tricks
Here’s everything I’ve learned from making this dozens of times. These tips will save you from my mistakes.
Use a Wire Rack — I can’t stress this enough. Without a rack, the bottom of the chicken sits in its own juices and steams, leading to soggy breading. A rack keeps everything crisp. If you don’t have one, use a baking sheet and flip the chicken halfway through.
Panko is Key — Regular breadcrumbs are too dense. Panko is flaky and airy, which means it stays crisp longer. Don’t substitute unless you’re okay with softer results.
Don’t Overcrowd the Pan — Give each piece of chicken space. If they’re touching, they’ll steam each other. If you have more than four breasts, bake in batches. It’s worth it.
Reheat in the Oven or Air Fryer — Never microwave the chicken. It will turn rubbery. Reheat in a 375°F oven for 10-15 minutes, or in an air fryer for 5-7 minutes. The crust will be crisp again.
Add Cheese Last — If you’re adding mozzarella, do it during the last 2 minutes of reheating. This prevents the cheese from burning or separating.
Freeze Properly — If freezing, wrap each container tightly in plastic wrap, then in foil. This prevents freezer burn. Thaw in the fridge overnight before reheating.
Variations & Substitutions
Once you’ve nailed the basic version, here’s how you can mix it up. I’ve tried all of these.
Gluten-Free — Use gluten-free panko breadcrumbs and gluten-free flour. The texture is slightly different but still good. I’ve used Panko-style gluten-free breadcrumbs from the store, and they work well.
Dairy-Free — Skip the Parmesan in the breadcrumb mix and use dairy-free mozzarella for topping. The sauce is naturally dairy-free if you check the label. It’s less cheesy but still flavorful.
Spicy — Add ½ teaspoon red pepper flakes to the breadcrumb mix. Or serve with a spicy marinara. I love this version when I want a kick.
Veggie Side — Serve with roasted broccoli or zucchini. I often roast a tray of veggies on Sunday and portion them out with the chicken for a complete meal. It’s like my cozy fall roasted red pepper and smoked gouda soup but with more crunch.
Low-Carb — Skip the pasta and serve over cauliflower rice or zucchini noodles. The sauce is low-carb friendly, so this works great for keto diets.
Serving & Storage
How to Serve: I usually serve this straight from the container at the dinner table. But here are other ways I’ve enjoyed it:
- Monday: Over spaghetti or linguine with extra marinara.
- Tuesday: In a salad with arugula, cherry tomatoes, and balsamic vinaigrette.
- Wednesday: In a sub roll with provolone and sautéed peppers.
- Thursday: Leftover night—eat as is with a side of steamed green beans.
Storage Instructions:
Refrigerator: Store in an airtight container for up to 4 days. The sauce may thicken slightly, which is normal.
Reheating: Best method: Oven or air fryer at 375°F for 10-15 minutes. Microwave: Only if you’re in a rush, and add a splash of water to the sauce to prevent drying out. It won’t be as crispy, but it’s edible.
Freezing: Freeze for up to 3 months. Thaw in the fridge overnight. Reheat in the oven for best results.
Pro Tip: If you’re meal prepping for a whole week, freeze half and fridge half. This way, you always have fresh chicken for the first few days and a backup for later.
Nutrition Information
I’m not a nutritionist, but here’s the breakdown if you’re tracking. This is per serving (one chicken breast with ¼ cup sauce).
| Nutrient | Amount |
|---|---|
| Calories | 350 |
| Protein | 35g |
| Carbs | 20g |
| Fat | 12g |
| Fiber | 2g |
| Sodium | 600mg |
Look, this is comfort food with cheese and breadcrumbs. It’s not a diet recipe. But it’s way better than takeout, costs less, and I know exactly what’s in it. When I want to make it lighter, I use less cheese and more veggies. But usually? I just eat a reasonable portion and enjoy it.
Final Thoughts
So that’s my go-to Crispy Baked Chicken Parmesan meal prep! I’ve probably talked your ear off at this point, but when you make a recipe this often, you have a lot to say about it.
This has saved weeknight dinners more times than I can count. It’s my answer to “what’s for dinner” when I’m tired, don’t want takeout, and still want something that tastes really good. My family is happy, I’m happy because I’m not stressed about cooking, and I’m happy because I have time for myself.
Make it yours! Try different add-ins, swap in your favorite vegetables, adjust the garlic (though more is always better in my opinion). The best recipes are the ones you adapt to your family’s tastes.
If you make this, drop a comment and let me know what you think! I love hearing how recipes turn out in your kitchen. And if something doesn’t work, tell me that too—I’m here to help troubleshoot.
Happy cooking! And I hope your kitchen smells half as good as mine does right now.
Frequently Asked Questions
Q: Can I use chicken thighs instead of breasts?
A: You can, but thighs are darker and juicier, so the cooking time might be slightly longer. They also have more fat, which is fine, but the texture will be different. I prefer breasts for their leaner profile and easier slicing, but thighs work if you’re short on time.
Q: Why did my breading fall off during reheating?
A: This usually happens if the chicken wasn’t patted dry before breading, or if the egg wash wasn’t thick enough. Make sure to press the breadcrumbs firmly into the chicken. Also, avoid microwaving—use the oven or air fryer to keep the crust intact.
Q: Can I make this ahead and freeze it?
A: Absolutely! This Crispy Baked Chicken Parmesan meal prep for busy weeks is perfect for freezing. Just follow the storage instructions above. Thaw in the fridge overnight and reheat in the oven for best results.
Q: How do I keep the sauce from getting watery?
A: Use a thick marinara sauce, and don’t add extra liquid. If your sauce seems thin, simmer it down before storing. Also, store the sauce separately from the chicken to prevent the breading from absorbing moisture.
Q: Can I double this recipe?
A: Yes! Just use a larger baking sheet or bake in batches. The cooking time stays the same. I do this when I’m meal-prepping for the whole family. Just make sure your oven has enough space for air circulation.
Q: Is this recipe healthy?
A: It’s a balanced meal with protein, carbs, and fat. It’s not low-calorie, but it’s made with whole ingredients and no artificial additives. It’s a better choice than fast food or processed meals. Enjoy it in moderation and pair it with veggies for a complete meal.
Pin This Recipe!
Crispy Baked Chicken Parmesan: Easy Meal Prep
- Total Time: 45 minutes
- Yield: 4 servings 1x
Description
A strategic meal prep recipe for crispy baked chicken parmesan that reheats perfectly in the oven or air fryer, keeping the breading crunchy while saving time and money for busy weeks.
Ingredients
- 2 large boneless, skinless chicken breasts (about 1.5 lbs / 680g)
- ½ cup all-purpose flour (60g)
- 2 large eggs, beaten with a pinch of salt and pepper
- 1 cup panko breadcrumbs (80g)
- ½ cup grated Parmesan cheese (50g)
- 1 teaspoon Italian seasoning
- ½ teaspoon garlic powder
- 3 tablespoons olive oil
- 2 cups marinara sauce (480ml)
- 1 teaspoon granulated garlic
- 1 cup shredded low-moisture mozzarella cheese (100g)
- ¼ cup fresh basil, chopped
- Salt and pepper to taste
Instructions
- Preheat oven to 400°F (200°C). Line a large baking sheet with parchment paper and place a wire cooling rack on top.
- Pat chicken breasts dry with paper towels. If thicker than ½ inch, pound them to even thickness. Season both sides with salt and pepper.
- Set up three shallow bowls: one with flour, one with beaten eggs, and one with panko mixed with Parmesan, Italian seasoning, and garlic powder.
- Dredge each chicken breast in flour, shake off excess, dip in egg, then press firmly into the panko mixture to coat completely.
- Place breaded chicken on the wire rack. Brush tops lightly with olive oil.
- Bake for 15-20 minutes until internal temperature reaches 165°F (74°C) and coating is golden brown. Broil for 1-2 minutes if needed for extra browning.
- While chicken bakes, heat marinara sauce in a saucepan over low heat and stir in granulated garlic. Keep warm.
- Let cooked chicken rest for 5 minutes, then slice each breast in half horizontally to create four cutlets.
- Portion meals into airtight containers: add sauce to the bottom, place chicken on top, sprinkle with mozzarella (optional), and garnish with fresh basil.
- Store in the refrigerator for up to 4 days or freeze for up to 3 months. Reheat in oven or air fryer at 375°F for best crispiness.
Notes
Use a wire rack to ensure air circulation and prevent soggy bottoms. Panko breadcrumbs are essential for crunch. Store sauce separately from chicken to maintain crispiness. Reheat in oven or air fryer, never microwave, to preserve texture.
- Prep Time: 25 minutes
- Cook Time: 20 minutes
- Category: Main Course
- Cuisine: Italian
Nutrition
- Serving Size: One chicken breast w
- Calories: 350
- Sodium: 600
- Fat: 12
- Carbohydrates: 20
- Fiber: 2
- Protein: 35
Keywords: chicken parmesan, meal prep, crispy chicken, baked chicken, easy dinner, freezer friendly, high protein, Italian recipe


