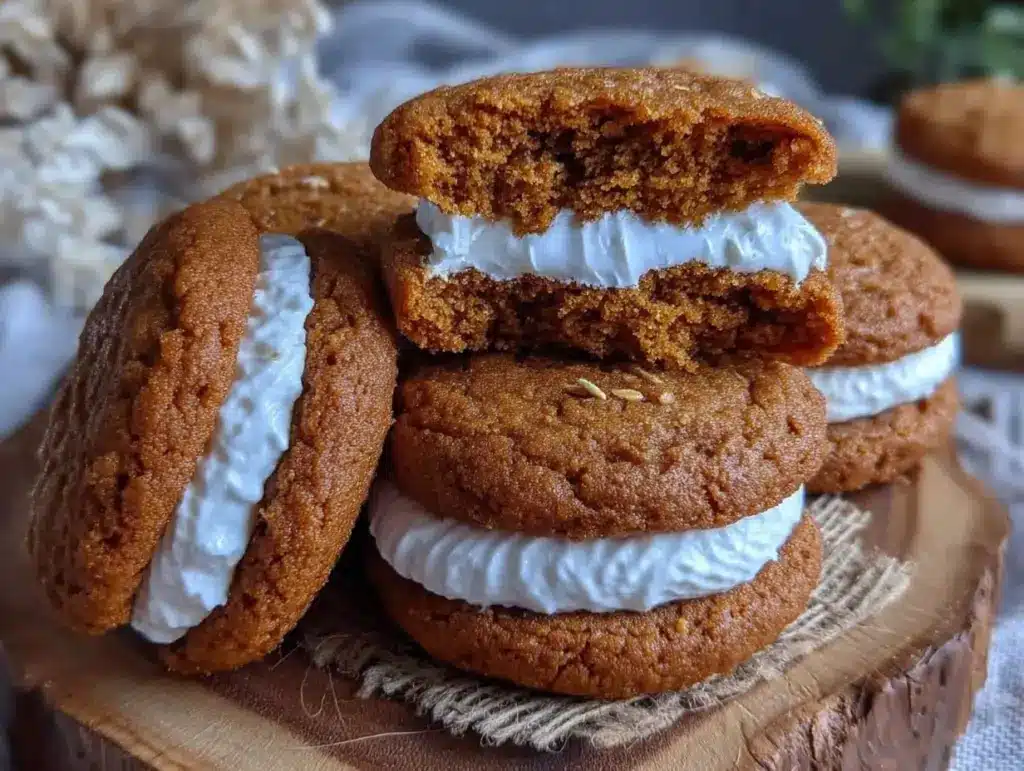
There is a specific kind of magic that happens when you pull a batch of warm cookies out of the oven and they smell like a childhood memory you can’t quite place but desperately want to revisit. For me, that smell is brown sugar and oats. It’s the scent of comfort, of slow mornings, of energy that actually lasts.
I’ve always been obsessed with the concept of the “fuel cookie.” Not those dry, chalky protein bars that taste like cardboard, but actual cookies that satisfy a sweet tooth while keeping my blood sugar stable and my energy levels steady through a busy afternoon. Last month, I was staring at a half-empty pantry, craving something sweet but knowing I needed to get through a 40-hour work week without crashing by 3 PM. I threw together a batch of chewy brown sugar oatmeal cream pies with a fluffy marshmallow filling. I expected a simple snack. What I got was a revelation.
These aren’t just dessert. They are chewy brown sugar oatmeal cream pies designed to fuel your day without feeling like a diet compromise. The oats provide slow-burning fiber, the brown sugar gives that deep, molasses-rich flavor without the spike of white sugar, and the marshmallow center? That’s just the joy factor. I’ve made these at least eight times in the last two months. My kids beg for them for breakfast (yes, really), and I’ve started packing them for my mid-afternoon slump instead of reaching for another coffee. They are soft, chewy, and incredibly satisfying. This recipe is about balance—sweet and savory, chewy and fluffy, fuel and fun.
Why You’ll Love This Recipe
I know what you’re thinking: another cookie recipe? But hear me out. This chewy brown sugar oatmeal cream pies with marshmallow filling hits a different note than your average bakery treat. It’s substantial. It’s nutritious (in the sense that it uses whole ingredients). And it’s ridiculously easy to make in one bowl.
Here is why this has become a staple in my kitchen rotation:
- It’s a Balanced Snack — Most cookies are just sugar and fat. These have oats, which bring fiber and complex carbs. They keep you full. I’ve replaced my usual afternoon pastry with one of these, and I don’t get the 4 PM crash. It’s real fuel.
- Texture Heaven — The cookies are chewy on the edges and soft in the center. The filling is light, airy, and not overly sweet. It’s the perfect contrast. If you love the texture of chewy fall maple brown butter cookies, you will love this base.
- One-Bowl Wonder — I hate dishes. This recipe requires mixing the dough in one bowl and the filling in another. That’s it. No fancy mixer needed if you don’t want to use one. A sturdy spoon works fine for the dough.
- Meal-Prep Friendly — These keep for days. I make a double batch on Sunday, store them in an airtight container, and I have grab-and-go breakfasts or snacks for the whole week. They actually taste better on day two, as the oats have time to soften and absorb the moisture.
- Customizable Sweetness — You control the sugar. I use a mix of brown sugar and a touch of honey, which keeps the glycemic index lower than pure white sugar. Plus, the marshmallow filling is made from real marshmallows, melted down, so it’s not a heavy buttercream.
This is the kind of recipe that makes you feel good about eating something sweet. It’s not “guilt-free” because food isn’t guilty, but it is nourishing. It’s chewy brown sugar oatmeal cream pies that respect your body and your taste buds.
Ingredients You’ll Need
One of the best things about this recipe is how simple the ingredient list is. You probably have most of this already. I’m particular about a few things here—like using old-fashioned oats for that chewy texture and good-quality marshmallows for the filling—but overall, this is pantry-friendly.
For the Chewy Oatmeal Cookies:
- Old-Fashioned Rolled Oats (2 cups / 160g) — Do not use quick oats. Quick oats turn to mush. Old-fashioned oats give you that hearty, chewy bite. If you need gluten-free, use certified GF rolled oats.
- Whole Wheat Flour (1 ½ cups / 180g) — I use whole wheat for the extra fiber and nutty flavor. If you prefer all-purpose, that works too, but you lose some of the “fuel” aspect. Half whole wheat, half all-purpose is a good middle ground.
- Baking Soda (1 teaspoon) — Essential for the spread and lift.
- Baking Powder (½ teaspoon) — Helps them rise slightly.
- Salt (½ teaspoon) — Flavors the dough. Don’t skip it.
- Butter (½ cup / 115g, softened) — Use unsalted so you control the sodium. Softened means cool to the touch but leaves an indent when you press it.
- Brown Sugar (½ cup / 100g, packed) — Dark or light brown sugar both work. Dark has more molasses, which adds depth. This is where the flavor comes from.
- Granulated Sugar (¼ cup / 50g) — Just a little to help with crisp edges.
- Egg (1 large) — Binds everything together. Room temperature is best.
- Vanilla Extract (1 teaspoon) — Pure vanilla, please. The artificial stuff tastes harsh with oats.
- Ground Cinnamon (1 teaspoon) — Warmth and spice. Optional but highly recommended.
For the Fluffy Marshmallow Filling:
- Mini Marshmallows (2 cups / 60g) — Mini marshmallows melt more evenly than large ones. Look for a brand that isn’t too gelatin-heavy if you want a lighter texture.
- Butter (2 tablespoons / 30g) — Adds richness to the filling.
- Vanilla Extract (½ teaspoon) — For flavor.
- Pinch of Salt — Cuts the sweetness.
Substitutions: Can’t find mini marshmallows? Chop regular ones finely. Want a vegan version? Use vegan butter and vegan marshmallows (many brands like Dandies work great). The texture will be slightly different but still delicious.
Equipment Needed
You don’t need fancy gadgets for this. Here’s what I actually use:
- Large Mixing Bowl — For the dough. I use a 4-quart bowl. It needs to be big enough to mix without flour flying everywhere.
- Small Saucepan — For melting the marshmallows. A non-stick 2-quart saucepan works perfectly. You need low and slow heat.
- Whisk — For the filling. A small whisk helps incorporate the butter smoothly.
- Mixing Spoon or Spatula — For the dough. A wooden spoon is classic, but a silicone spatula is easier to scrape.
- Baking Sheets — Two standard 13×18 inch sheets. Line them with parchment paper. I never bake directly on the metal; parchment prevents sticking and makes cleanup instant.
- Cooling Rack — Essential. You need to cool the cookies completely before filling them, or the filling will melt into a puddle.
- Spatula — For spreading the filling. An offset spatula is nice, but a regular butter knife works too.
Pro Tip: I keep a stack of parchment squares ready. It saves so much time. If you’re short on space, you can bake in batches, but having two sheets ready speeds things up.
How to Make It: Step-by-Step
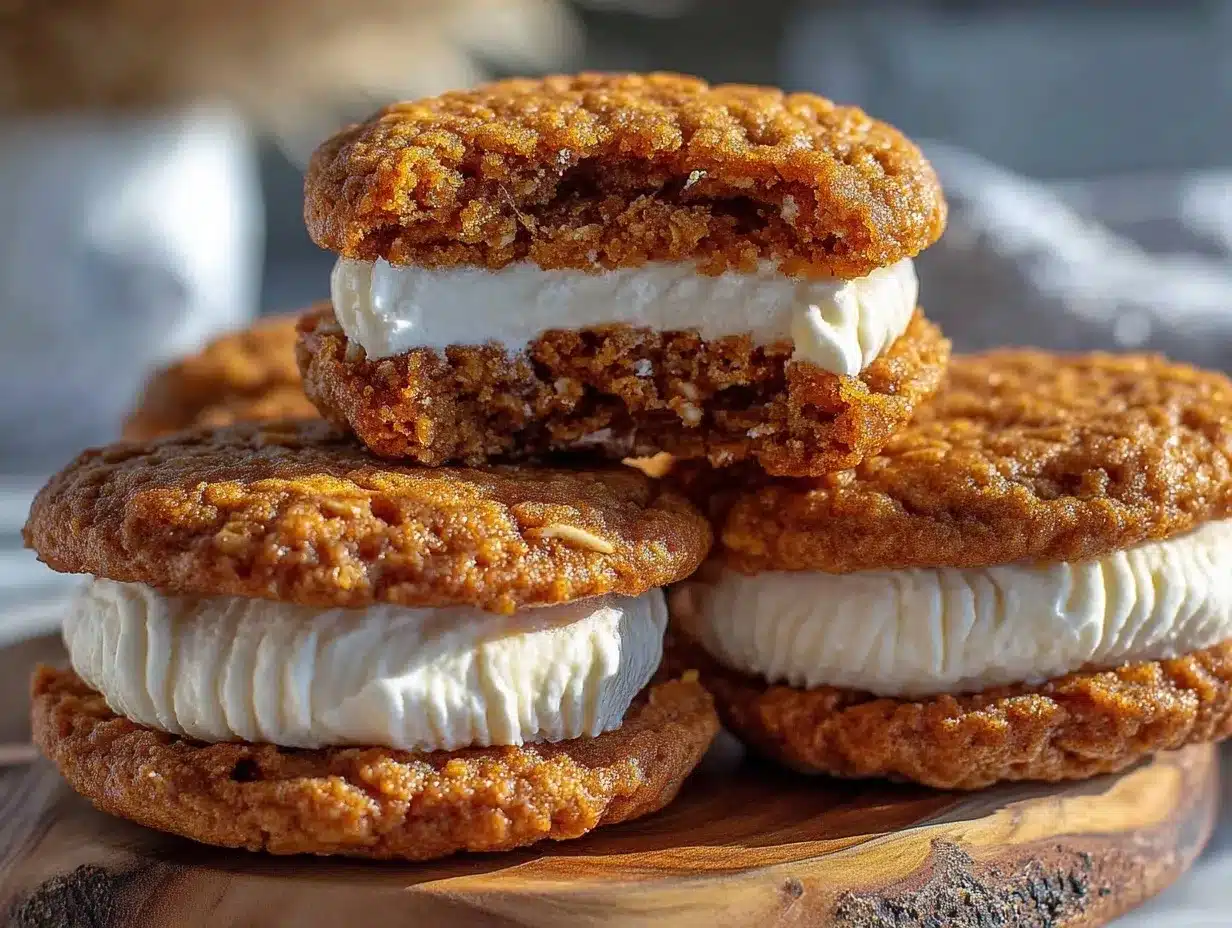
Alright, let’s make this! I’m walking you through exactly how I do it, including the little tricks I’ve picked up over dozens of batches.
Step 1: Prep Your Dry Ingredients (5 minutes)
In your large mixing bowl, whisk together the whole wheat flour, baking soda, baking powder, salt, and cinnamon. This ensures the leavening agents are evenly distributed so you don’t get a soapy taste in one cookie and a flat one in another. Set aside.
Step 2: Cream the Butter and Sugars (3 minutes)
In the same bowl (or a clean one if you prefer), beat the softened butter, brown sugar, and granulated sugar together. Use a hand mixer or a strong wrist. Mix until it’s light and fluffy, about 2-3 minutes. This step is crucial for texture. If you skip creaming, the cookies will be dense. The mixture should look pale and creamy.
Step 3: Add Wet Ingredients (1 minute)
Beat in the egg and vanilla extract until fully combined. Scrape down the sides of the bowl with a spatula to ensure everything is incorporated.
Step 4: Combine Dough (2 minutes)
Gradually add the dry ingredients to the wet mixture. Mix on low speed or stir by hand until just combined. Do not overmix. Then, fold in the rolled oats. The dough will be thick and sticky. This is normal. If it’s too sticky to handle, chill it in the fridge for 15 minutes. I usually don’t need to chill, but if your kitchen is warm, a quick chill helps.
Step 5: Scoop and Bake (15-18 minutes)
Preheat your oven to 350°F (175°C). Line your baking sheets with parchment paper. Scoop about 2 tablespoons of dough per cookie and place them on the sheet, spacing them 2 inches apart. They will spread. Bake for 12-14 minutes. You want the edges to be golden brown but the centers to still look slightly soft. They will firm up as they cool. Overbaking makes them crisp instead of chewy, so err on the side of underbaking.
Step 6: Cool Completely
Let the cookies cool on the baking sheet for 5 minutes, then transfer to a wire rack to cool completely. This is the hardest part—waiting. But if you fill them warm, the marshmallow will melt and leak out. Be patient.
Step 7: Make the Marshmallow Filling
While cookies cool, combine mini marshmallows and butter in a small saucepan over low heat. Stir constantly until the marshmallows are melted and the mixture is smooth. Remove from heat and stir in vanilla and a pinch of salt. Let it cool for 5 minutes until it’s thick enough to spread but still fluid.
Step 8: Assemble the Cream Pies
Take a cooled cookie and spread a generous tablespoon of marshmallow filling on the flat side. Top with another cookie. Press gently. You now have a chewy brown sugar oatmeal cream pies masterpiece. Repeat with the rest.
Troubleshooting: If the filling is too thick to spread, microwave it for 10 seconds. If it’s too thin, let it cool longer. The consistency should be like thick honey.
Expert Tips & Tricks
Here’s everything I’ve learned from making this dozens of times. These tips will save you from my mistakes.
- Don’t Skimp on the Oats — The oats are the “fuel” part of this recipe. They provide fiber and keep you full. Using quick oats changes the texture entirely, so stick with old-fashioned.
- Softened Butter is Key — If your butter is too hard, it won’t cream properly with the sugar. If it’s too soft (melting), your cookies will spread too thin. Aim for cool-to-the-touch soft.
- Measure Flour Correctly — Spoon the flour into the measuring cup and level it off. Scooping directly from the bag packs the flour in, leading to dry, crumbly cookies.
- Low Heat for Marshmallows — Marshmallows burn easily. Keep the heat low and stir constantly. High heat makes them grainy and hard to spread.
- Chill the Dough if Needed — If your kitchen is hot or you’re in a humid climate, chilling the dough for 30 minutes helps prevent excessive spreading. It also deepens the flavor.
- Fill Generously — These are cream pies! Don’t be shy with the filling. The ratio of cookie to filling is key to the experience.
Pro Trick: For a fancier touch, roll the edges of the assembled cookies in a little crushed oats or a dusting of cinnamon sugar before serving.
Variations & Substitutions
Once you’ve nailed the basic version, here’s how you can mix it up. I’ve tried all of these.
- Chocolate Chip Version — Add ½ cup of dark chocolate chips to the dough. The chocolate pairs beautifully with the brown sugar and oats.
- Peanut Butter Swirl — Swirl 2 tablespoons of peanut butter into the marshmallow filling before spreading. This adds protein and a salty-sweet kick.
- Gluten-Free — Use certified gluten-free rolled oats and gluten-free all-purpose flour blend. The recipe works perfectly with this swap.
- Vegan — Use vegan butter and vegan marshmallows. The texture might be slightly less fluffy, but the taste is still amazing.
- Spiced Version — Add ½ teaspoon of nutmeg and ¼ teaspoon of cloves to the dry ingredients for a gingerbread-like flavor. Great for fall.
Dietary Notes: These are naturally vegetarian. For a lower-sugar version, reduce the granulated sugar to 2 tablespoons and use a sugar substitute in the filling, though the texture will change.
Serving & Storage
These are best stored in an airtight container at room temperature for up to 5 days. The marshmallow filling keeps them moist, so they don’t dry out quickly. If you live in a hot climate, store them in the fridge, but let them come to room temperature before eating for the best texture.
Freezing: You can freeze the unfilled cookies for up to 3 months. Thaw and fill when ready to eat. The filled cookies can be frozen for 1 month, but the filling may become slightly harder. Thaw in the fridge overnight.
Serving Suggestions: These are perfect for lunchboxes, office snacks, or after-dinner dessert. Pair them with a glass of cold milk or a cup of coffee. They also travel well for potlucks or parties. I’ve taken these to work and had people asking for the recipe within minutes.
Pairing Idea: If you’re hosting a fall gathering, these pair wonderfully with warm apple cider. The cinnamon in the cookies complements the cider perfectly.
Nutrition Information
I’m not a nutritionist, but here’s the breakdown if you’re tracking. Each cookie (half of a sandwich) contains approximately:
- Calories: 180
- Protein: 3g
- Carbs: 28g
- Fiber: 2g
- Sugar: 16g
- Fat: 7g
What’s Good: The oats provide fiber and complex carbs. The brown sugar is less processed than white sugar. It’s a balanced snack that provides sustained energy. What to Know: It still contains sugar and butter, so enjoy in moderation. But compared to a candy bar or a pastry, this is a much better choice for fueling your day.
Final Thoughts
So that’s my go-to chewy brown sugar oatmeal cream pies with marshmallow filling! I’ve probably talked your ear off at this point, but when you make a recipe this often, you have a lot to say about it. This has saved me from the afternoon slump more times than I can count. It’s my answer to “what’s a good snack?” when I want something sweet but also need to keep going.
Make it yours! Try different add-ins, swap in your favorite spices, or adjust the sweetness. The best recipes are the ones you adapt to your life. If you make this, drop a comment and let me know what you think! I love hearing how recipes turn out in your kitchen. And if something doesn’t work, tell me that too—I’m here to help troubleshoot.
Happy cooking! And I hope your kitchen smells half as good as mine does right now.
Frequently Asked Questions
Can I use quick oats instead of old-fashioned?
You can, but the texture will be different. Quick oats are thinner and will make the cookies cakier rather than chewy. For the best result, stick with old-fashioned rolled oats. If you only have quick oats, pulse them in a blender for a few seconds to break them up slightly, but they still won’t be ideal.
Why did my cookies spread too much?
This usually happens if the butter was too soft or the oven wasn’t preheated properly. Make sure your butter is softened, not melted. Also, check your oven temperature with an thermometer. If your oven runs hot, your cookies might spread less; if it runs cold, they might spread more. Chilling the dough for 30 minutes can also help.
Can I make the filling ahead of time?
Yes, but it will thicken as it cools. You can make the filling a day ahead and store it in the fridge. When you’re ready to assemble, gently warm it in the microwave for 10-15 seconds and stir until smooth. If it’s too thick, add a teaspoon of milk.
Are these good for meal prep?
Absolutely. They keep well for up to 5 days in an airtight container. I make a batch on Sunday and pack them in my lunchbox for the week. They hold up well in the fridge and taste great cold or at room temperature.
Can I freeze these?
Yes. Freeze the unfilled cookies for up to 3 months. Thaw at room temperature before filling. The filled cookies can be frozen for 1 month, but the filling may become slightly harder. Thaw in the fridge overnight.
Why is my filling grainy?
This usually happens if the heat was too high when melting the marshmallows. Always use low heat and stir constantly. If the filling is already grainy, you can try whisking in a teaspoon of warm water to smooth it out, but it’s best to start over with lower heat.
Pin This Recipe!
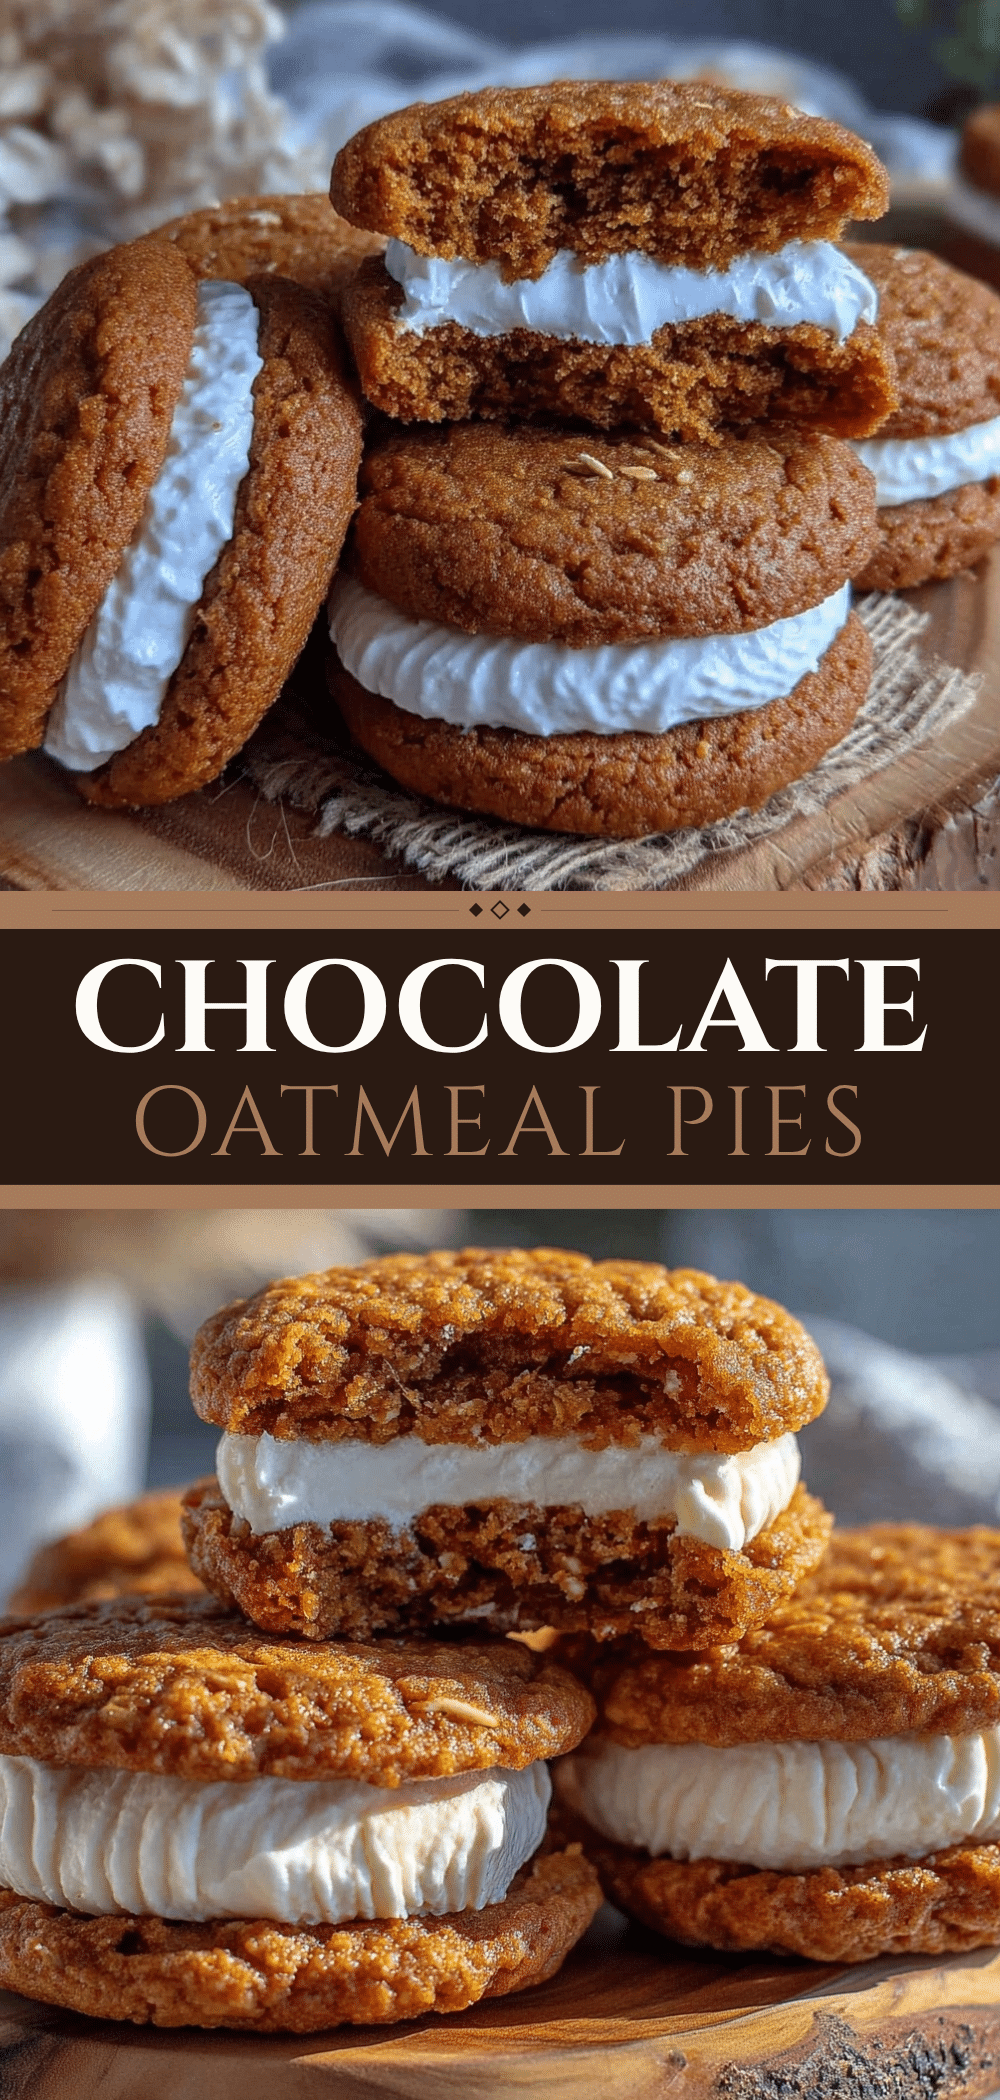

Chewy Brown Sugar Oatmeal Cream Pies with Marshmallow Filling
- Total Time: 30 minutes
- Yield: Approximately 24 cookies (12 sandwiches) 1x
Description
Chewy brown sugar oatmeal cookies sandwiched with a fluffy marshmallow filling, designed to provide sustained energy and serve as a balanced, fueling snack.
Ingredients
- 2 cups (160g) Old-Fashioned Rolled Oats
- 1 ½ cups (180g) Whole Wheat Flour
- 1 teaspoon Baking Soda
- ½ teaspoon Baking Powder
- ½ teaspoon Salt
- ½ cup (115g) Butter, softened
- ½ cup (100g) Brown Sugar, packed
- ¼ cup (50g) Granulated Sugar
- 1 large Egg
- 1 teaspoon Vanilla Extract
- 1 teaspoon Ground Cinnamon
- 2 cups (60g) Mini Marshmallows
- 2 tablespoons (30g) Butter
- ½ teaspoon Vanilla Extract
- Pinch of Salt
Instructions
- Preheat oven to 350°F (175°C) and line two baking sheets with parchment paper.
- In a large mixing bowl, whisk together the whole wheat flour, baking soda, baking powder, salt, and cinnamon.
- In the same bowl, beat the softened butter, brown sugar, and granulated sugar until light and fluffy, about 2-3 minutes.
- Beat in the egg and 1 teaspoon vanilla extract until fully combined, scraping down the sides of the bowl.
- Gradually add the dry ingredients to the wet mixture and mix until just combined. Fold in the rolled oats.
- Scoop about 2 tablespoons of dough per cookie onto the prepared baking sheets, spacing them 2 inches apart.
- Bake for 12-14 minutes until edges are golden brown but centers look slightly soft.
- Let cookies cool on the baking sheet for 5 minutes, then transfer to a wire rack to cool completely.
- While cookies cool, combine mini marshmallows and 2 tablespoons butter in a small saucepan over low heat. Stir constantly until melted and smooth.
- Remove from heat and stir in ½ teaspoon vanilla and a pinch of salt. Let cool for 5 minutes until thick enough to spread.
- Spread a generous tablespoon of marshmallow filling on the flat side of a cooled cookie and top with another cookie to assemble.
Notes
Do not use quick oats as they turn to mush; old-fashioned oats provide the necessary chew. Ensure butter is softened but not melted for proper creaming. Cool cookies completely before filling to prevent the marshmallow from melting. For gluten-free, use certified GF rolled oats and GF flour blend. For vegan, use vegan butter and marshmallows.
- Prep Time: 15 minutes
- Cook Time: 15 minutes
- Category: Dessert
- Cuisine: American
Nutrition
- Serving Size: 1 cookie sandwich (h
- Calories: 180
- Sugar: 16
- Sodium: 150
- Fat: 7
- Saturated Fat: 3
- Carbohydrates: 28
- Fiber: 2
- Protein: 3
Keywords: oatmeal cream pies, brown sugar cookies, marshmallow filling, fuel cookies, healthy snacks, meal prep, chewy cookies, one bowl recipe


