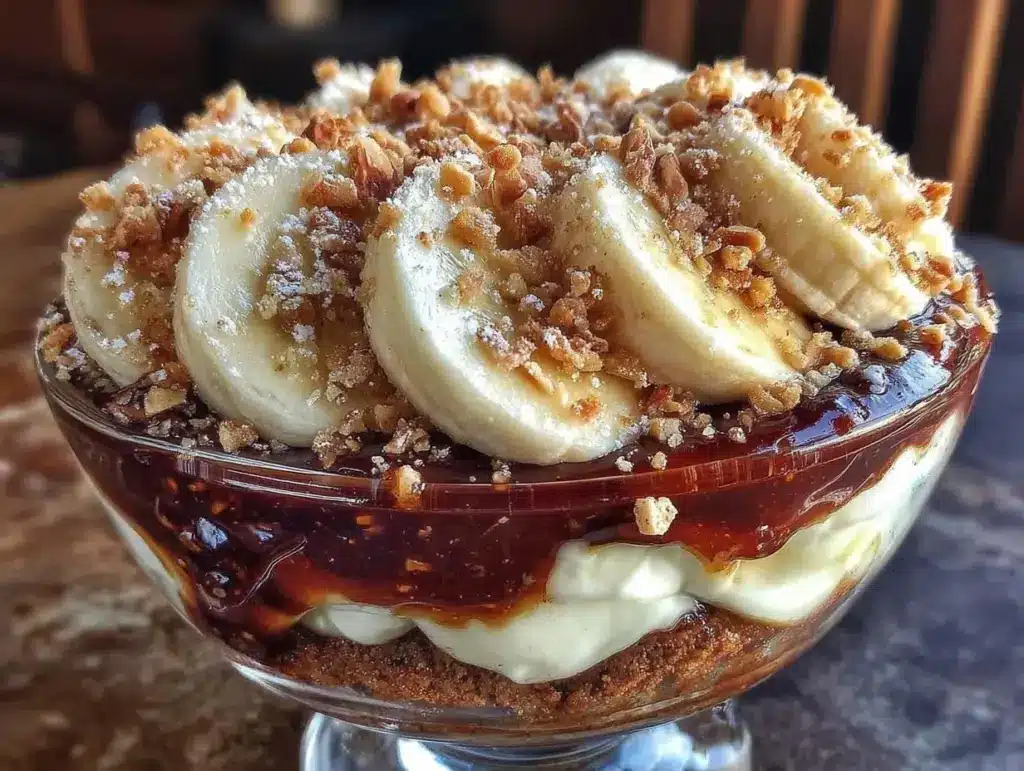
It was 5:03 PM on a Tuesday, and my brain had officially checked out for the day. I had just finished a 10-hour shift, and the last thing I wanted to do was stand over a stove or figure out what to make for dinner, let alone dessert. But then I remembered—I had three bananas on the counter that were looking at me like, “Use me or I go in the trash.” And I had a package of vanilla wafers that had been sitting in the pantry since, well, since forever.
So, I did what I always do when I’m tired and hungry: I improvised. I threw together a quick batch of banana cream pudding with vanilla wafer crumble because I needed something sweet, fast, and comforting. I didn’t have time to whip up a complex meringue or bake a cake that would take two hours. I just wanted a hug in a bowl.
And honestly? It was the best decision I made all day. It took about 15 minutes of active work, and the smell of warm bananas and toasted wafers filled the kitchen. My kids came running, asking if we were having “pudding cups,” and my husband took one bite and stopped scrolling on his phone long enough to actually talk to me. That’s the magic of this dish. It’s not just a dessert; it’s a peace treaty in the kitchen.
I’ve made this banana cream pudding with vanilla wafer crumble at least six times since that Tuesday. Sometimes I use ripe, spotted bananas for maximum sweetness. Sometimes I add a pinch of nutmeg because I’m feeling fancy. But the core idea stays the same: it’s easy, it’s cheap, and it tastes like a memory of a simpler time. If you’re staring at the clock right now, wondering how to salvage your evening with a sweet treat, this is your answer.
Why You’ll Love This 5pm Dessert
Look, I’m not going to lie to you. There are a million desserts out there. You could go to the store and buy a pint of ultra creamy no-churn vanilla bean ice cream (which is also amazing, by the way) or grab a box of pudding mix. But this? This is different. Here’s why this banana cream pudding with vanilla wafer crumble has earned a permanent spot in my weekly rotation.
- It’s Actually Fast — Seriously, if you can mash a banana and stir a pot, you can make this. We’re talking 15 minutes of hands-on time. That’s less time than it takes to watch a sitcom episode. Perfect for those nights when you’re exhausted.
- Pantry Staple Hero — You probably already have almost everything you need. Bananas? Check. Vanilla wafers? Check. Milk and sugar? Check. It’s the ultimate “I don’t need to go to the store” dessert.
- Texture Heaven — The magic is in the crumble. You get the cool, silky pudding, the soft banana slices, and then that crunch of toasted vanilla wafers on top. It’s like a banana cream pie had a baby with a trifle, and it turned out perfect.
- Kid-Approved (Even the Picky Ones) — My toddler loves the sweetness, and my teenager—who usually refuses anything that isn’t chocolate—actually asked for seconds. It’s a crowd-pleaser without being overly sweet.
- Make-Ahead Friendly — Unlike some puddings that weep or get soggy, this one actually gets *better* after chilling. I made this the night before a dinner party, and it was even better the next day. No stress, just deliciousness.
This is my go-to when I need a win. It’s comforting, it’s nostalgic, and it requires zero fancy equipment. Just a pot, a bowl, and a spoon.
Ingredients You’ll Need
Here’s the best part: you don’t need a trip to the specialty shop for this. I’m particular about three things here—the bananas, the wafers, and the vanilla—but everything else is basic pantry fare. Let’s break it down.
For The Pudding Base
Milk (2 cups / 480ml) — Whole milk makes the creamiest pudding, but 2% works fine if that’s what you have. Avoid skim milk; it just won’t be rich enough.
Granulated Sugar (½ cup / 100g) — You can reduce this to ⅓ cup if your bananas are very ripe and sweet, but I like the balance. Don’t skip it entirely, though.
Cornstarch (3 tablespoons / 24g) — This is the thickener. It’s cheaper and clearer than flour. Make sure you’re using cornstarch, not flour, or the texture will be off.
Unsalted Butter (2 tablespoons / 30g) — Adds that glossy sheen and rich mouthfeel. Salted butter works, but reduce any added salt later.
Vanilla Extract (1 teaspoon / 5ml) — Use the real stuff. The cheap imitation stuff tastes chemical, and in a simple dessert like this, you’ll taste it. I keep a bottle of pure vanilla bean extract in my pantry for special moments, but this works great too.
Egg Yolks (2 large / about 30g) — This is the secret weapon. It makes the pudding custard-like and luxurious. If you want a lighter version, you can skip them, but I highly recommend keeping them.
For The Crumble & Assembly
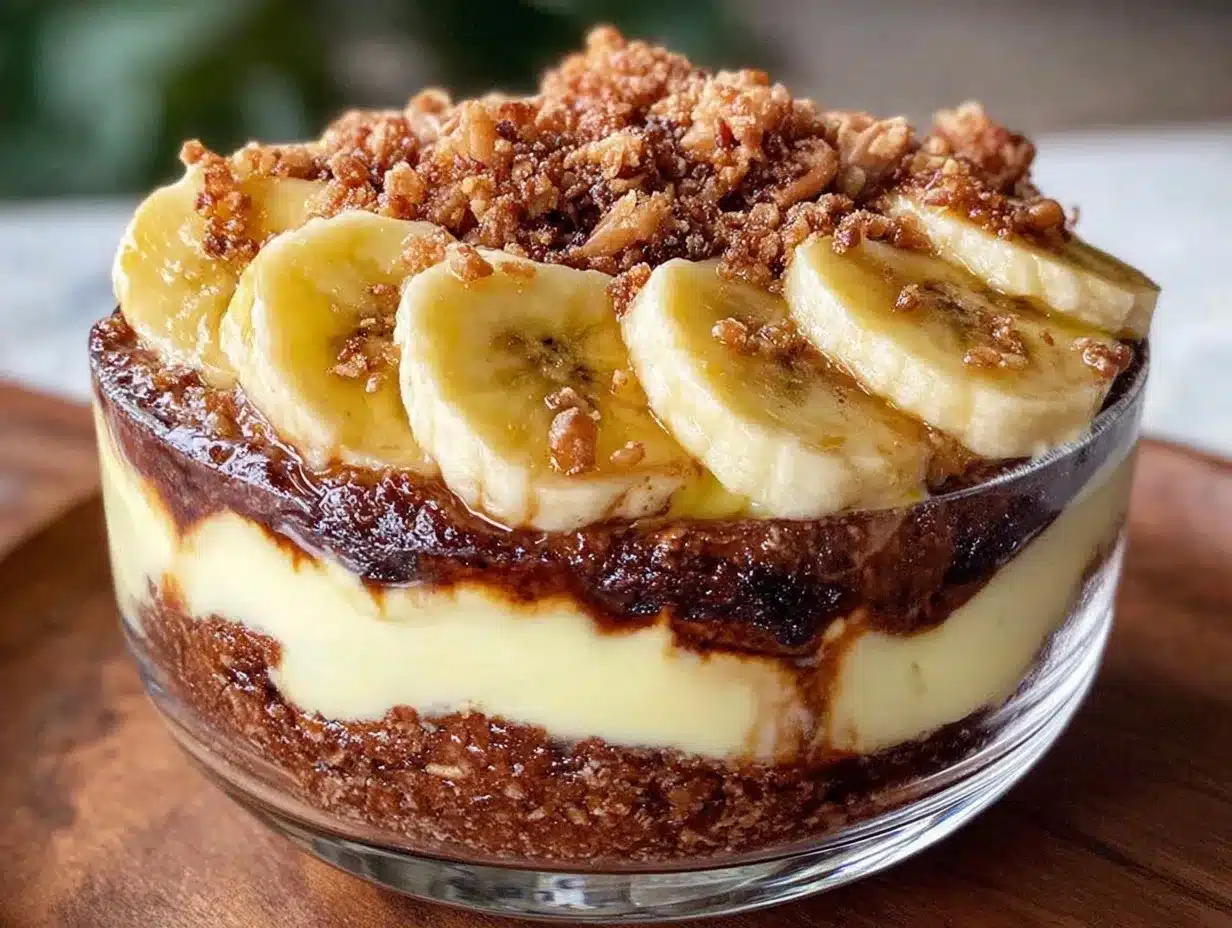
Vanilla Wafers (1 package / about 20-25 cookies) — Nilla Wafers are the classic choice. They hold up well. Don’t use shortbread; they’ll dissolve too much.
Bananas (2 medium / about 300g) — Ripe is key. The spottier, the sweeter. If they’re green, the pudding will be bland. If they’re black, they’ll turn mushy. Aim for yellow with brown spots.
Heavy Cream or Whipped Topping (optional) — I like a dollop on top for extra richness, but it’s not required. If you’re watching calories, skip it. If you’re treating yourself, go for it.
Cinnamon (½ teaspoon) — Just a pinch. It wakes up the banana flavor without making it taste like pie spice.
Equipment Needed
You don’t need a fancy kitchen for this. Here’s what I actually use, plus a few alternatives if you’re missing something.
Medium Saucepan — I use a 2-quart pot. It needs to be heavy-bottomed so the pudding doesn’t scorch on the bottom. My stainless steel one works perfectly.
Whisk — A good silicone whisk is best. It gets into the corners of the pot and keeps the cornstarch from clumping. Metal works too, but silicone is easier to clean.
Mixing Bowl — A medium bowl for whisking the dry ingredients and egg yolks before adding milk.
Spatula — For scraping the pot and folding in the wafers. Silicone is best because it scrapes clean.
Serving Glasses or Bowls — I like using clear glass dessert cups so you can see the layers. But a regular cereal bowl works just fine if you’re keeping it casual.
Knife and Cutting Board — For slicing the bananas. A sharp knife makes cleaner slices and prevents bruising the fruit.
How to Make It: Step-by-Step
Alright, let’s make this! I’m walking you through exactly how I do it. It’s simple, but there are a few tricks to get that perfect texture.
Step 1: Prep Your Bananas and Wafers
Peel the bananas and slice them into ¼-inch rounds. Don’t slice them too thin, or they’ll disintegrate in the pudding. Place them in a bowl and set aside. Break the vanilla wafers into small chunks—some big, some small. You want variety in the crunch. Set those aside too.
Step 2: Mix the Dry Ingredients
In your mixing bowl, whisk together the sugar, cornstarch, and cinnamon. This ensures the cornstarch is evenly distributed so you don’t get clumps later. It’s a small step, but it makes a big difference.
Step 3: Whisk in Milk and Yolks
Slowly pour in about ½ cup of the cold milk while whisking constantly. This creates a smooth slurry. Then, whisk in the egg yolks until they’re fully incorporated. Finally, whisk in the rest of the milk. You should have a smooth, pale yellow liquid.
Step 4: Cook the Pudding
Pour the mixture into your saucepan and place it over medium heat. Whisk constantly. This is the most important part. Don’t walk away. As it heats up, it will start to thicken. After about 3-5 minutes, you’ll see bubbles forming on the edges. Keep whisking!
Once it thickens to a pudding consistency (it should coat the back of a spoon heavily), let it boil for 1 full minute. This is crucial to cook out the raw cornstarch taste. It will look glossy and smooth.
Step 5: Add Butter and Vanilla
Remove the pot from the heat. Immediately stir in the butter and vanilla extract. The residual heat will melt the butter, making the pudding extra rich and shiny. Taste it now. Is it sweet enough? Too bland? Adjust if needed. But usually, it’s perfect.
Step 6: Assemble the Layers
Take your serving glasses. Start with a layer of vanilla wafer chunks at the bottom. Then add a layer of sliced bananas. Then spoon a generous layer of warm pudding on top. Repeat the layers until the glasses are full, finishing with pudding on top.
Here’s my favorite part: sprinkle the remaining vanilla wafer crumbs on top of the pudding. It creates that beautiful crumble texture. If you’re using whipped cream, add a dollop now.
Step 7: Chill and Serve
Let the puddings cool to room temperature, then refrigerate for at least 1 hour. This lets the flavors meld and the pudding set completely. You can eat it warm if you’re impatient, but chilled is best.
Expert Tips & Tricks
Here’s everything I’ve learned from making this dozens of times. These tips will save you from my mistakes.
Don’t Skip the Boil
I know it’s tempting to turn off the heat as soon as it thickens. Don’t. That extra minute of boiling is what removes the starchy taste. I learned this the hard way with a batch that tasted like raw flour. Now I set a timer.
Prevent Banana Browning
Bananas oxidize quickly. If you’re assembling this ahead of time, toss the banana slices in a little lemon juice before layering. It keeps them bright yellow. But if you’re eating it within an hour, it’s not necessary.
The Crumble Texture
If you want a stronger crunch, toast the vanilla wafer crumbs in the oven at 350°F (175°C) for 5 minutes before sprinkling them on top. It adds a nutty, toasted flavor that takes this from “good” to “amazing.”
Storage Reality
This pudding softens the wafers over time. If you make it the night before, expect the bottom layers to be softer. That’s part of the charm—it’s like a trifle. If you want maximum crunch, add the crumble right before serving.
Variations & Substitutions
Once you’ve nailed the basic version, here’s how you can mix it up. I’ve tried all of these.
Caramel Drizzle
Drizzle salted caramel sauce over the top before serving. It turns this into a caramel banana delight. My kids go crazy for this version.
Chocolate Chip Twist
Stir chocolate chips into the warm pudding before assembling. It’s like a banana chocolate pudding cup. If you’re a fan of chocolate chip blondies, you’ll love this combo.
Coconut Version
Swap the milk for coconut milk (canned, full-fat) and use coconut extract instead of vanilla. Top with toasted coconut flakes. It’s tropical and delicious.
Gluten-Free Option
Use gluten-free vanilla wafers. Most brands work well, but check the texture. Some are more fragile. You might need to use slightly more crumbs to get the same coverage.
Serving & Storage
How to Serve
I usually serve this straight from the fridge in small dessert glasses. It looks elegant but tastes homemade. Pair it with a cup of coffee or tea for a cozy evening treat.
Side Dishes
This is a dessert, so it doesn’t need much else. But if you’re serving it after a meal, it pairs well with lighter mains like grilled salmon or grilled chicken salad.
Refrigerator
Store in an airtight container for up to 2 days. The pudding will thicken further in the fridge, which is normal. If it gets too thick, stir in a splash of milk before serving.
Freezing
Don’t freeze this. The bananas will turn mushy and the texture will separate. It’s best fresh or chilled for a day or two.
Nutrition Information
I’m not a nutritionist, but here’s the breakdown if you’re tracking. Keep in mind, this is a dessert, so it’s naturally higher in sugar and calories.
Per Serving (based on 4 servings):
- Calories: 320
- Protein: 6g
- Carbs: 52g
- Fiber: 2g
- Sugar: 35g
- Fat: 10g
What’s Good:
- Provides some potassium from the bananas.
- Calcium from the milk.
- Quick and satisfying.
What to Know:
- High in sugar due to bananas, sugar, and wafers.
- Contains dairy and gluten.
- Can be made lighter by reducing sugar and using low-fat milk.
My Take:
Look, this is comfort food. It’s sweet and rich. It’s not a health food. But it’s better than store-bought pudding cups, and it’s fun to make. When I want to make it lighter, I use half the sugar and add extra banana slices for bulk. But usually? I just enjoy a small bowl and move on.
Final Thoughts
So that’s my banana cream pudding with vanilla wafer crumble! I’ve probably talked your ear off at this point, but when you make a recipe this often, you have a lot to say about it.
This has saved my evenings more times than I can count. It’s my answer to “what’s for dessert” when I’m tired, don’t want to bake, and still want something that tastes really good. My kids are happy, my husband’s happy, and I’m happy because I’m not stressed about cooking.
Make it yours! Try different toppings, swap in your favorite cookies, or adjust the sweetness. The best recipes are the ones you adapt to your family’s tastes.
If you make this, drop a comment and let me know what you think! I love hearing how recipes turn out in your kitchen. And if something doesn’t work, tell me that too—I’m here to help troubleshoot.
Happy cooking! And I hope your kitchen smells half as good as mine does right now.
Frequently Asked Questions
Can I use instant pudding mix instead of making it from scratch?
You absolutely can, and it’s a valid shortcut. Use two boxes of instant vanilla pudding mix mixed with milk according to the package directions. Then just layer it with bananas and wafers. It’s faster, but the homemade version has a richer, creamier texture and less artificial taste. I prefer homemade, but instant is great for busy nights.
Why did my pudding turn out watery?
This usually happens if you didn’t cook it long enough. Cornstarch needs to reach a full boil to activate its thickening power. Make sure you let it bubble for at least one full minute after it thickens. Also, make sure you’re measuring your cornstarch correctly—too much liquid or too little cornstarch will result in a runny pudding.
Can I make this ahead for a party?
Yes! This is actually better made ahead. Assemble the puddings the night before and refrigerate them. The flavors will meld, and the pudding will set perfectly. Just add the crumble topping right before serving so it stays crunchy. It’s a huge time-saver for entertaining.
What kind of bananas should I use?
Ripe bananas are best. Look for yellow skins with brown spots. They’re sweeter and softer, which blends better with the pudding. Green bananas are too starchy and bland. Overly brown or black bananas might make the pudding mushy, so aim for the “perfectly ripe” stage.
Can I substitute the vanilla wafers?
You can! Shortbread cookies work well but will dissolve faster. Graham crackers are a good alternative if you don’t have vanilla wafers. Nilla Wafers are ideal because they hold their shape well and have that classic vanilla flavor. If you use graham crackers, you might want to add a little extra vanilla to the pudding.
How do I reheat leftovers?
You really shouldn’t reheat this. The bananas will get mushy, and the wafers will dissolve. It’s best served cold or at room temperature. If you must reheat the pudding base (without bananas or wafers), do it gently on low heat, but the texture will change.
Pin This Recipe!
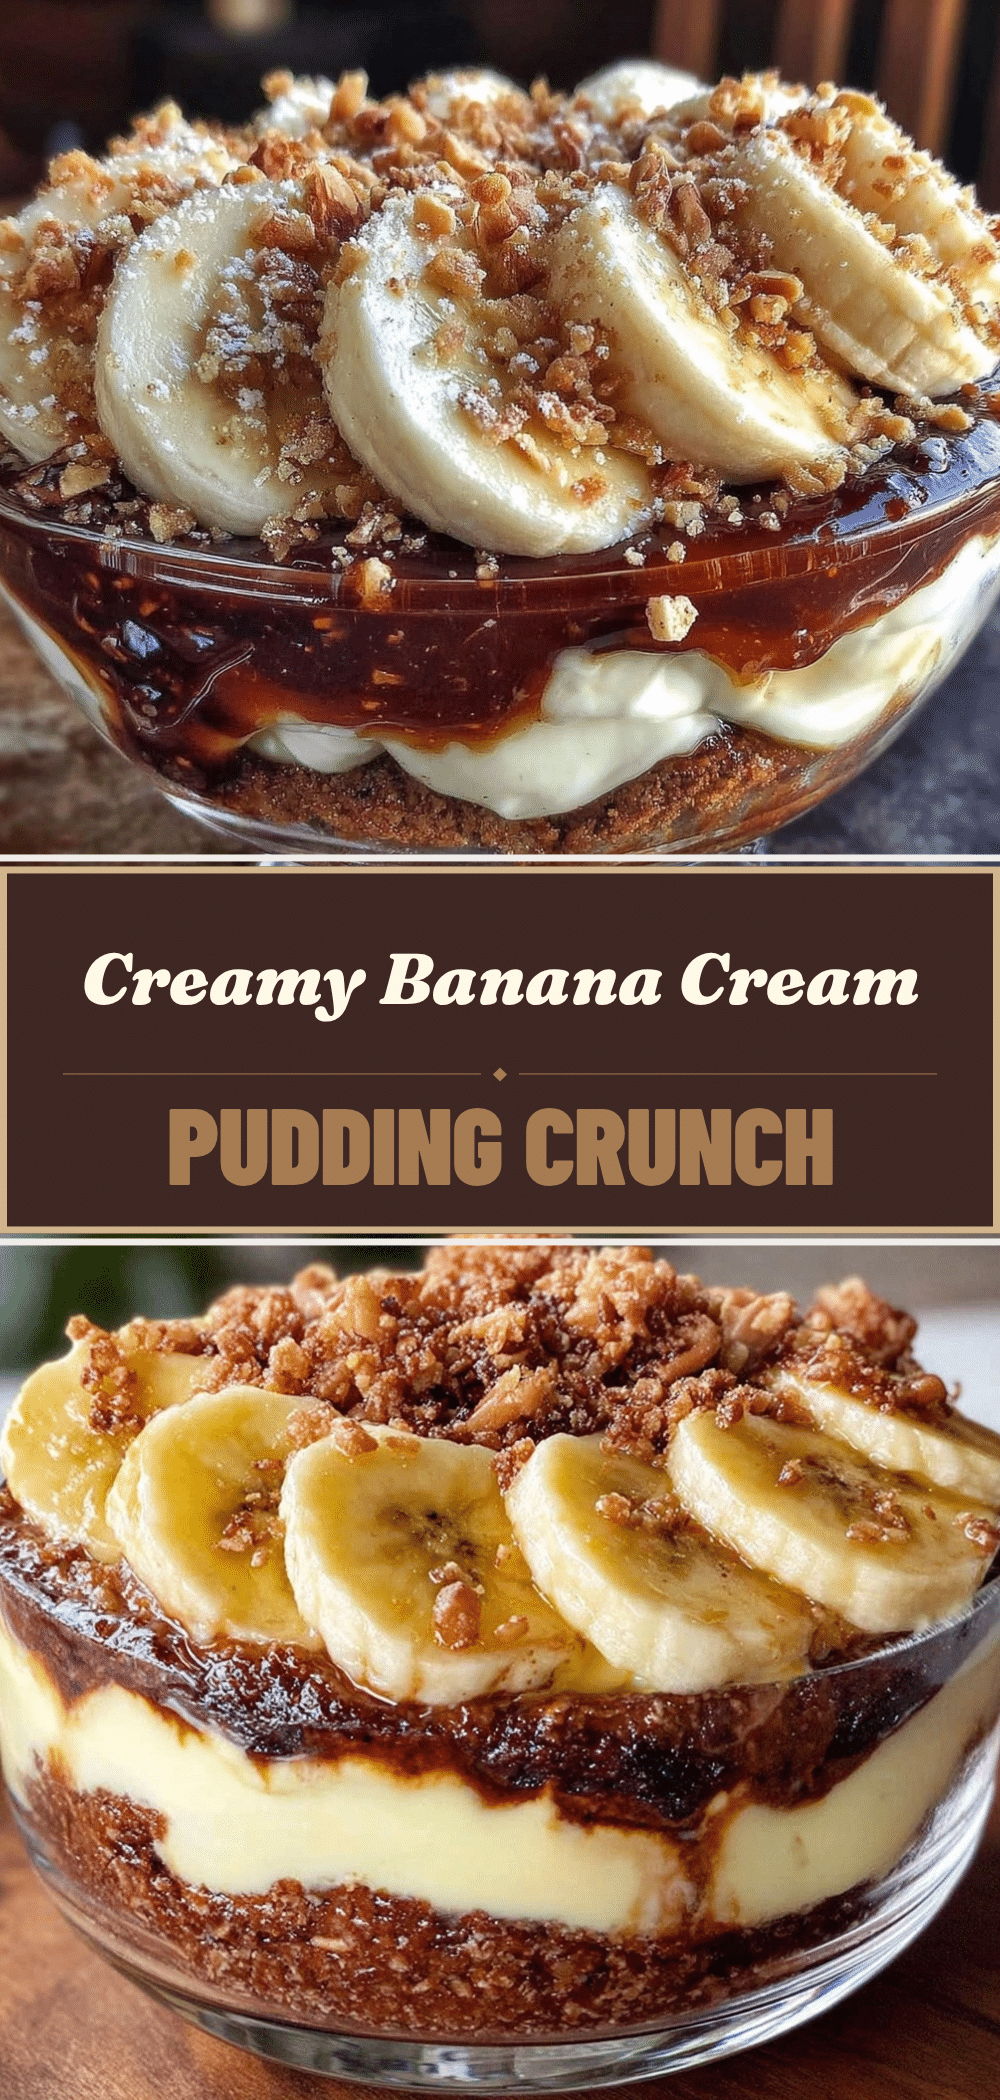
Banana Cream Pudding with Vanilla Wafer Crumble
- Total Time: 25 minutes
- Yield: 4 servings 1x
Description
A quick, comforting 5pm dessert made with a homemade custard base, ripe bananas, and crunchy vanilla wafer crumbs. It’s easy to make, kid-approved, and perfect for busy weeknights.
Ingredients
- 2 cups whole milk
- 1/2 cup granulated sugar
- 3 tablespoons cornstarch
- 2 tablespoons unsalted butter
- 1 teaspoon vanilla extract
- 2 large egg yolks
- 1 package vanilla wafers (about 20–25 cookies)
- 2 medium ripe bananas
- 1/2 teaspoon cinnamon
- Heavy cream or whipped topping (optional)
Instructions
- Peel and slice bananas into 1/4-inch rounds. Break vanilla wafers into small chunks of varying sizes.
- In a mixing bowl, whisk together sugar, cornstarch, and cinnamon.
- Slowly whisk in 1/2 cup of cold milk to create a smooth slurry, then whisk in egg yolks. Whisk in the remaining milk until smooth.
- Pour the mixture into a medium heavy-bottomed saucepan and place over medium heat.
- Whisk constantly until the mixture thickens and bubbles form on the edges (about 3-5 minutes).
- Once thickened, let it boil for 1 full minute to cook out the raw cornstarch taste.
- Remove from heat and immediately stir in butter and vanilla extract until melted and combined.
- In serving glasses, layer vanilla wafer chunks, sliced bananas, and warm pudding. Repeat layers.
- Sprinkle remaining vanilla wafer crumbs on top.
- Let cool to room temperature, then refrigerate for at least 1 hour before serving.
Notes
Do not skip the boiling step to remove the raw cornstarch taste. Bananas oxidize quickly; toss slices in lemon juice if making ahead. For extra crunch, toast wafer crumbs at 350°F for 5 minutes. Store in the fridge for up to 2 days; do not freeze.
- Prep Time: 15 minutes
- Cook Time: 10 minutes
- Category: Dessert
- Cuisine: American
Nutrition
- Serving Size: 1 cup
- Calories: 320
- Sugar: 35
- Sodium: 150
- Fat: 10
- Saturated Fat: 5
- Carbohydrates: 52
- Fiber: 2
- Protein: 6
Keywords: banana pudding, vanilla wafers, easy dessert, 5pm dinner, quick pudding, custard, comfort food, kid-friendly


