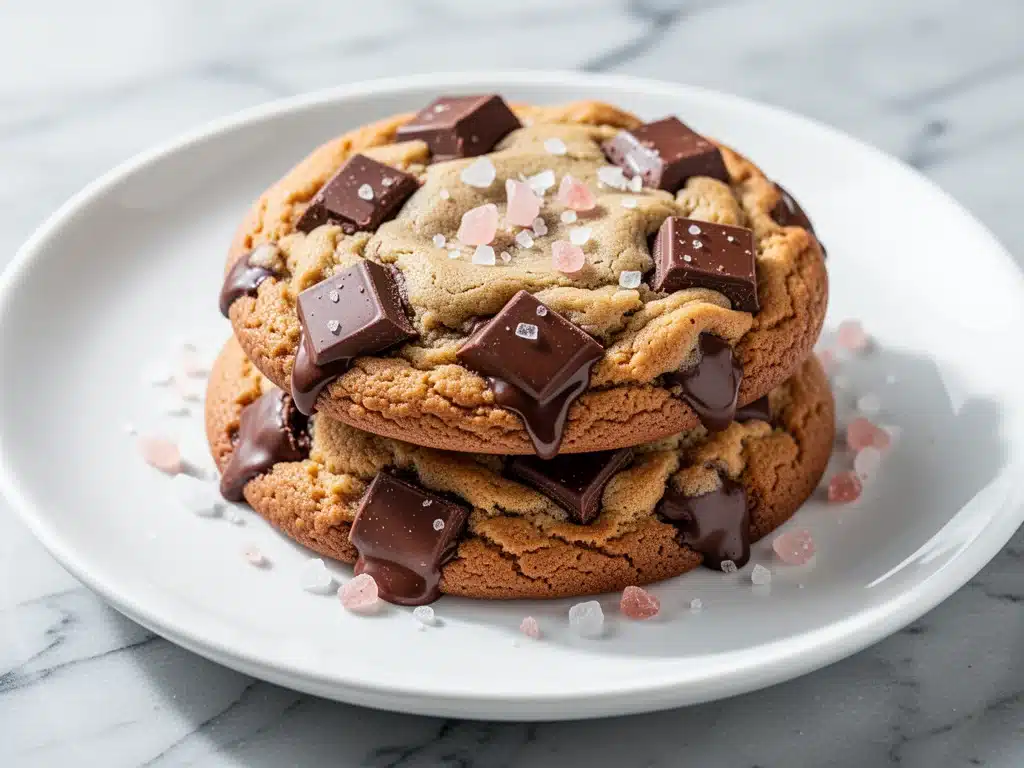
I still remember the first time I truly understood what a “bakery cookie” was. I was standing in line at this tiny, no-name bakery in Portland, waiting for my coffee while the line moved at a glacial pace. When I finally got to the counter, I didn’t order a muffin or a scone. I pointed to a large, uneven, golden-brown mound sitting in a metal tin. It looked nothing like the perfectly round, uniform cookies you see in grocery store ads. It looked messy. It looked real.
The baker handed it to me on a parchment square, and I bit into it immediately. The outside was crisp, shattering slightly under my teeth. The inside was warm, gooey, and impossibly thick. It wasn’t just chocolate chip; it was huge, jagged chunks of dark chocolate, unevenly distributed like little pockets of joy. And then, right on top, I noticed the flakes of sea salt. That crunch of salt against the sweet, chewy dough changed everything. It wasn’t just a cookie; it was an experience. I ate that entire cookie in three bites, standing right there in the bakery, and I made a silent vow to figure out how to make it at home.
That was three years ago. Since then, I’ve burned batches, flattened cookies into discs, and confused “soft” with “undercooked.” But after dozens of attempts, I’ve finally cracked the code. These bakery-style chocolate chunk cookies with flaky sea salt are the real deal. They’re thick, they’re chewy, they’re studded with massive chocolate chunks, and they have that addictive crunch from the salt. I make these on repeat—sometimes twice a week when I need a pick-me-up, and often for dinner guests who think I’ve gone fancy. But here’s the best part: they’re surprisingly easy. You don’t need fancy equipment or rare ingredients. You just need a little patience and the right technique.
If you’ve ever wondered why your cookies spread too much or taste flat, this recipe is your answer. I’ve tested this dough multiple ways, and I’m sharing exactly what works. Let’s get baking.
Why You’ll Love This Recipe
There are about a million cookie recipes out there. Why this one? Because this one actually tastes like the ones from the fancy bakery, not like a flat, cakey disc from a box mix. I’ve made these for everyone from my picky teenage nephew to my food-snobby friend who claims she “doesn’t really eat sweets” (she ate four of these in one sitting, by the way).
Here’s why these bakery-style chocolate chunk cookies have earned a permanent spot in my rotation:
- That Perfect Texture — Crisp edges, soft center, gooey chocolate. It’s the holy trinity of cookie textures. I’ve struggled for years to get that balance right, but this dough, with its specific flour-to-butter ratio, gives you that chewy interior while the edges turn golden and crisp.
- Massive Chocolate Chunks — I’m talking huge, jagged pieces of chocolate, not tiny chips. These melt into pockets of richness that make every bite different. I use a bar of chocolate and chop it myself because the size matters for that bakery look.
- Salty-Sweet Balance — The flaky sea salt on top isn’t just for decoration. It cuts through the sweetness and highlights the chocolate flavor. Without it, the cookies are just sweet. With it, they’re complex.
- Make-Ahead Friendly — This dough is better chilled. In fact, I recommend chilling it for 24 hours. It deepens the flavors and makes the cookies even chewier. I often make the dough on Sunday and bake them throughout the week.
- Impressive but Easy — They look like they came from a high-end patisserie, but you’re just mixing ingredients in a bowl. No special skills required. If you can mix batter, you can make these.
This recipe has saved my social life more than once. Need to bring something to a potluck? These. Need to impress a date? These. Need to comfort yourself after a long day? Definitely these. They’re reliable, delicious, and always a hit.
Ingredients You’ll Need
Here’s the good news: most of this is basic pantry stuff. You don’t need anything weird or hard to find. But I am particular about three things here, and I’ll tell you exactly why.
For the Dough:
Unsalted butter (1 cup / 226g, softened) — I use unsalted so I can control the salt level. Softened means it should be cool to the touch but indent when you press it. Not melted! Melted butter makes flat cookies. Cold butter makes hard cookies. Softened is the sweet spot.
Granulated sugar (½ cup / 100g) — This helps create those crispy edges. Don’t skip it or reduce it too much, or you lose the crunch.
Brown sugar (1 cup / 200g, packed) — This is the key to chewiness. Dark brown sugar has more molasses, which gives a deeper flavor and a softer texture. I always use dark brown for these.
Eggs (2 large, room temperature) — Room temp eggs emulsify better with the butter and sugar, creating a smoother dough. If you forget, just put them in a bowl of warm water for 5 minutes.
Vanilla extract (2 teaspoons) — Use real vanilla, not imitation. It makes a huge difference in flavor. I keep a bottle of Nielsen-Massey on hand.
All-purpose flour (2 ¼ cups / 280g) — Spoon and level, don’t scoop. Scooping packs the flour in, leading to dry cookies. I use Gold Medal or King Arthur, both work great.
Baking soda (1 teaspoon) — This helps the cookies spread and brown. Make sure it’s fresh; old baking soda won’t work.
Salt (1 teaspoon) — I use fine sea salt in the dough to balance the sweetness.
For the Topping:
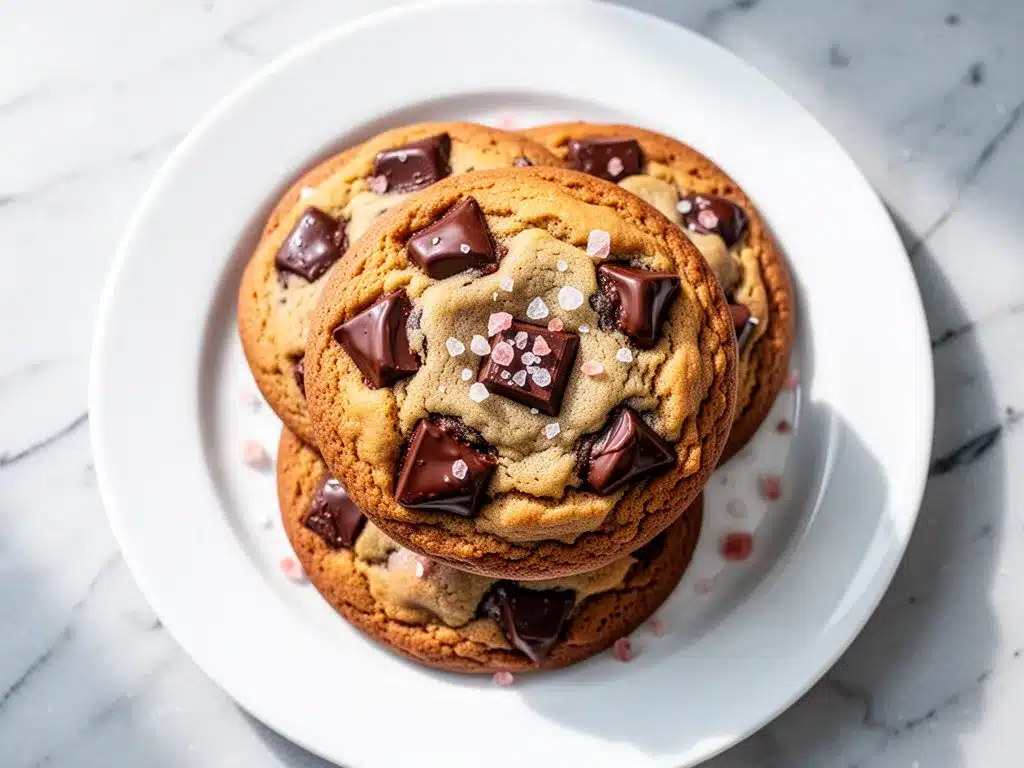
Chocolate chunks (12-14 oz / 340-400g) — I chop a bar of high-quality semi-sweet or dark chocolate (like Ghirardelli or Lindt). Don’t use chips; they’re too small and contain stabilizers that prevent melting.
Flaky sea salt (like Maldon) — This is non-negotiable. The flakes add texture and bursts of salty flavor. Regular table salt won’t give you that same experience.
Equipment Needed
You don’t need fancy gear for this. Here’s what I actually use:
Large mixing bowl — A 5-quart bowl is perfect. I use a glass one because I can see everything clearly.
Electric mixer — Hand mixer or stand mixer works. You can do it by hand, but it takes more elbow grease. I use my stand mixer on medium speed for creaming the butter and sugars.
Silicone spatula — For folding in the chocolate chunks. A wooden spoon works too, but a spatula gets into the corners.
Baking sheets — I use two half-sheet pans. Dark pans bake faster, so I rotate them halfway through. Light-colored pans are more forgiving if you’re a beginner.
Parchment paper — Line your pans. It prevents sticking and makes cleanup a breeze. I never bake these directly on the pan.
Cooling rack — Essential for cooling the cookies so they don’t continue cooking on the hot pan.
Maldon sea salt grinder or pinch bowls — I keep a small bowl of flaky salt next to the oven for easy sprinkling.
How to Make It: Step-by-Step
Alright, let’s make these! I’m walking you through exactly how I do it, including the little tricks I’ve picked up.
Step 1: Cream the Butter and Sugars (3-5 minutes)
In your large mixing bowl, combine the softened unsalted butter, granulated sugar, and brown sugar. Using an electric mixer on medium-high speed, beat until the mixture is light, fluffy, and pale in color. This usually takes about 3-4 minutes. Don’t rush this step! Aeration is key to the texture. The mixture should look like wet sand that holds together when you pinch it.
Step 2: Add Eggs and Vanilla (1-2 minutes)
Add the eggs one at a time, mixing on medium speed after each addition until just combined. Scrape down the sides of the bowl with a spatula. Add the vanilla extract and mix briefly. The mixture should look smooth and slightly glossy. If it looks curdled, don’t worry; it’ll come together when you add the flour.
Step 3: Mix Dry Ingredients (1 minute)
In a separate medium bowl, whisk together the flour, baking soda, and salt. This ensures even distribution. Then, gradually add the dry ingredients to the wet ingredients on low speed. Mix just until the flour disappears. Overmixing at this stage develops gluten, which makes cookies tough. Stop as soon as you don’t see streaks of flour.
Step 4: Fold in Chocolate Chunks (2 minutes)
Remove the bowl from the mixer. Using a silicone spatula, gently fold in the chopped chocolate chunks. Reserve a handful of chunks for pressing onto the tops of the cookies later. Fold until evenly distributed. The dough will be thick and heavy.
Step 5: Chill the Dough (At least 1 hour, ideally 24 hours)
This is the secret step. Cover the bowl with plastic wrap and refrigerate for at least 1 hour, but up to 3 days. Chilling solidifies the butter, which prevents the cookies from spreading too much in the oven. It also allows the flour to hydrate, resulting in a deeper, richer flavor. I usually make the dough the night before. If you’re in a rush, freeze the dough balls for 15 minutes instead.
Step 6: Scoop and Shape (5 minutes)
Preheat your oven to 350°F (175°C). Line two baking sheets with parchment paper. Use a large cookie scoop (about 3 tablespoons) or a heaping tablespoon to portion the dough. Roll each portion into a ball. Place them on the baking sheets, spacing them about 2 inches apart. They will spread, so leave room. Press a few reserved chocolate chunks onto the top of each ball for that bakery look.
Step 7: Bake (10-12 minutes)
Bake one sheet at a time in the center of the oven for 10-12 minutes. Rotate the pan halfway through for even baking. The cookies are done when the edges are golden brown and set, but the centers still look soft and slightly underbaked. They will firm up as they cool. Do not overbake!
Step 8: Add Salt and Cool (5 minutes)
Immediately after removing the pan from the oven, sprinkle a pinch of flaky sea salt onto each cookie. The heat will help the salt stick. Let the cookies cool on the baking sheet for 5 minutes. This allows them to set. Then, transfer them to a wire rack to cool completely. They’ll continue to cook slightly on the hot pan.
Total Time: About 30 minutes active, plus chilling time. Total yield: About 24-30 cookies.
Expert Tips & Tricks
Here’s everything I’ve learned from making these dozens of times. These tips will save you from my mistakes.
- Chill Your Dough — I can’t stress this enough. Chilled dough = thick, chewy cookies. Room temp dough = flat, crispy cookies. If you skip chilling, you’re basically making a different recipe.
- Don’t Overmix — Once you add the flour, mix just until combined. Overmixing leads to tough, dense cookies. Be gentle.
- Use High-Quality Chocolate — Since chocolate is the star, use good chocolate. I chop a bar of Ghirardelli 60% Cacao. It melts beautifully and has a rich flavor. Avoid chips if you can.
- Underbake Slightly — Take them out when the centers look soft. They will firm up as they cool. If you wait until the center looks done in the oven, they’ll be dry by the time they cool.
- Flaky Salt is Key — Don’t use regular salt. The flakes add a textural contrast that elevates the cookie. Maldon is the gold standard, but any flaky sea salt works.
- Double-Check Your Oven Temp — Ovens vary. If your cookies spread too much, your oven might be too hot. Use an oven thermometer to verify. If they’re too pale, it might be too cool.
Variations & Substitutions
Once you’ve nailed the basic version, here’s how you can mix it up. I’ve tried all of these.
- White Chocolate Macadamia — Swap the dark chocolate chunks for white chocolate chunks and add 1 cup of toasted macadamia nuts. It’s sweet, creamy, and crunchy.
- Peanut Butter Swirl — After scooping the dough onto the pan, swirl a teaspoon of peanut butter into the top of each cookie before baking. It adds a salty, nutty depth.
- Double Chocolate — Add ¼ cup of cocoa powder to the dry ingredients and use dark chocolate chunks. For chocolate lovers only!
- Gluten-Free — Use a 1:1 gluten-free flour blend (like Bob’s Red Mill). The texture might be slightly more crumbly, but it still works. Add ¼ teaspoon of xanthan gum if your blend doesn’t have it.
- Vegan — Use vegan butter (like Miyoko’s) and flax eggs (1 tbsp ground flax + 3 tbsp water per egg). Use dairy-free chocolate chunks. They hold up surprisingly well!
If you’re looking for other sweet treats, these cookies pair wonderfully with a cold glass of milk, but if you want something savory to balance the sweetness, try my crispy honey garlic salmon bites for dinner, or these street corn chicken casserole for a fun twist. And for a dessert that’s a bit more indulgent, check out my ultra-rich salted caramel chocolate tart.
Serving & Storage
How to Serve
I love these warm, right out of the oven. But they’re also great at room temperature. Serve them with a cold glass of milk, a cup of coffee, or even a scoop of vanilla ice cream for a classic combo.
Storage Instructions
Room Temperature: Store in an airtight container at room temperature for up to 5 days. Place a slice of bread in the container to keep them soft. The bread will harden, but the cookies will stay chewy.
Refrigerator: Not recommended. The cold can dry them out. But if you must, store in an airtight container for up to 1 week. Let them come to room temperature before eating.
Freezer: Yes! You can freeze the dough balls. Scoop them onto a baking sheet, freeze until solid (about 1 hour), then transfer to a freezer bag. Bake directly from frozen, adding 1-2 minutes to the bake time. You can also freeze baked cookies for up to 3 months. Thaw at room temperature.
Nutrition Information
I’m not a nutritionist, but here’s the breakdown if you’re tracking. Keep in mind that these are rich cookies, so moderation is key.
Per Cookie (based on 30 cookies):
| Nutrient | Amount |
|---|---|
| Calories | 180 |
| Fat | 10g |
| Carbs | 22g |
| Protein | 2g |
| Sugar | 15g |
| Sodium | 110mg |
Look, these are cookies. They’re meant to be enjoyed. But they’re made from scratch, so you know exactly what’s in them. No preservatives, no weird additives. Just real butter, real chocolate, and real sugar. If you want to lighten it up, you can reduce the sugar slightly, but the texture might change. I usually just enjoy one or two and savor every bite.
Final Thoughts
So, there you have it: my go-to bakery-style chocolate chunk cookies with flaky sea salt. I’ve talked your ear off, but when you make a recipe this often, you have a lot to say about it. These cookies have become my comfort food, my gift to neighbors, and my weekend project. They’re thick, chewy, chocolatey, and salty in the best way possible.
I hope you try this recipe and love it as much as I do. Make it yours! Try different chocolates, add nuts, or just enjoy them as is. The best recipes are the ones you adapt to your tastes. And if you make these, I’d love to hear about it. Drop a comment below and let me know how they turned out. Did you use dark chocolate? Did you chill the dough? I read every comment and love hearing about your baking adventures.
Happy baking! And I hope your kitchen smells as amazing as mine does right now.
Frequently Asked Questions
Can I use chocolate chips instead of chunks?
You can, but the texture and look will be different. Chips are smaller and contain stabilizers that prevent them from melting as smoothly. For that true bakery-style look and gooey pockets, chopping a bar of chocolate is worth the extra 5 minutes. But if you’re in a pinch, chips will still taste good.
Why did my cookies spread too much?
Usually, this means your butter was too warm or melted, or you didn’t chill the dough. Make sure your butter is softened, not melted. Also, chill the dough for at least an hour. If your oven is too hot, that can also cause spreading. Check your oven temp with a thermometer.
Can I make the dough ahead?
Yes! In fact, I recommend it. The dough can be refrigerated for up to 3 days or frozen for up to 3 months. If freezing, thaw in the fridge overnight before scooping and baking. The flavors actually improve with time in the fridge.
How do I keep the cookies soft?
Underbake them slightly. Take them out when the centers look soft. Store them in an airtight container with a slice of bread. The bread releases moisture, keeping the cookies soft. Avoid overmixing the dough, as this develops gluten and makes cookies tough.
Can I double the recipe?
Absolutely. Double all ingredients. Just make sure you have enough space on your baking sheets. Don’t overcrowd the pans, or the cookies will spread into each other. You might need to bake in multiple batches.
What kind of salt should I use?
For the dough, use fine sea salt or table salt. For the topping, use flaky sea salt like Maldon. The flakes add a nice crunch and visual appeal. Regular salt won’t give you that same experience.
Can I use whole wheat flour?
You can substitute up to half of the all-purpose flour with whole wheat flour. It will make the cookies slightly denser and nuttier, but they’ll still be delicious. If you use 100% whole wheat, they might be too heavy.
Pin This Recipe!
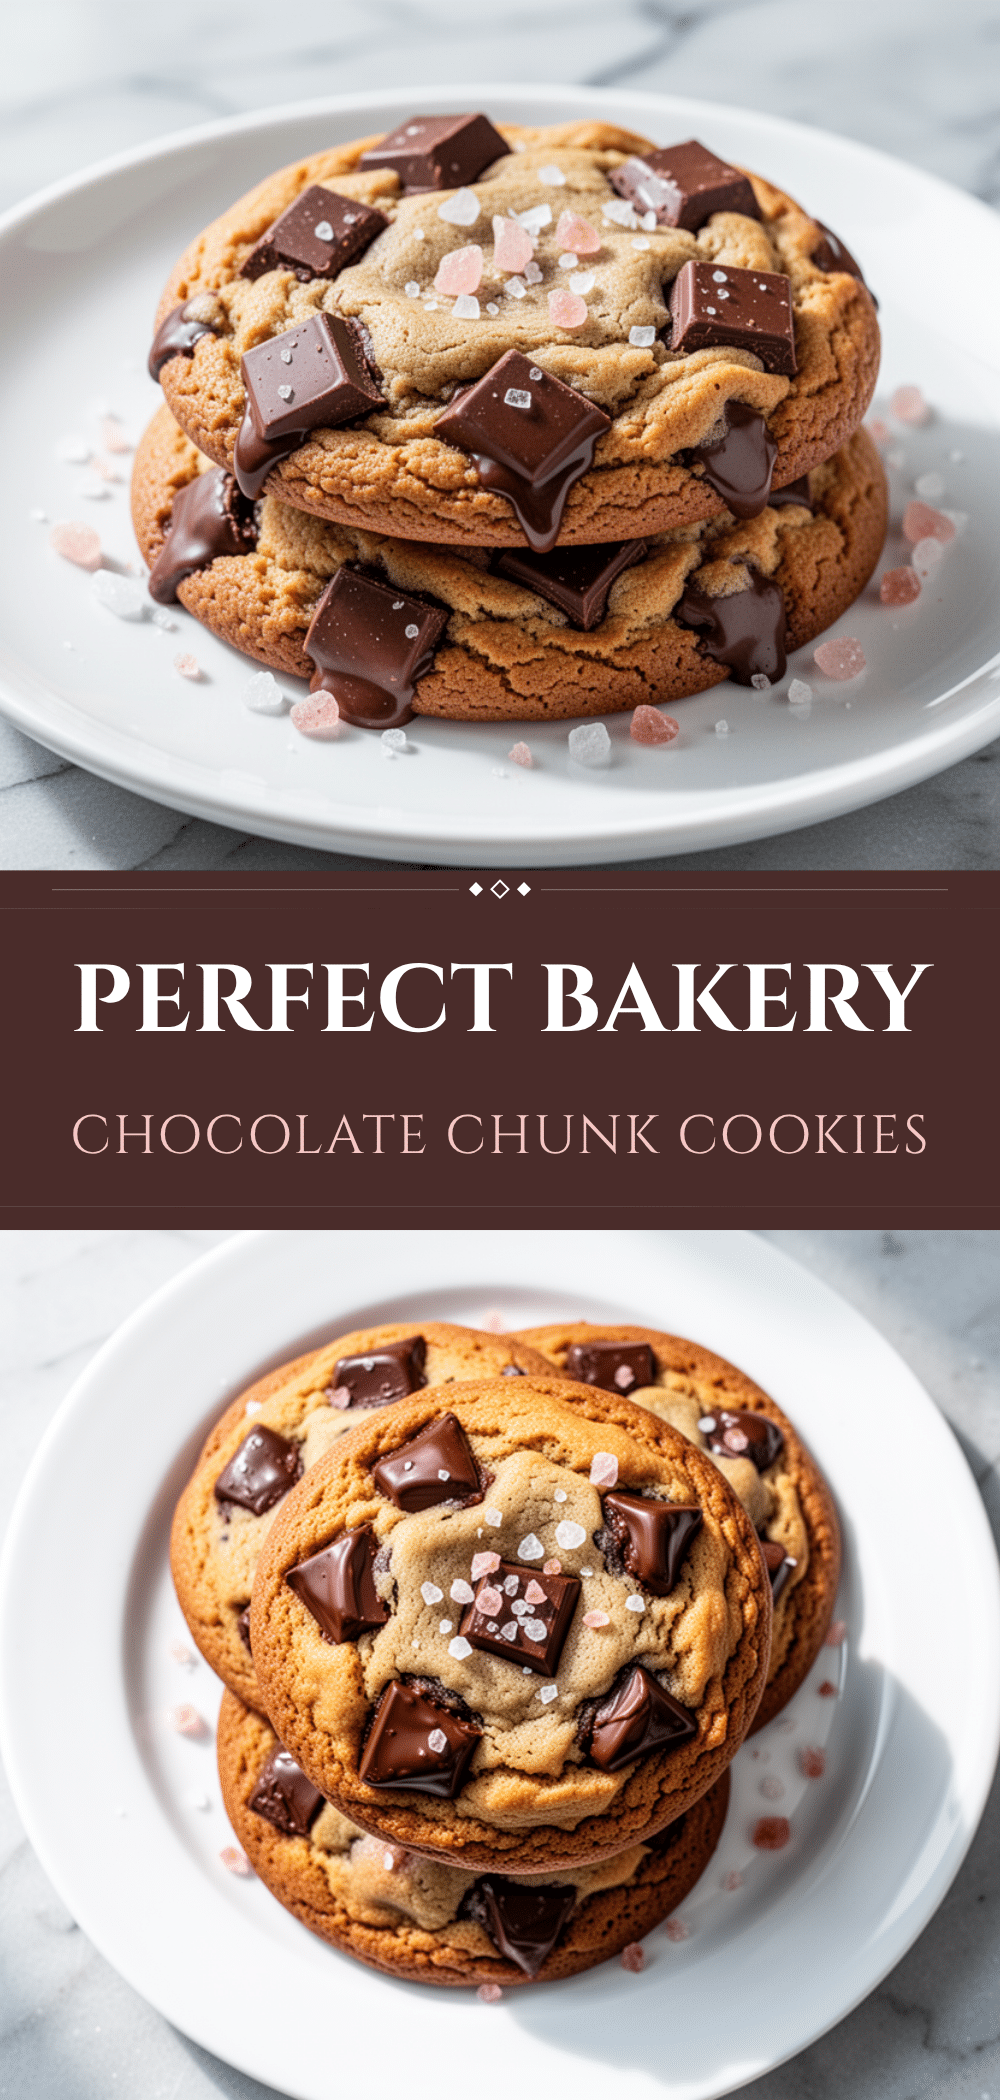
Bakery-Style Chocolate Chunk Cookies: Best Soft Cookies
- Total Time: 45 minutes (plus chilling time)
- Yield: 24-30 cookies 1x
Description
Thick, chewy, and studded with massive chocolate chunks, these bakery-style cookies feature crisp edges, a gooey center, and a touch of flaky sea salt for the perfect sweet-savory balance.
Ingredients
- 1 cup (226g) unsalted butter, softened
- ½ cup (100g) granulated sugar
- 1 cup (200g) dark brown sugar, packed
- 2 large eggs, room temperature
- 2 teaspoons vanilla extract
- 2 ¼ cups (280g) all-purpose flour
- 1 teaspoon baking soda
- 1 teaspoon fine sea salt
- 12–14 oz (340-400g) high-quality semi-sweet or dark chocolate, chopped into chunks
- Flaky sea salt (like Maldon), for topping
Instructions
- In a large mixing bowl, combine softened butter, granulated sugar, and brown sugar. Beat on medium-high speed for 3-5 minutes until light, fluffy, and pale.
- Add eggs one at a time, mixing on medium speed until just combined. Scrape down the bowl sides, then add vanilla extract and mix briefly.
- In a separate medium bowl, whisk together flour, baking soda, and salt. Gradually add dry ingredients to wet ingredients on low speed, mixing just until flour disappears.
- Remove bowl from mixer and gently fold in chopped chocolate chunks using a silicone spatula, reserving a handful for topping.
- Cover dough with plastic wrap and refrigerate for at least 1 hour (ideally 24 hours) to chill.
- Preheat oven to 350°F (175°C). Line baking sheets with parchment paper.
- Scoop dough into balls (about 3 tablespoons each) and place on sheets, spacing 2 inches apart. Press reserved chocolate chunks onto tops.
- Bake one sheet at a time for 10-12 minutes, rotating halfway through, until edges are golden but centers look soft.
- Immediately sprinkle flaky sea salt onto hot cookies. Let cool on pan for 5 minutes, then transfer to a wire rack to cool completely.
Notes
Chilling the dough is crucial for thick, chewy cookies and preventing excessive spreading. Use softened butter, not melted. Underbake slightly for a soft center. Store in an airtight container with a slice of bread to maintain softness.
- Prep Time: 30 minutes
- Cook Time: 10-12 minutes
- Category: Dessert
- Cuisine: American
Nutrition
- Serving Size: 1 cookie
- Calories: 180
- Sugar: 15
- Sodium: 110
- Fat: 10
- Saturated Fat: 6
- Carbohydrates: 22
- Fiber: 1
- Protein: 2
Keywords: bakery cookies, chocolate chunk cookies, soft cookies, sea salt cookies, homemade cookies, chocolate chip cookies, dessert recipe


