Last year, I made the mistake of thinking Labor Day meant I could relax. I was wrong. My husband decided he wanted a “proper barbecue” with ribs, corn on the cob, and all the trimmings. The problem? We live in a tiny house with a tiny grill, and by the time the neighbors showed up with their charcoal, I was already sweating through my shirt just trying to keep up.
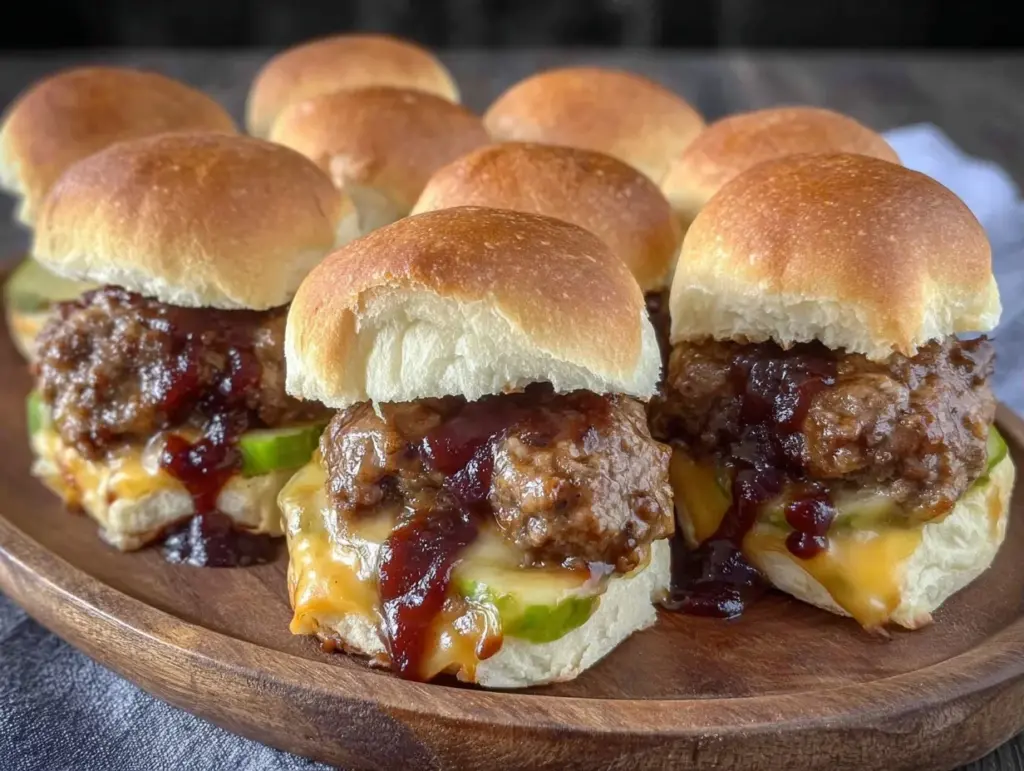
I needed something that could feed 15 people, didn’t require constant babysitting on the grill, and wouldn’t turn my kitchen into an oven. That’s when I threw together this batch of labor day bbq ground beef sliders with smoky cheddar. I dumped the meat in a skillet, piled on the cheese, slathered it in sauce, and threw the whole thing in the oven. Twenty minutes later, I had a tray of sticky, cheesy, savory goodness that vanished in record time.
People were still talking about those sliders three weeks later. Honestly, I’ve made them at least ten times since then. Whether it’s for a backyard hangout, a game day party, or just because I want dinner on the table before the kids melt down, this recipe is my secret weapon. It’s messy, it’s delicious, and it’s stupidly easy. If you’re looking for a crowd-pleaser that doesn’t require a culinary degree, you’ve found it.
Why You’ll Love This Recipe
There are a dozen reasons I keep coming back to these sliders, but let’s be real—you’re probably looking for the ones that save your sanity. Here’s what makes this labor day bbq ground beef sliders with smoky cheddar recipe a total win:
- Zero Grill Stress — Seriously. You don’t need to stand outside in the heat or worry about flare-ups. The oven does all the heavy lifting. I can hang out in the AC while the sliders bake.
- Feed a Crowd in One Pan — I made a double batch for a party of 20 last month, and it fit perfectly on two large baking sheets. No juggling multiple dishes. Just pull the tray out, let it cool for five minutes, and serve.
- Smoky & Cheesy Perfection — The combination of tangy BBQ sauce and sharp cheddar is unbeatable. The cheese gets melty and slightly crispy on top, creating these little golden pockets of flavor that everyone fights over.
- Under 30 Minutes — From start to finish, this takes about 25 minutes. I know, I know—ground beef takes a few minutes to brown, but that’s it. The rest is just assembly and baking. It’s faster than ordering pizza.
- Make-Ahead Friendly — You can assemble these the night before, cover them with plastic wrap, and pop them in the oven the next day. This is a lifesaver when you’re hosting and want to enjoy the party instead of watching your back all day.
These sliders are my answer to “5pm and nothing planned” when I have guests coming. They’re comforting, familiar, and taste like they took hours to make (but they didn’t). Plus, they pair perfectly with a cold drink or a side of crispy baked zucchini tots for a full spread without the stress.
Ingredients You’ll Need
Here’s the best part: you probably have most of this already in your pantry or fridge. I’m particular about a few things here, but mostly, this is simple, affordable food.
For the Meat Base
Ground beef (2 pounds / 900g) — I use 80/20 fat ratio. Lean beef dries out these sliders. You want that juicy, rich flavor. If you’re feeling fancy, a mix of beef and pork works too, but straight beef is classic.
Yellow onion (1 medium, finely diced / about 150g) — This adds sweetness and depth. Don’t skip it. If you’re in a rush, you can use 2 tablespoons of onion powder, but fresh is better.
Garlic (3 cloves, minced / about 1 tablespoon) — Fresh garlic only. No jarred stuff here. It makes a huge difference in the flavor profile.
BBQ sauce (1 cup / 240ml) — This is the star. I use a thick, molasses-based sauce like Sweet Baby Ray’s or a local brand. If you like it spicy, use a Carolina-style vinegar sauce. Just don’t use the thin, watery kind.
For the Assembly
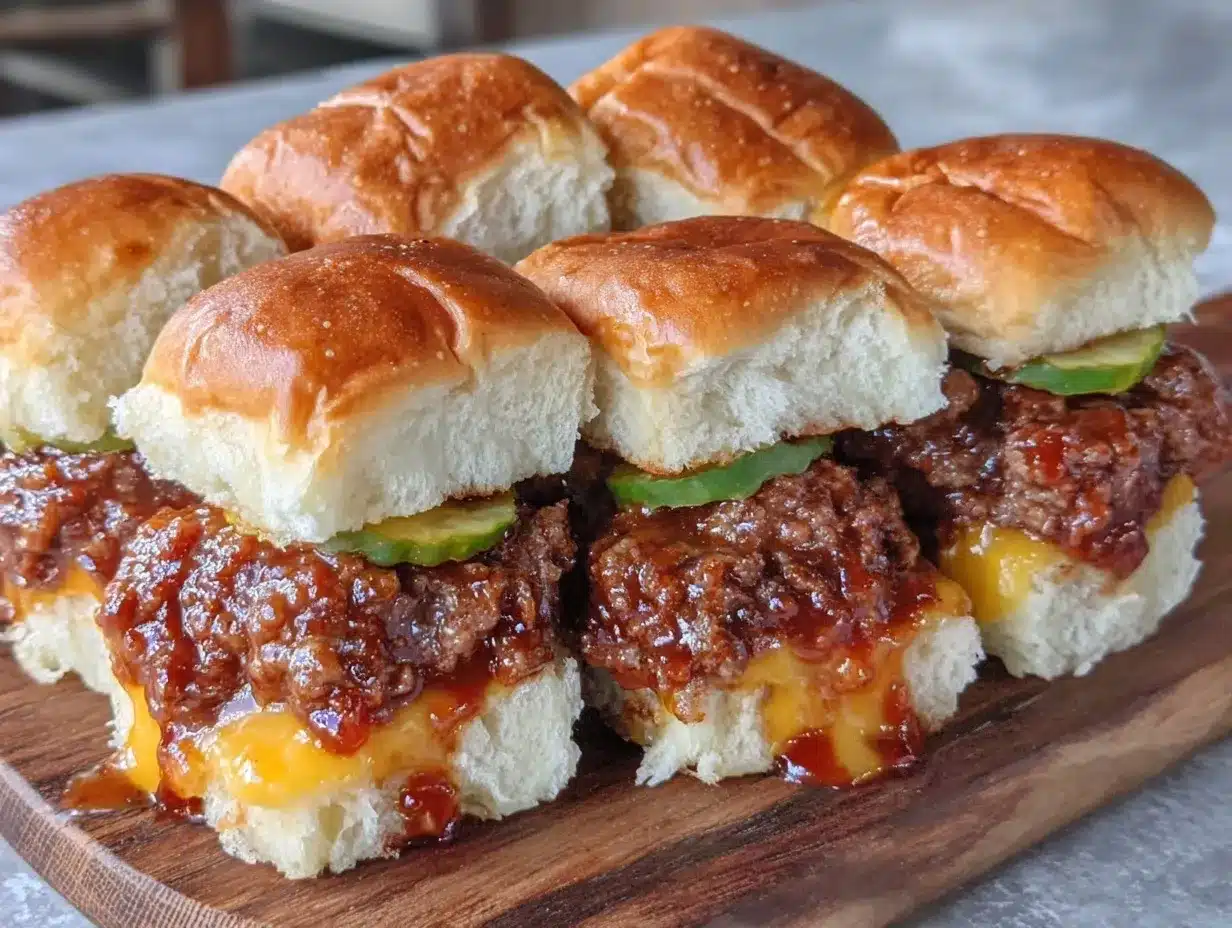
Hawaiian sweet rolls (12-15 rolls, sliced horizontally / 1.5 lbs) — These are non-negotiable for me. They’re soft, slightly sweet, and hold up to the sauce without falling apart. If you can’t find them, brioche buns work well. Avoid hard rolls like baguettes; they’ll get soggy.
Smoked cheddar cheese (2 cups / 200g, shredded) — Smoked cheddar adds that extra layer of “grilled” flavor even though we’re using the oven. Sharp cheddar is good, but smoked is better. Grate it yourself if you can—pre-shredded has anti-caking agents that stop it from melting smoothly.
Butter (2 tablespoons, melted) — Brushed on top before baking. It helps the cheese brown and gives the rolls a bakery-style finish.
Optional Toppings — Pickles, crispy fried onions, or jalapeños. I always put out a bowl of pickles. The crunch cuts through the richness perfectly.
Pro Tip: I keep a stash of Hawaiian rolls in my pantry just for this. They last forever and save me a trip to the store when I’m in the middle of cooking.
Equipment Needed
You don’t need fancy gear for this. Here’s what I actually use:
Large skillet or Dutch oven — I use a 12-inch cast iron skillet. It holds the ground beef well and browns it evenly. If you don’t have one, any large non-stick pan works.
Baking sheets — Two large rimmed baking sheets. You need space between the rolls so the heat circulates. If your rolls are huge, you might only fit one batch per sheet.
Pastry brush — For brushing the melted butter on top. A silicone one is easier to clean.
Wooden spoon or spatula — For breaking up the meat while it cooks.
Sharp knife — To slice the roll tops off evenly. A serrated bread knife is best for this.
How to Make It: Step-by-Step
Alright, let’s make this! I’m walking you through exactly how I do it, including the little tricks I’ve picked up over the years.
Step 1: Prep the Rolls (2 minutes)
Preheat your oven to 350°F (175°C). Line two large baking sheets with parchment paper. Take your Hawaiian rolls and, keeping them in the log shape, slice them horizontally in half. You’ll have a bottom half (still connected) and a top half. Set the top halves aside on a plate.
Step 2: Brown the Beef (5-7 minutes)
Heat your skillet over medium-high heat. Add the ground beef and break it up with a wooden spoon as it cooks. Once it starts browning, add the diced onion and minced garlic. Cook until the beef is no longer pink and the onions are soft. Drain any excess grease if there’s a lot, but leave a little bit for flavor.
Step 3: Build the Sauce (2 minutes)
Reduce the heat to low. Pour in the BBQ sauce and stir it into the meat. Let it simmer for 2-3 minutes so the flavors meld. The mixture should be saucy but not soupy. If it’s too wet, cook it a minute longer. You want it to coat the meat, not drown it.
Step 4: Assemble the Sliders (5 minutes)
Spread the beef mixture evenly over the bottom half of the rolls. Don’t be shy with the meat—you want plenty of filling. Next, sprinkle the shredded smoked cheddar generously over the meat. The cheese should cover the beef completely.
Step 5: Bake (10-12 minutes)
Place the baking sheets in the oven. Bake for 10-12 minutes, or until the cheese is bubbly and slightly browned. Keep an eye on them after 8 minutes—ovens vary, and you don’t want the cheese to burn.
Step 6: Finish with Butter (2 minutes)
While the sliders are baking, melt the butter in a small microwave-safe bowl. Once the cheese is melted and gooey, pull the trays out. Brush the tops of the rolls with the melted butter. This gives them that golden, shiny finish. Pop them back in the oven for just 1-2 minutes to toast the tops.
Step 7: Serve
Pull them out, let them cool for 5 minutes (this helps the cheese set slightly so they don’t slide apart), and serve warm. Add pickles on the side if you like.
Total time: About 25 minutes. Active time: 10 minutes.
Expert Tips & Tricks
Here’s everything I’ve learned from making these dozens of times. These tips will save you from my mistakes.
Don’t Overcrowd the Pan — If your rolls are huge, use two pans. Crowding them makes the bottom halves soggy because the steam gets trapped. You want airflow.
Grate Your Own Cheese — I can’t stress this enough. Pre-shredded cheese has cellulose in it, which prevents it from melting smoothly. Your sliders will look greasy and clumpy. Freshly grated cheese melts like a dream.
Use Thick BBQ Sauce — Thin, watery sauces make the rolls soggy. If your sauce is thin, simmer it on the stove for 5 minutes to reduce it before mixing it with the meat.
Toast the Tops First — If you’re worried about the tops burning before the cheese melts, you can toast the top halves of the rolls in the oven for 2-3 minutes before adding the butter. Then add the butter at the end.
Make It Ahead — You can assemble the sliders (meat and cheese on bottom, tops on side) up to 24 hours in advance. Cover tightly with plastic wrap and refrigerate. When ready to cook, just add the butter and bake. The baking time might increase by 2-3 minutes since they’re cold.
Variations & Substitutions
Once you’ve nailed the basic version, here’s how you can mix it up. I’ve tried all of these.
Chicken Version — Swap ground beef for ground chicken or turkey. Use a buffalo sauce instead of BBQ for a twist. Or stick with BBQ—it’s delicious with chicken too.
Pulled Pork Style — Use leftover pulled pork instead of ground beef. Mix it with BBQ sauce and pile it on the rolls. This is what I do when I have leftovers from my slow cooker Texas beef brisket.
Spicy Kick — Add diced jalapeños to the meat mixture, or use pepper jack cheese instead of cheddar. A drizzle of hot sauce on top works great too.
Gluten-Free — Use gluten-free Hawaiian-style rolls. They’re surprisingly good and hold up well. Just be gentle when handling them since they can be more fragile.
Veggie Option — Swap the beef for a plant-based ground meat alternative. The BBQ sauce and cheese make it taste just as good. I use Beyond Meat, and it works perfectly.
Serving & Storage
These sliders are best served immediately while the cheese is melty. But let’s be real—leftovers happen.
How to Serve: I usually serve these straight from the baking sheet with a side of coleslaw or potato salad. They’re messy, so have plenty of napkins ready. I also like to serve them with a simple green salad to balance the richness.
Refrigerator: Store leftovers in an airtight container for up to 3 days. The rolls will soften, which is actually nice for reheating.
Reheating: The best way to reheat is in the oven. Preheat to 350°F, place sliders on a baking sheet, and heat for 10 minutes. This restores the crispness of the bun and melts the cheese again. Microwave works in a pinch (30 seconds), but the bun gets chewy.
Freezing: You can freeze assembled, unbaked sliders. Wrap tightly in plastic and foil. Bake from frozen, adding 5-7 minutes to the baking time. I do this for meal prep—freeze a batch, and you have dinner ready in 20 minutes.
Nutrition Information
I’m not a nutritionist, but here’s the breakdown if you’re tracking. Keep in mind, these are rich sliders, so portion control matters.
Per Slider (based on 12 sliders, 1 roll per serving):
- Calories: 320
- Protein: 18g
- Carbs: 32g
- Fat: 14g
- Sodium: 650mg
Look, these are comfort food sliders with cheese and sauce. They’re not a diet meal. But they’re better than takeout, and you control the ingredients. If you want to lighten it up, use leaner beef and less cheese. But honestly? I just enjoy them in moderation.
Final Thoughts
So that’s my go-to labor day bbq ground beef sliders with smoky cheddar! I’ve probably talked your ear off at this point, but when you make a recipe this often, you have a lot to say about it.
This has saved me from grill disasters more times than I can count. It’s my answer to “what’s for dinner” when I’m tired, don’t want to deal with the outdoors, and still want something that tastes amazing. My family is happy, my guests are happy, and I’m happy because I’m not stressed.
Make it yours! Try different sauces, swap the cheese, add some toppings. The best recipes are the ones you adapt to your tastes. If you make this, drop a comment and let me know what you think! I love hearing how recipes turn out in your kitchen.
Happy cooking! And I hope your kitchen smells half as good as mine does right now.
Frequently Asked Questions
Can I use a different type of cheese?
Absolutely. Provolone, Monterey Jack, or even mozzarella work well. But smoked cheddar is my favorite because it adds that extra depth. If you use a milder cheese, you might want to add a dash of smoked paprika to the meat for flavor.
Why did my sliders get soggy?
Usually, this happens if the BBQ sauce is too thin or if you overfilled the rolls. Make sure to simmer the sauce to reduce it, and don’t overload the bottom halves. Also, make sure the oven is fully preheated before putting them in.
Can I make these in an air fryer?
You can, but it’s tricky with a whole log of rolls. I recommend cutting the rolls apart first and cooking them individually in the air fryer basket. Cook at 350°F for 5-6 minutes. They’ll come out crispier, but you lose that “pull-apart” presentation.
Can I use store-bought pulled pork?
Yes! This is a great hack. Just mix the pulled pork with BBQ sauce and pile it on the rolls. It’s even faster than ground beef. I do this when I have leftovers from a slow cooker recipe.
How do I keep the toppings from falling off?
If you’re adding pickles or fried onions, add them after baking. If you bake them on top, they’ll slide off when you cut the sliders. Or, press them gently into the cheese right after it melts.
Can I double this recipe?
Yes, just use two large baking sheets. Make sure you have enough space between the rolls for air circulation. If you crowd them, the bottoms won’t brown properly.
What goes well with these sliders?
Classic barbecue sides work best. Corn on the cob, potato salad, coleslaw, or crispy baked zucchini tots are all great options. For drinks, a cold beer or iced tea is perfect.
Pin This Recipe!
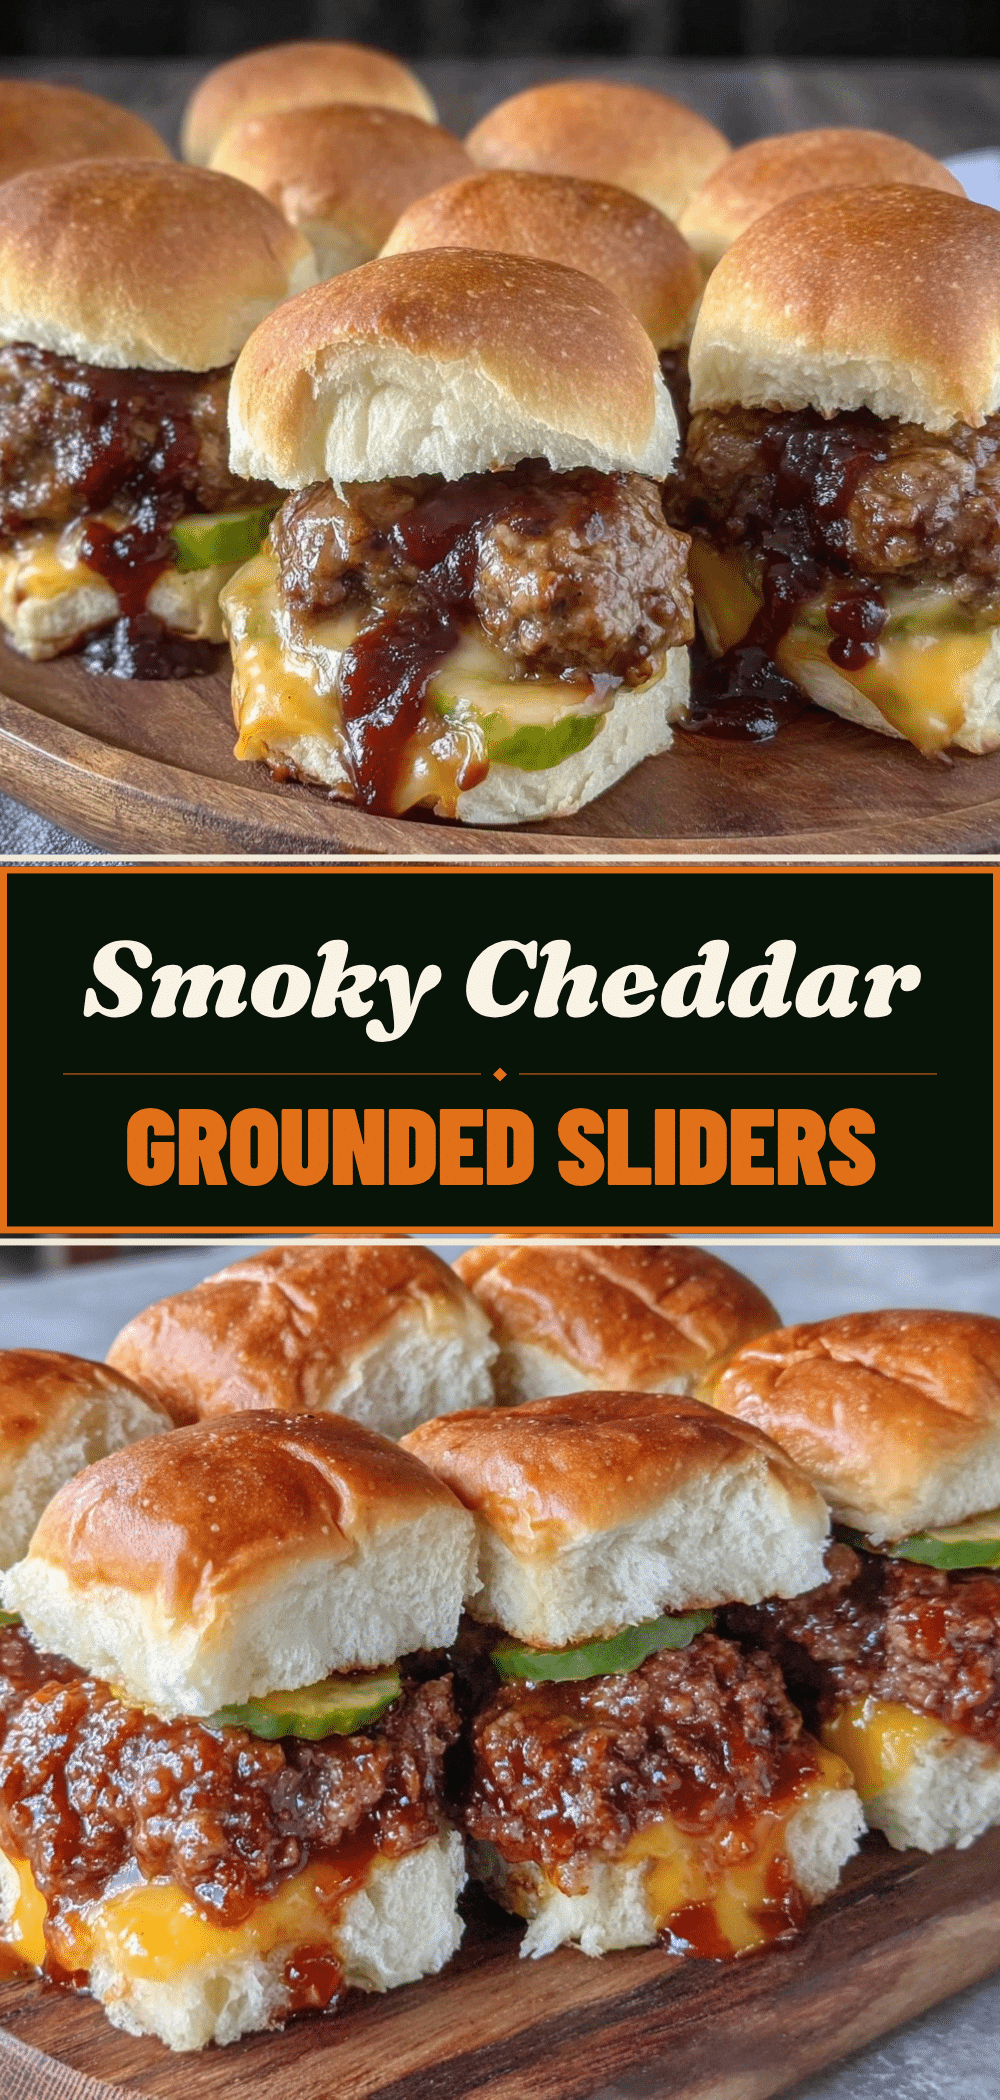
Labor Day BBQ Ground Beef Sliders with Smoky Cheddar
- Total Time: 25 minutes
- Yield: 12 servings 1x
Description
These quick and easy oven-baked sliders are the perfect crowd-pleaser for busy gatherings. Featuring juicy ground beef, smoky cheddar cheese, and tangy BBQ sauce on Hawaiian rolls, they come together in under 30 minutes with zero grill stress.
Ingredients
- 2 pounds ground beef (80/20 fat ratio)
- 1 medium yellow onion, finely diced
- 3 cloves garlic, minced
- 1 cup thick BBQ sauce
- 12–15 Hawaiian sweet rolls, sliced horizontally
- 2 cups smoked cheddar cheese, shredded
- 2 tablespoons butter, melted
- Optional toppings: pickles, crispy fried onions, or jalapeños
Instructions
- Preheat oven to 350°F (175°C). Line two large baking sheets with parchment paper.
- Slice the Hawaiian rolls horizontally in half, keeping the bottom half connected. Set top halves aside.
- Heat a large skillet over medium-high heat. Add ground beef and break it up with a wooden spoon.
- Add diced onion and minced garlic to the beef. Cook until beef is no longer pink and onions are soft. Drain excess grease if necessary.
- Reduce heat to low. Stir in BBQ sauce and simmer for 2-3 minutes until flavors meld and mixture is saucy but not soupy.
- Spread the beef mixture evenly over the bottom half of the rolls.
- Sprinkle shredded smoked cheddar generously over the meat.
- Bake for 10-12 minutes until cheese is bubbly and slightly browned.
- While baking, melt butter in a small bowl. Remove sliders from oven, brush tops with melted butter, and return to oven for 1-2 minutes to toast.
- Let cool for 5 minutes before serving to allow cheese to set.
Notes
Use thick BBQ sauce to prevent soggy rolls. Grate your own cheese for better melting. Do not overcrowd the pan to ensure proper air circulation. Can be assembled up to 24 hours in advance and refrigerated.
- Prep Time: 10 minutes
- Cook Time: 15 minutes
- Category: Main Course
- Cuisine: American
Nutrition
- Serving Size: 1 slider per serving
- Calories: 320
- Sugar: 12
- Sodium: 650
- Fat: 14
- Saturated Fat: 7
- Carbohydrates: 32
- Fiber: 1
- Protein: 18
Keywords: BBQ sliders, ground beef sliders, labor day recipes, oven baked sliders, smoky cheddar, hawaiian rolls, crowd pleaser, quick dinner, party food


