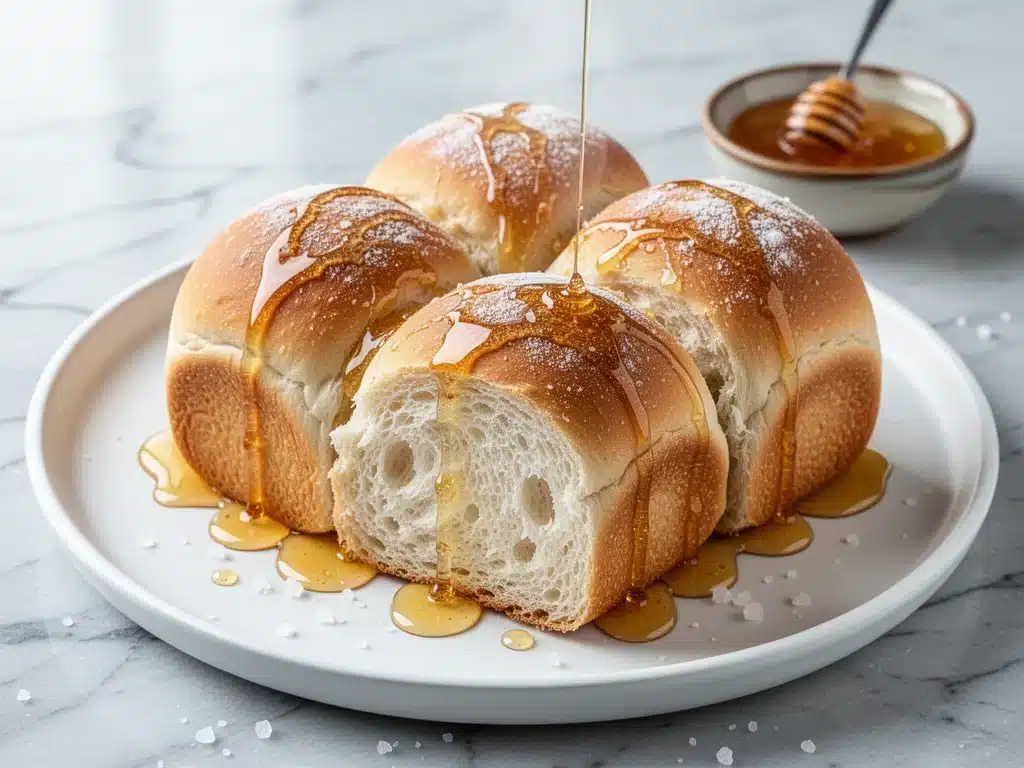
Last Thursday, I was running late. Like, “forgot to defrost the chicken and my husband is already home from work” late. I pulled out the store-bought frozen rolls from the back of the freezer, hoping to salvage a decent dinner. You know the ones—they’re usually dense, slightly doughy in the middle, and taste like they’ve been sitting in a plastic bag since 2019. I popped them in the oven, buttered the tops, and waited.
When they came out, they looked fine. But the moment I tore one open, I felt that familiar pang of disappointment. It wasn’t just bad; it was a letdown. That’s when I decided I had had enough. I didn’t have hours to knead dough or wait for a first rise. I needed something soft, sweet, buttery, and fast. Something that tasted like my grandma’s kitchen but didn’t require a master’s degree in baking science.
So, I threw together a batch of Soft Honey Butter Dinner Rolls perfect for busy weeknights. I used a shortcut yeast method (more on that in a bit) and swapped some of the water for milk and honey. The result? Fluffy, pillowy clouds of dough that melt in your mouth. My husband took one bite, looked at me with a mouth full of crumb, and said, “These are better than the bakery ones.” High praise indeed.
These rolls have become my secret weapon for weeknight dinners. They pair perfectly with everything from one-pan honey mustard chicken thighs to a simple roasted chicken or even a quick stir-fry. If you’ve been intimidated by bread baking, trust me: these are the gateway drug. They’re easy, forgiving, and smell absolutely incredible while they bake. I’ve tested this recipe at least ten times, tweaking the yeast amount and the resting time, until I landed on this perfect, no-fuss version. Let’s get baking.
Why You’ll Love This Honey Butter Roll Recipe
There’s a reason I keep coming back to these rolls week after week. It’s not just about the taste (though the honey-butter glaze is pretty addictive). It’s about how they fit into real life. Here’s why these rolls have earned a permanent spot in my weekly rotation:
- Zero Kneading Required — Seriously. If you can mix flour and water, you can make these. I used to think you had to knead bread for ten minutes to get a good texture. Not true. With this recipe, the dough comes together in a bowl, rests, and you’re done. No arm workout needed.
- Fast Rise Time — Most bread recipes make you wait an hour or two for the dough to double. These rolls use a “quick rise” method that cuts that time in half. You’re looking at about 45 minutes total from start to finish for the baking process. That’s faster than waiting for pizza delivery.
- Insanely Soft Texture — I’m talking bakery-soft. The honey in the dough keeps them moist for days, and the butter glaze seals in that softness. Even if you eat them the next day, they don’t dry out like normal dinner rolls do.
- Super Affordable — Flour, water, yeast, honey, butter. You probably have all of this already. Making a dozen rolls at home costs less than $2. At the grocery store, a similar package runs you $4-5 and tastes like cardboard.
- Perfect Sidekick — These rolls are the ultimate side dish. They’re sweet enough to complement savory mains like slow cooker chicken and wild rice soup but neutral enough to go with anything. I often serve them with garlic butter roasted asparagus for a complete, restaurant-quality meal on a Tuesday night.
Real talk: these rolls are my answer to “what’s for dessert?” when we’re full from dinner. There’s nothing fancy about them, just pure, simple comfort food. They’re the kind of thing that makes your house smell amazing and makes your family happy without any stress.
Ingredients You’ll Need
Here’s the best part: you don’t need fancy ingredients. In fact, the magic of these Soft Honey Butter Dinner Rolls perfect for busy weeknights comes from using simple, everyday items. I’m particular about a few things here, mostly because I’ve learned the hard way what goes wrong.
For the Dough
Warm water (1 cup / 240ml) — This needs to be warm, not hot. Think bathwater temperature. If it’s too hot, it’ll kill the yeast and you’ll get dense bricks. If it’s too cold, the yeast won’t activate. I test it on my wrist—it should feel warm, not burning.
Active dry yeast (2 packets / 14g) — I use standard packets because they’re convenient. You can use instant yeast, but you might need to adjust the amount slightly. Don’t use fresh yeast unless you know what you’re doing; it’s harder to find and more finicky.
Honey (3 tablespoons / 45ml) — This is the star. Honey feeds the yeast for a faster rise and adds that subtle sweetness. I use regular clover honey. Maple syrup works too, but it changes the flavor profile slightly. Avoid artificial sweeteners; they don’t feed yeast the same way.
Warm milk (½ cup / 120ml) — I use whole milk for the best texture. Skim milk makes the rolls denser. You can warm this in the microwave for 30 seconds. It adds richness and helps the dough stay soft.
All-purpose flour (3 to 3½ cups / 375-440g) — This is where people get stuck. Don’t dump all 3½ cups in at once. Start with 3 cups, mix, and only add more if the dough is too sticky. Different flours absorb moisture differently. I use Gold Medal all-purpose flour.
Salt (1 teaspoon) — Essential for flavor. Don’t skip it, or the rolls will taste bland. I use fine sea salt.
Vegetable oil (2 tablespoons / 30ml) — I use neutral oil like canola or vegetable. Olive oil works but adds a strong flavor that might clash with the honey. This keeps the dough tender.
For the Honey Butter Glaze
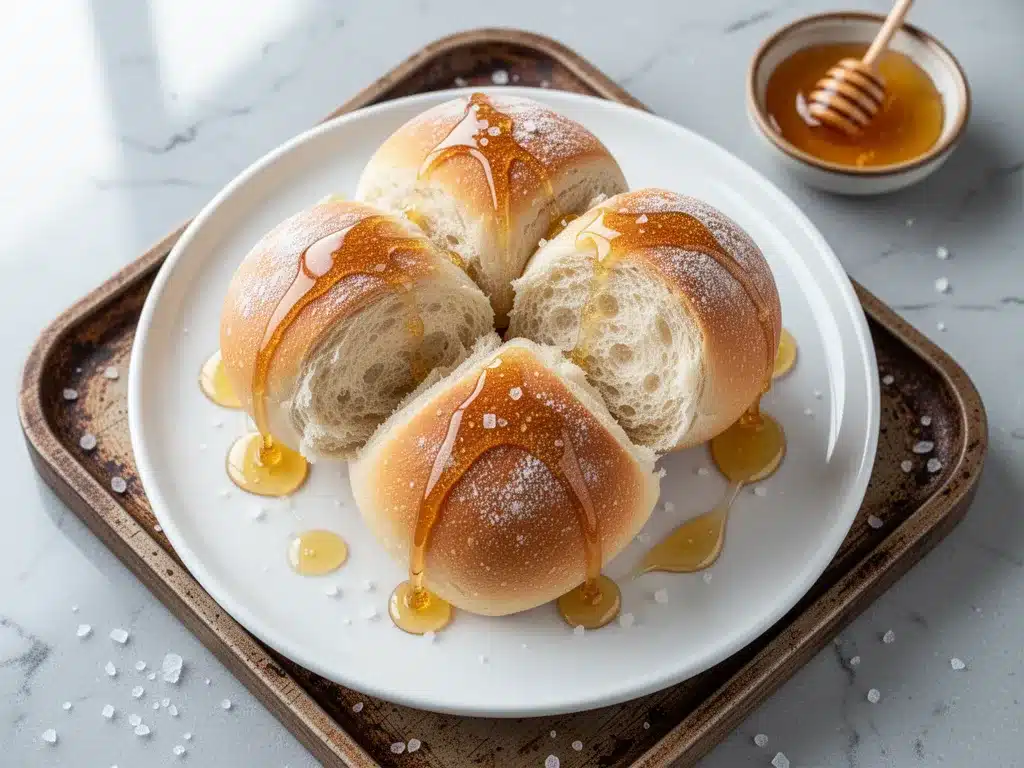
Unsalted butter (4 tablespoons / 57g) — Softened or melted. I prefer melted for easier mixing. Use good quality butter; it makes a huge difference in taste.
Extra honey (2 tablespoons / 30ml) — For the glaze. This creates that sticky, sweet coating on top.
Pinch of salt — Just a tiny pinch to balance the sweetness.
Optional: Sesame seeds — For garnish. I sprinkle them on before baking for a nice visual touch and a little crunch. It looks fancy but is totally optional.
Common Substitutions
Can I use brown sugar instead of honey? — Yes, but the texture will be slightly different. Brown sugar adds a molasses flavor which is nice but changes the taste. I stick with honey for the classic flavor.
Can I make these gluten-free? — You can try a 1:1 gluten-free flour blend, but the texture won’t be exactly the same. GF flour absorbs liquid differently, so you may need more liquid. I haven’t perfected a GF version yet, but it’s possible with experimentation.
Equipment Needed
You don’t need a fancy stand mixer for this. Here’s what I actually use:
Large mixing bowl — I use a 4-quart ceramic bowl. It’s wide enough to mix comfortably and easy to clean. A glass bowl works too.
Whisk or fork — For mixing the initial yeast mixture. I use a whisk because it breaks up the yeast clumps better.
Silicone spatula — Essential for scraping the bowl and folding the dough. I have a set from IKEA that’s cheap and durable.
9×9 inch baking pan — This is the ideal size for 12 rolls. You can use a 9×13 pan, but the rolls will be flatter and wider. I prefer the deep, soft center you get in a square pan.
Pastry brush — For applying the honey butter glaze. A silicone brush is easier to clean than a bristle one.
Oven — Obviously. Preheat to 375°F (190°C).
Timer — Or your phone. Don’t guess the rise time. Set it and forget it.
Optional: Kitchen scale — I don’t use one for this recipe because the dough is forgiving, but if you’re precise, a scale helps ensure you don’t add too much flour.
How to Make It: Step-by-Step
Alright, let’s make these Soft Honey Butter Dinner Rolls perfect for busy weeknights. I’m walking you through exactly how I do it, including the little tricks I’ve picked up over the years.
Step 1: Activate the Yeast (5 minutes)
In your large bowl, combine the warm water, warm milk, honey, and yeast. Whisk it all together until the honey and yeast are mostly dissolved. Let it sit for 5-10 minutes. You’ll see a foamy layer form on top. This means the yeast is alive and working. If nothing happens, your water was too hot or the yeast was dead. Start over.
Step 2: Mix the Dough (5 minutes)
Add the salt and vegetable oil to the yeast mixture. Stir to combine. Now, add the flour one cup at a time. Mix with a wooden spoon or your hands. After 2 cups, the dough will be shaggy and sticky. Add the third cup slowly. You want a dough that pulls away from the sides of the bowl but is still slightly tacky to the touch. It shouldn’t be stiff like playdough. If it’s too dry, add a tablespoon of water. If it’s too wet, add a tablespoon of flour.
Step 3: The First Rise (20-30 minutes)
Lightly grease a clean bowl with oil. Place the dough inside and turn it once to coat it in oil. Cover with a damp kitchen towel or plastic wrap. Let it rise in a warm spot for 20-30 minutes. It doesn’t need to double in size like traditional bread—just puff up and get soft. This is a quick rise, so don’t rush it, but don’t wait an hour either.
Step 4: Shape the Rolls (10 minutes)
Preheat your oven to 375°F (190°C). Grease your 9×9 inch baking pan. Punch down the risen dough gently to release air bubbles. Turn it out onto a lightly floured surface. Don’t knead it; just press it into a rough rectangle. Cut the dough into 12 equal pieces. I use a bench scraper or a sharp knife. Roll each piece into a smooth ball by tucking the edges underneath. Place them in the baking pan, leaving a little space between them. They’ll expand.
Step 5: The Second Rise (15 minutes)
Cover the pan with a towel again. Let the rolls rise for another 15 minutes. They should look puffy and touch each other. This step is crucial for softness. If you skip this, you’ll get dense rolls. While they rise, melt the butter for the glaze.
Step 6: Bake (15-18 minutes)
Place the pan in the oven. Bake for 15-18 minutes. The rolls should be golden brown on top. If they’re browning too fast, cover them loosely with foil. You’ll know they’re done when you tap the top lightly—it should sound hollow. Internal temperature should be around 190°F if you have a thermometer.
Step 7: The Honey Butter Glaze (5 minutes)
While the rolls bake, mix the melted butter, extra honey, and pinch of salt. As soon as the rolls come out of the oven, brush the glaze generously over the top. The heat will help it soak in. Sprinkle with sesame seeds if using. Let them cool in the pan for 5 minutes before serving. They’re best eaten warm.
Expert Tips & Tricks
Here’s everything I’ve learned from making these dozens of times. These tips will save you from my mistakes.
Water Temperature is Key
I’ve ruined batches by using boiling water. Yeast dies at 140°F. Use a thermometer if you’re unsure, or test it on your wrist. It should feel like a warm bath. If it hurts, it’s too hot.
Don’t Over-Flour
The biggest mistake people make is adding too much flour. They think dough should be dry, but it should be soft and slightly sticky. Over-flouring leads to dry, tough rolls. Trust the texture, not just the cup measurements.
Use a Warm Spot
Yeast loves warmth. If your kitchen is cold, put the dough in the oven with just the light on. Or put the bowl near the stove while it’s still warm. A warm spot speeds up the rise and makes the rolls fluffier.
Brush with Butter Immediately
Don’t wait for the rolls to cool completely. Brush the glaze on while they’re hot. This helps the butter absorb and keeps the crust soft. If you wait, the crust hardens and the glaze just sits on top.
Storage Hack
If you’re not eating them all at once, store them in an airtight container at room temperature for up to 2 days. To reheat, microwave for 10-15 seconds. They’ll be soft again. Don’t freeze them unless necessary; they lose texture.
Variations & Substitutions
Once you’ve nailed the basic version, here’s how you can mix it up. I’ve tried all of these.
Cinnamon Sugar Rolls
After shaping the rolls, dip them in melted butter, then roll them in a mix of cinnamon and sugar. Bake as usual. Top with a cream cheese glaze. These are amazing with coffee.
Garlic Herb Rolls
Skip the honey in the dough. Add 1 teaspoon of garlic powder and 1 teaspoon of dried Italian herbs to the flour. For the glaze, mix melted butter with minced fresh garlic and parsley. Perfect with pasta dishes like creamy spinach ricotta stuffed shells.
Whole Wheat Version
Substitute half the all-purpose flour with whole wheat flour. The rolls will be denser and nuttier, but still delicious. You may need an extra tablespoon of water.
Sweet Potato Rolls
Replace the water and milk with mashed sweet potato and warm milk. This makes the rolls incredibly moist and orange. Add a pinch of nutmeg for fall flavor.
Dairy-Free
Use water instead of milk, and use olive oil instead of butter in the dough. For the glaze, use coconut oil and maple syrup. They won’t be as rich, but they work.
Serving & Storage
How to Serve: I usually serve these straight from the pan, right out of the oven. They’re best when they’re warm and soft. Pair them with a simple salad or roasted vegetables. They’re also great for dipping into soups or stews.
Side Dishes: These go with almost anything. Try them with one-pan honey mustard chicken thighs for a complete meal. Or serve them with a simple green bean casserole for holidays.
Storage: Store leftovers in an airtight container at room temperature for up to 2 days. Do not refrigerate; it makes them stale faster. For longer storage, wrap tightly in plastic and freeze for up to 1 month. Thaw at room temperature and microwave briefly to soften.
Reheating: Microwave for 10-15 seconds. Or wrap in foil and warm in a 300°F oven for 10 minutes. This restores the softness.
Nutrition Information
I’m not a nutritionist, but here’s the breakdown if you’re tracking. These are indulgent rolls, so enjoy in moderation.
Per Roll (based on 12 rolls):
- Calories: 180
- Protein: 4g
- Carbs: 28g
- Fiber: 1g
- Sugar: 6g
- Fat: 6g
- Saturated Fat: 3g
- Sodium: 150mg
What’s Good: They’re a good source of carbohydrates for energy. The honey provides some trace minerals. They’re lower in fat than many bakery rolls.
What to Know: They contain gluten and dairy. The sugar content is moderate due to the honey. If you’re watching carbs, keep portions to one roll.
Final Thoughts
So that’s my go-to Soft Honey Butter Dinner Rolls perfect for busy weeknights. I’ve probably talked your ear off at this point, but when you make a recipe this often, you have a lot to say about it.
These rolls have saved weeknight dinners more times than I can count. They’re my answer to “what’s for dinner?” when I’m tired, don’t want takeout, and still want something that tastes really good. My kids are happy, my husband’s happy, and I’m happy because I’m not stressed about cooking.
Make it yours! Try different add-ins, swap in your favorite spices, or adjust the honey. The best recipes are the ones you adapt to your family’s tastes.
If you make this, drop a comment and let me know what you think! I love hearing how recipes turn out in your kitchen. And if something doesn’t work, tell me that too—I’m here to help troubleshoot.
Happy cooking! And I hope your kitchen smells half as good as mine does right now.
Frequently Asked Questions
Can I use instant yeast instead of active dry yeast?
Yes, you can. Instant yeast doesn’t need to be activated in water first. You can mix it directly with the flour. You might need slightly less instant yeast (about 1 ½ packets instead of 2), so start with that amount. The process is the same otherwise.
Why did my rolls turn out dense?
This usually happens for two reasons: either the yeast was dead (water was too hot), or you added too much flour. Make sure your water is warm, not hot. Also, don’t over-flour the dough. It should be soft and slightly sticky, not stiff.
Can I make these ahead of time?
You can, but it’s tricky. You can shape the rolls and let them rise in the fridge overnight. Then, take them out in the morning and let them come to room temperature and finish rising before baking. This works well for holiday meals.
Can I freeze the dough?
Yes. After the first rise, punch down the dough, shape into balls, and freeze them on a baking sheet. Once frozen, transfer to a bag. Thaw in the fridge overnight, then let them rise and bake as usual.
Why did my rolls stick to the pan?
Make sure you grease the pan well with butter or oil before placing the rolls. If you’re using a non-stick pan, you might not need much, but a light coating helps prevent sticking. Parchment paper is also an option for easy cleanup.
Can I bake these in muffin tins?
Yes, but you’ll get more rolls (about 24) and they’ll be smaller. Bake time will be shorter, around 10-12 minutes. Keep an eye on them so they don’t burn.
How do I know when the rolls are done?
They should be golden brown on top. If you tap the top, it should sound hollow. Internal temperature should be around 190°F. If they’re pale, they’re underbaked. If they’re dark brown, they’re overbaked.
Pin This Recipe!
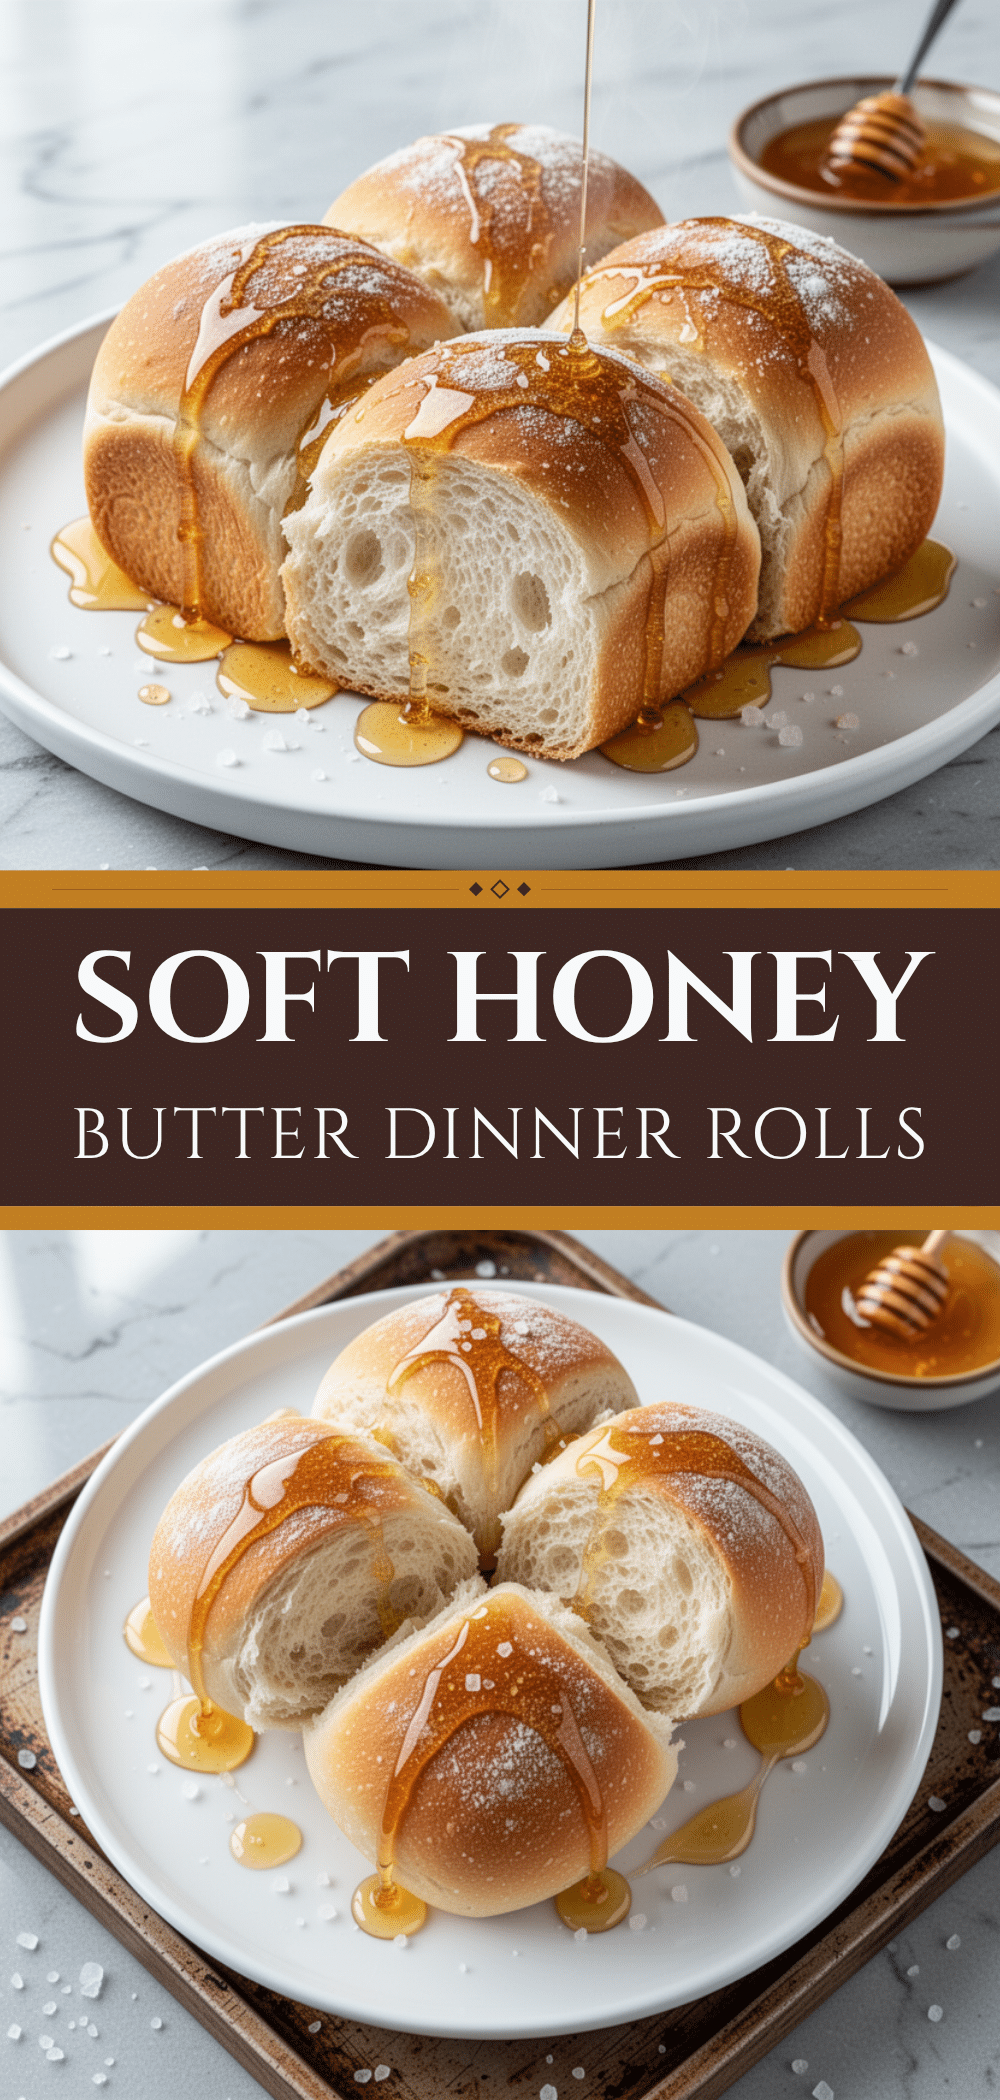
Soft Honey Butter Dinner Rolls: 30-Min Easy Weeknight Meal
- Total Time: 45 minutes
- Yield: 12 servings 1x
Description
These soft, pillowy honey butter dinner rolls are perfect for busy weeknights. They require zero kneading, have a fast rise time, and feature a delicious honey-butter glaze for a bakery-quality taste at home.
Ingredients
- 1 cup warm water
- 2 packets active dry yeast (14g)
- 3 tablespoons honey
- ½ cup warm milk
- 3 to 3½ cups all-purpose flour
- 1 teaspoon salt
- 2 tablespoons vegetable oil
- 4 tablespoons unsalted butter (for glaze)
- 2 tablespoons extra honey (for glaze)
- Pinch of salt (for glaze)
- Sesame seeds (optional, for garnish)
Instructions
- In a large bowl, combine warm water, warm milk, honey, and yeast. Whisk until dissolved and let sit for 5-10 minutes until foamy.
- Add salt and vegetable oil to the yeast mixture. Stir to combine.
- Add flour one cup at a time, mixing with a wooden spoon or hands. Stop when the dough pulls away from the sides but is still slightly tacky.
- Lightly grease a clean bowl with oil, place the dough inside, turn to coat, cover with a damp towel or plastic wrap, and let rise for 20-30 minutes until puffy.
- Preheat oven to 375°F (190°C). Grease a 9×9 inch baking pan.
- Punch down the risen dough gently. Turn out onto a lightly floured surface and press into a rough rectangle.
- Cut dough into 12 equal pieces. Roll each into a smooth ball and place in the baking pan, leaving space between them.
- Cover the pan with a towel and let rolls rise for another 15 minutes until puffy and touching.
- Bake for 15-18 minutes until golden brown. Tap the top; it should sound hollow.
- While baking, mix melted butter, extra honey, and a pinch of salt for the glaze.
- Immediately upon removing from oven, brush the glaze generously over the hot rolls. Sprinkle with sesame seeds if using.
- Let cool in the pan for 5 minutes before serving.
Notes
Ensure water is warm (bath temperature) but not hot to avoid killing the yeast. Do not over-flour the dough; it should be soft and slightly sticky. For best results, brush the glaze on while rolls are still hot. Store leftovers in an airtight container at room temperature for up to 2 days.
- Prep Time: 30 minutes
- Cook Time: 15-18 minutes
- Category: Side Dish
- Cuisine: American
Nutrition
- Serving Size: 1 roll
- Calories: 180
- Sugar: 6
- Sodium: 150
- Fat: 6
- Saturated Fat: 3
- Carbohydrates: 28
- Fiber: 1
- Protein: 4
Keywords: dinner rolls, honey butter rolls, easy bread recipe, weeknight dinner, soft rolls, no knead bread, quick rise rolls


