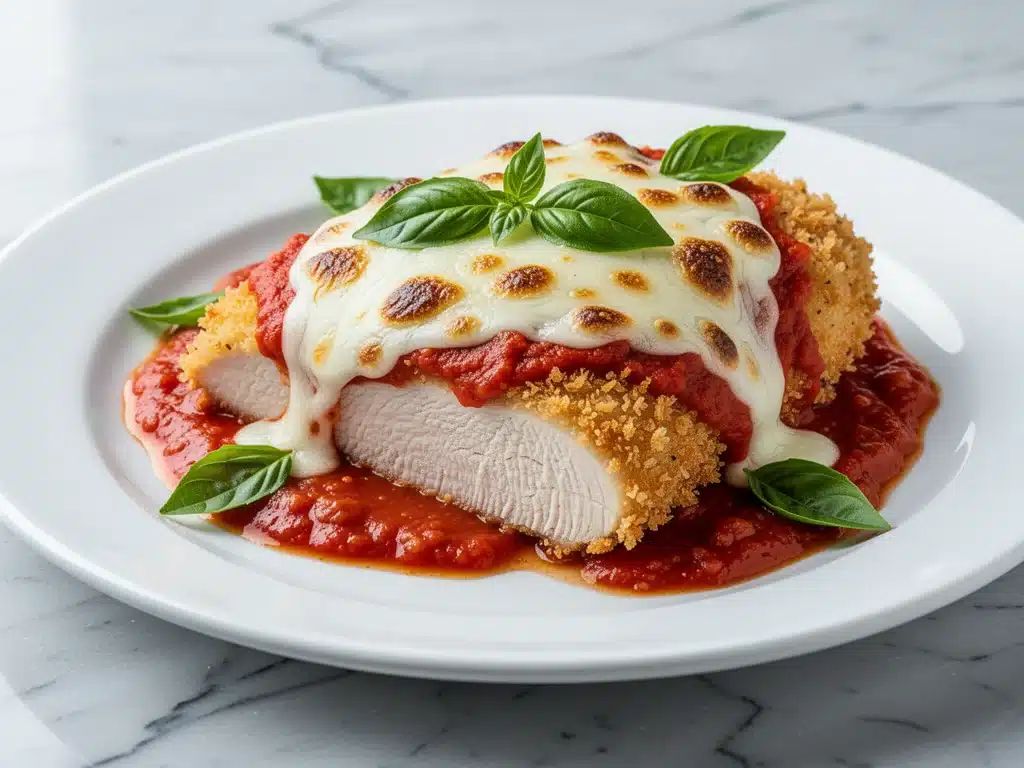
Last Friday night, I was sitting on my couch, staring at a greasy cardboard box that smelled like it had been sitting in a delivery driver’s car for twenty minutes. The chicken was supposed to be crispy. It wasn’t. It was soggy. The sauce was lukewarm and tasted like it came from a jar that had been opened three years ago. I took one bite, pushed the box away, and made a promise to myself: I was never ordering Chicken Parmesan from a restaurant again. Not unless I could make it myself, and not unless it actually lived up to the hype.
I’ve always loved Chicken Parmesan. It’s that perfect comfort food combo—tender chicken, tangy tomato sauce, and that stretchy, golden mozzarella blanket. But making it at home has always been a hassle. The breading gets soggy before you even get to the table. The chicken comes out dry. Or worse, you spend an hour standing over the stove frying breaded cutlets and end up with a kitchen that smells like old grease. I was ready to just buy the frozen TV dinners. I was really close to it.
Then, I stumbled on a technique that changed everything. It’s not a fancy trick. It’s just using panko breadcrumbs the right way. I tested this Crispy Panko-Crusted Chicken Parmesan recipe about fifteen times over the last two months. I’ve ruined batches with too much oil, batches that fell apart in the pan, and batches that were just… okay. But the version I’m sharing with you today? It’s the one. It’s the crispy, juicy, cheesy masterpiece that finally made me cancel my delivery subscriptions.
This isn’t just a recipe; it’s a fix for my takeout habit. It’s the Crispy Panko-Crusted Chicken Parmesan better than takeout that my husband keeps asking for on Tuesdays (which, let’s be honest, is every day). If you’ve ever felt like your home-cooked version just can’t compete with the restaurant style, this is your answer. It’s simpler than you think, and the results are seriously addictive.
Why You’ll Love This Recipe
There are a lot of Chicken Parmesan recipes out there. So why this one? Why spend the time when you could just order Uber Eats? Here’s the thing: once you make this, you won’t want to. It hits all the right notes without the guilt, the grease, or the wait time.
- Actually Crispy (Not Soggy) — This is the holy grail. Most recipes fail here. The chicken goes from the oven to the sauce and turns into a wet sponge. I’ve solved that. By baking the breaded chicken first and adding the sauce at the very end, the crust stays crunchy for at least twenty minutes. I’ve timed it. It’s real.
- Juicy Every Single Time — You know how restaurant chicken is sometimes dry and stringy? Not this. I pound the cutlets to an even thickness and brine them briefly. The result is tender, juicy chicken that doesn’t taste like cardboard. My kids, who usually pick the breading off, actually eat the chicken with this.
- Under 45 Minutes — From start to finish, this takes less time than it takes for a delivery driver to find your house. I’m talking 15 minutes of prep and 25 minutes of cooking. It’s a weeknight win. I make this when I get home at 6:30 and still have time to watch a show.
- Healthier (But Not “Diet” Food) — By baking instead of deep-frying, you cut down on a ton of oil. It’s still comfort food. It still has cheese. But it’s not heavy or sluggish. You feel good eating it.
- Uses Simple Ingredients — You don’t need anything exotic. Flour, eggs, panko, marinara, mozzarella, parmesan. If you have these in your kitchen, you’re good to go. No weird sauces or hard-to-find spices.
Real talk: This has saved my weeknight dinner routine. It’s reliable. It’s delicious. And it makes your house smell like an Italian bistro, not a fryer.
Ingredients You’ll Need
Here’s the best part: you probably have most of this already. This Crispy Panko-Crusted Chicken Parmesan better than takeout relies on quality basics, not a long shopping list. I’m particular about three things here, and I’ll tell you why.
For the Chicken
Chicken breasts (1.5 lbs / 680g) — I use boneless, skinless chicken breasts. But here’s the secret: buy the ones that are uniform in size. If you have huge ones on one end and tiny ones on the other, they’ll cook unevenly. If you have to, slice the thick ends in half horizontally to make them even. This ensures everything cooks at the same rate.
Buttermilk (1 cup / 240ml) — This is my brine. It tenderizes the meat and adds a slight tang that cuts through the richness of the cheese. If you don’t have buttermilk, mix 1 cup of milk with 1 tablespoon of lemon juice or white vinegar. Let it sit for 5 minutes. It works just as well.
Kosher salt and black pepper — Generous amounts. You want to season the chicken deeply, not just the surface. I use about 1 teaspoon of salt for the brine.
For the Breading Station
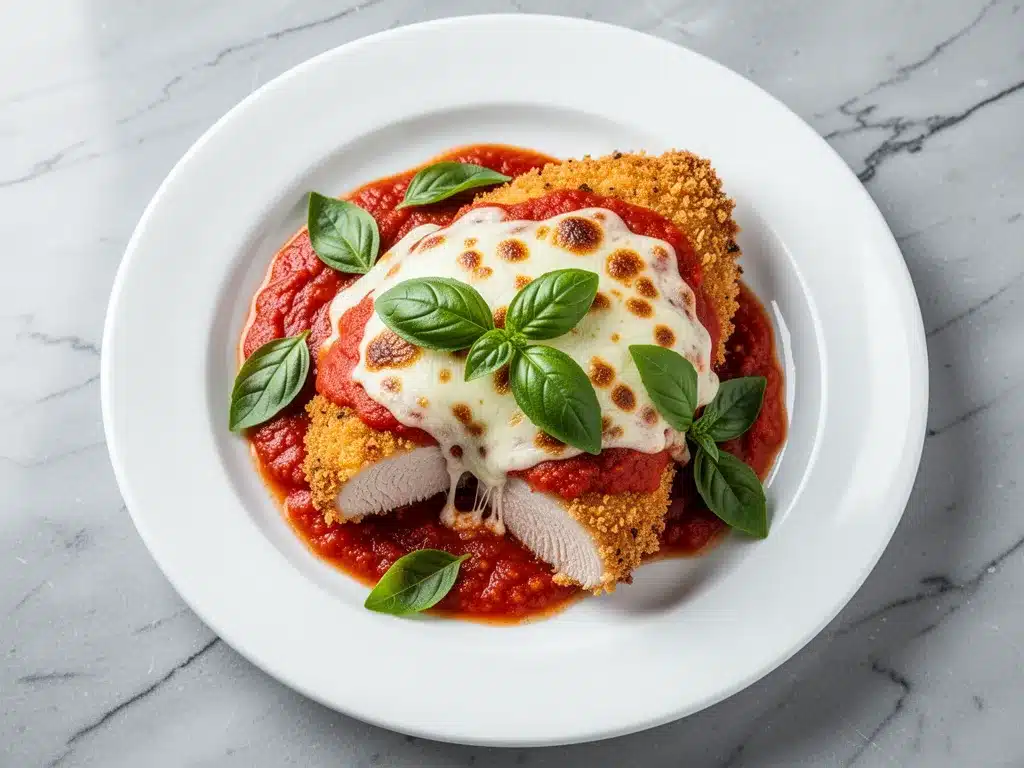
All-purpose flour (1 cup / 120g) — Just plain flour. It creates the base layer that helps the egg stick to the chicken. Don’t skip this step. It’s the glue.
Eggs (2 large) — Beaten. I add a splash of water to the eggs to make the coating lighter and less dense. It sounds weird, but it works.
Panko breadcrumbs (2 cups / 160g) — This is non-negotiable. Do not use regular breadcrumbs. Panko is flaky, airy, and designed to get crispy. It absorbs less oil and stays crunchy longer. I buy the Japanese-style panko because it’s lighter. If you can only find standard panko, crush it slightly with your hands so the flakes aren’t too big.
Italian seasoning (2 teaspoons) — Or a mix of dried oregano, basil, and thyme. This gives the breading that classic Italian flavor before it even hits the sauce.
Garlic powder (1 teaspoon) — Adds depth. Fresh garlic burns in the oven, so powder is safer here.
Parmesan cheese (½ cup / 50g, freshly grated) — I mix this right into the panko. It adds a salty, savory kick to the crust. Buy the block and grate it yourself. Pre-grated Parmesan has cellulose in it, which prevents it from melting smoothly and can make your breading gritty.
For the Assembly
Marinara sauce (2 cups / 480ml) — I use a good quality jarred sauce like Rao’s or Mutti. I’m not judging you if you make your own, but for a quick weeknight meal, a good jar is fine. Just heat it up first so it’s hot when it hits the chicken.
Low-moisture mozzarella (2 cups / 200g, shredded) — Do not use the pre-shredded bagged cheese if you can avoid it. It has anti-caking agents that stop it from melting beautifully. Buy a block and shred it. It melts into that perfect, stretchy goo we all love.
Extra virgin olive oil (2 tablespoons) — For drizzling. This helps the panko brown evenly in the oven.
Equipment Needed
You don’t need fancy gadgets for this. Here’s what I actually use:
Baking sheets (2) — I use two large rimmed baking sheets. One for the breading station (optional, but keeps things tidy) and one for baking. Rimmed sheets prevent the oil from spilling into the oven.
Parchment paper — Line your baking sheets. This is crucial. It prevents sticking and makes cleanup a breeze. I don’t grease the pan; I just use parchment.
Meat mallet or rolling pin — To pound the chicken. You need the chicken to be about ½-inch thick. If you don’t have a mallet, use the bottom of a heavy skillet or a rolling pin. Be patient. Even thickness is key.
Three shallow bowls — For the flour, egg wash, and panko. I use pie dishes or wide bowls so the chicken sits flat.
Wire cooling rack — Optional, but I love using a wire rack placed over the baking sheet. It allows air to circulate underneath the chicken, keeping the bottom crispy. If you don’t have one, just use the sheet directly.
Cheese grater — Box grater works fine. Microplane is faster if you’re grating Parmesan.
How to Make It: Step-by-Step
Alright, let’s make this! I’m walking you through exactly how I do it, including the little tricks I’ve picked up to ensure that Crispy Panko-Crusted Chicken Parmesan better than takeout status.
Step 1: Prep the Chicken (10 minutes)
Start by preheating your oven to 425°F (220°C). This high heat is what gives you that crispiness. While the oven heats, take your chicken breasts and place them between two sheets of plastic wrap or in a heavy-duty ziplock bag. Using a meat mallet or rolling pin, pound them until they are an even ½-inch thick. Don’t worry if they look a little ragged; that’s fine. Season both sides generously with salt and pepper. Place the pounded chicken in a shallow dish and pour the buttermilk over it. Let it sit for at least 15 minutes (or up to 4 hours in the fridge). This tenderizes the meat.
Step 2: Set Up the Breading Station (5 minutes)
Get three shallow bowls ready. In the first bowl, add the flour and a pinch of salt and pepper. In the second bowl, beat the eggs with a splash of water. In the third bowl, mix the panko breadcrumbs, Italian seasoning, garlic powder, and grated Parmesan cheese. Stir the panko mixture with a fork to distribute the cheese evenly. This step is all about organization. Once you start breading, you want to move quickly so the chicken doesn’t get too soggy from the buttermilk.
Step 3: Bread the Chicken (5 minutes)
Take a piece of chicken out of the buttermilk, letting the excess drip off. Dredge it in the flour, shaking off any excess. Next, dip it into the egg wash, ensuring it’s fully coated. Finally, press it firmly into the panko mixture. Use your hands to press the crumbs onto the chicken. You want a thick, even coat. Don’t be shy. Place the breaded chicken on a clean plate or wire rack. Repeat with the remaining chicken. If your crumbs start to get wet or clumpy, add a little fresh panko to keep them dry.
Step 4: Bake Until Crispy (15-18 minutes)
Line two baking sheets with parchment paper. Place the breaded chicken on the sheets, leaving a little space between each piece. Drizzle or spray the tops lightly with olive oil. This helps the panko turn golden brown. Bake for 15-18 minutes. You want the chicken to be cooked through (internal temperature of 165°F / 74°C) and the coating to be golden and crispy. Do not flip the chicken halfway through; you want the top to get crunchy. If your oven runs hot, check at 15 minutes.
Step 5: Add Sauce and Cheese (5 minutes)
Here is the critical step that most people mess up. Remove the chicken from the oven. Spoon a generous amount of warm marinara sauce over each piece of chicken. It should cover most of the surface but leave some of the crispy edge exposed. Then, top with the shredded mozzarella. Return the baking sheet to the oven for just 3-5 minutes. You’re not baking the chicken anymore; you’re just melting the cheese. Watch it closely. You want the cheese bubbly and slightly browned, not burnt.
Step 6: Rest and Serve (2 minutes)
Take the chicken out of the oven. Let it rest for 2-3 minutes before serving. This allows the juices to redistribute so the chicken stays moist. Serve immediately while the cheese is still gooey and the crust is still crisp. This is the moment of truth. The Crispy Panko-Crusted Chicken Parmesan better than takeout is ready.
Expert Tips & Tricks
Here’s everything I’ve learned from making this dozens of times. These tips will save you from my mistakes.
Don’t Crowd the Pan
If you’re making a large batch, use two baking sheets. If the chicken pieces are touching, the steam will make them soggy instead of crispy. Give them space.
Use Low-Moisture Mozzarella
I can’t stress this enough. Fresh mozzarella balls have too much water. They’ll make your chicken soup. Buy the block of low-moisture mozzarella and shred it yourself. It melts better and doesn’t release water.
Keep the Sauce Warm
If you put cold sauce on hot chicken, it shocks the crust and can make it soften. Warm up your marinara in a small saucepan or microwave before spooning it on. It sounds minor, but it helps maintain texture.
Double the Panko
If you really want that extra crunch, do a double dip. Flour, egg, panko, egg, panko. It’s more work, but the crust is like armor. I do this when I have guests who are skeptical about home-cooked food.
Don’t Skip the Resting Time
I know it’s tempting to dig in immediately. But resting for 3 minutes keeps the chicken juicy. If you cut into it right away, the juices run out, and the chicken gets dry.
Variations & Substitutions
Once you’ve nailed the basic version, here’s how you can mix it up. I’ve tried all of these.
Spicy Chicken Parm
Add 1 teaspoon of red pepper flakes to the panko mixture. Or, use a spicy arrabbiata sauce instead of regular marinara. My friend who loves heat adds a layer of sliced jalapeños under the cheese.
Chicken Parm Sliders
Use smaller chicken cutlets or even chicken tenders. Assemble on slider buns with a slice of provolone cheese instead of mozzarella. Perfect for parties or lunch.
Veggie Parmesan
Swap the chicken for thick slices of eggplant or zucchini. Bread them the same way and bake until tender. It’s lighter but still satisfying.
Gluten-Free
Use gluten-free flour and gluten-free panko breadcrumbs. Many brands make great GF panko now. The texture is slightly denser, but it still works.
Dairy-Free
Use dairy-free butter in the brine (if using), skip the Parmesan in the panko, and use dairy-free mozzarella shreds. It’s not the same, but it’s doable. I’ve made this for my lactose-intolerant brother, and he was happy.
Serving & Storage
How to Serve
I usually serve this straight from the baking sheet at the dinner table—it looks rustic and stays warm. But here are other ways I’ve enjoyed it:
- Over Pasta — Toss it with spaghetti or penne and some of the extra marinara sauce. Classic.
- With Salad — A simple arugula salad with lemon vinaigrette cuts through the richness of the cheese.
- With Roasted Veggies — Broccoli or asparagus goes great on the side.
Storage Instructions
Refrigerator: Store leftovers in an airtight container for up to 3 days. The crust will soften in the fridge, which is normal.
Reheating: This is tricky. Microwaving makes the crust soggy. The best way is to reheat it in the oven or air fryer at 375°F (190°C) for 5-7 minutes. This restores some crispiness. If you must microwave, do it in short bursts and don’t cover it.
Freezing: You can freeze the breaded chicken before baking. Place them on a baking sheet, freeze until solid, then transfer to a freezer bag. Bake from frozen, adding 5-7 minutes to the cooking time. Do not freeze the cooked chicken with sauce and cheese; the texture suffers.
Nutrition Information
I’m not a nutritionist, but here’s the breakdown if you’re tracking. This is based on 4 servings.
- Calories: 450
- Protein: 35g
- Carbs: 30g
- Fiber: 2g
- Sugar: 6g
- Fat: 20g
- Saturated Fat: 8g
Look, this is comfort food. It’s not a diet recipe. But it’s way better than takeout, costs less, and I know exactly what’s in it. When I want to make it lighter, I use less cheese and more veggies on the side. But usually? I just eat a reasonable portion and enjoy it.
Final Thoughts
So that’s my go-to Crispy Panko-Crusted Chicken Parmesan better than takeout! I’ve probably talked your ear off at this point, but when you make a recipe this often, you have a lot to say about it. This has saved weeknight dinners more times than I can count. It’s my answer to “what’s for dinner” when I’m tired, don’t want takeout, and still want something that tastes really good. My kids are happy, my husband’s happy, and I’m happy because I’m not stressed about cooking.
Make it yours! Try different add-ins, swap in your favorite vegetables, adjust the garlic (though more is always better in my opinion). The best recipes are the ones you adapt to your family’s tastes. If you make this, drop a comment and let me know what you think! I love hearing how recipes turn out in your kitchen. And if something doesn’t work, tell me that too—I’m here to help troubleshoot.
Happy cooking! And I hope your kitchen smells half as good as mine does right now.
Frequently Asked Questions
Can I use regular breadcrumbs instead of panko?
You can, but the texture won’t be the same. Regular breadcrumbs are denser and smaller, so they don’t get as crispy or golden. Panko’s flaky structure is what gives you that restaurant-style crunch. If you only have regular breadcrumbs, try to crush them a bit to make them larger, but I really recommend getting panko.
Why is my chicken dry?
This usually happens if you overcook it. Chicken breasts cook fast. Use a meat thermometer and pull them out when they hit 165°F (74°C). Also, pounding them to an even thickness ensures they cook evenly. If one end is thin and the other is thick, the thin end dries out before the thick end is done.
Can I make this ahead of time?
You can bread the chicken and keep it in the fridge for up to 24 hours before baking. Just cover it tightly. When you’re ready to cook, take it out and bake as directed. However, don’t assemble the final dish (with sauce and cheese) ahead of time, as the crust will get soggy.
How do I keep the crust crispy after adding sauce?
The key is to add the sauce at the very end, right before the cheese. And only use enough sauce to cover the top. If you drown the chicken in sauce, the crust will soften. Also, serving immediately after baking helps. The longer it sits, the more the steam from the sauce will soften the panko.
Can I air fry this?
Yes! This works great in an air fryer. Preheat to 400°F (200°C). Cook for 10-12 minutes, flipping halfway through. Then add sauce and cheese and cook for another 2-3 minutes. The air fryer makes it even crispier. Just don’t crowd the basket.
What kind of marinara sauce is best?
I like a sauce that isn’t too sweet. Rao’s Homemade Marinara is a favorite because it tastes like real tomatoes. Mutti is also great. Avoid the cheap jars that are full of sugar. If you have time, making your own sauce with canned San Marzano tomatoes is even better, but a good jarred sauce is perfectly fine for a quick meal.
Can I freeze the cooked chicken?
It’s not recommended. The breading tends to get mushy when frozen and reheated, especially with the sauce and cheese. It’s best to freeze the breaded chicken before baking, then bake and sauce it fresh when you’re ready to eat.
Pin This Recipe!
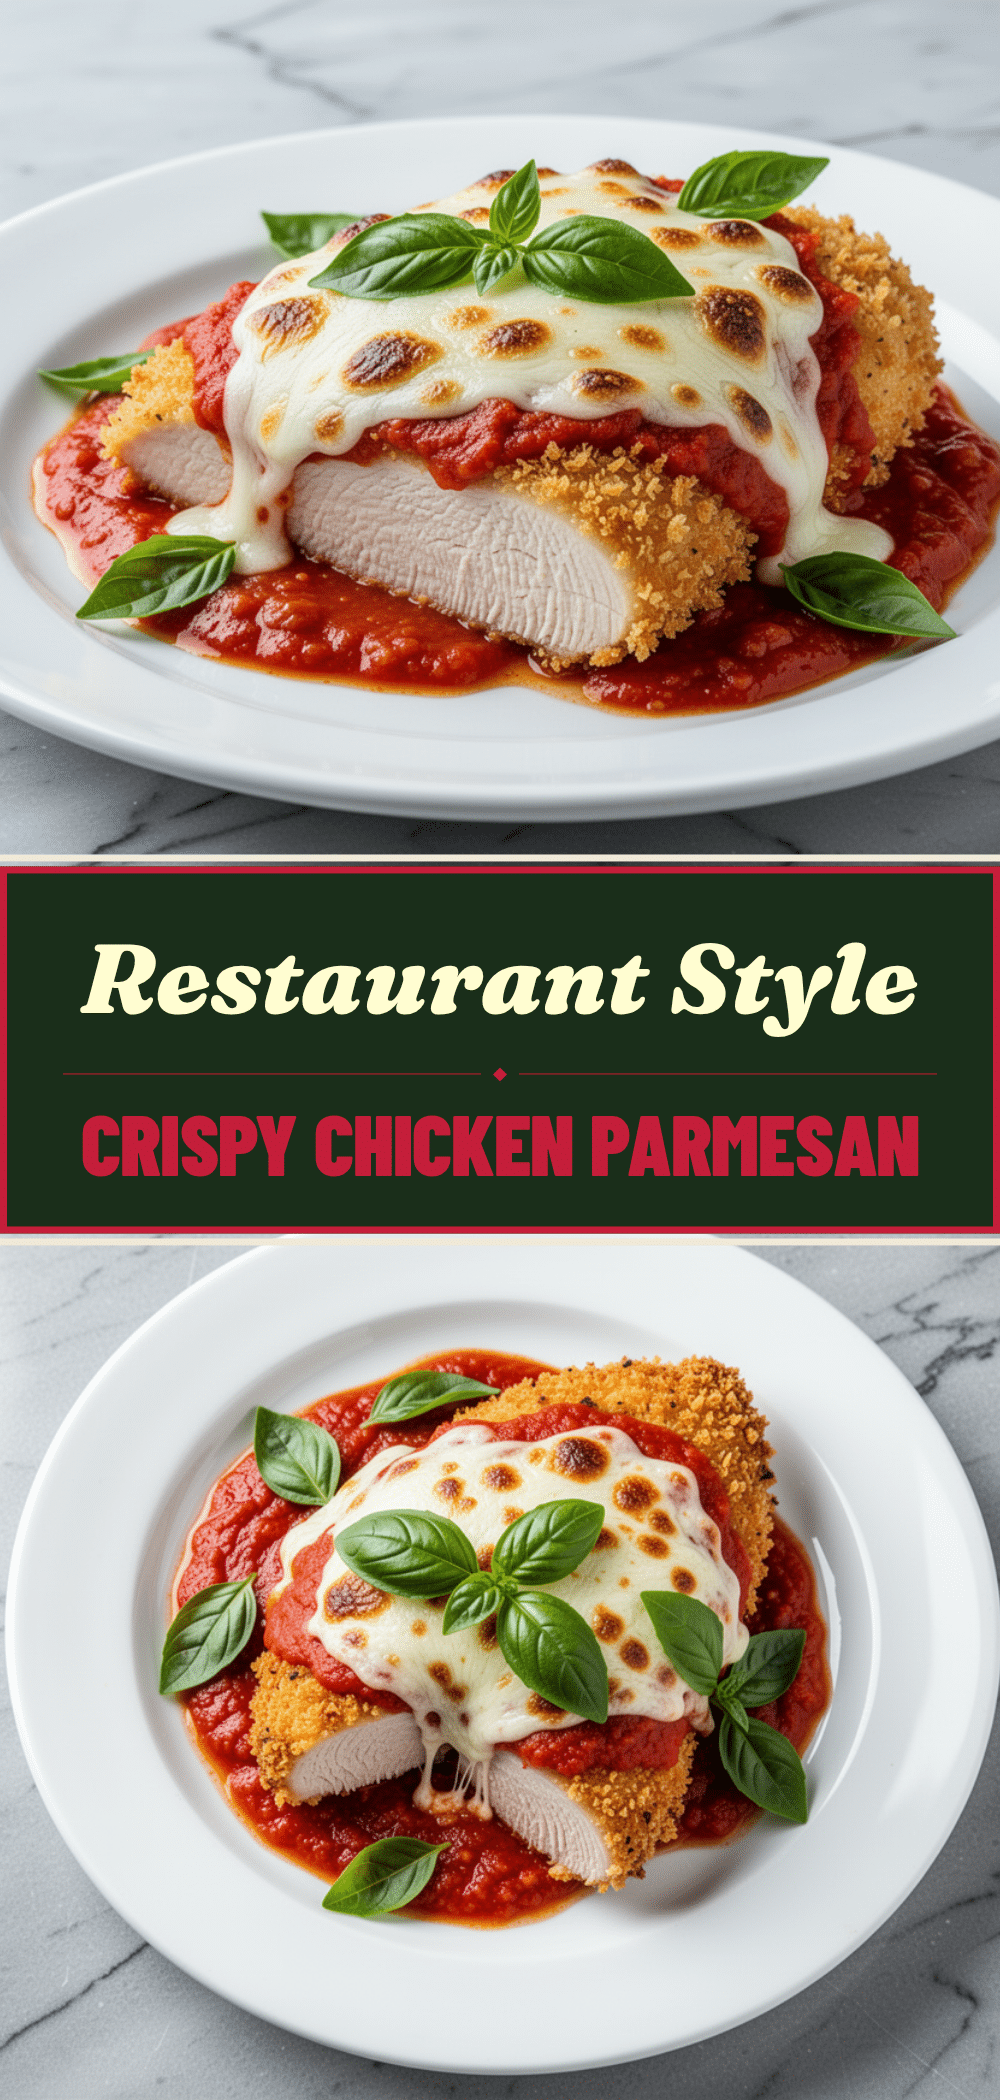
Crispy Panko-Crusted Chicken Parmesan: Best Takeout Alternative
- Total Time: 40 minutes
- Yield: 4 servings 1x
Description
A healthier, faster, and crispier version of Chicken Parmesan that beats takeout. By baking panko-crusted chicken instead of frying and adding sauce at the end, this recipe delivers juicy meat and a crunchy crust in under 45 minutes.
Ingredients
- 1.5 lbs boneless, skinless chicken breasts
- 1 cup buttermilk
- 1 teaspoon kosher salt (for brine)
- Black pepper (generous amount)
- 1 cup all-purpose flour
- 2 large eggs, beaten with a splash of water
- 2 cups panko breadcrumbs
- 2 teaspoons Italian seasoning
- 1 teaspoon garlic powder
- ½ cup freshly grated Parmesan cheese
- 2 cups marinara sauce (warmed)
- 2 cups low-moisture mozzarella cheese, shredded
- 2 tablespoons extra virgin olive oil
Instructions
- Preheat oven to 425°F (220°C).
- Place chicken breasts between plastic wrap or in a ziplock bag and pound to an even ½-inch thickness.
- Season chicken with salt and pepper, then submerge in buttermilk for at least 15 minutes to tenderize.
- Set up a breading station with three shallow bowls: one with flour and salt/pepper, one with beaten eggs, and one with panko mixed with Italian seasoning, garlic powder, and Parmesan.
- Dredge chicken in flour, dip in egg wash, then press firmly into the panko mixture to coat evenly.
- Place breaded chicken on parchment-lined baking sheets. Drizzle tops lightly with olive oil.
- Bake for 15-18 minutes until internal temperature reaches 165°F (74°C) and coating is golden and crispy.
- Remove from oven. Spoon warm marinara sauce over each piece, leaving some crust exposed.
- Top with shredded mozzarella and return to oven for 3-5 minutes until cheese is bubbly and melted.
- Rest for 2-3 minutes before serving to allow juices to redistribute.
Notes
Use low-moisture mozzarella to prevent sogginess. Warm the marinara sauce before adding it to the hot chicken to maintain crust crispiness. Do not crowd the baking sheet; use two sheets if necessary. For extra crunch, double-dip the chicken in egg and panko.
- Prep Time: 15 minutes
- Cook Time: 25 minutes
- Category: Main Course
- Cuisine: Italian
Nutrition
- Serving Size: 1 piece of chicken w
- Calories: 450
- Sugar: 6
- Fat: 20
- Saturated Fat: 8
- Carbohydrates: 30
- Fiber: 2
- Protein: 35
Keywords: chicken parmesan, crispy chicken, panko chicken, healthy chicken parmesan, weeknight dinner, better than takeout, baked chicken parmesan


