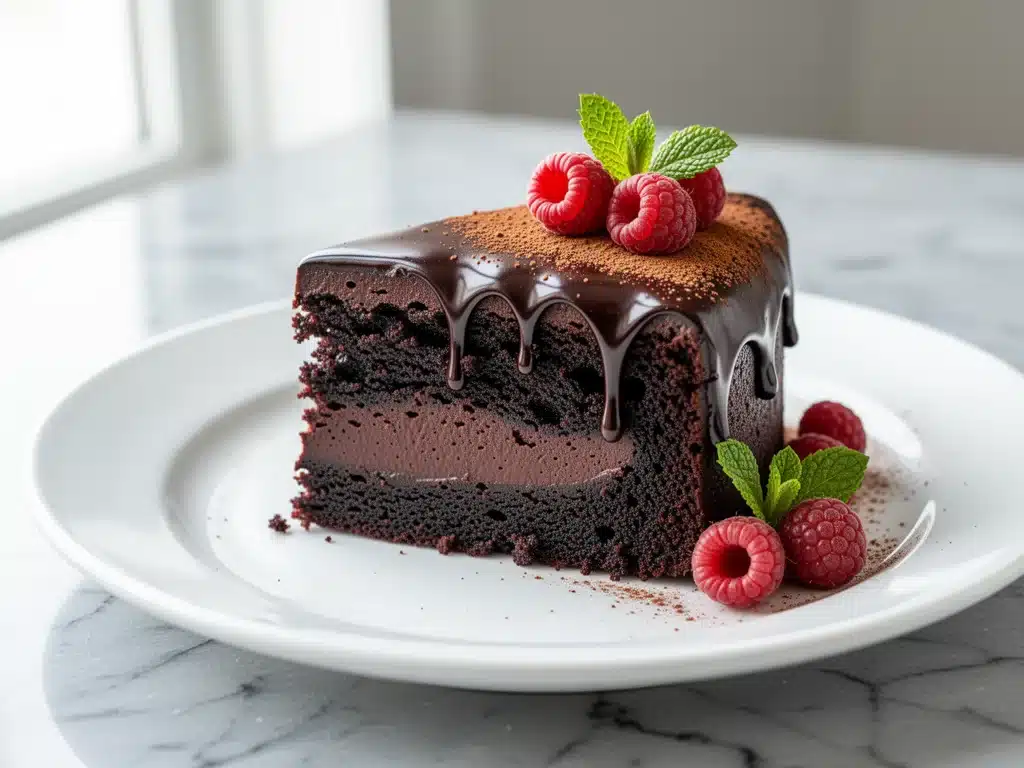
I have to be honest with you. For years, I was convinced that gluten-free baking was a trick. You know the kind—the kind that leaves you with a dry, crumbly mess that tastes like cardboard and sadness. I tried everything. I bought expensive bags of almond flour. I experimented with xanthan gum (which I still think sounds like a made-up ingredient from a sci-fi movie). I even tried baking with rice flour, which resulted in something that felt more like sand than cake.
Then, about three years ago, I made a massive mistake. I was hosting a dinner party for about twelve people, including two friends who are celiac and one guy who just says he’s “gluten-sensitive” but has very strong opinions about it. I panicked because I didn’t have my usual go-to chocolate cake recipe, and I was terrified of ruining the evening. So, I pulled out a bag of dark chocolate, some eggs, butter, and sugar, and decided to whip up a flourless chocolate torte. I didn’t even plan to post it. I just wanted to save face.
When it came out of the oven, the kitchen smelled like a high-end Parisian bakery. Dense, rich, and intensely chocolatey. I cut a slice, half-expecting my friends to politely push it around their plates. Instead, my celiac friend Sarah asked for the recipe immediately. She said, “This doesn’t taste gluten-free. This tastes like a cheat.” And that’s when it hit me. I had been overcomplicating things. I didn’t need fancy flours or chemical additives. I just needed good chocolate and the courage to let it be simple.
This gluten-free flourless fudgy chocolate cake with silky ganache is that cake. It’s the one I make when I need to impress someone or when I just need a serious chocolate hug after a long day. It’s naturally gluten-free because, well, it has no flour. But more importantly, it’s fudgy, dense, and incredibly satisfying. I’ve made this cake at least twenty times since that night, tweaking the chocolate ratio and the ganache thickness until it was perfect. And let me tell you, once you try this, you’ll never go back to store-bought gluten-free desserts. Trust me on this one.
Why You’ll Love This Flourless Chocolate Cake
There are a lot of chocolate desserts out there. I’ve tried my fair share, from Reese’s peanut butter chocolate cake to dense brownies. But this flourless version stands out for a few specific reasons. It’s not just “good for gluten-free.” It’s just good. Period.
Zero Gluten, Zero Guilt — This is the biggest selling point. Because there’s no flour, there’s no risk of cross-contamination or gluten issues. It’s naturally safe for celiacs, but the texture is so rich and decadent that regular eaters won’t even miss the wheat. It’s pure chocolate indulgence without the bloating or the heavy feeling that comes with a floury cake.
Only 5 Core Ingredients — Seriously. You don’t need a pantry full of obscure powders. You need butter, sugar, eggs, dark chocolate, and a pinch of salt. If you can melt chocolate and whisk eggs, you can make this. I made this for my teenage son while helping him with his history homework. It’s that low-stress. It’s much simpler than my fudgy peanut butter brownies, which already require a bit more mixing.
Make-Ahead Friendly — Here’s the secret weapon: this cake actually tastes better the next day. The flavors meld together overnight, and the texture becomes even fudgier. I often make it the night before a party, which takes all the stress off the day of the event. It holds up in the fridge for days, too.
Rich, Silky Ganache — We’re not stopping at the cake. We’re topping it with a silky chocolate ganache that sets into this beautiful, glossy layer. It’s not too sweet, just enough to balance the bitterness of the dark chocolate. It elevates the whole thing from “homemade treat” to “dessert course.” It’s similar in vibe to the topping on my ultra-rich salted caramel chocolate tart, but with a deeper chocolate focus.
This cake is my answer to “I need something sweet but not too heavy.” It’s elegant enough for a dinner party but casual enough for a Tuesday night craving. I keep the ingredients stocked specifically so I can make this on a whim.
Ingredients You’ll Need
Here’s the best part about this gluten-free flourless fudgy chocolate cake: the ingredient list is short, simple, and probably mostly in your kitchen right now. I’m particular about quality here because, with so few ingredients, you can’t hide behind flour or sugar. You need the real deal.
For the Cake Base
Dark Chocolate (60-70% cocoa) (12 oz / 340g) — This is the star. Don’t use baking chips if you can avoid it; they often have stabilizers that change the texture. Use a good quality bar of chocolate and chop it up yourself. Lindt or Ghirardelli work great. The higher the cocoa percentage, the less sweet it will be, which I prefer. If you like it sweeter, go for 50-60%.
Unsalted Butter (½ cup / 113g) — Use real butter. Margarine or butter substitutes will make the texture greasy and weird. Room temperature is easier to mix, but you’ll be melting it anyway, so just chop it up.
Granulated Sugar (1 cup / 200g) — This isn’t a low-sugar recipe. The sugar provides structure and that fudgy chew. Don’t try to substitute with honey or maple syrup; the moisture content will throw off the chemistry. If you’re watching sugar, you might want to look at my keto peanut butter cup fat bombs instead.
Large Eggs (4 large) — Room temperature eggs incorporate better into the chocolate mixture. If you’re in a rush, just put them in a bowl of warm water for 5 minutes. Don’t use egg whites only; you need the yolks for richness.
Salt (½ teaspoon) — This is non-negotiable. Salt enhances the chocolate flavor. Without it, the cake tastes flat. Use fine sea salt if you have it.
Vanilla Extract (1 teaspoon) — Pure vanilla, not imitation. It adds a subtle depth that makes the chocolate taste more complex.
For the Silky Ganache
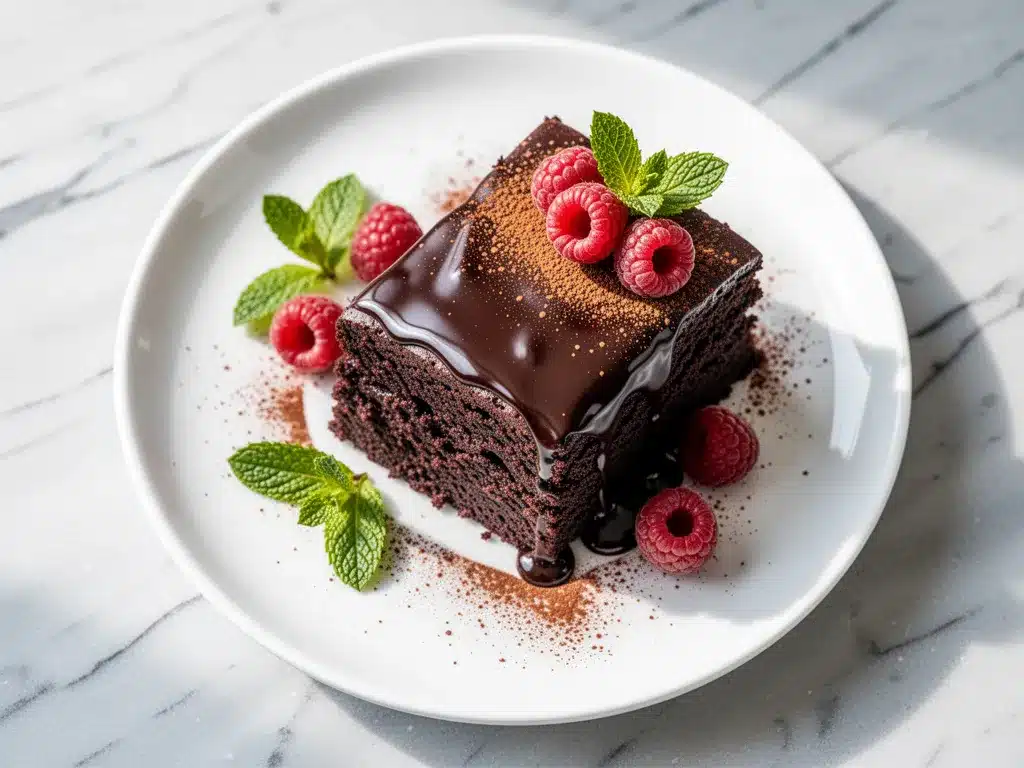
Heavy Cream (½ cup / 120ml) — Full-fat heavy cream is essential. Light cream won’t set properly. You want that thick, pourable consistency.
Dark Chocolate (chopped) (4 oz / 113g) — Use the same quality chocolate as the cake. Chop it finely so it melts evenly into the cream.
Pinch of Salt — Just a tiny pinch to balance the sweetness of the ganache.
Optional Add-ins
Sea Salt Flakes — For sprinkling on top after the ganache sets. It looks fancy and adds a nice crunch.
Espresso Powder (1 teaspoon) — If you want an extra-deep chocolate flavor, add this to the cake batter. You won’t taste coffee, just richer chocolate.
Equipment Needed
You don’t need fancy gadgets for this. Here’s what I actually use in my kitchen:
8-Inch Round Springform Pan — This is the best tool because the cake is dense and can be tricky to get out of a regular pan. The springform allows you to unlock the sides and slide it off easily. Grease it well with butter or non-stick spray.
Microwave-Safe Bowl or Double Boiler — For melting the chocolate and butter. I prefer the microwave in 30-second intervals, stirring in between, because it’s faster. But a double boiler gives you more control if you’re worried about burning the chocolate.
Mixing Bowls — One large bowl for the chocolate mixture and one medium for whisking the eggs and sugar. A medium bowl is better for whisking because it’s easier to control.
Wire Whisk — You need a good whisk to incorporate air into the eggs. A spoon won’t cut it. I use a medium-sized whisk that fits comfortably in my hand.
Spatula — A rubber spatula is essential for folding the eggs into the chocolate without deflating the mixture. You want to be gentle here.
Paring Knife — For chopping the chocolate. If your chocolate is already chopped, you can skip this, but chopping it fresh ensures even melting.
Small Saucepan — For heating the cream for the ganache. If you don’t have a small one, a microwave-safe cup works too.
Palette Knife or Offset Spatula — For spreading the ganache smoothly over the cake. This makes it look professional.
How to Make It: Step-by-Step
Alright, let’s make this gluten-free flourless fudgy chocolate cake. I’m walking you through exactly how I do it, including the little tricks I’ve picked up over the years.
Step 1: Prep Your Pan and Oven (5 minutes)
Preheat your oven to 350°F (175°C). Grease your 8-inch springform pan generously with butter. I also like to line the bottom with a circle of parchment paper for extra insurance, though it’s not strictly necessary if you’re well-greased. This prevents sticking and makes cleanup easier.
Step 2: Melt the Chocolate and Butter (5 minutes)
Chop your 12 oz of dark chocolate into rough chunks. Put them in a microwave-safe bowl with the chopped butter. Microwave on high for 30 seconds, then stir. If it’s not fully melted, do another 15-20 seconds. Stir until smooth and glossy. Let it cool slightly for a minute. You don’t want it hot, just warm. If it’s too hot, it will scramble the eggs later.
Step 3: Whisk Eggs and Sugar (3 minutes)
In a separate medium bowl, whisk the 4 eggs and 1 cup of sugar vigorously. I mean really whisk. You want the mixture to become pale, fluffy, and slightly thickened. This takes about 2-3 minutes by hand. This step incorporates air, which gives the cake its lift and fudgy texture. Don’t skip this. It’s the difference between a dense brick and a fudgy cake.
Step 4: Combine Wet Ingredients (2 minutes)
Pour the melted chocolate and butter mixture into the egg and sugar mixture. Add the vanilla extract and the ½ teaspoon of salt. Stir gently with a spatula until just combined. The mixture should look shiny and smooth. If you overmix now, you might deflate the air you just whipped in.
Step 5: Bake the Cake (30-35 minutes)
Pour the batter into your prepared springform pan. Smooth the top with your spatula. Bake in the preheated oven for 30-35 minutes. Here’s the key: the cake should still look slightly soft in the center when you take it out. It will continue to cook as it cools. If you bake it until it’s firm, it will be dry. A toothpick inserted into the center should come out with moist crumbs, not wet batter, and definitely not clean.
Step 6: Cool Completely (1-2 hours)
Let the cake cool in the pan for 10 minutes, then run a knife around the edge and unlock the springform. Let it cool completely on a wire rack. This is the hardest part, but you need the cake to be completely cool before adding the ganache, or the ganache will melt and slide off. I usually let it cool for at least an hour, sometimes two.
Step 7: Make the Silky Ganache (5 minutes)
While the cake cools, chop your 4 oz of chocolate finely. Put it in a heat-proof bowl. In a small saucepan, heat the ½ cup of heavy cream over medium heat until it just starts to simmer (small bubbles around the edges). Do not boil it vigorously. Pour the hot cream over the chopped chocolate. Let it sit for 2 minutes without touching it. This allows the heat to melt the chocolate evenly. Then, gently stir from the center outward until smooth and glossy. Add the pinch of salt.
Step 8: Assemble and Chill (30 minutes)
Pour the warm ganache over the center of the cooled cake. Use a palette knife or offset spatula to gently spread it to the edges. It should be a thin, even layer. If it’s too thick, it will be overpowering. If it’s too thin, it won’t set properly. Once coated, place the cake in the refrigerator for at least 30 minutes to let the ganache set. You can leave it longer if you’re making it ahead.
Total Time: About 1.5 hours (plus cooling time, so plan for 2-3 hours total).
Active Time: About 25 minutes.
Expert Tips & Tricks for Perfect Results
Here’s everything I’ve learned from making this cake dozens of times. These tips will save you from my early mistakes.
Quality Chocolate Matters
I can’t stress this enough. This cake is 80% chocolate. If you use cheap, waxy chocolate chips, the cake will taste like chocolate syrup and feel greasy. Buy a bar of chocolate you’d eat on its own. Ghirardelli 60% or 70% is my go-to. It’s affordable and reliable.
Don’t Overbake
This is the #1 mistake people make. They want to be sure it’s “cooked,” so they leave it in too long. Remember, this is a flourless cake. It sets as it cools. If the center looks even slightly soft when you pull it out, it’s done. Overbaking makes it dry and crumbly instead of fudgy.
Whisk the Eggs Well
That step where you whisk the eggs and sugar? It’s not just for show. You need to aerate that mixture. If you rush it, the cake will be dense and heavy. Take the time to whisk until it’s pale and ribbony. It’s meditative, honestly.
Room Temperature Ingredients
If your eggs are cold, they can seize the chocolate when you mix them, creating little lumps. Let your eggs sit out for 20 minutes before you start. It makes the batter smoother and easier to mix.
Let the Ganache Rest
When you pour the cream over the chocolate, don’t stir immediately. Let it sit for 2 minutes. This ensures the chocolate melts evenly from the heat of the cream, rather than needing vigorous stirring which can introduce air bubbles.
Storage is Key
This cake tastes better chilled. The fudgy texture is enhanced by the cold. If you’re serving it at a party, make it the night before. It will keep in the fridge for up to 5 days, covered tightly with plastic wrap.
Variations & Substitutions
Once you’ve nailed the basic version, here’s how you can mix it up. I’ve tried all of these, and they work well.
Gluten-Free Flourless Chocolate Torte (Lighter Version)
If you want something a bit lighter, you can swap half the butter for unsweetened applesauce, though it will change the texture. I usually stick to the butter for richness, but you can try reducing it to ¼ cup if you’re watching calories. I also have a gluten-free flourless chocolate torte on the blog that’s similar but uses a different ratio.
Mocha Flavor
Add 1 teaspoon of instant espresso powder to the melted chocolate mixture. It deepens the chocolate flavor without making it taste like coffee. Perfect if you’re a coffee lover.
Orange Zest
Add the zest of one orange to the ganache. Orange and chocolate are classic partners. It adds a bright, fresh note that cuts through the richness.
Sea Salt Topping
Sprinkle flaky sea salt over the ganache immediately after pouring it. It looks beautiful and adds a salty crunch that contrasts with the soft cake. This is my favorite way to serve it.
Nutty Version
Fold ½ cup of toasted chopped hazelnuts or pecans into the batter before baking. It adds crunch and pairs beautifully with the dark chocolate. Just make sure the nuts are finely chopped so they distribute evenly.
Dairy-Free Option
Use dairy-free dark chocolate and coconut cream instead of heavy cream. The coconut flavor will come through, so use a strong dark chocolate to balance it. It’s still delicious, just different.
Serving & Storage
How to Serve
I usually serve this cake chilled, sliced into thin wedges. It’s rich, so a little goes a long way. I pair it with a dollop of unsweetened whipped cream or a scoop of vanilla ice cream. The contrast between the cold cream and the dense chocolate is amazing. It’s also great with a cup of black coffee or a glass of red wine.
Side Dishes
This is a dessert, so it doesn’t need much. But if you’re serving it as part of a larger spread, I like to have some fresh berries on the side. Raspberries or strawberries add a tartness that balances the sweetness. I also love serving it with my chocolate crinkle cookies for a chocolate-themed dessert table.
Storage Instructions
Refrigerator: Store the cake in an airtight container or covered tightly with plastic wrap in the fridge for up to 5 days. It actually gets fudgier after a day or two.
Freezing: Yes, you can freeze this cake! Wrap the whole cake (or individual slices) tightly in plastic wrap, then in aluminum foil. It will keep for up to 3 months. Thaw in the fridge overnight before serving. The texture holds up surprisingly well.
Reheating: You don’t need to reheat this. It’s best served cold. But if you want it softer, let it sit at room temperature for 15-20 minutes before serving.
Pro Tip
If you’re making this for a dinner party, make the cake the night before. The ganache sets better, and the flavors meld. It makes your life so much easier on the day of the event.
Nutrition Information
I’m not a nutritionist, but here’s the breakdown if you’re tracking. Keep in mind that this is a rich, dense dessert, so portions should be moderate.
Per Serving (based on 12 slices):
- Calories: 380
- Protein: 6g
- Carbs: 32g
- Fiber: 2g
- Sugar: 28g
- Fat: 26g
- Saturated Fat: 15g
- Cholesterol: 95mg
- Sodium: 45mg
What’s Good: It’s naturally gluten-free and grain-free. It has some protein from the eggs and chocolate. The dark chocolate offers antioxidants.
What to Know: It’s high in sugar and saturated fat because it’s a decadent dessert. If you’re watching your sugar intake, you might want to look at my keto peanut butter cup fat bombs instead.
Final Thoughts
So that’s my go-to gluten-free flourless fudgy chocolate cake with silky ganache. I’ve probably talked your ear off at this point, but when you make a recipe this often, you have a lot to say about it.
This cake has saved so many dinner parties and late-night cravings. It’s my answer to “I need chocolate, but I don’t want to feel heavy afterward.” It’s elegant, it’s simple, and it’s incredibly satisfying. My family loves it, my friends ask for it, and I make it more often than I probably should.
Make it yours! Try different chocolates, add some nuts, or sprinkle sea salt on top. The best recipes are the ones you adapt to your tastes. If you make this, drop a comment and let me know what you think! I love hearing how recipes turn out in your kitchen. And if something doesn’t work, tell me that too—I’m here to help troubleshoot.
Happy baking! And I hope your kitchen smells as good as mine does right now.
Frequently Asked Questions
Can I use milk chocolate instead of dark chocolate?
You can, but the cake will be much sweeter and less intense. Dark chocolate (60-70%) gives the best balance of sweetness and richness. If you use milk chocolate, you might want to reduce the sugar in the recipe by ¼ cup. But honestly, I stick to dark chocolate for that fudgy, grown-up flavor.
Why did my cake crack on top?
Cracking is normal for flourless cakes! It happens because the cake rises and then settles as it cools. It doesn’t affect the taste or texture at all. In fact, it adds to the rustic, homemade look. If you’re worried about it, just cover the crack with the ganache. No one will notice.
Can I make this in a regular cake pan instead of a springform?
Yes, but it’s trickier. If you use a regular 8-inch round pan, you’ll need to line the bottom and sides with parchment paper and grease it well. When it’s done, you’ll need to invert the cake onto a plate to get it out. A springform pan is much easier because you just unlock the sides. If you don’t have a springform, a regular pan works, but be careful.
How do I store leftovers?
Store the cake in an airtight container in the fridge for up to 5 days. It actually tastes better after a day or two as the flavors meld. You can also freeze it for up to 3 months. Wrap it tightly in plastic wrap and then foil. Thaw in the fridge overnight.
Can I make this nut-free?
Yes! This recipe is naturally nut-free if you don’t add any nuts. Just make sure your chocolate doesn’t have any nut processing warnings if you have severe allergies. Most dark chocolates are safe, but always check the label.
Why is my ganache too runny?
If your ganache is too runny, it might be because the cream wasn’t hot enough, or you used too much cream. For a standard ganache, use a 1:1 ratio of chocolate to cream by weight. If it’s still too thin, you can gently reheat it and add a bit more chopped chocolate. If it’s too thick, add a splash of warm cream.
Can I double this recipe?
Yes, you can double it, but you’ll need a larger pan (like a 9×13 inch pan) or two springform pans. The baking time might increase slightly, so check it a few minutes later. Be careful not to overmix when doubling, as you’re working with more volume.
Pin This Recipe!
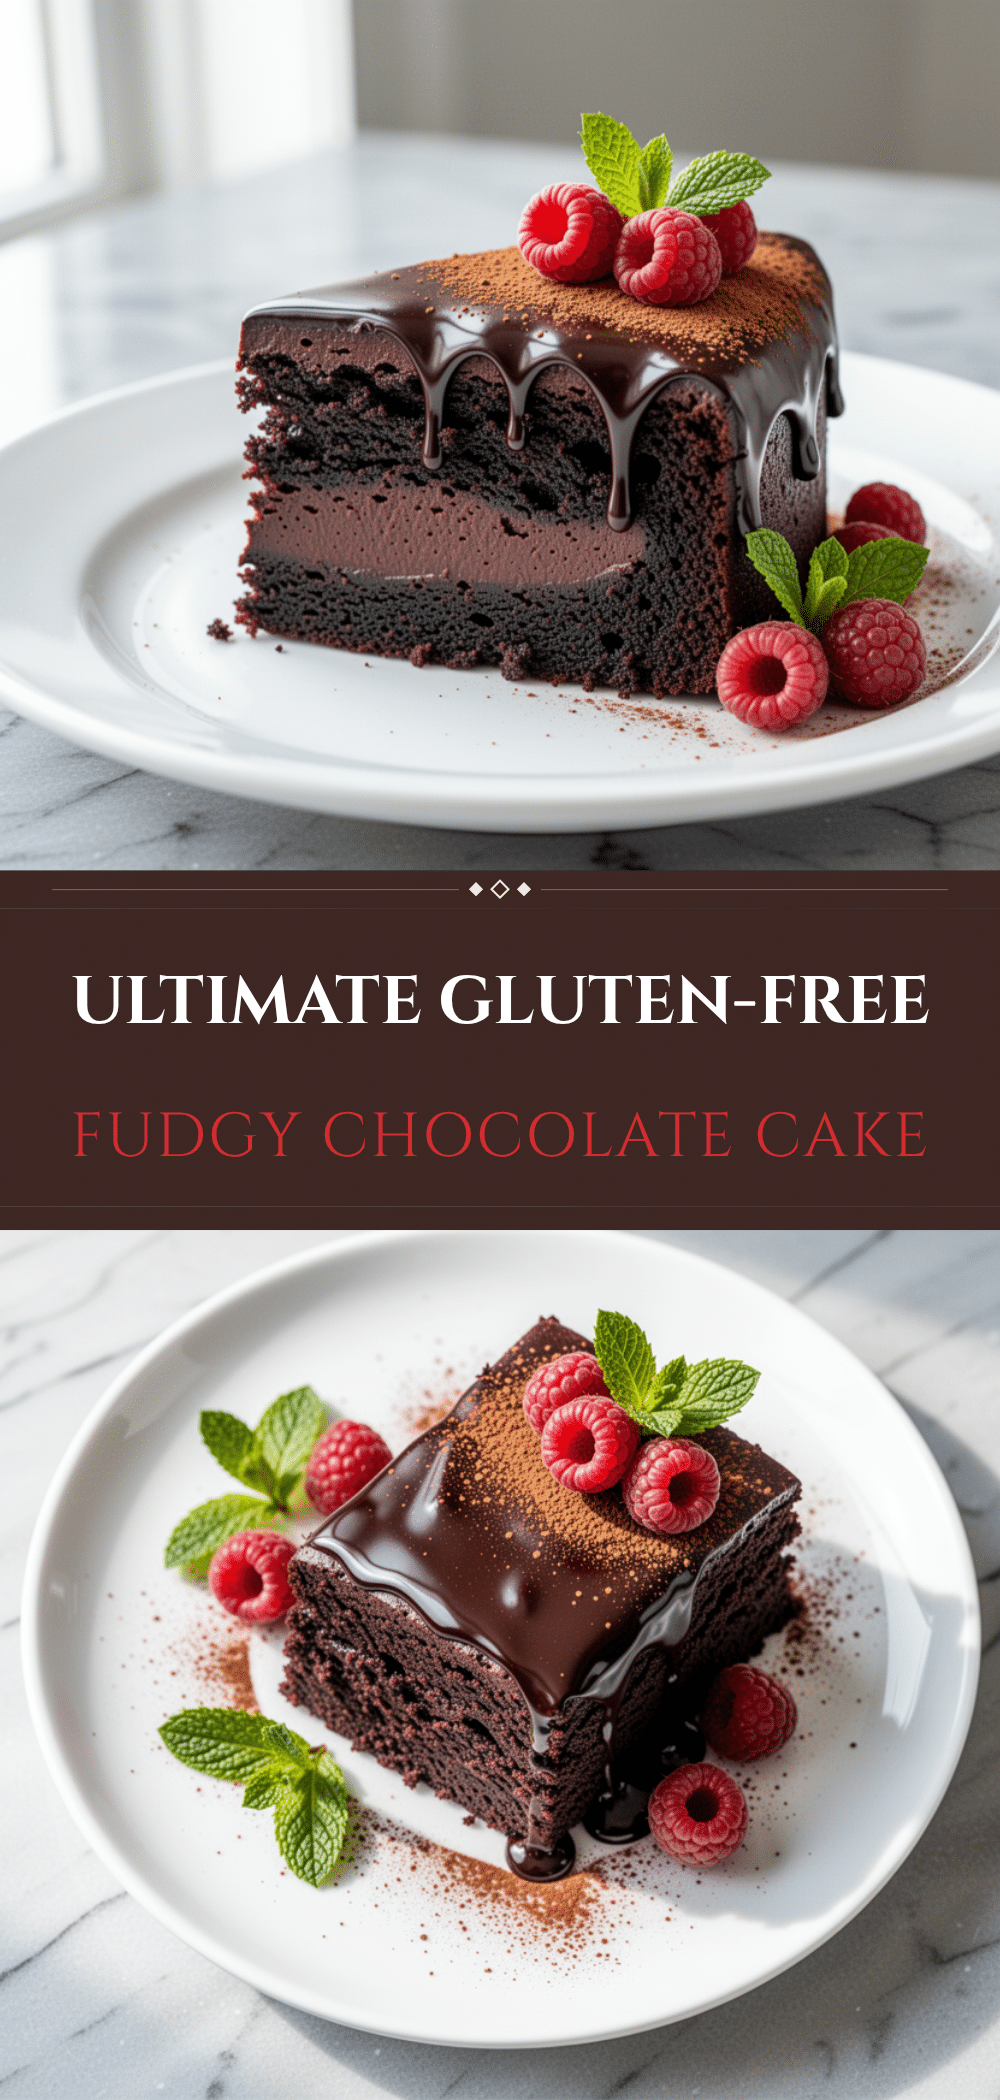
Gluten-Free Flourless Fudgy Chocolate Cake: 3-Step Perfect Recipe
- Total Time: 2 hours 30 minutes
- Yield: 12 servings 1x
Description
A rich, dense, and fudgy gluten-free chocolate cake topped with a silky dark chocolate ganache. Made with only 5 core ingredients, this naturally flourless dessert is safe for celiacs and incredibly satisfying.
Ingredients
- 12 oz (340g) dark chocolate (60-70% cocoa), chopped
- ½ cup (113g) unsalted butter, chopped
- 1 cup (200g) granulated sugar
- 4 large eggs, room temperature
- ½ teaspoon fine sea salt
- 1 teaspoon pure vanilla extract
- ½ cup (120ml) heavy cream
- 4 oz (113g) dark chocolate, finely chopped (for ganache)
- Pinch of salt (for ganache)
- Optional: Sea salt flakes for topping
- Optional: 1 teaspoon espresso powder
Instructions
- Preheat oven to 350°F (175°C). Grease an 8-inch springform pan generously with butter and line the bottom with parchment paper.
- Chop 12 oz of dark chocolate into rough chunks. Combine with chopped butter in a microwave-safe bowl. Microwave on high for 30 seconds, stir, then microwave in 15-20 second intervals until smooth and glossy. Let cool slightly.
- In a medium bowl, whisk 4 eggs and 1 cup of sugar vigorously for 2-3 minutes until pale, fluffy, and thickened.
- Pour the melted chocolate and butter mixture into the egg mixture. Add vanilla extract and ½ teaspoon salt. Stir gently with a spatula until just combined.
- Pour batter into the prepared pan. Bake for 30-35 minutes. The center should still look slightly soft; a toothpick should come out with moist crumbs.
- Cool in the pan for 10 minutes, then remove the springform ring. Cool completely on a wire rack (at least 1 hour).
- While cake cools, heat ½ cup heavy cream in a small saucepan until it just starts to simmer. Pour over 4 oz finely chopped chocolate in a heat-proof bowl. Let sit for 2 minutes, then stir gently until smooth. Add a pinch of salt.
- Pour warm ganache over the cooled cake. Spread evenly with a palette knife. Refrigerate for at least 30 minutes to set the ganache.
Notes
This cake tastes better the next day as flavors meld. Ensure eggs are room temperature to prevent seizing the chocolate. Do not overbake; the cake sets as it cools. For a mocha flavor, add 1 teaspoon espresso powder to the batter. For a nutty version, fold in ½ cup toasted chopped hazelnuts or pecans.
- Prep Time: 25 minutes
- Cook Time: 35 minutes
- Category: Dessert
- Cuisine: American
Nutrition
- Serving Size: 1 slice
- Calories: 380
- Sugar: 28
- Sodium: 45
- Fat: 26
- Saturated Fat: 15
- Carbohydrates: 32
- Fiber: 2
- Protein: 6
Keywords: gluten-free, flourless chocolate cake, fudgy chocolate cake, chocolate ganache, dairy-free option, easy dessert, celiac friendly


