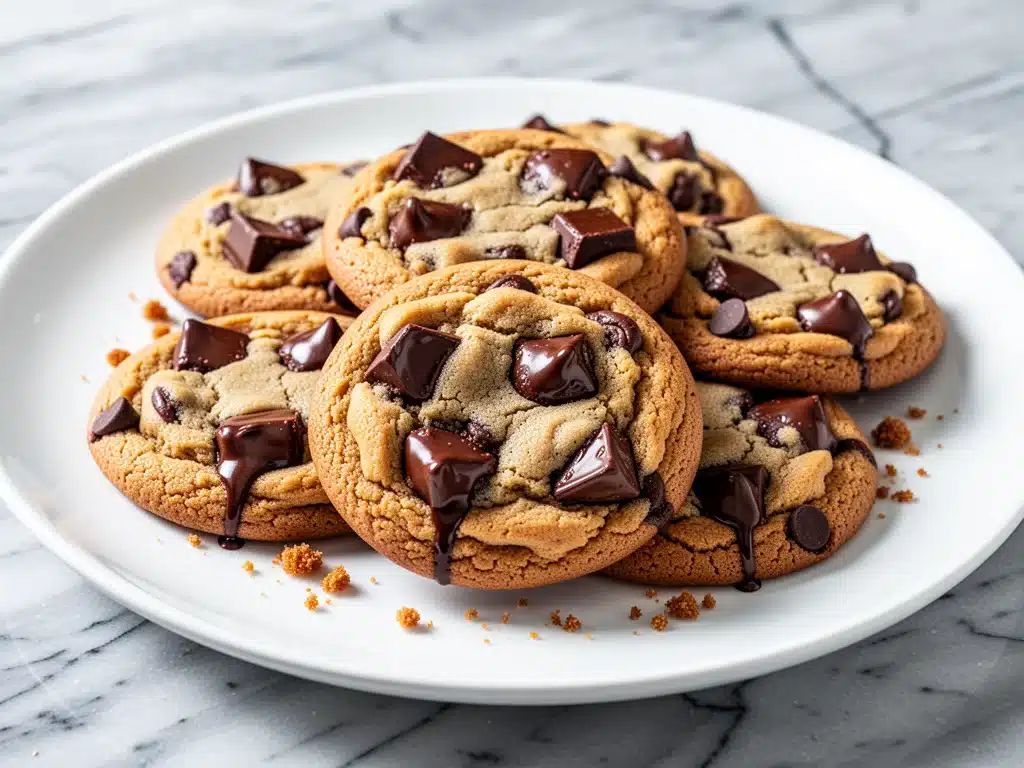
Last Tuesday, I was standing in my kitchen at 7:45 PM, staring into the open fridge with that specific look of “I am too tired to cook but also too tired to order takeout.” The house was quiet, the kids were finally down, and my brain was completely fried from a day of Zoom calls and laundry mountains. I didn’t want a salad. I didn’t want a bowl of cereal. I wanted something warm, sweet, and deeply satisfying without requiring a three-hour commitment.
That was the moment I decided to try making brown butter chocolate chip cookies for the first time as a weeknight rescue mission. I’ve always known that brown butter sounds fancy—like something you’d order at a bistro or make for a holiday gift tin—but I always assumed it was too much work for a random Tuesday. I was wrong. So, so wrong.
These brown butter chocolate chip cookies are perfect for busy weeknights because they actually come together faster than most basic cookie recipes once you get the hang of the browning step. The nutty, toasty flavor they add is unlike any other chocolate chip cookie you’ve had. It’s deeper. Richer. More complex. And honestly? It makes a simple bag of chocolate chips taste like you spent an hour in a professional bakery.
I’ve tested this brown butter chocolate chip cookies recipe about twelve times in the last month alone. I’ve tweaked the sugar ratios, the flour types, and the baking times until I landed on the absolute perfect balance of crispy edges and chewy centers. If you’re tired of boring, flat chocolate chip cookies and want to level up your dessert game without spending all night in the kitchen, you need to try this. It’s become my new go-to when I need a win, a treat, or just a little moment of joy before bed.
Why You’ll Love These Brown Butter Cookies
Look, I love a classic chocolate chip cookie as much as the next person. But there’s something magical about brown butter that changes everything. Here’s why these brown butter chocolate chip cookies have completely replaced my standard recipe in our house.
Nutty, Complex Flavor — This isn’t just “sweet cookie.” The brown butter adds a deep, toasted almond flavor that makes every bite interesting. It’s the kind of cookie you notice immediately. I’ve served these to my husband, who usually just eats plain chocolate chip cookies, and he actually paused mid-bite to ask what was different. That’s how you know it’s good.
Actually Fast for Weeknights — I know what you’re thinking: “Butter browning takes time!” Real talk: once you brown the butter, you just let it cool while you mix the dough. The active prep time is about 10 minutes. The cooling time is passive. You’re not standing there. So, from start to finish, you’re looking at about 30 minutes if you’re in a rush, or 45 if you want them perfectly set. Perfect for a 5 PM craving.
Crispy Edges, Chewy Centers — I’ve struggled with cookies that are either all crunchy or all doughy. This recipe nails the texture. The brown butter encourages browning, giving you those gorgeous golden, crispy edges, while the rest of the cookie stays soft and chewy in the middle. It’s the best of both worlds.
Pantry Staples — You don’t need any weird specialty ingredients. Just butter, sugar, flour, eggs, and chocolate chips. The brown butter *is* the special ingredient. It transforms what you already have into something spectacular. I keep these ingredients stocked specifically so I can pull this off on a whim.
Freezer Friendly — Here’s the best part for busy weeknights: you can scoop the dough and freeze it. When you come home exhausted, you just pull two balls out, toss them on a baking sheet, and bake. No mixing, no mess. Just warm cookies. I’ve done this more times than I can count.
This recipe has saved me from ordering DoorDash on nights when I just want to sit on the couch with a warm cookie and a glass of milk. It’s reliable, delicious, and makes your kitchen smell like a dream.
Ingredients You’ll Need
Here’s the thing about brown butter chocolate chip cookies: the ingredient list is short, but the quality matters. You don’t need fancy flours or exotic chocolates, but you do need to pay attention to a few details. I’m particular about three things here, and I’ll tell you exactly why.
Unsalted Butter (1 cup / 226g) — You need unsalted butter so you can control the saltiness. I use high-quality European-style butter like Kerrygold or Plugra for the best flavor, but regular supermarket butter works fine too. Just make sure it’s real butter, not margarine. The browning process is where the magic happens, so use good butter.
All-Purpose Flour (2 ¼ cups / 280g) — I always use all-purpose flour for these. Cake flour makes them too delicate, and bread flour makes them too chewy. All-purpose gives that perfect tender crumb. Spoon it into the cup and level it off—don’t scoop and pack, or you’ll end up with dry cookies. I use Gold Medal because it’s consistent.
Baking Soda (1 teaspoon) — This is crucial. Baking soda reacts with the brown butter and the acidic sugars to help the cookies spread and brown. Don’t use baking powder instead; it won’t work the same way. Check your baking soda is fresh—if it’s old, your cookies won’t rise properly.
Salt (1 teaspoon) — Since we’re using unsalted butter, you need to add salt to bring out the flavors. I use kosher salt (like Diamond Crystal) because it’s easier to measure. If you use table salt, reduce it to ¾ teaspoon.
Granulated Sugar (¾ cup / 150g) — This helps create the crispy edges. I don’t reduce this; the sugar is what caramelizes in the brown butter. If you want a softer cookie, you can increase the brown sugar slightly, but I like the crunch.
Brown Sugar (1 cup / 200g, packed) — This is the chewy part. Make sure it’s packed tightly into the cup. If it’s hard and clumpy, microwave it for 10 seconds to soften it up. Light brown sugar is fine, but dark brown sugar adds a deeper molasses flavor that pairs beautifully with the toasted butter.
Eggs (2 large eggs) — Room temperature eggs mix into the dough more evenly. If you’re in a rush, just drop them in a bowl of warm water for 5 minutes. I use large eggs, not extra-large, to keep the ratio right.
Vanilla Extract (2 teaspoons) — Use real vanilla extract, not imitation. The flavor is much stronger and more complex. I love using Nielsen-Massey vanilla beans or just a good bottle of pure extract. It’s the backbone of the cookie flavor.
Chocolate Chips (2 cups / 340g) — I use a mix of semi-sweet and dark chocolate chips. I like Ghirardelli or Nestlé Toll House, but chopped chocolate bars work even better if you want a more rustic look. The chocolate should be good quality because you’ll really taste it against the nutty butter.
Flaky Sea Salt (for topping) — This is non-negotiable in my book. Sprinkling Maldon sea salt on top right after they come out of the oven elevates the sweetness and adds a nice crunch. It’s the restaurant-quality touch that makes people ask for the recipe.
Equipment Needed
You don’t need fancy gadgets for this. Here’s what I actually use to make my brown butter chocolate chip cookies without a headache.
Heavy-Bottomed Saucepan — I use a 2-quart stainless steel saucepan. The heavy bottom is important because it distributes heat evenly, preventing the butter from burning in spots. A thin aluminum pan will burn the butter faster. If you don’t have one, a non-stick skillet works too, but watch it closely.
Whisk — A simple balloon whisk is perfect for browning the butter. You need to stir constantly to get an even color. I also use it to mix the dough. A wooden spoon works, but a whisk incorporates air better.
Mixing Bowls — You need two: one medium bowl for the dry ingredients and one large bowl for the wet. I use glass bowls because I can see how the dough is coming together. Plastic is fine too.
Baking Sheets — I use standard half-sheet pans (18×13 inches). I prefer light-colored aluminum pans because dark pans conduct heat too aggressively and can burn the bottoms of the cookies. Line them with parchment paper for easy cleanup and even baking.
Parchment Paper — Do not skip this. Greasing the pan isn’t enough; the cookies can stick and burn. Parchment paper ensures they release easily and keeps your pans clean. I keep a roll on the counter at all times.
Cooling Rack — You need to transfer the cookies to a rack immediately after baking. If you leave them on the hot pan, they’ll continue to cook and get tough. A wire rack lets air circulate and stops the cooking process.
Measuring Cups and Spoons — For dry ingredients, use nested measuring cups. For liquids and small amounts, use spoons. Accuracy matters in baking, so don’t eyeball it too much.
Ice Cream Scoop — Optional but highly recommended. A small cookie scoop (about 1.5 tablespoons) ensures all your cookies are the same size, so they bake evenly. If you don’t have one, just use two spoons to scoop rough balls.
How to Make It: Step-by-Step
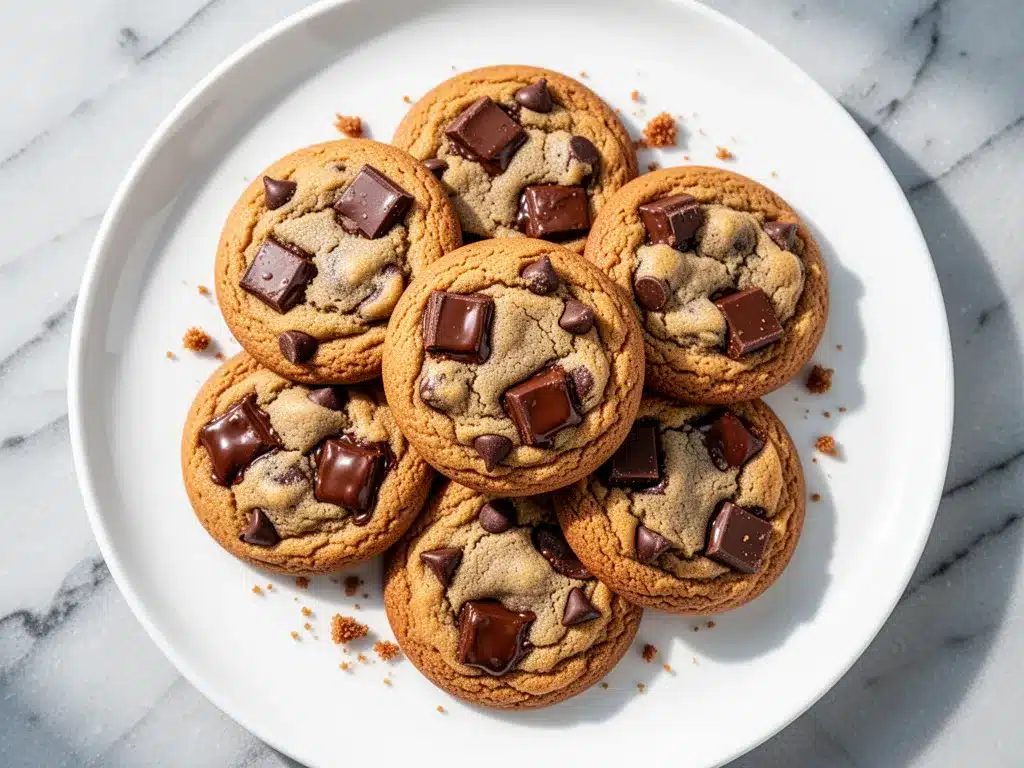
Alright, let’s make these brown butter chocolate chip cookies! I’m walking you through exactly how I do it, including the little tricks that prevent disaster. This process is straightforward, but there are a few key moments where you need to pay attention.
Step 1: Brown the Butter (5-8 minutes)
Start by melting the butter in your heavy-bottomed saucepan over medium heat. You’ll see it foam up and bubble. Keep stirring with your whisk. As it melts, the milk solids will separate and sink to the bottom. Listen to the sound—it will change from a loud sizzle to a quieter, nutty hiss. Smell it too. Once it smells like toasted nuts or hazelnuts, it’s done. This usually takes 5-8 minutes. Pour the brown butter into a heatproof bowl immediately to stop the cooking. It will continue to cook if left in the hot pan. Set it aside to cool slightly.
Step 2: Mix the Dry Ingredients (2 minutes)
While the butter cools, whisk together the flour, baking soda, and salt in a medium bowl. Whisking ensures the baking soda is evenly distributed, so you don’t get bitter bits of baking soda in your cookies. Set this aside.
Step 3: Cream the Sugars and Butter (3-4 minutes)
Once the brown butter is cool enough to touch (but still liquid), add it to a large mixing bowl. Add the granulated sugar and brown sugar. Whisk vigorously for about 2-3 minutes. You’re not just mixing; you’re incorporating air. The mixture should look lighter and slightly fluffy. This step is crucial for texture. If you rush this, your cookies will be dense.
Step 4: Add Eggs and Vanilla (1 minute)
Crack the eggs into the sugar mixture and add the vanilla extract. Whisk again until everything is combined and smooth. The mixture might look a little curdled at first—that’s okay. It will come together when you add the flour.
Step 5: Combine Wet and Dry (2 minutes)
Gradually add the flour mixture to the wet ingredients. Mix on low speed or by hand just until the flour disappears. Do not overmix! Overmixing develops gluten, which makes cookies tough. You want them tender. Once the last streak of flour is gone, stop.
Step 6: Fold in Chocolate Chips (1 minute)
Stir in the chocolate chips with a spatula. Make sure they’re evenly distributed. If you’re using chopped chocolate, fold gently to keep the chunks intact.
Step 7: Scoop and Bake (15-18 minutes)
Preheat your oven to 350°F (175°C). Line baking sheets with parchment paper. Scoop balls of dough (about 1.5 tablespoons each) onto the sheets, spacing them 2 inches apart. They will spread. Bake for 12-15 minutes. You want the edges to be golden brown and set, but the centers to still look slightly soft and underdone. They will firm up as they cool. This is the secret to chewy centers.
Step 8: Cool and Salt (5 minutes)
Let the cookies sit on the hot baking sheet for 5 minutes. This allows them to set. Then, transfer them to a wire rack to cool completely. Right after they come out of the oven, while they’re still warm, sprinkle with flaky sea salt. The salt will melt slightly into the cookie, creating those beautiful salty-sweet pockets.
Expert Tips & Tricks
Here’s everything I’ve learned from making brown butter chocolate chip cookies dozens of times. These tips will save you from my mistakes and ensure your cookies turn out perfect every time.
Don’t Burn the Butter
This is the #1 risk. Brown butter goes from “perfect” to “burnt” in seconds. If it smells acrid or tastes bitter, you’ve gone too far. Start checking it at the 4-minute mark. If you burn it, you have to start over. There’s no fixing burnt butter. Trust your nose—it should smell like toasted almonds, not burnt toast.
Cool the Butter Properly
You don’t need to wait for the butter to reach room temperature, but it shouldn’t be piping hot when you add the sugar. If it’s too hot, it will melt the sugar and change the texture. Let it sit for about 10-15 minutes. It should be liquid but not hot to the touch. If you’re in a rush, you can put it in the fridge for 5 minutes, but watch it closely—it solidifies fast.
Chill the Dough (Optional but Recommended)
If you have time, chill the dough for 30 minutes to an hour. This prevents the cookies from spreading too thin and helps the flavors meld. The cold butter also creates steam in the oven, which helps with lift. But if you’re making them for a weeknight treat and don’t want to wait? You can skip this. They’ll still be delicious, just slightly flatter.
Underbake Slightly
I cannot stress this enough. Pull the cookies out when the edges are golden but the centers look soft. They will continue to cook on the hot pan. If you wait until they look done in the oven, they’ll be hard and crunchy all the way through. We want chewy centers, right?
Use Good Chocolate
Since there are only a few ingredients, the chocolate shines. Don’t use the cheapest chips. A good semi-sweet or dark chocolate bar adds richness. I like to chop a bar of Ghirardelli 60% cacao chocolate for larger, melty chunks.
Don’t Overcrowd the Pan
Give the cookies space to spread. If they’re too close, they’ll merge into one giant cookie. Space them at least 2 inches apart. If you’re baking multiple sheets, bake one at a time. Rotating sheets helps, but baking one at a time ensures even cooking.
Variations & Substitutions
Once you’ve nailed the basic brown butter chocolate chip cookies recipe, here’s how you can mix it up. I’ve tried all of these, and they all work.
White Chocolate Macadamia
Swap the chocolate chips for white chocolate chips and add 1 cup of toasted macadamia nuts. The brown butter pairs incredibly well with white chocolate and nuts. It’s like a macaroon in cookie form. My kids love this version.
Peanut Butter Swirl
Before baking, dollop a teaspoon of peanut butter on top of each cookie dough ball and swirl it in with a fork. The salty peanut butter and brown butter are a match made in heaven. This is my personal favorite variation.
Oatmeal Brown Butter
Add 1 cup of rolled oats to the dry ingredients. This adds chewiness and heartiness. It makes the cookies more like a breakfast cookie, but still sweet enough for dessert. Great for adding fiber.
Gluten-Free Option
Use a 1:1 gluten-free flour blend (like Bob’s Red Mill or King Arthur). Make sure it contains xanthan gum, or add ½ teaspoon yourself. The texture might be slightly more crumbly, but the flavor is still amazing. I’ve tested this with several brands, and it works well.
Vegan Version
Use vegan butter (like Miyoko’s or Earth Balance) and a flax egg (1 tablespoon ground flaxseed mixed with 3 tablespoons water per egg). The brown butter step still works with vegan butter, but the flavor won’t be exactly the same. It’s still delicious, though.
Spiced Variation
Add 1 teaspoon of cinnamon and ½ teaspoon of nutmeg to the dry ingredients. The spices complement the toasted butter beautifully. This feels more like a fall cookie.
Serving & Storage
How to serve and store your brown butter chocolate chip cookies so they stay fresh and delicious.
How to Serve
These cookies are best served warm, right after baking. The combination of warm, gooey chocolate and crispy edges is unbeatable. Serve them with a cold glass of milk, a cup of coffee, or even a scoop of vanilla ice cream if you’re feeling fancy. I also like to serve them with a hot cup of tea for a cozy afternoon treat.
Storing at Room Temperature
Once completely cooled, store the cookies in an airtight container at room temperature for up to 5 days. Place a piece of bread in the container with the cookies—the bread will keep them soft and chewy for longer. Swap the bread every day or two.
Freezing Dough
This is the best way to have cookies ready for busy weeknights. Scoop the dough onto a baking sheet and freeze until solid (about 1 hour). Then transfer the dough balls to a freezer bag. They’ll keep for up to 3 months. When you want cookies, just bake them straight from frozen, adding 1-2 minutes to the baking time. No thawing needed.
Freezing Baked Cookies
You can freeze baked cookies for up to 2 months. Let them cool completely, then store in an airtight container with parchment paper between layers. Reheat in the microwave for 10-15 seconds to restore softness. They won’t be quite as crisp as fresh, but they’re still great.
Reheating
If your cookies have gone soft in storage, pop them in the oven at 350°F for 3-5 minutes to crisp up the edges. Or just eat them soft—they’re still good!
Nutrition Information
I’m not a nutritionist, but here’s the breakdown if you’re tracking. Keep in mind that these are rich, buttery cookies, so portion control is key.
Per Cookie (based on 24 cookies):
- Calories: 180
- Protein: 2g
- Carbs: 24g
- Fiber: 1g
- Sugar: 16g
- Fat: 9g
- Saturated Fat: 5g
- Cholesterol: 25mg
- Sodium: 120mg
These cookies are higher in calories due to the butter and sugar, but they’re also very satisfying, so you likely won’t need more than one or two. The brown butter adds a depth of flavor that makes each bite count. If you’re looking for a lighter option, try the oatmeal variation or reduce the sugar slightly, but you’ll sacrifice some texture.
Final Thoughts
So that’s my go-to brown butter chocolate chip cookies recipe! I’ve probably talked your ear off at this point, but when you make a recipe this often, you have a lot to say about it. These cookies have saved me from boring weeknight desserts and have become a staple in our home. They’re rich, chewy, and full of nutty flavor that feels indulgent but comes together quickly.
I love that I can make the dough ahead of time and freeze it, so I always have fresh cookies ready to go when the craving hits. Whether you’re baking them for a last-minute snack, a dinner party dessert, or just because you want something sweet, these cookies deliver. They’re better than any store-bought option and way easier than you think.
Make them your own! Try different chocolates, add nuts, or swap in some oats. The best recipes are the ones you adapt to your tastes. And if you try this brown butter chocolate chip cookies recipe, I’d love to hear how it turns out. Drop a comment and let me know what you think. Did you add sea salt? Did you chill the dough? I’m always curious to hear what variations work for your family.
Happy baking! And I hope your kitchen smells as amazing as mine does right now.
Frequently Asked Questions
Can I use salted butter instead of unsalted?
You can, but you’ll need to reduce the added salt in the recipe. Salted butter varies in salt content, so start by adding only ½ teaspoon of salt to the dough instead of 1 teaspoon. Taste the dough if you’re unsure, but remember that the flaky sea salt on top will add more saltiness later. Unsalted is still preferred for control.
Why did my cookies spread too much?
This usually happens if the butter was too warm when you mixed the dough, or if the oven wasn’t preheated enough. Make sure your brown butter has cooled to room temperature but is still liquid. Also, check your oven temperature with an oven thermometer—many ovens run hot or cold. If the cookies spread too much, chill the dough for 30 minutes before baking next time.
Can I freeze the brown butter before mixing?
No, not really. You need the butter to be liquid to mix with the sugar properly. If you brown the butter and let it solidify in the fridge, it will be hard to cream with the sugar. Let it cool until it’s liquid but not hot. If you accidentally let it harden, just gently warm it in the microwave for 10-15 seconds until it’s liquid again.
How do I know when the butter is properly browned?
Look for two signs: color and smell. The butter should turn a deep golden brown, and you’ll see brown milk solids at the bottom of the pan. The smell should be distinctly nutty, like toasted almonds or hazelnuts. If it smells burnt or acrid, you’ve gone too far. It’s better to slightly under-brown than to burn it.
Can I make these cookies gluten-free?
Yes! Use a 1:1 gluten-free flour blend that includes xanthan gum. If your blend doesn’t have xanthan gum, add ½ teaspoon to the dry ingredients. The cookies might be slightly more crumbly, but the flavor and texture will still be delicious. I’ve tested this with several brands, and it works well.
Why are my cookies dry?
This usually means they’re overbaked. Remember, pull them out when the edges are golden but the centers look soft. They will continue to cook on the hot pan. Also, check your flour measurement—if you scooped and packed the flour, you might have added too much. Spoon the flour into the measuring cup and level it off for accurate measurements.
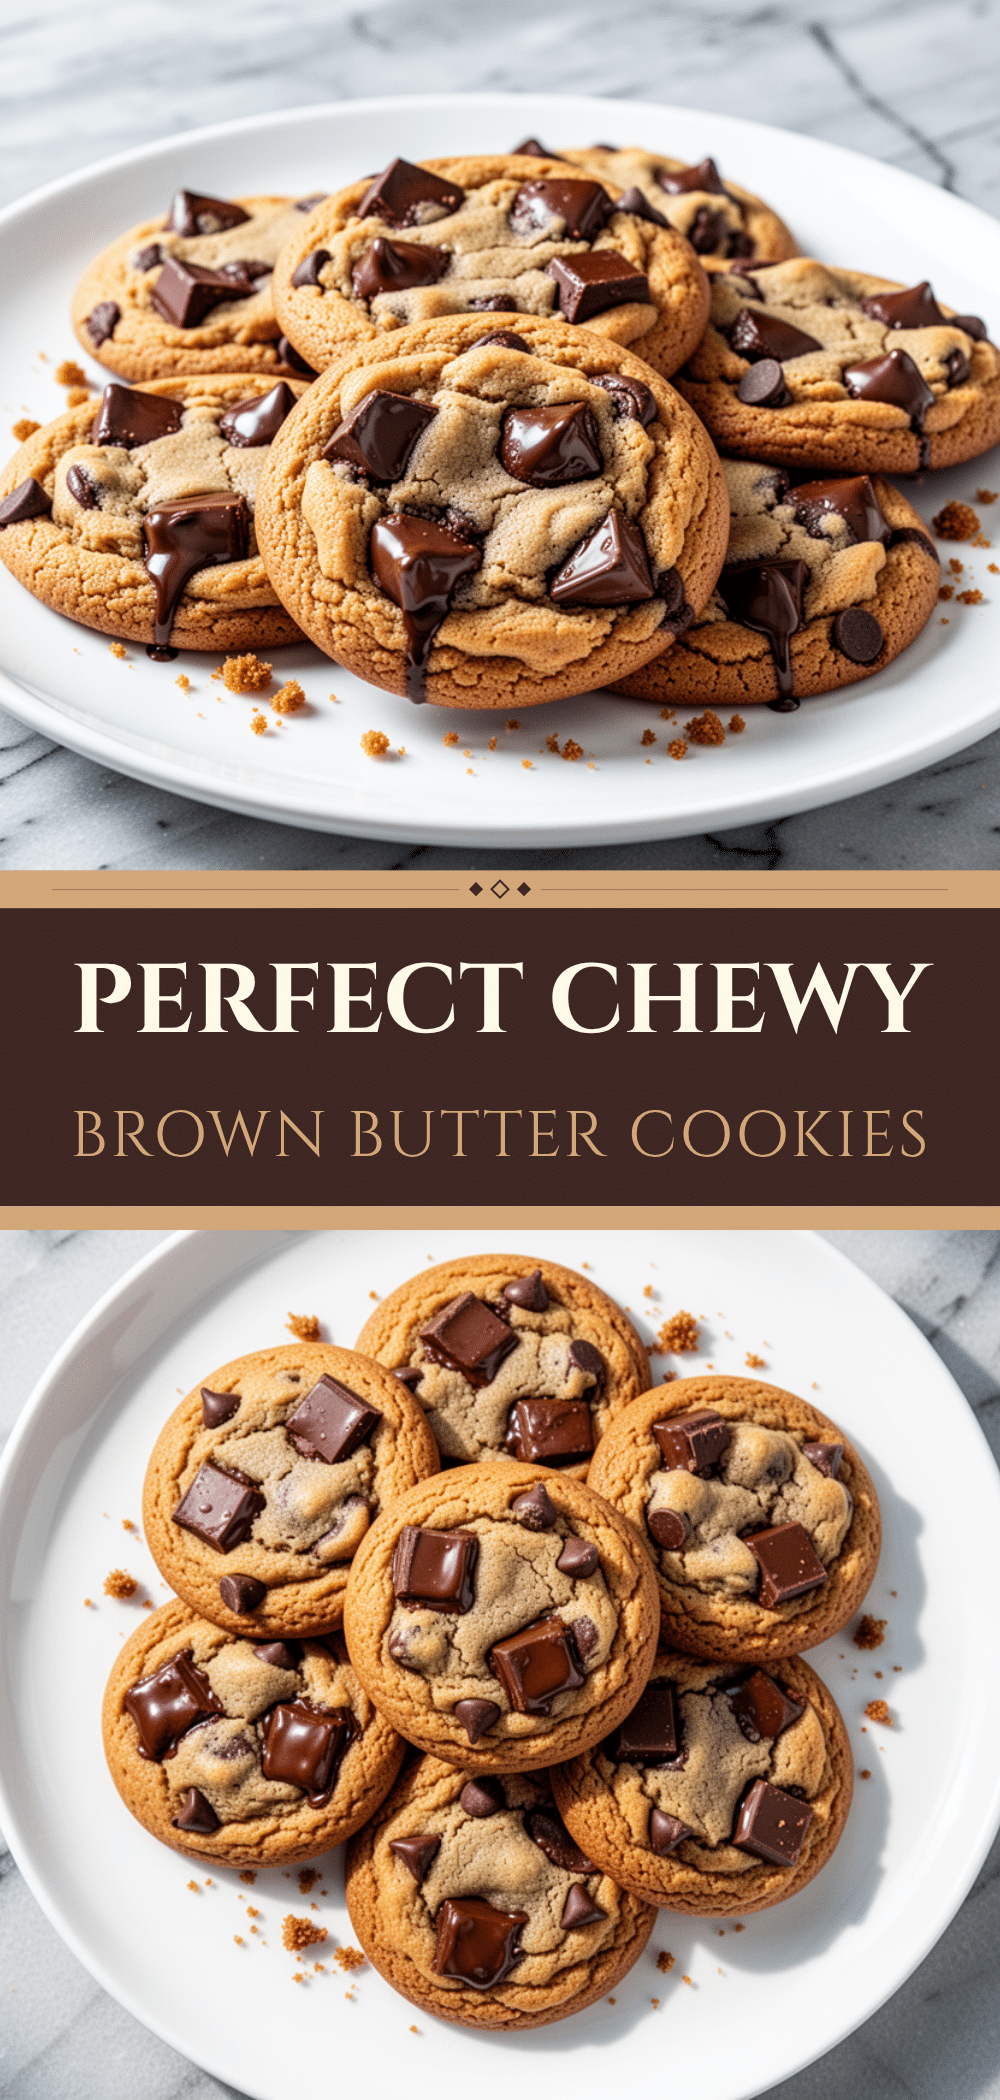
Pin This Recipe!
Brown Butter Chocolate Chip Cookies: 30-Min Easy Treat
- Total Time: 30 minutes
- Yield: 24 cookies 1x
Description
Rich, chewy chocolate chip cookies with a deep, nutty brown butter flavor. These cookies offer crispy edges and soft centers, coming together in about 30 minutes for a perfect weeknight treat.
Ingredients
- 1 cup (226g) unsalted butter
- 2 ¼ cups (280g) all-purpose flour
- 1 teaspoon baking soda
- 1 teaspoon kosher salt
- ¾ cup (150g) granulated sugar
- 1 cup (200g) packed brown sugar
- 2 large eggs, room temperature
- 2 teaspoons vanilla extract
- 2 cups (340g) semi-sweet or dark chocolate chips
- Flaky sea salt (for topping)
Instructions
- Brown the butter: Melt butter in a heavy-bottomed saucepan over medium heat. Stir constantly until it smells like toasted nuts and turns golden brown (5-8 minutes). Pour into a heatproof bowl to stop cooking and let cool slightly.
- Mix dry ingredients: Whisk together flour, baking soda, and salt in a medium bowl.
- Cream sugars and butter: In a large bowl, whisk the cooled brown butter with granulated and brown sugar vigorously for 2-3 minutes until light and fluffy.
- Add wet ingredients: Whisk in eggs and vanilla extract until smooth.
- Combine wet and dry: Gradually add the flour mixture to the wet ingredients, mixing just until the flour disappears. Do not overmix.
- Fold in chocolate: Stir in chocolate chips with a spatula until evenly distributed.
- Scoop and bake: Preheat oven to 350°F (175°C). Line baking sheets with parchment paper. Scoop 1.5 tablespoon dough balls onto sheets, spacing 2 inches apart. Bake for 12-15 minutes until edges are golden but centers look soft.
- Cool and salt: Let cookies sit on the hot pan for 5 minutes, then transfer to a wire rack. Sprinkle with flaky sea salt while still warm.
Notes
Ensure butter is cooled but still liquid before mixing with sugar to avoid melting the sugar. Do not overbake; centers should look soft as they will firm up while cooling. Dough can be scooped and frozen for up to 3 months. Store baked cookies in an airtight container with a piece of bread to maintain softness.
- Prep Time: 10 minutes
- Cook Time: 15 minutes
- Category: Dessert
- Cuisine: American
Nutrition
- Serving Size: 1 cookie
- Calories: 180
- Sugar: 16
- Sodium: 120
- Fat: 9
- Saturated Fat: 5
- Carbohydrates: 24
- Fiber: 1
- Protein: 2
Keywords: brown butter, chocolate chip cookies, weeknight dessert, easy cookies, chewy cookies, baking, homemade cookies


