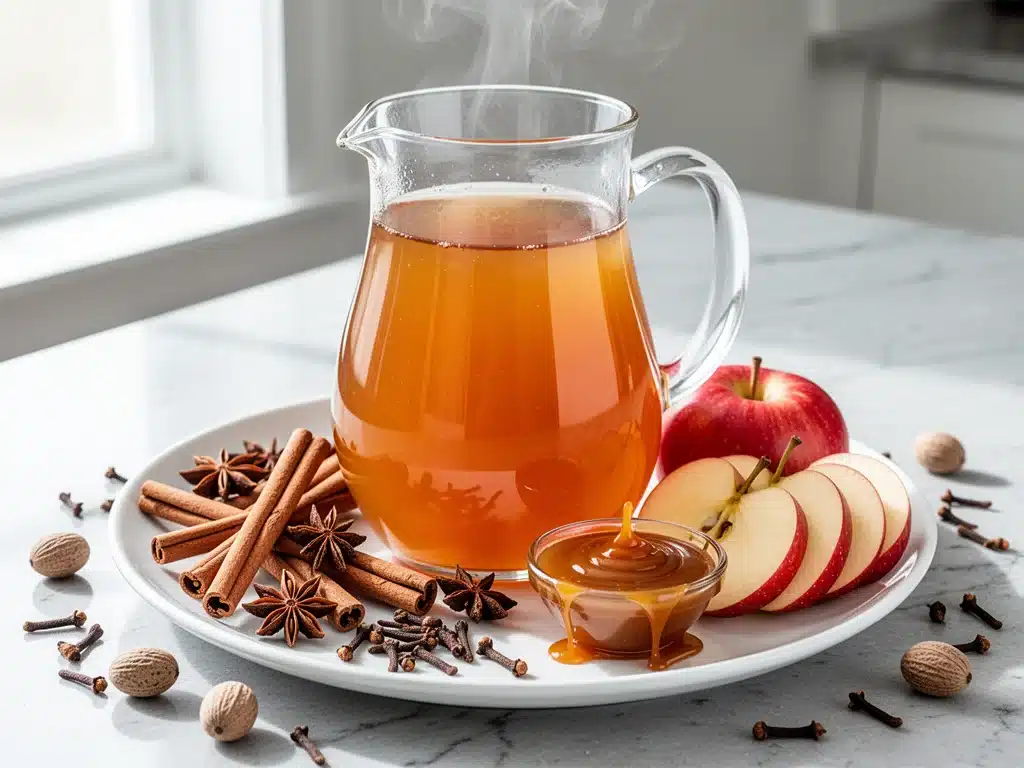
Last Tuesday, I was standing in my kitchen at 7 PM, staring into the open refrigerator with that specific kind of panic that only happens when the weekend hits and you’ve forgotten to plan dessert. My partner had mentioned he was craving something “warm and sweet,” and I had exactly zero ideas. The pantry was mostly empty, save for a half-empty jug of apple cider I’d bought on a whim three days prior, and a stick of butter that was starting to look lonely.
I could have ordered takeout. I could have made toast with peanut butter. But I have this weird compulsion to bake when I’m stressed, even if it’s 7 PM on a Tuesday. So I grabbed a mixing bowl and started throwing things together. I didn’t have a recipe. I just had the cider, some flour, sugar, and a desperate hope that it wouldn’t taste like cardboard.
What came out of the oven twenty minutes later was magic. It smelled like autumn had been bottled up and then set on fire in the best way possible. The edges were crisp, the center was soft and chewy, and that homemade caramel drizzle? It was the kind of sweet that makes you close your eyes and take a deep breath. I ate one standing over the cooling rack, burned my tongue, and didn’t care. By the time my partner came home, I had already made a mental note: Cozy Fall Apple Cider Bars with Caramel are going into permanent rotation.
I’ve tested this recipe at least eight times since that Tuesday night. I’ve tweaked the cider reduction, played with the caramel thickness, and even tried swapping out the brown sugar for maple syrup (spoiler: stick to brown sugar). This isn’t just a seasonal treat. It’s become my go-to comfort bake when the weather turns gray and my mood needs a lift. If you’re looking for a dessert that feels like a warm hug, you’re going to love these bars.
Why You’ll Love This Recipe
There are a lot of apple desserts out there. You’ve got pies, crisps, crumbles, and muffins. But this? This is different. These bars have taken over my kitchen, my lunchbox, and honestly, my social media feed. Here’s why I keep making them on repeat:
- Uses Up That Leftover Cider — If you bought apple cider for a party or a cozy evening and have half a jug sitting in the fridge, this is your answer. I’ve thrown out gallons of cider because I forgot about it. Never again. These bars turn that forgotten ingredient into something spectacular.
- Homemade Caramel Without the Headache — Let’s be real: making caramel from scratch is intimidating. You’re standing over a boiling sugar pot, heart pounding, waiting for it to burn. I’ve been there. These bars use a simplified, foolproof caramel method that’s ready in 10 minutes. No candy thermometer required. It’s rich, chewy, and dangerously easy to make.
- Texture Heaven — The best part? The contrast. You get the crisp, buttery edges of the bar, the tender, cake-like center infused with deep apple flavor, and that sticky, sweet caramel ribbon running through the middle. It’s not just “good.” It’s structurally perfect.
- Perfect for Gifting — I wrapped a pan of these in foil and gave them to my neighbors last week. They texted me an hour later asking for the recipe. They’re portable, they keep well, and they look fancy enough to bring to a potluck but casual enough for a weeknight snack.
- Minimal Cleanup — I’m a one-bowl kind of baker when it comes to bars. You mix the batter, pour it in, bake it, add the topping, bake it again. One pan. One bowl. I can handle that after a long day. Unlike my sourdough discard focaccia, which requires more attention, these bars are set-it-and-forget-it.
So basically, if you want a dessert that tastes like fall, takes less effort than making a casserole, and leaves you with happy people, this is it.
Ingredients You’ll Need
Here’s the thing about baking: the quality of your ingredients matters more than you think. You don’t need anything fancy or hard to find, but I am particular about a few things. Here’s exactly what you need and why I choose them.
For the Bar Base
All-purpose flour (2 cups / 250g) — The foundation. Don’t try to swap this for whole wheat unless you want dense, heavy bars. All-purpose gives that tender, cake-like crumb I’m looking for.
Unsalted butter (1 cup / 226g, softened) — I use high-quality butter like Kerrygold or Plugra. Since there’s no strong flavor to hide behind, cheap butter will taste like wax. Softened is key here for creaming.
Granulated sugar (1 cup / 200g) — For sweetness and structure. It helps create those crisp edges.
Brown sugar (1 cup / 220g, packed) — This adds the molasses flavor that pairs so well with the apple cider. Dark brown is better if you want a deeper, toffee-like taste.
Eggs (2 large, room temperature) — Room temp eggs emulsify better into the butter mixture. Cold eggs can make your batter look curdled, which is stressful when you’re trying to relax.
Vanilla extract (2 teaspoons) — Pure vanilla. Not imitation. This is where the warmth comes from.
Baking powder (1 teaspoon) — Just a little bit to give it lift. We don’t want these to be too airy; we want them substantial.
Salt (½ teaspoon) — Essential to balance the sweetness. Don’t skip it.
For the Apple Cider Infusion
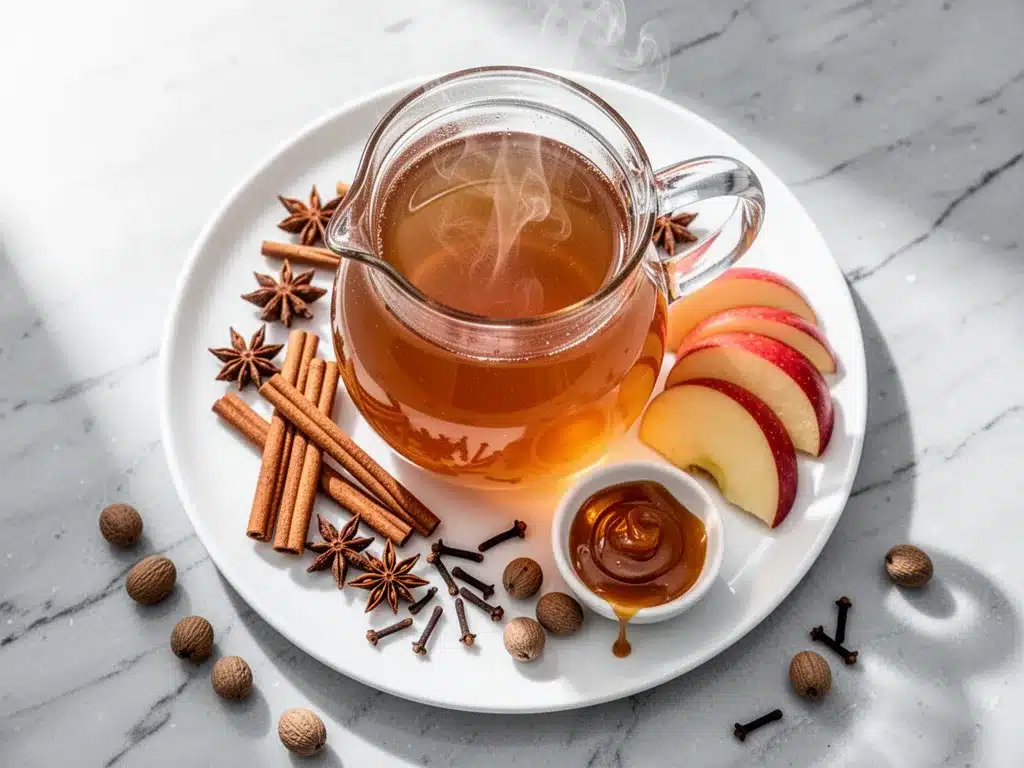
Apple cider (1 cup / 240ml) — This is the star. Use 100% pure apple cider, not apple juice cocktail. If you can find fresh-pressed from a local farm stand, even better. You’ll need to reduce this down, so buy a little extra just in case you spill.
Ground cinnamon (1 teaspoon) — The classic fall spice. It bridges the gap between the bar and the caramel.
Ground ginger (¼ teaspoon) — Optional, but I love the tiny kick it adds. It makes the flavor feel more complex.
Nutmeg (¼ teaspoon) — Freshly grated if you have it. Pre-ground is fine, but it’s less potent.
For the Caramel Drizzle
Heavy cream (½ cup / 120ml) — Full fat is non-negotiable here. Low-fat cream will make the caramel grainy.
Butter (2 tablespoons) — Adds richness and helps stabilize the sauce.
Brown sugar (1 cup / 220g, packed) — Again, dark brown for that deep flavor.
Salt (½ teaspoon) — This is what makes it *caramel*. The salt cuts through the sugar.
Vanilla extract (1 teaspoon) — Stir this in *after* you take it off the heat. If you add it while boiling, it might bubble over.
Optional: Chopped pecans or walnuts (½ cup) — I sometimes sprinkle these on top for crunch. If you’re allergic or just not a fan, skip it.
Equipment Needed
You don’t need a fancy kitchen for this. Here’s what I actually use:
9×13 inch baking dish — Glass or metal both work. I prefer glass because it browns the bottom evenly. Grease it well with butter or cooking spray.
Medium saucepan — For reducing the cider and making the caramel. A non-stick saucepan is helpful for the caramel so you don’t have to scrub burnt sugar off later.
Mixer — A hand mixer or stand mixer makes creaming the butter and sugar much faster. But if you’re strong, a wooden spoon works fine. It’s just arm workout time.
Whisk — For the dry ingredients and stirring the caramel.
Measuring cups and spoons — Standard stuff. Accuracy matters in baking, so level off your cups.
Parchment paper — I always line the baking dish with parchment, leaving an overhang on the sides. This is the secret to lifting the bars out cleanly. If you don’t use parchment, you’ll be digging them out with a knife, and they’ll break.
How to Make It: Step-by-Step
Alright, let’s get cooking. This is simpler than it looks, but there are a few tricks to get that perfect texture.
Step 1: Reduce the Apple Cider (15-20 minutes)
This is the most important step. You can’t just pour regular cider into the batter; it’s too watery. You need to concentrate the flavor. Pour 1 cup of apple cider into your saucepan. Bring it to a simmer over medium heat. Let it bubble gently. You want to reduce it by half, so you end up with about ½ cup of thick, syrupy cider. This will take 15-20 minutes. Stir occasionally so it doesn’t stick. Let it cool completely before using. If you use it warm, it’ll melt the butter in your batter.
Step 2: Make the Bar Batter (5 minutes)
Preheat your oven to 350°F (175°C). Line your 9×13 dish with parchment paper. In a large bowl, beat the softened butter, granulated sugar, and brown sugar together until it’s light and fluffy. This takes about 3-4 minutes with a mixer. It’s okay if it’s not perfectly smooth; you just want it creamy. Add the eggs one at a time, beating well after each. Stir in the vanilla.
In a separate bowl, whisk together the flour, baking powder, cinnamon, ginger, nutmeg, and salt. Gently fold the dry ingredients into the wet mixture. Now, stir in your cooled, reduced apple cider. Mix until just combined. Don’t overmix, or the bars will be tough. Pour the batter into your prepared dish and spread it out evenly.
Step 3: First Bake (20-25 minutes)
Bake the bars for 20-25 minutes. You’ll know they’re done when the edges are golden brown and the center is set but still has a slight jiggle. It should look like a dense cake. Remove from the oven and let them cool in the pan on a wire rack while you make the caramel. This cooling time is crucial so the caramel doesn’t melt into the batter immediately.
Step 4: Make the Caramel (10 minutes)
In your saucepan, combine the 1 cup of brown sugar, 2 tablespoons of butter, and heavy cream. Cook over medium heat, stirring constantly. The mixture will bubble up. Keep stirring until the sugar dissolves and the mixture comes to a boil. Let it boil for exactly 1 minute. Remove from heat and stir in the salt and vanilla. It will thicken slightly as it cools. It should look like a thick syrup, not a hard candy.
Step 5: Top and Finish (5 minutes)
Pour the warm caramel over the cooled bars. Use a spatula to spread it evenly to the edges. If you’re using nuts, sprinkle them on now. Return the pan to the oven for just 2-3 minutes to help the caramel set slightly. Then, remove and let it cool completely at room temperature. This is the hardest part: waiting. If you cut it while warm, the caramel will be a mess. Let it cool for at least an hour, or better yet, chill it in the fridge for 30 minutes.
Expert Tips & Tricks
Here’s everything I’ve learned from making these dozens of times. These tips will save you from my mistakes.
Don’t Rush the Cider Reduction
I tried speeding this up by turning the heat up high once. The result? Burnt, bitter cider. Low and slow is the only way. You want the natural sweetness of the apples to concentrate, not burn.
Room Temperature Ingredients
I cannot stress this enough. Cold eggs and cold butter will break your emulsion. Your batter will look like cottage cheese. Take your butter and eggs out of the fridge 30 minutes before you start. It’s worth the wait.
The Parchment Lift
These bars are sticky. If you don’t use parchment paper with an overhang, you will struggle to get them out in one piece. I also lightly grease the parchment. It’s a small step that makes cleanup and serving so much easier.
Cool Completely Before Cutting
I know, I know. You want to eat them now. But warm caramel bars are a slide on your plate. Let them cool. If you’re impatient, put them in the fridge. Cold caramel cuts cleanly. Warm caramel smears.
Storage is Key
These bars actually get better after a day. The flavors meld together. Store them in an airtight container at room temperature for up to 4 days. If it’s very hot, keep them in the fridge, but let them come to room temperature before eating for the best texture.
Variations & Substitutions
Once you’ve nailed the basic version, here’s how you can mix it up. I’ve tried all of these.
Spiced Latte Version
Add a teaspoon of instant espresso powder to the batter. The coffee enhances the apple flavor without making it taste like coffee. It adds a sophisticated depth.
Cider-Infused Frosting
Instead of caramel, make a cream cheese frosting and replace the milk with your reduced cider. It’s tangier and less sweet. Great if you have a sweet tooth that prefers tart.
Apple Chunk Add-In
Toss ½ cup of diced, peeled apples in a little flour and fold them into the batter before baking. It adds little bursts of fresh fruit. Just make sure the pieces are small so they cook through.
Gluten-Free Option
Use a 1-to-1 gluten-free flour blend. The texture will be slightly more crumbly, but the taste is the same. I’ve used Bob’s Red Mill and it works well.
Dairy-Free
Use vegan butter in the batter and coconut cream in the caramel. The caramel might be slightly thinner, but it still works. It’s not quite the same richness, but it’s delicious.
Other Fruit Variations
I’ve made these with pear cider before. It’s similar but milder. You could also try a maple syrup reduction instead of cider for a different flavor profile. It’s less “fall” and more “breakfast,” but still tasty.
Serving & Storage
How to Serve:
I usually serve these at room temperature. They’re perfect with a cup of hot tea or coffee. I cut them into small squares—about 1.5 inches—because they’re rich. A little goes a long way. I often serve them alongside a slice of salted caramel chocolate tart for a dessert board, but honestly, these stand on their own.
Side Dishes:
These are a dessert, so they don’t really need sides. But if you’re having a fall dinner party, they pair beautifully with roasted vegetables or a simple green salad. The sweetness cuts through the savory flavors.
Storage Instructions:
Refrigerator: Store in an airtight container for up to 4 days. They’ll firm up in the fridge, so let them sit out for 15 minutes before eating.
Freezer: Yes, you can freeze these! Wrap individual bars in plastic wrap and then put them in a freezer bag. They’ll last for 2 months. Thaw them in the fridge overnight. The texture holds up surprisingly well.
Reheating: I don’t recommend reheating these. The caramel can get too runny. Eat them fresh or at room temp.
Nutrition Information
I’m not a nutritionist, but here’s the breakdown if you’re tracking. Keep in mind these are estimates.
Per Serving (based on 24 bars):
- Calories: 220
- Protein: 2g
- Carbs: 32g
- Fiber: 0.5g
- Sugar: 24g
- Fat: 10g
- Saturated Fat: 6g
What to Know:
These are definitely a treat. The sugar content is high, mostly from the caramel and brown sugar. The apple cider adds some natural fruit sugar, but it’s concentrated. If you’re watching your sugar, stick to one or two small bars. They’re rich, so a little satisfies the craving. They’re not a health food, but they’re homemade, so you know exactly what’s in them. No preservatives, no weird additives. Just butter, sugar, flour, and apples.
Final Thoughts
So that’s my cozy fall apple cider bars! I know I’ve talked a lot about them, but when you find a recipe that hits this hard, you have to share it. These bars have saved my dessert game more times than I can count. They’re my answer to “what should I bake?” when I want something that feels special but doesn’t require a degree in pastry arts.
They’re the kind of recipe that makes your house smell amazing. They’re the kind of treat that gets you invited back to dinner parties. And they’re the kind of bake that makes you feel like a pro, even if you burned the first batch (I did. Don’t judge me).
Make it yours! Try different spices, add nuts, or swap the caramel for a glaze. The best recipes are the ones you adapt to your tastes. If you make these, drop a comment and let me know what you think! I love hearing how recipes turn out in your kitchen. And if something doesn’t work, tell me that too—I’m here to help troubleshoot.
Happy baking! And I hope your kitchen smells half as good as mine does right now.
Frequently Asked Questions
Q: Can I use apple juice instead of apple cider?
A: You can, but the flavor won’t be as intense. Apple cider is pressed from whole apples, while juice is often filtered and sometimes sweetened. If you use juice, you’ll need to reduce it a bit longer to get that concentrated flavor. But honestly, try to find real cider. It makes a huge difference.
Q: Why did my caramel turn out grainy?
A: This usually happens if sugar crystals form on the side of the pan. To avoid this, brush down the sides of the pan with a wet pastry brush while the caramel is heating. Also, don’t stir it too much once it starts boiling. Just let it simmer gently. If it’s already grainy, you can try whisking in a little extra hot cream to smooth it out, but it’s tricky.
Q: Can I make these ahead of time?
A: Yes! I actually recommend making the bars a day ahead. Let them cool completely, then wrap the pan tightly in plastic wrap. They’ll sit in the fridge overnight. Bring them to room temperature before serving. The flavors will have melded, and they’ll taste even better.
Q: How do I store leftovers?
A: Keep them in an airtight container at room temperature for up to 4 days. If your kitchen is very hot or humid, store them in the fridge. They’ll last up to a week in the fridge, but they’ll be firmer. Let them come to room temp before eating.
Q: Can I freeze these bars?
A: Absolutely. Freeze them individually wrapped in plastic wrap, then put them in a freezer bag. They’ll keep for 2-3 months. Thaw them in the fridge overnight. Don’t freeze them in the pan, or the caramel might get weird texture changes.
Q: What if I don’t like cinnamon?
A: Swap it for pumpkin pie spice, or just use nutmeg and ginger. You could also leave it out entirely, though the spice helps tie the apple flavor together. If you’re sensitive to spices, a little vanilla bean paste works well too.
Q: Can I use a different pan size?
A: You can, but the baking time will change. If you use an 8×8 pan, the bars will be thicker. You’ll need to bake them longer, maybe 30-35 minutes. Keep an eye on them. If you use a larger pan, they’ll be thinner and bake faster. Adjust accordingly.
Pin This Recipe!

Cozy Fall Apple Cider Bars with Caramel
- Total Time: 1 hour 5 minutes
- Yield: 24 servings 1x
Description
These cozy fall apple cider bars feature a tender, cake-like base infused with reduced apple cider and topped with a rich, homemade caramel drizzle. They are easy to make, require minimal cleanup, and taste like autumn.
Ingredients
- 2 cups (250g) all-purpose flour
- 1 cup (226g) unsalted butter, softened
- 1 cup (200g) granulated sugar
- 1 cup (220g) packed brown sugar
- 2 large eggs, room temperature
- 2 teaspoons vanilla extract
- 1 teaspoon baking powder
- 1/2 teaspoon salt
- 1 cup (240ml) apple cider
- 1 teaspoon ground cinnamon
- 1/4 teaspoon ground ginger
- 1/4 teaspoon nutmeg
- 1/2 cup (120ml) heavy cream
- 2 tablespoons butter
- 1 teaspoon vanilla extract (for caramel)
- 1/2 cup chopped pecans or walnuts (optional)
Instructions
- Preheat oven to 350°F (175°C). Line a 9×13 inch baking dish with parchment paper, leaving an overhang on the sides, and grease well.
- Pour 1 cup of apple cider into a medium saucepan. Bring to a simmer over medium heat and reduce by half (to about 1/2 cup) for 15-20 minutes. Let cool completely.
- In a large bowl, beat the softened butter, granulated sugar, and brown sugar until light and fluffy (3-4 minutes).
- Add eggs one at a time, beating well after each. Stir in 2 teaspoons of vanilla extract.
- In a separate bowl, whisk together flour, baking powder, cinnamon, ginger, nutmeg, and salt.
- Gently fold dry ingredients into the wet mixture. Stir in the cooled, reduced apple cider until just combined.
- Pour batter into the prepared dish and spread evenly.
- Bake for 20-25 minutes until edges are golden brown and the center is set but has a slight jiggle. Remove and let cool in the pan on a wire rack.
- While bars cool, make the caramel: In the saucepan, combine 1 cup brown sugar, 2 tablespoons butter, and heavy cream. Cook over medium heat, stirring constantly, until it boils. Boil for exactly 1 minute.
- Remove from heat and stir in 1/2 teaspoon salt and 1 teaspoon vanilla extract.
- Pour warm caramel over the cooled bars and spread evenly. Sprinkle with nuts if using.
- Return to oven for 2-3 minutes to help caramel set. Remove and let cool completely at room temperature (at least 1 hour) or chill in fridge for 30 minutes before cutting.
Notes
Ensure ingredients are at room temperature for best emulsion. Do not rush the cider reduction or it may burn. Cool bars completely before cutting to prevent messy caramel. Store in an airtight container at room temperature for up to 4 days, or freeze for up to 2 months.
- Prep Time: 20 minutes
- Cook Time: 45 minutes
- Category: Dessert
- Cuisine: American
Nutrition
- Serving Size: 1 bar (approx. 1.5 i
- Calories: 220
- Sugar: 24
- Fat: 10
- Saturated Fat: 6
- Carbohydrates: 32
- Fiber: 0.5
- Protein: 2
Keywords: apple cider bars, fall dessert, homemade caramel, easy baking, autumn treats, comfort food


