I still remember the first time I tried a churro at a county fair. It was summer, the air was thick with humidity, and that first bite of warm, fried dough rolled in cinnamon sugar was pure magic. But here’s the thing about churros—they’re messy. You end up with cinnamon sugar on your shirt, in your hair, and somehow on the ceiling. Last weekend, I was hosting a small birthday gathering and wanted that same nostalgic churro flavor, but I didn’t want to deal with hot oil, messy cleanup, or disappointed guests who couldn’t hold a fried stick.
So, I did what I always do when I’m stressed: I hacked it. I took the best parts of a churro—the cinnamon sugar crunch, the soft dough—and mashed them together with a creamy, tangy cheesecake filling. The result? Churro Cheesecake Bars. They’re basically the best of both worlds without the grease or the cleanup nightmare. I made a batch for the party, and let me tell you, they disappeared faster than my fudgy peanut butter brownies do at holiday time. People were asking for the recipe before the plates were even cleared.
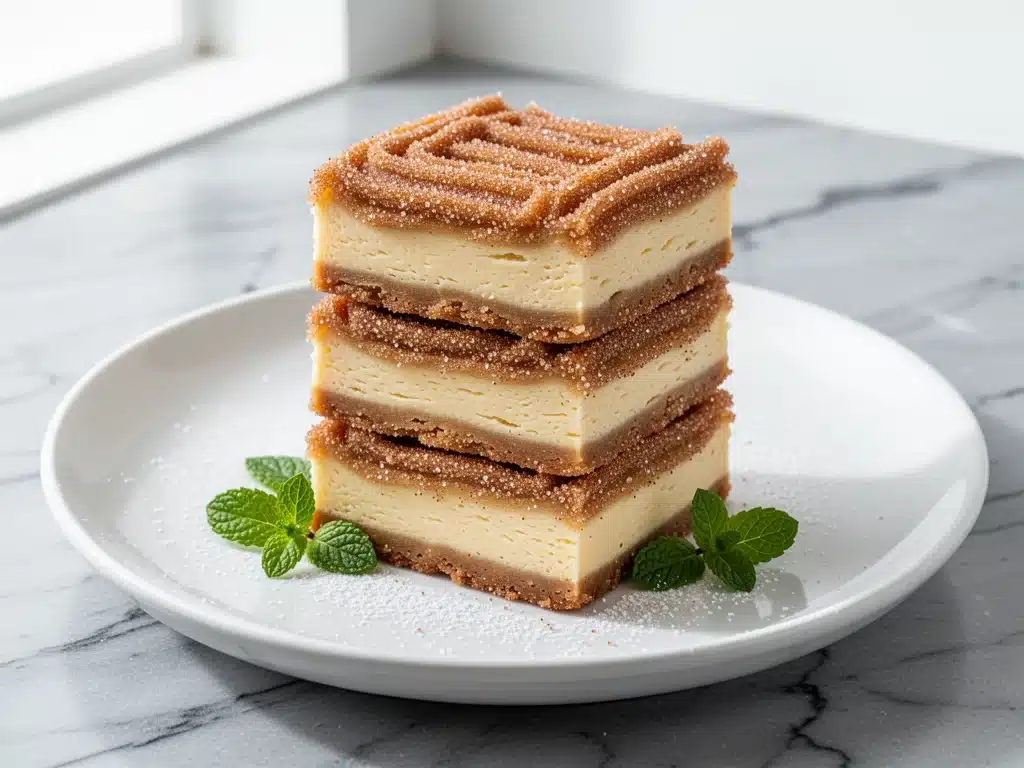
These bars are perfect for celebrations because they look fancy (those little sugar crystals on top?) but are actually incredibly simple to make. You don’t need any special equipment, and you can prepare them a day ahead. Whether it’s a birthday, a potluck, or just because you’re craving something sweet, this dessert delivers. I’ve tested this recipe at least six times to get the crust-to-filling ratio exactly right. Here’s how to make it work every single time.
Why You’ll Love This Recipe
There are a lot of cheesecake recipes out there. There are also a lot of churro recipes. But combining them into a bar format? That’s where the magic happens. Here’s why these churro cheesecake bars have earned a permanent spot in my dessert rotation:
Zero Frying Required — I know, it sounds like cheating. But who wants to heat up a deep fryer for one dessert? These are baked, not fried. You get that churro flavor profile without the splatter, the risk of burns, or the heavy feeling of eating fried dough. It’s lighter, easier, and frankly, less stressful.
Make-Ahead Friendly — This is my secret weapon for hosting. You can bake these bars the night before your party. In fact, they taste even better the next day because the flavors have had time to meld and the cheesecake has fully set. I love that I can have dessert ready before my guests even arrive.
Perfect Texture Contrast — The best part? The texture. You’ve got the buttery, crumbly shortbread-like crust, the dense and creamy cheesecake layer, and then that final dusting of cinnamon sugar that adds a little crunch. It’s like three different desserts in one bite. I’ve made salted caramel chocolate tart before, but this has a different kind of comfort that hits the spot.
Simple Ingredients — You probably have most of these in your pantry. Cream cheese, butter, sugar, cinnamon, flour. No weird gadgets or hard-to-find specialty stores. It’s accessible comfort food that feels indulgent but doesn’t require a trip to a specialty grocer.
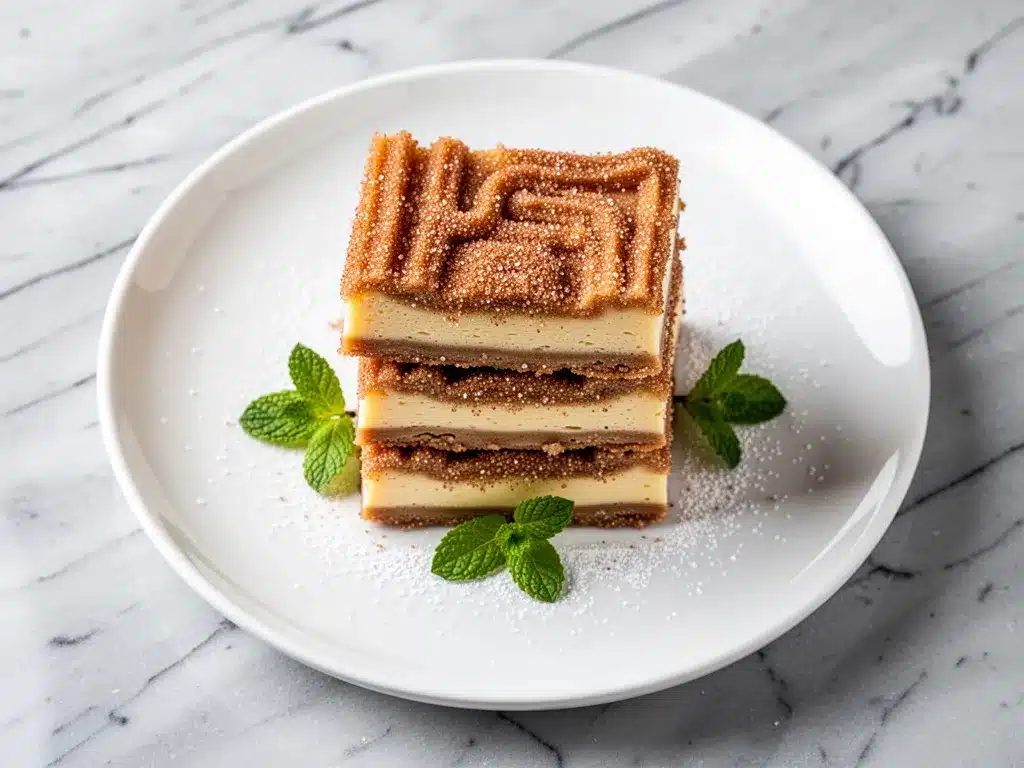
Visually Stunning — Let’s be honest, we eat with our eyes first. The golden-brown top dusted with cinnamon sugar looks incredible, especially when cut into neat squares. It’s photogenic enough for Pinterest but rustic enough to feel homemade. I’ve found that soft Oreo stuffed cookies are also great for photos, but these bars have a unique appeal that always gets compliments.
This is my go-to when I need a dessert that feels special but doesn’t require a degree in pastry arts. It’s reliable, delicious, and always a crowd-pleaser.
Ingredients You’ll Need
Here’s the thing about cheesecake: the quality of your ingredients matters. You don’t need fancy imports, but you do need good basics. I’m particular about a few things here, and I’ll tell you exactly why.
For the Churro Crust:
Unsalted butter (½ cup / 113g, softened) — This is the base of your crust. Softened means room temperature, so it mixes easily with the flour. Don’t melt it unless you want a greasy crust. I use Kerrygold or Land O’Lakes—any good quality butter works.
All-purpose flour (1 cup / 120g) — Standard flour is perfect here. It gives the crust that tender, shortbread-like texture. Don’t use cake flour; it’ll be too crumbly.
Granulated sugar (¼ cup / 50g) — Just enough to sweeten the crust without making it candy-like. It helps with browning too.
Cinnamon (1 teaspoon) — This is where the churro flavor starts. Use ground cinnamon, not sticks. I always check the expiration date because old cinnamon tastes dusty.
Salt (¼ teaspoon) — Crucial. Salt enhances the sweetness and balances the flavor. Don’t skip it.
For the Cheesecake Filling:
Full-fat cream cheese (16 oz / 450g) — This is non-negotiable. Block-style cream cheese, not the spreadable kind in a tub. The tub kind has too much water and air, and your cheesecake will be runny. Let it sit on the counter for 30 minutes before you start. Cold cream cheese creates lumps, and nobody wants lumps in their cheesecake.
Granulated sugar (¾ cup / 150g) — This sweetens the filling. If you prefer less sweet, you can reduce to ½ cup, but I recommend sticking to the recipe for proper texture.
Heavy cream (¼ cup / 60ml) — Adds richness and helps smooth out the batter. Don’t substitute with milk; you need the fat content.
Eggs (2 large) — Room temperature eggs mix better and bake more evenly. I take them out of the fridge while the cream cheese softens.
Vanilla extract (1 teaspoon) — Pure vanilla, not imitation. It adds warmth and depth. I use McCormick or Nielsen-Massey.
For the Topping:
Granulated sugar (2 tablespoons) — Mixed with cinnamon for the final dusting.
Cinnamon (1 teaspoon) — Mixed with the sugar for that classic churro aroma.
Butter, melted (2 tablespoons) — Brushed on top before adding the sugar. This helps the sugar stick and creates that slightly crisp, sugary crust.
Pro Tip: I keep a bag of cinnamon sugar in the pantry specifically for this recipe. It saves time and ensures the flavor is consistent. If you’re making this for a party, double the topping mixture—you’ll want plenty of that cinnamon crunch.
Equipment Needed
You don’t need fancy equipment for this. Here’s what I actually use:
9×9-inch baking pan — A square pan gives you nice square bars, which are easier to serve and stack. You can use a 9×13 pan if you want thinner bars, but the baking time will be shorter, so watch it closely. I prefer the 9×9 for that perfect thick-and-creamy ratio.
Parchment paper — Essential for easy removal. Line the pan with parchment, leaving an overhang on two sides like handles. This lets you lift the entire block of cheesecake out once it’s cooled, making slicing much cleaner.
Mixer — A hand mixer or stand mixer works great. I use a hand mixer because it’s easier to scrape down the sides of the bowl. You don’t need a food processor; this is simple mixing.
Spatula — A silicone spatula is perfect for scraping the bowl and smoothing the top of the cheesecake.
Small bowl — For mixing the cinnamon sugar topping. Just needs to be small enough to hold the sugar and cinnamon.
Pastry brush — Optional, but helpful for brushing the melted butter on top. A clean makeup brush works in a pinch, but a pastry brush is better for this.
Knife — A sharp chef’s knife for slicing. Run it under hot water and dry it between cuts for clean slices. This is a game-changer for neat bars.
How to Make It: Step-by-Step
Alright, let’s make these bars! I’m walking you through exactly how I do it, including the little tricks I’ve picked up to ensure perfect results.
Step 1: Prep Your Pan and Oven (5 minutes)
Preheat your oven to 350°F (175°C). Line your 9×9-inch baking pan with parchment paper, leaving an overhang on the short sides. This is crucial for removing the bars later. Grease the parchment lightly with butter or cooking spray. It helps the crust stick.
Step 2: Make the Churro Crust (5 minutes)
In a medium bowl, combine the softened butter, flour, sugar, cinnamon, and salt. Use your fingers or a fork to mix until the mixture looks like coarse sand. It should clump together when you squeeze it. Press this mixture firmly and evenly into the bottom of your prepared pan. Use the bottom of a measuring cup to pack it down tight. You want a solid base, not a loose crumble.
Step 3: Bake the Crust (8-10 minutes)
Bake the crust for 8-10 minutes until it’s lightly golden around the edges. It doesn’t need to be fully browned, just set. Remove it from the oven and let it cool while you make the filling. This prevents the crust from getting soggy.
Step 4: Make the Cheesecake Filling (10 minutes)
In a large bowl, beat the softened cream cheese and sugar together until smooth and creamy. This is important—beat it well to avoid lumps. Add the heavy cream, eggs, and vanilla extract. Beat on low speed until just combined. Do not overmix once the eggs are added, or you’ll incorporate too much air, which can cause cracks. Scrape down the sides of the bowl to ensure everything is incorporated.
Step 5: Assemble and Bake (30-35 minutes)
Pour the cheesecake batter over the warm crust. Smooth the top with a spatula. Bake for 30-35 minutes. The edges should be set, but the center should still have a slight jiggle when you gently shake the pan. It will continue to set as it cools. Overbaking leads to dry cheesecake, so pull it when it’s still a little wobbly in the middle.
Step 6: Add the Topping (5 minutes)
While the cheesecake is baking, mix the 2 tablespoons of sugar and 1 teaspoon of cinnamon in a small bowl. Once the cheesecake comes out of the oven, immediately brush the top with the melted butter. Then, sprinkle the cinnamon sugar mixture evenly over the top. Return to the oven for 2-3 minutes just to melt the sugar slightly and make it sticky. This creates that beautiful, slightly crisp topping.
Step 7: Cool Completely (2-3 hours)
Let the bars cool in the pan on a wire rack for at least 1 hour. Then, refrigerate for at least 2 hours, preferably overnight. This is the hardest part, but it’s necessary for clean slices. If you cut it warm, it’ll be a mess. Patience pays off.
Step 8: Slice and Serve
Lift the cheesecake out of the pan using the parchment overhang. Peel back the parchment. Use a sharp knife to cut into squares. Wipe the knife clean between cuts for neat edges. Serve at room temperature for the best flavor and texture.
Expert Tips & Tricks
Here’s everything I’ve learned from making these dozens of times. These tips will save you from my mistakes.
Room Temperature is Key
I cannot stress this enough. Your cream cheese and eggs must be room temperature. Cold ingredients create lumps that you can’t beat out, and your batter will be grainy. If you forget, microwave the cream cheese in 10-second bursts until it’s soft to the touch. For eggs, just drop them in a bowl of warm water for 5 minutes.
Don’t Overmix the Batter
Once you add the eggs, mix on low speed and stop as soon as they’re incorporated. Overmixing adds air bubbles, which expand in the oven and then collapse, causing cracks. I’ve cracked more cheesecakes than I care to admit because I was too eager to get a smooth batter.
The Water Bath Hack (Optional)
For an ultra-smooth top, you can place the pan in a larger roasting pan and fill the roasting pan with an inch of hot water. This creates a steamy environment that prevents cracking. I don’t always do this because it’s a bit of a hassle, but if you’re worried about cracks, it’s a good insurance policy.
Clean Cuts
Run your knife under hot water and dry it before each cut. This prevents the cheesecake from sticking to the blade. If you don’t have a sharp knife, a serrated knife works better than a dull chef’s knife. Clean cuts make the bars look professional and inviting.
Storage is Simple
These bars keep well in the fridge for up to 5 days. Store them in an airtight container. If you’re bringing them to a party, keep them in the pan until you’re ready to serve. They hold their shape well.
Variations & Substitutions
Once you’ve nailed the basic version, here’s how you can mix it up. I’ve tried all of these, and they’re all delicious.
Chocolate Chip Churro Bars
Add ½ cup of mini chocolate chips to the cheesecake batter before pouring it over the crust. The chocolate pairs beautifully with the cinnamon. It’s like a churro meets a chocolate chip cookie.
Maple Bourbon Churro Bars
Replace the vanilla extract with 1 tablespoon of bourbon and add 1 tablespoon of pure maple syrup to the filling. This adds a sophisticated, adult flavor that’s perfect for holiday parties.
Strawberry Swirl
After pouring the batter, dollop ½ cup of strawberry jam or pureed strawberries on top and swirl it with a knife. It adds a fruity contrast to the rich cheesecake. This is especially good in the summer.
Gluten-Free Version
Use a 1:1 gluten-free flour blend for the crust. The rest of the ingredients are naturally gluten-free. I’ve used King Arthur’s measure-for-measure blend, and it works perfectly. The texture is slightly different but still delicious.
Dairy-Free Option
Use dairy-free cream cheese blocks (not tubs) and dairy-free butter. The topping sugar is naturally dairy-free. It’s not quite as rich, but it’s a good option for those with sensitivities.
Mini Cheesecake Bites
Divide the batter into a mini muffin tin. Bake for 15-18 minutes. These are perfect for individual servings and party platters. They look cute and are easy to grab.
Serving & Storage
How to Serve:
I usually serve these bars at room temperature. They’re best when the cream cheese has softened slightly. For a fancy presentation, add a dollop of whipped cream and a sprinkle of extra cinnamon sugar on top. They pair well with coffee or tea, but also with a cold glass of milk.
Side Dishes:
These are rich, so they don’t need much else. But if you’re serving them as part of a larger spread, they go well with fresh fruit, like berries or sliced apples. They also complement crispy pinwheel puff pastry bites if you’re making a savory-sweet spread.
Storage Instructions:
Refrigerator: Store in an airtight container for up to 5 days. They actually taste better on day 2.
Freezing: Yes, you can freeze these! Wrap the whole block tightly in plastic wrap and then aluminum foil. Freeze for up to 2 months. Thaw in the fridge overnight before serving. The texture might be slightly softer, but it’s still great.
Pro Tip: If you’re bringing these to a potluck, keep them in the pan until you get there. Transporting loose bars can be risky. Just bring the whole pan and slice them on-site.
Nutrition Information
I’m not a nutritionist, but here’s the breakdown if you’re tracking. Keep in mind that this is a rich dessert, so portion control is key.
Per Bar (based on 16 bars):
– Calories: 220
– Protein: 4g
– Carbs: 22g
– Fiber: 0g
– Sugar: 16g
– Fat: 14g
– Saturated Fat: 8g
– Cholesterol: 45mg
– Sodium: 120mg
What’s Good:
– Moderate protein from the cream cheese
– Satisfying sweetness
– Easy to portion control
What to Know:
– High in sugar and saturated fat
– Not suitable for low-carb or keto diets
– Contains gluten and dairy
My Take:
Look, this is a treat. It’s not a health food. But it’s homemade, so you know exactly what’s in it. When I make these, I enjoy one square and savor it. It’s worth the calories for the flavor. If you want to lighten it up, use the half-and-half version or reduce the sugar in the crust, but I recommend sticking to the recipe for the best experience.
Final Thoughts
So that’s my take on Churro Cheesecake Bars! I’ve probably talked your ear off at this point, but when you make a recipe this often, you have a lot to say about it. These bars have saved me more times than I can count. They’re my answer to “what dessert should I bring?” when I want to impress but don’t have hours to spend.
My friends are always asking for the recipe, and I love that. It’s a recipe that feels special but is actually simple. Make it yours! Try different add-ins, swap in your favorite extract, or adjust the cinnamon to your taste. The best recipes are the ones you adapt to your family’s tastes.
If you make this, drop a comment and let me know what you think! I love hearing how recipes turn out in your kitchen. And if something doesn’t work, tell me that too—I’m here to help troubleshoot. Happy baking! And I hope your kitchen smells half as good as mine does right now.
Frequently Asked Questions
Can I use a different pan size?
You can use a 9×13 pan, but the bars will be thinner. Reduce the baking time by about 5-10 minutes. Keep an eye on the center—it should still have a slight jiggle. A 8×8 pan will make thicker bars, and you might need to add 5-10 minutes to the baking time. The 9×9 is the sweet spot for this recipe.
Why did my cheesecake crack?
Cracking is usually caused by overmixing (too much air) or overbaking (too much heat). Make sure you’re not beating the batter after adding the eggs, and pull the cheesecake out when the center is still slightly wobbly. It will firm up as it cools. Also, let it cool gradually in the oven with the door slightly ajar to prevent sudden temperature changes.
Can I make these ahead of time?
Absolutely! In fact, they taste better the next day. You can bake them 2 days in advance and store them in the fridge. Just bring them to room temperature before serving for the best texture and flavor. They also freeze well for up to 2 months.
Can I use low-fat cream cheese?
I don’t recommend it. Low-fat cream cheese has more water and less fat, which can make the cheesecake runny and less creamy. Stick to full-fat block cream cheese for the best results. It’s worth the extra cost for the texture.
How do I store leftovers?
Store in an airtight container in the fridge for up to 5 days. If you’re bringing them to a party, keep them in the pan until you’re ready to serve. They hold their shape well and don’t need to be transferred.
Can I add other mix-ins?
Yes! Mini chocolate chips, crushed graham crackers, or even a swirl of caramel sauce work great. Just fold them into the batter gently before pouring it over the crust. Be careful not to overmix.
Why is my crust too hard?
If the crust is too hard, you might have packed it too tightly or baked it too long. Press the crust firmly but not aggressively. Bake it just until it’s set and lightly golden, not dark brown. It should be tender and crumbly, like a shortbread cookie.
Pin This Recipe!
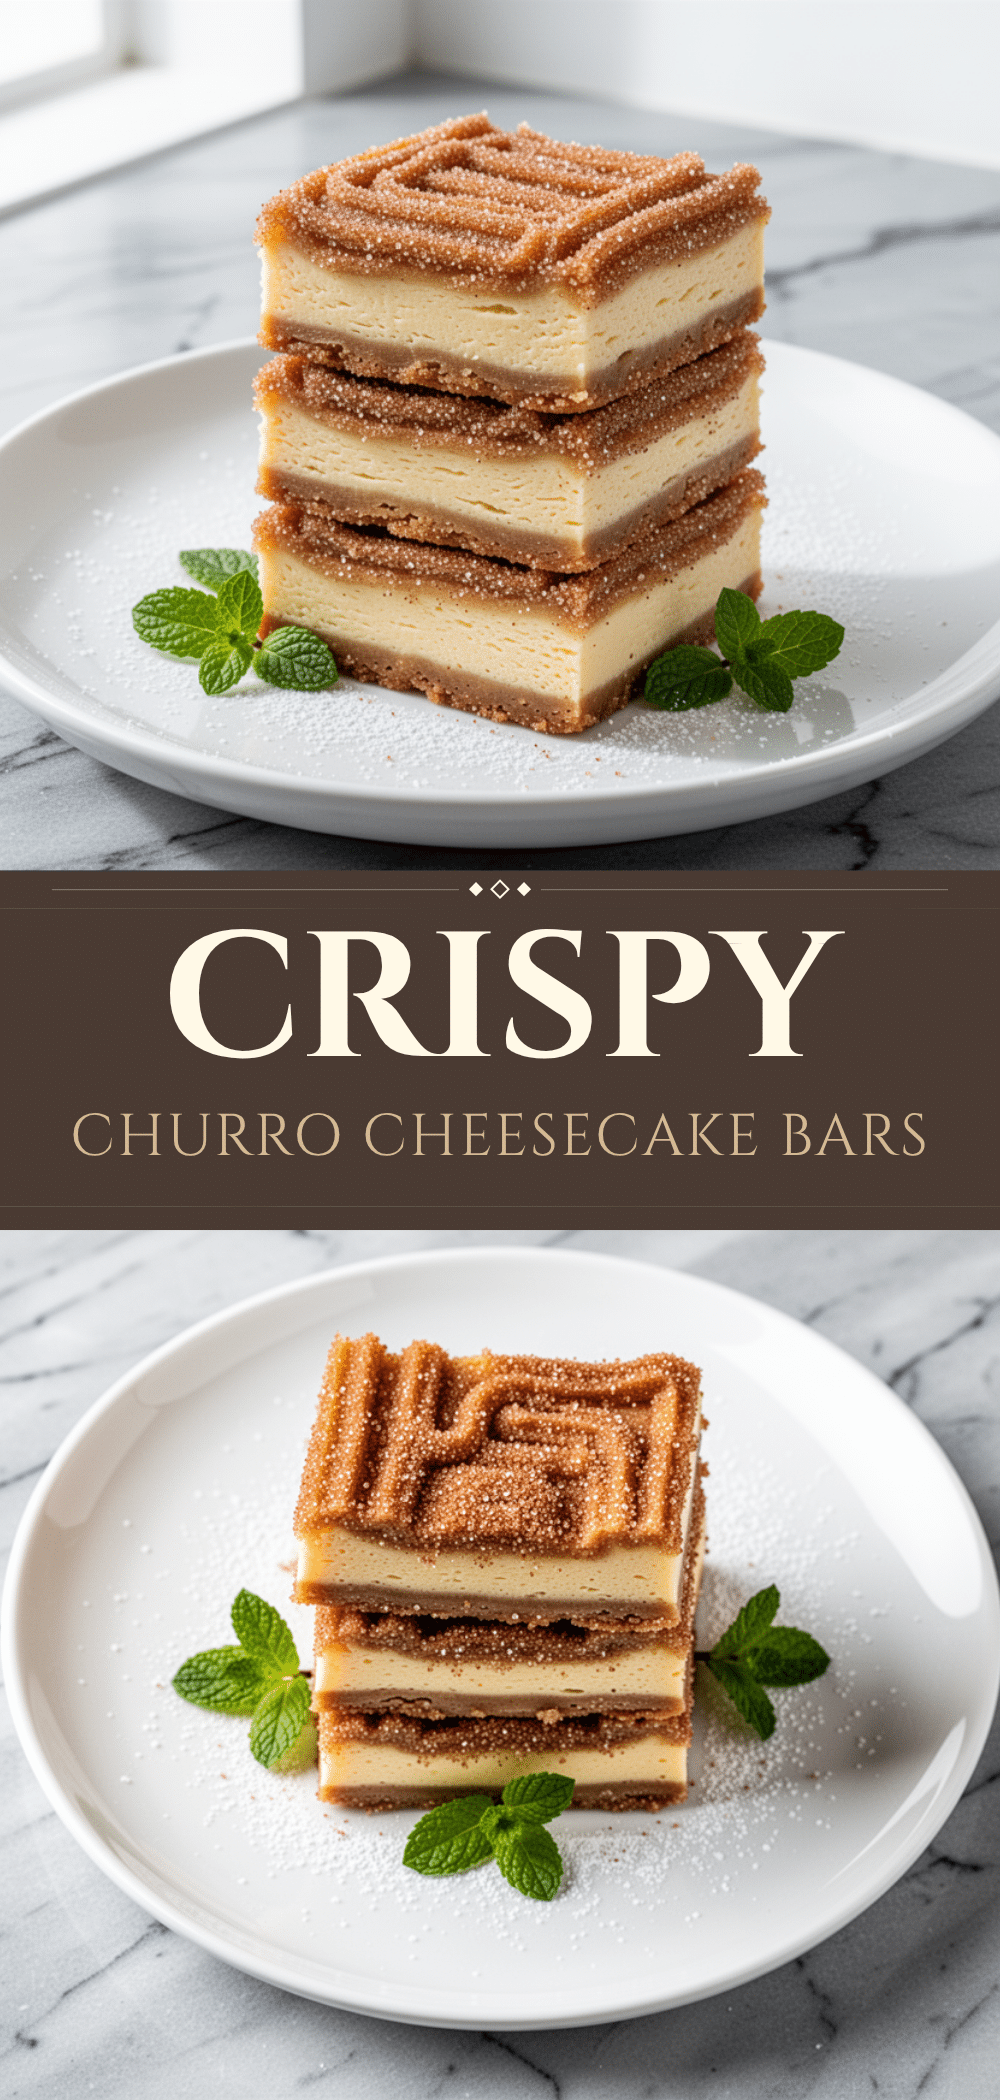
Churro Cheesecake Bars: Easy Cinnamon Sugar Dessert
- Total Time: 65 minutes
- Yield: 16 servings
Description
A baked dessert combining a buttery cinnamon sugar crust with a creamy cheesecake filling, topped with a crisp cinnamon sugar layer. This recipe offers the nostalgic flavor of churros without the mess of frying.
Ingredients
- For the Churro Crust: ½ cup (113g) unsalted butter, softened
- For the Churro Crust: 1 cup (120g) all-purpose flour
- For the Churro Crust: ¼ cup (50g) granulated sugar
- For the Churro Crust: 1 teaspoon ground cinnamon
- For the Churro Crust: ¼ teaspoon salt
- For the Cheesecake Filling: 16 oz (450g) full-fat block cream cheese, softened
- For the Cheesecake Filling: ¾ cup (150g) granulated sugar
- For the Cheesecake Filling: ¼ cup (60ml) heavy cream
- For the Cheesecake Filling: 2 large eggs, room temperature
- For the Cheesecake Filling: 1 teaspoon pure vanilla extract
- For the Topping: 2 tablespoons granulated sugar
- For the Topping: 1 teaspoon ground cinnamon
- For the Topping: 2 tablespoons butter, melted
Instructions
- Preheat oven to 350°F (175°C). Line a 9×9-inch baking pan with parchment paper, leaving an overhang on two sides, and lightly grease.
- In a medium bowl, combine softened butter, flour, sugar, cinnamon, and salt. Mix until it resembles coarse sand.
- Press the crust mixture firmly and evenly into the bottom of the prepared pan.
- Bake the crust for 8-10 minutes until lightly golden around the edges. Remove and let cool while making the filling.
- In a large bowl, beat cream cheese and sugar until smooth. Add heavy cream, eggs, and vanilla. Beat on low speed until just combined. Do not overmix.
- Pour the cheesecake batter over the warm crust and smooth the top.
- Bake for 30-35 minutes until edges are set but the center still has a slight jiggle.
- While baking, mix 2 tablespoons sugar and 1 teaspoon cinnamon. Once the cheesecake is out of the oven, brush the top with melted butter and sprinkle with the cinnamon sugar mixture.
- Return to the oven for 2-3 minutes to melt the sugar slightly.
- Cool in the pan on a wire rack for 1 hour, then refrigerate for at least 2 hours (preferably overnight) before slicing.
Notes
Ensure cream cheese and eggs are at room temperature to prevent lumps. Do not overmix the batter after adding eggs to avoid cracks. For clean slices, run the knife under hot water and dry it between cuts. These bars taste even better the next day as flavors meld.
- Prep Time: 20 minutes
- Cook Time: 45 minutes
- Category: Dessert
- Cuisine: American
Nutrition
- Serving Size: 1 bar
- Calories: 220
- Sugar: 16
- Sodium: 120
- Fat: 14
- Saturated Fat: 8
- Carbohydrates: 22
- Protein: 4
Keywords: churro cheesecake bars, cinnamon sugar dessert, baked cheesecake, make ahead dessert, easy party dessert, no fry churros


