Last November, right in the thick of holiday planning, I found myself standing in my kitchen at 9 PM, staring at a half-eaten apple pie that had gone soggy on the bottom. My family had just finished dinner, and the usual debate about dessert was starting. “Store-bought?” someone suggested. “Too much work,” I muttered back. But then I looked out the window. The leaves were still clinging to the trees, turning brilliant shades of orange and gold, and it hit me: I didn’t want just any dessert. I wanted something that tasted like autumn wrapped in a warm blanket. Something that smelled like cinnamon and caramel and felt like a hug.
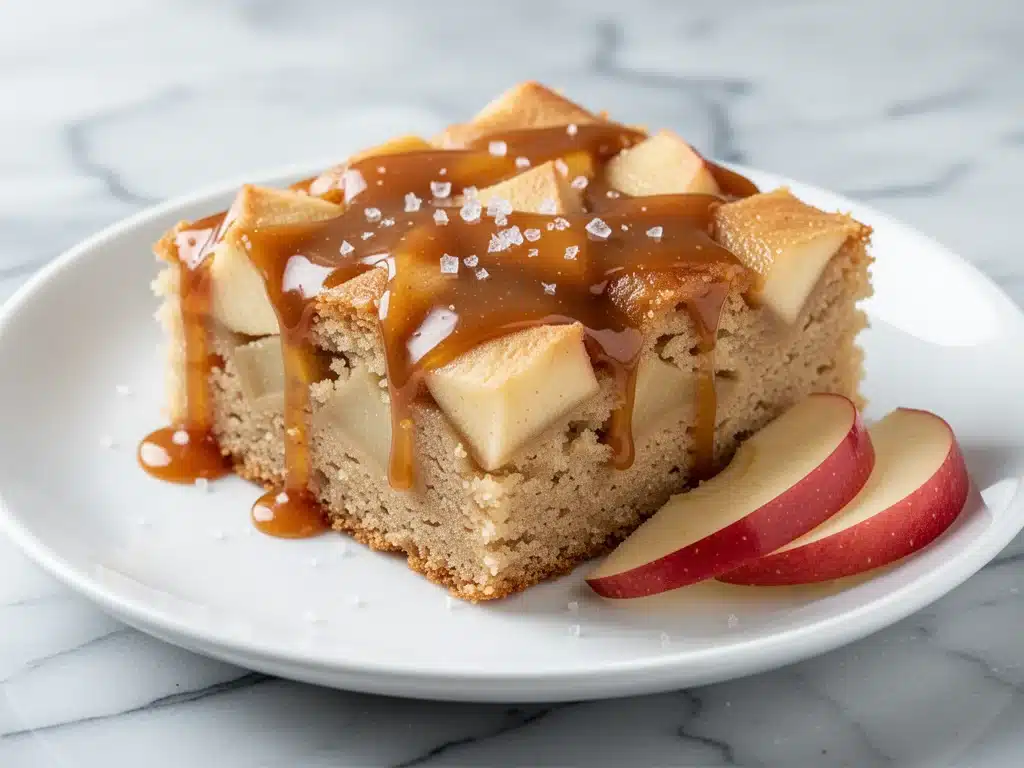
That was the moment I decided to stop fighting with pie crusts and embrace the sheet cake. I pulled out my trusty 9×13 pan, dug into my pantry, and threw together what I thought would be a simple apple cake. I expected something decent—maybe a bit dry, maybe a bit bland. Instead, what came out of the oven was moist, deeply flavorful, and covered in a caramel glaze that made my husband stop mid-bite to ask for the recipe. It was so good that we ate it for breakfast the next day. And the day after that. Now, this Fall Caramel Apple Sheet Cake is the undisputed champion of our holiday dessert table. It’s the reason my neighbors knock on my door in November asking if I’m “making the apple cake again.”
I’ve tested this recipe more times than I can count—roughly twelve times in the last year alone. I’ve tweaked the spice blend, experimented with different apples, and figured out the exact caramel consistency that coats the cake without drowning it. This isn’t just a dessert; it’s a seasonal ritual. It’s the reason I buy extra apples in October. It’s the reason I keep a bottle of caramel sauce in the freezer. And it’s the reason I’m sharing this with you. Because once you taste this Fall Caramel Apple Sheet Cake, you’ll understand why I’ve been obsessed.
Why You’ll Love This Recipe
There are about ten reasons I keep making this cake, but here are the big ones that will have you lining up for seconds.
It’s a Crowd-Pleaser — I’ve served this to my picky-eater nephew, my foodie sister-in-law, and my boss who claims he “doesn’t have a sweet tooth.” Everyone loves it. The combination of tender apples and rich caramel hits every note. It’s not overly sweet, which is key.
Stupid Simple — Seriously, if you can mix batter and slice apples, you can make this. There’s no fancy piping, no complicated layers, and no tempering chocolate. Just a one-bowl method (mostly) and a 9×13 pan. I make this while helping my kids with homework. It’s that easy.
Perfect for Holiday Gatherings — Sheet cakes are the unsung heroes of parties. Unlike a round cake that’s hard to slice evenly or a pie that’s fragile, this cake holds its shape. You can make it a day ahead, transport it easily, and cut it into neat squares. It’s the easy family snack of desserts, but elevated to a main event.
Lightning Fast Prep — The cake itself bakes in about 35 minutes, and the prep is minimal. Because it’s a sheet cake, it bakes evenly and quickly. I can have this ready in under an hour, which is a miracle when you’re hosting a dinner party.
Makes Amazing Leftovers — This cake actually tastes better the next day. The flavors meld, the caramel soaks in a little more, and the texture becomes even more tender. I deliberately make extra for breakfast. Pair it with a strong coffee, and it’s pure heaven.
Budget-Smart — Apples are cheap in the fall. Caramel sauce is inexpensive (or you can make your own). Flour, sugar, and butter are pantry staples. This feeds a crowd for under $10, which is a steal compared to bakery prices.
This is my go-to when I need a dessert that looks impressive but doesn’t require a culinary degree. No complicated techniques, no weird ingredients, just reliable, delicious food that makes everyone happy.
Ingredients You’ll Need
Here’s the best part: you probably have most of this already. This Fall Caramel Apple Sheet Cake relies on simple, accessible ingredients. I’m particular about three things here, and I’ll tell you exactly why.
Apples (3 medium, peeled and diced / about 450g) — This is the star. I use a mix of Granny Smith and Honeycrisp. Granny Smith gives the tartness and structure, while Honeycrisp adds sweetness and juiciness. Avoid Red Delicious—they turn to mush. I buy mine from the local orchard when possible, but any good baking apple works.
Butter (½ cup / 115g, softened) — Unsalted is best so you can control the salt. Room temperature is crucial for creaming with the sugar. If your butter is too cold, it won’t incorporate properly, and the cake will be dense. I take it out 30 minutes before I start.
Sugar (1 cup / 200g granulated, plus 2 tablespoons for the topping) — Granulated sugar creates that tender crumb. The extra 2 tablespoons are sprinkled on top before baking to create a crunchy, caramelized crust. Don’t skip this step—it adds texture.
Eggs (2 large) — Room temperature eggs emulsify better into the batter. If you’re in a rush, crack them into a bowl and let them sit in warm water for 5 minutes. Cold eggs can cause the batter to split.
Flour (2 cups / 250g all-purpose) — Standard all-purpose works perfectly. I don’t recommend cake flour here because we want a slightly denser, more substantial crumb to hold the apples. If you’re using whole wheat, stick to 50% substitution to keep it tender.
Baking Powder & Baking Soda (1 teaspoon each) — The baking powder gives lift, while the baking soda reacts with the buttermilk to tenderize the gluten. This combination is key for a moist cake.
Buttermilk (1 cup / 240ml) — This is non-negotiable for the tang and moisture. If you don’t have buttermilk, make a substitute: add 1 tablespoon of lemon juice or white vinegar to 1 cup of milk and let it sit for 5 minutes. It’ll curdle slightly, and that’s exactly what you want.
Cinnamon (2 teaspoons) — The classic fall spice. I use ground cinnamon, but if you have a good quality blend, even better. Don’t skimp—this is the flavor profile you’re going for.
Nutmeg (½ teaspoon) — Just a hint. It adds warmth and depth without overpowering the apple. Freshly grated is best, but ground is fine.
Caramel Sauce (1 cup / 240ml) — I use a good quality store-bought sauce for convenience, but homemade is amazing if you have time. Look for a sauce that’s thick enough to drizzle but pourable. Salted caramel adds a nice contrast to the sweet apples.
Walnuts or Pecans (½ cup, chopped / optional) — For crunch. I love adding them, but if your guests are allergic, skip them. The cake is still delicious without them.
Salt (½ teaspoon) — Balances the sweetness. Always use it.
Vanilla Extract (1 teaspoon) — Pure vanilla, not imitation. It makes a difference in the flavor depth.
Common Questions:
- Can I use pre-chopped apples? You can, but they’re often treated with anti-browning agents that can affect the texture. Fresh is better.
- Where do I find buttermilk? It’s in the dairy section, near the milk. It’s cheap and keeps for weeks.
- Can I make this gluten-free? Yes, use a 1:1 gluten-free flour blend. The texture will be slightly different but still delicious.
Equipment Needed
You don’t need fancy equipment for this. Here’s what I actually use.
9×13 Inch Baking Pan — This is essential. A sheet cake needs the surface area to bake evenly and develop that caramelized top. Glass or ceramic pans work great, but metal pans heat up faster. I use a metal pan and reduce the baking time by 2 minutes.
Mixing Bowls — One large bowl for the wet ingredients, one medium for the dry. I keep it simple. No need for a stand mixer if you don’t want one—hand mixing works fine.
Whisk — For combining the dry ingredients and emulsifying the wet. A wire whisk is best for incorporating air.
Spatula — Silicone is ideal for scraping the bowl clean. You want every bit of batter in the pan.
Peeler and Knife — For prepping the apples. A Y-peeler is faster, but a paring knife works too.
Measuring Cups and Spoons — Standard stuff. Dollar store versions work fine. Accuracy matters here, especially with flour.
Wire Rack — For cooling the cake. Never leave a hot cake in the pan—it’ll steam and get soggy.
Optional but nice:
- Apple corer/slicer — Saves time if you’re using lots of apples. Not necessary, but helpful.
- Pastry brush — For brushing on extra caramel if you want a glossy finish.
How to Make It: Step-by-Step
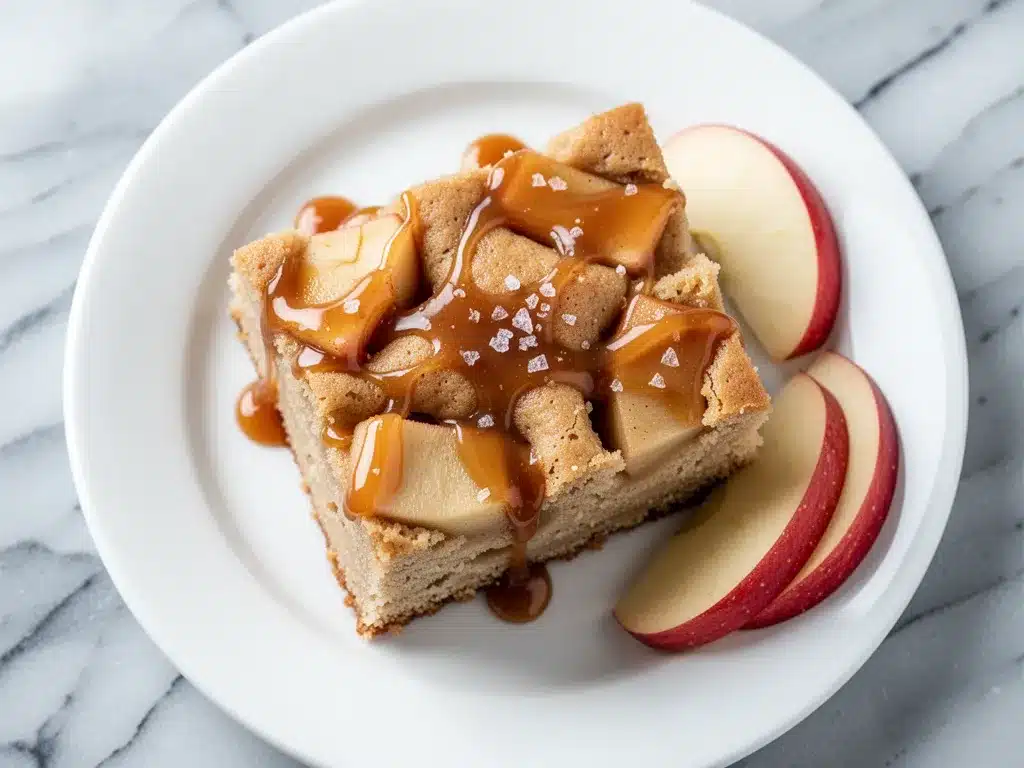
Alright, let’s make this! I’m walking you through exactly how I do it, including the little tricks I’ve picked up.
Step 1: Prep Your Pan and Oven (5 minutes)
Preheat your oven to 350°F (175°C). Grease your 9×13 pan generously with butter or non-stick spray. I like to line the bottom with parchment paper for easy removal, but it’s not strictly necessary. Dust the pan with a little flour, tapping out the excess. This prevents sticking and helps the cake release cleanly.
Step 2: Prep the Apples (5 minutes)
Peel, core, and dice the apples into ½-inch cubes. You want them small enough to bake through but large enough to hold their shape. Toss them with a little lemon juice to prevent browning, and set aside. I keep them in a bowl with a damp paper towel on top to keep them moist.
Step 3: Mix the Dry Ingredients (2 minutes)
In a medium bowl, whisk together the flour, baking powder, baking soda, cinnamon, nutmeg, and salt. Whisking ensures even distribution of leavening agents and spices. Set this aside. It’s easy to forget this step, but it’s crucial for a uniform crumb.
Step 4: Cream the Butter and Sugar (3 minutes)
In a large bowl, beat the softened butter and granulated sugar together until light and fluffy. This takes about 3 minutes with a hand mixer or 5 minutes by hand. The mixture should pale in color. This step incorporates air, which helps the cake rise. Don’t rush it.
Step 5: Add Eggs and Vanilla (2 minutes)
Add the eggs one at a time, beating well after each addition. Mix in the vanilla extract. The batter might look slightly curdled at this point—that’s okay. It will come together with the buttermilk.
Step 6: Combine Wet and Dry (2 minutes)
Alternately add the dry ingredients and buttermilk to the butter mixture, starting and ending with the dry ingredients. Mix on low speed or stir by hand until just combined. Do not overmix! Overmixing develops gluten, which makes the cake tough. Stop as soon as you see no streaks of flour.
Step 7: Fold in Apples (2 minutes)
Gently fold the diced apples into the batter using a spatula. Be careful not to crush them. The batter will be thick. Spread it evenly into the prepared pan. Use the spatula to smooth the top.
Step 8: Top with Sugar and Bake (35-40 minutes)
Sprinkle the remaining 2 tablespoons of sugar evenly over the top. This creates a crunchy, caramelized crust. Bake for 35-40 minutes, or until a toothpick inserted into the center comes out clean or with just a few moist crumbs. The top should be golden brown. If it’s browning too fast, cover it loosely with foil.
Step 9: Drizzle with Caramel (5 minutes)
While the cake is baking, warm the caramel sauce slightly in the microwave (15 seconds) to make it pourable. Once the cake is out of the oven and has cooled for 5 minutes, drizzle the caramel over the top. Use a knife to swirl it in slightly. The heat from the cake will help the caramel soak in.
Step 10: Cool and Serve
Let the cake cool completely in the pan on a wire rack. This can take an hour. Once cooled, cut into squares and serve. Dust with powdered sugar if you want a fancy finish, but it’s not necessary. This Fall Caramel Apple Sheet Cake is best at room temperature.
Total Time: About 1 hour (15 minutes active, 45 minutes baking/cooling)
Expert Tips & Tricks
Here’s everything I’ve learned from making this dozens of times. These tips will save you from my mistakes.
Don’t Overmix the Batter
This is the #1 mistake. Overmixing leads to a tough cake. Mix until just combined. The batter will look lumpy—that’s fine. It’s better to have a few lumps than a dense brick.
Use Room Temperature Ingredients
Butter, eggs, and buttermilk should all be at room temperature. Cold ingredients don’t emulsify properly, which can lead to a separated batter and uneven baking. I keep my butter on the counter and my eggs in a bowl of warm water.
Choose the Right Apples
Granny Smith and Honeycrisp are my go-tos. Avoid apples that are mealy or too soft. You want apples that hold their shape when baked. If you’re unsure, ask your grocer for “baking apples.”
Warm the Caramel
Cold caramel is thick and gloopy. Warm it slightly before drizzling. It should flow easily. If it’s too thin, add a teaspoon of butter. If it’s too thick, add a splash of cream.
Cool Completely Before Cutting
I know it’s tempting, but cutting a warm cake will make it crumble. Let it cool in the pan for at least 30 minutes. The structure sets as it cools.
Common Mistakes (and how to avoid them):
- Mistake: Cake is dry Fix: Don’t overbake. Check it at 35 minutes. Also, ensure you’re using fresh baking powder.
- Mistake: Apples sink to the bottom Fix: Toss the apples in a tablespoon of flour before folding them in. This helps them suspend in the batter.
- Mistake: Caramel runs off the sides Fix: Make sure the cake is not too hot when you drizzle. If it’s too hot, the caramel will slide right off. Let it cool for 10 minutes first.
Variations & Substitutions
Once you’ve nailed the basic version, here’s how you can mix it up. I’ve tried all of these.
Spiced Pecan Version
Add ½ cup chopped pecans to the batter. Toast them first for extra flavor. This adds a nice crunch and nutty depth.
Maple Caramel
Swap the caramel sauce for a maple-caramel blend. Mix ½ cup caramel with 2 tablespoons maple syrup. It adds a rustic, woodsy flavor.
Gluten-Free
Use a 1:1 gluten-free flour blend. The texture will be slightly more tender. Add an extra egg to help bind it.
Dairy-Free
Replace butter with coconut oil (solid state) and buttermilk with coconut milk (full fat). Use dairy-free caramel. It’s surprisingly good.
Vegan
Replace eggs with flax eggs (2 tablespoons ground flaxseed + 6 tablespoons water). Use vegan butter and buttermilk substitute. The cake will be denser but still delicious.
Double Batch
Double the recipe and bake in two 9×13 pans. Great for holidays or potlucks. Adjust baking time slightly—check at 35 minutes.
Mini Muffin Version
Divide the batter into muffin tins. Bake for 18-20 minutes. Great for individual portions. Drizzle with caramel after cooling.
Serving & Storage
How to Serve:
I usually serve this straight from the pan at the dinner table—it looks rustic and stays warm. But here are other ways I’ve enjoyed it:
Side Dishes:
– A scoop of vanilla ice cream (obviously)
– Whipped cream with a dash of cinnamon
– A slice of sharp cheddar cheese (apples and cheese are a classic combo)
Toppings Bar:
When I have guests, I put out: extra caramel, chopped nuts, powdered sugar, and fresh mint. Everyone customizes their slice.
Wine Pairing:
Not a wine expert, but my wine-snob friend says a late-harvest Riesling or a Chardonnay works great with this. Sweet enough to match the caramel, but acidic enough to cut through the richness.
Storage Instructions:
Refrigerator:
Store in an airtight container for up to 5 days. The cake will stay moist. If it dries out, wrap it in plastic wrap.
Freezing:
This cake freezes beautifully. Wrap individual slices in plastic wrap and foil. Freeze for up to 3 months. Thaw at room temperature. The texture holds up well.
Reheating:
Best method: Microwave for 15-20 seconds to warm it up. The caramel will soften and the cake will be tender again.
Oven method: Wrap in foil and warm at 300°F for 10 minutes. Good for larger portions.
Pro tip:
If you’re making this ahead, bake the cake a day in advance. Store it covered. Drizzle with caramel the day of. This prevents the caramel from soaking in too much and making the cake soggy.
Nutrition Information
I’m not a nutritionist, but here’s the breakdown if you’re tracking. This is a rich dessert, so portion control is key.
Per Serving (based on 12 servings):**
– Calories: 380
– Protein: 4g
– Carbs: 52g
– Fiber: 2g
– Sugar: 38g
– Fat: 18g
– Saturated Fat: 10g
– Cholesterol: 45mg
– Sodium: 220mg
– Calcium: 60mg
What’s Good:
– Apples provide fiber and vitamins
– Cinnamon has anti-inflammatory properties
– Can be made with whole wheat flour for more fiber
What to Know:
– Higher in sugar from caramel and sugar
– Contains dairy and gluten
– Moderate sodium (use low-sodium butter to reduce)
My Take:
“Look, this is a holiday dessert with caramel and sugar. It’s not a diet recipe. But it’s way better than store-bought, costs less, and I know exactly what’s in it. When I want to make it lighter, I use less caramel and add more nuts. But usually? I just eat a reasonable slice and enjoy it.”
Dietary Notes:
– Contains: gluten, dairy, eggs, nuts (optional)
– Can be made: gluten-free, vegan (with modifications)
– Not suitable for: dairy-free (without modifications), nut-free (if using nuts)
Final Thoughts
So that’s my Fall Caramel Apple Sheet Cake! I’ve probably talked your ear off at this point, but when you make a recipe this often, you have a lot to say about it.
This has saved holiday dinners more times than I can count. It’s my answer to “what’s for dessert” when I’m tired, don’t want takeout, and still want something that tastes really good. My kids are happy, my husband’s happy, and I’m happy because I’m not stressed about cooking.
Make it yours! Try different add-ins, swap in your favorite apples, adjust the spices (though more is always better in my opinion). The best recipes are the ones you adapt to your family’s tastes.
If you make this, drop a comment and let me know what you think! I love hearing how recipes turn out in your kitchen. And if something doesn’t work, tell me that too—I’m here to help troubleshoot.
Happy cooking! And I hope your kitchen smells half as good as mine does right now.
Frequently Asked Questions
Can I use pre-chopped apples?
You can, but they’re often treated with anti-browning agents that can affect the texture. Fresh is better. If you must use pre-chopped, rinse them well before using.
Why did my cake turn out dry?
Usually means you overbaked it. Check it at 35 minutes. Also, ensure you’re using fresh baking powder. If the cake is dry, brush it with a little simple syrup after baking.
Can I make this ahead for a party?
Absolutely. Bake the cake a day in advance. Store it covered at room temperature. Drizzle with caramel the day of. This prevents the caramel from making the cake soggy.
Why did the apples sink to the bottom?
Toss the apples in a tablespoon of flour before folding them in. This helps them suspend in the batter. Also, don’t overmix the batter.
Can I use store-bought caramel sauce?
Yes, it’s a time-saver. Look for a thick, pourable sauce. Salted caramel adds a nice contrast. If you have time, homemade is amazing, but store-bought works fine.
How do I reheat leftovers?
Microwave for 15-20 seconds. The caramel will soften and the cake will be tender again. Oven method: wrap in foil and warm at 300°F for 10 minutes.
Can I double this recipe?
Yes, double everything and bake in two 9×13 pans. Adjust baking time slightly—check at 35 minutes. Or bake in one large 9×13 pan for a thinner cake.
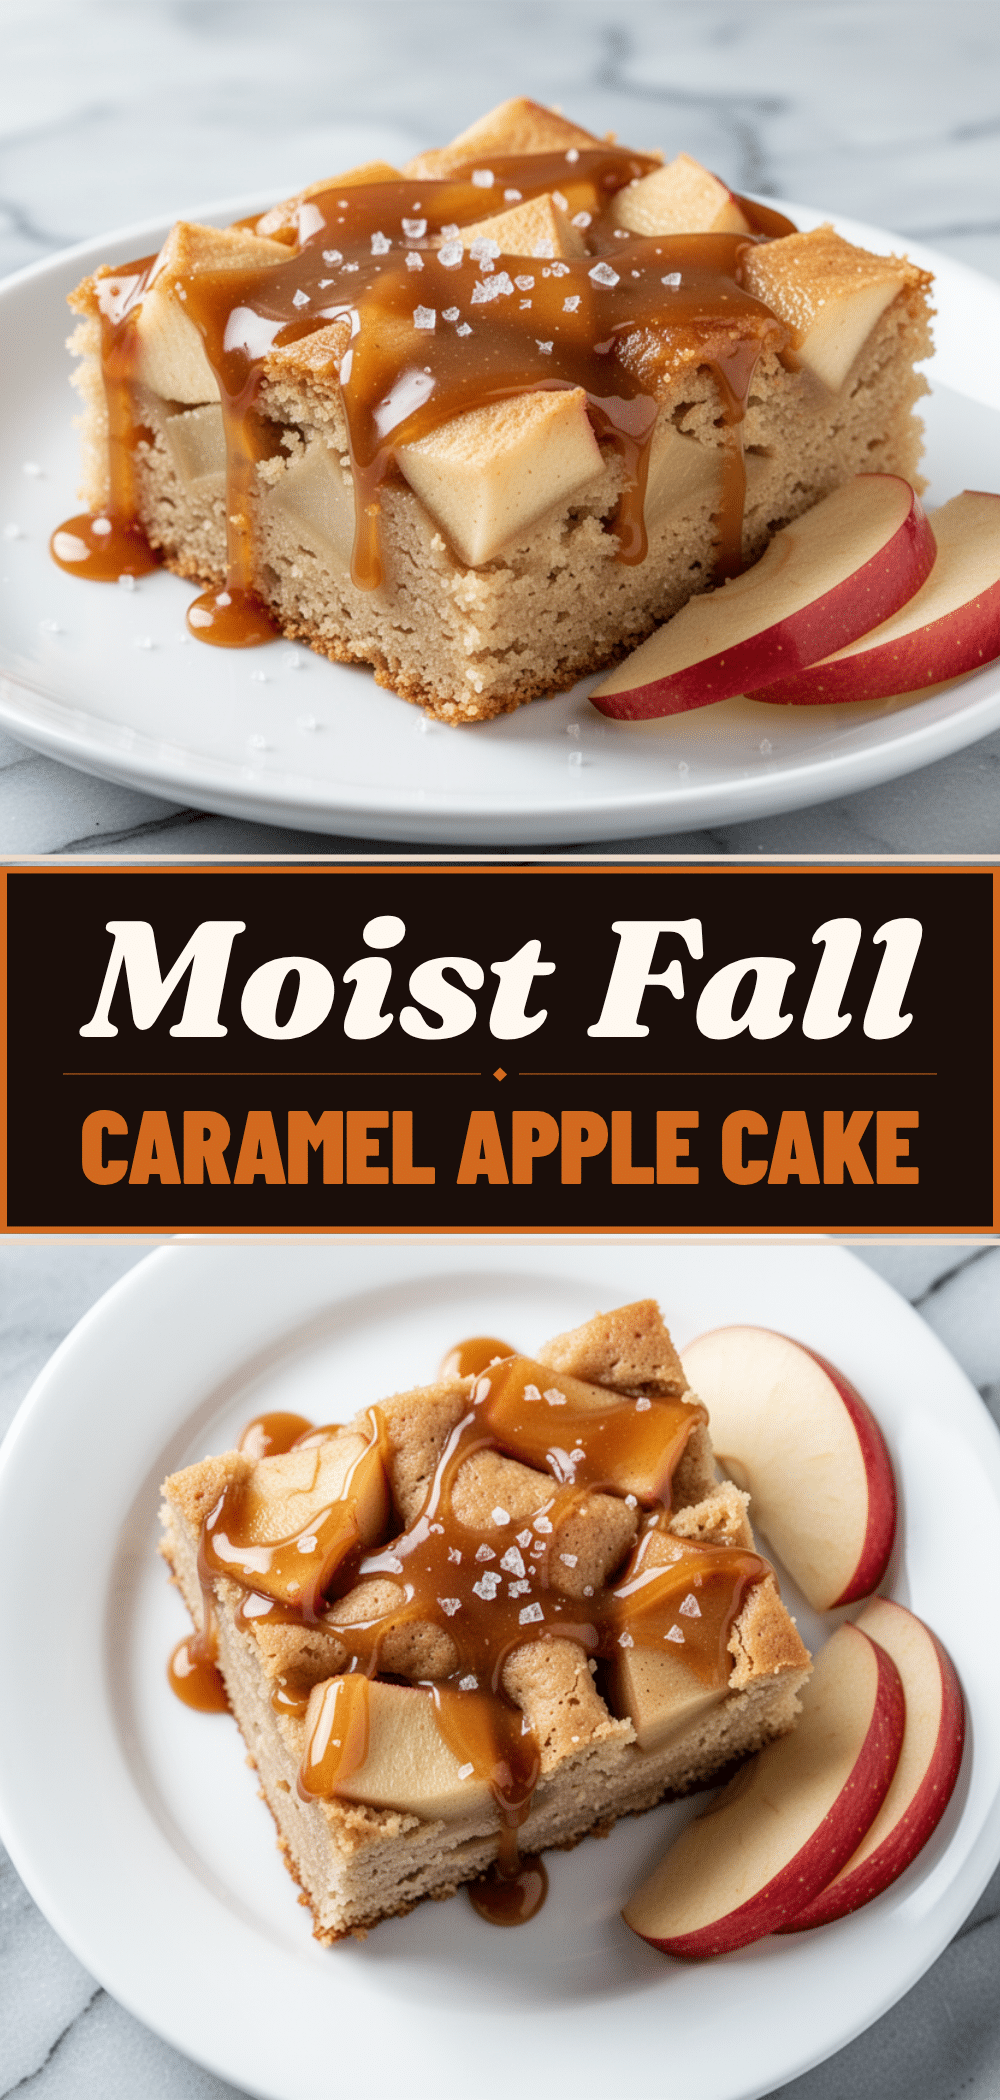
Pin This Recipe!
Fall Caramel Apple Sheet Cake: Easy Holiday Dessert
- Total Time: 1 hour
- Yield: 12 servings 1x
Description
A moist, flavorful sheet cake loaded with tender apples and topped with a rich caramel glaze. This easy, one-bowl dessert is perfect for holiday gatherings and tastes even better the next day.
Ingredients
- 3 medium apples (peeled and diced, approx. 450g; mix of Granny Smith and Honeycrisp recommended)
- ½ cup (115g) unsalted butter, softened
- 1 cup (200g) granulated sugar, plus 2 tablespoons for topping
- 2 large eggs, room temperature
- 2 cups (250g) all-purpose flour
- 1 teaspoon baking powder
- 1 teaspoon baking soda
- 1 cup (240ml) buttermilk, room temperature
- 2 teaspoons ground cinnamon
- ½ teaspoon ground nutmeg
- 1 teaspoon vanilla extract
- ½ teaspoon salt
- 1 cup (240ml) caramel sauce
- ½ cup chopped walnuts or pecans (optional)
Instructions
- Preheat oven to 350°F (175°C). Grease a 9×13 inch baking pan and line the bottom with parchment paper if desired. Dust with flour.
- Peel, core, and dice apples into ½-inch cubes. Toss with a little lemon juice to prevent browning and set aside.
- In a medium bowl, whisk together flour, baking powder, baking soda, cinnamon, nutmeg, and salt.
- In a large bowl, beat softened butter and 1 cup granulated sugar until light and fluffy (about 3-5 minutes).
- Add eggs one at a time, beating well after each addition. Mix in vanilla extract.
- Alternately add dry ingredients and buttermilk to the butter mixture, starting and ending with dry ingredients. Mix until just combined; do not overmix.
- Gently fold diced apples into the batter. Spread evenly into the prepared pan.
- Sprinkle remaining 2 tablespoons of sugar evenly over the top.
- Bake for 35-40 minutes, or until a toothpick inserted into the center comes out clean. If browning too fast, cover loosely with foil.
- While cake bakes, warm caramel sauce slightly in microwave to make it pourable.
- Once cake is out of oven, let cool for 5 minutes, then drizzle with caramel and swirl in slightly with a knife.
- Let cake cool completely in the pan on a wire rack before cutting into squares.
Notes
For best results, use room temperature ingredients. Avoid overmixing the batter to prevent a tough cake. Toss apples in a tablespoon of flour before folding them in to prevent sinking. The cake tastes better the next day as flavors meld. Store in an airtight container for up to 5 days or freeze for up to 3 months.
- Prep Time: 15 minutes
- Cook Time: 40 minutes
- Category: Dessert
- Cuisine: American
Nutrition
- Serving Size: 1 square slice
- Calories: 380
- Sugar: 38
- Sodium: 220
- Fat: 18
- Saturated Fat: 10
- Carbohydrates: 52
- Fiber: 2
- Protein: 4
Keywords: fall dessert, apple cake, sheet cake, caramel apple, holiday baking, easy dessert, autumn recipes