It’s 4:55 PM. You’re staring at the clock, then the empty fridge, then the clock again. Your stomach is growling. The kids are already complaining about being “hangry.” You have exactly twenty minutes before dinner needs to be on the table, and you have zero energy for anything complicated.
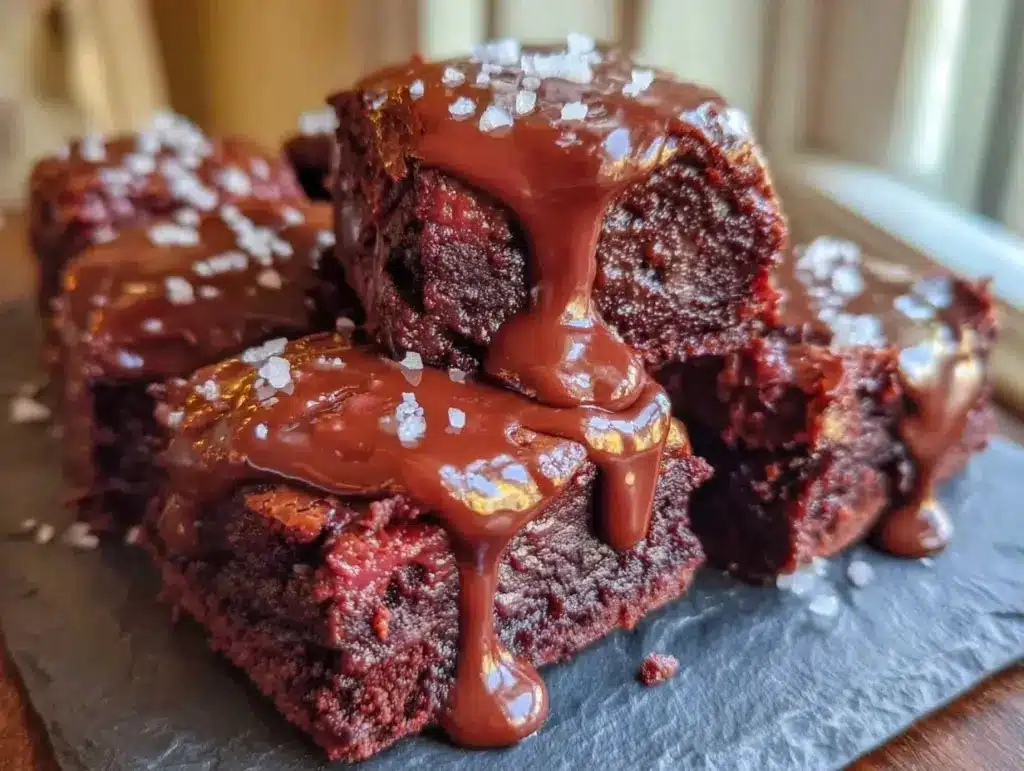
Normally, this is the moment I reach for the takeout menu. But last Tuesday, I was too tired to even open the app. Instead, I threw together these fudgy brownie bars with a melted chocolate ganache. Yes, brownies for dinner. Hear me out.
It wasn’t supposed to be dinner. It was supposed to be a “dessert first” hack. But when those warm, gooey bars hit the table, my family didn’t even blink. They devoured them. And honestly? It was better than anything I could have ordered. It’s fast, it’s indulgent, and it requires almost zero cleanup. If you’re looking for a 5pm dinner hack that actually feels like a treat, this is it.
I’ve made these fudgy brownie bars at least a dozen times since that panic-induced Tuesday. They’ve become my secret weapon for busy weeknights when I want comfort food but don’t want to spend an hour in the kitchen. The key? The melted chocolate ganache. It turns a simple bar into something that feels fancy, restaurant-quality, and incredibly satisfying. Let’s get you feeding your family something amazing, fast.
Why You’ll Love This 5pm Dinner Hack
I know, I know. Brownies for dinner sounds crazy. But trust me on this one. This recipe has completely changed my evening routine. Here’s why I keep coming back to these brownie bars:
Stupid Simple — Seriously, if you can melt butter and stir chocolate, you can make this. I’ve made these while holding a toddler and helping a first-grader with homework. No fancy techniques, no whisking egg whites to stiff peaks. Just dump, stir, bake.
Lightning Fast — 25 minutes total. Five minutes of prep, twenty minutes of baking. That’s it. I can have these out of the oven before the pizza delivery guy would even show up. It’s the ultimate speed hack.
Crowd-Pleaser — I’ve served these to my picky eater nephew, my food-snob sister-in-law, and my husband who claims he “doesn’t like sweet things for dinner.” Everyone loved them. The savory-sweet balance of the ganache makes it feel like a dessert, but the fudgy texture makes it feel like a meal.
Makes Amazing Leftovers — Actually, they taste better the next day. The flavors meld together, and the ganache sets up into this incredible fudge-like layer. I deliberately make a double batch for lunch throughout the week. They travel well too, so pack them in a container for the office.
Budget-Smart — You probably have all the ingredients already. Flour, sugar, butter, chocolate, eggs. It’s cheaper than takeout and way healthier than a frozen pizza. Feeds 4-6 people for under $10.
This is my go-to when I need dinner to just work. No stress, no weird ingredients, just reliable, delicious food that makes everyone happy. And if you need a side dish to balance it out, try my ultra creamy no-churn vanilla bean ice cream—it’s the perfect pairing.
Ingredients You’ll Need
Here’s the best part: you probably have most of this already in your pantry. This isn’t a recipe that requires a special trip to the store. It’s built on basics you likely already love.
For the Fudgy Base
Unsalted butter (1 cup / 226g) — This is the foundation. Use good quality butter if you can—it adds richness. I melt this directly in the microwave or in a saucepan. Don’t skimp on the fat; it’s what makes them fudgy.
Granulated sugar (2 cups / 400g) — Yes, two cups. This recipe is sweet. If you want less sweet, you can reduce to 1.5 cups, but you lose some of that crisp top. I stick with 2 cups for maximum fudginess.
Eggs (4 large) — Room temperature works best, but cold eggs are fine too. Just beat them well so they incorporate smoothly. These provide structure and richness.
Vanilla extract (2 teaspoons) — Use real vanilla, not imitation. It makes a huge difference in the flavor profile. I keep a bottle of Nielsen-Massey in my cabinet.
For the Dry Mix
All-purpose flour (1 cup / 125g) — Just regular flour. Don’t use cake flour or self-rising. You want that dense, chewy texture. Sift it if you want to avoid lumps, but it’s not strictly necessary.
Cocoa powder (½ cup / 50g) — Use unsweetened cocoa powder. Dutch-process gives a deeper, darker flavor, but regular works fine. This is where the chocolate flavor comes from.
Salt (½ teaspoon) — Essential. It balances the sweetness and makes the chocolate taste more intense. Don’t skip it.
For the Melted Chocolate Ganache
Heavy cream (½ cup / 120ml) — Full fat only. This creates the smooth, pourable ganache. Half-and-half will be too thin.
Semi-sweet chocolate chips (1 cup / 170g) — I use Ghirardelli 60% Cacao chips. They melt evenly and have a great balance of sweet and bitter. Don’t use chocolate chunks; they don’t melt as smoothly.
Butter (2 tablespoons) — Added to the ganache for extra shine and gloss. It makes the topping look restaurant-quality.
Optional: Sea salt flakes — A sprinkle on top after baking adds a nice crunch and elevates the flavor. I do this every time now.
Equipment Needed
You don’t need fancy equipment for this. Here’s what I actually use:
9×13 inch baking pan — Grease it well with butter or non-stick spray. I prefer glass Pyrex because it bakes evenly, but metal works too.
Microwave-safe bowl — For melting the butter and making the ganache. I use a large Pyrex measuring cup because it’s easy to stir and pour.
Medium mixing bowl — For whisking the eggs and sugar. A large bowl is better so nothing splatters.
Whisk — Essential for getting the batter smooth. A spoon works, but a whisk is faster.
Spatula — For scraping the bowl and spreading the batter. I love my silicone spatulas because they don’t scratch the bowl.
Saucepan — Or microwave, for heating the cream for the ganache. Small pot works best.
Parchment paper — I line the pan with parchment, leaving overhang on the sides. This makes removing the bars so much easier. No more digging them out with a knife.
How to Make It: Step-by-Step
Alright, let’s make this! I’m walking you through exactly how I do it, including the little tricks I’ve picked up.
Step 1: Prep Your Pan and Oven (2 minutes)
Preheat your oven to 350°F (175°C). Line your 9×13 inch baking pan with parchment paper. Leave an overhang on the long sides so you can lift the brownies out later. Grease the parchment with a little butter or cooking spray. This step is crucial for easy removal.
Step 2: Melt the Butter (2 minutes)
In a microwave-safe bowl, melt the 1 cup of butter. I do this in 30-second intervals, stirring in between, until it’s completely liquid. Be careful not to let it boil over. If you’re using a stove, melt it in a small saucepan over low heat. Set aside to cool slightly.
Step 3: Mix the Wet Ingredients (2 minutes)
In a large mixing bowl, whisk together the melted butter and the 2 cups of sugar. It will look grainy at first—that’s normal. Add the 4 eggs one at a time, whisking well after each addition. Stir in the 2 teaspoons of vanilla extract. The mixture should be smooth and glossy.
Step 4: Add the Dry Ingredients (2 minutes)
Sift the 1 cup of flour, ½ cup of cocoa powder, and ½ teaspoon of salt directly into the wet mixture. If you don’t have a sifter, just whisk the dry ingredients together in a separate bowl first. Fold the dry ingredients into the wet using a spatula or wooden spoon. Mix until just combined. Do not overmix! A few lumps are fine. Overmixing makes them cakey, not fudgy.
Step 5: Bake the Brownies (20 minutes)
Pour the batter into your prepared pan. Spread it out evenly with your spatula. Bake for 20-22 minutes. The edges should be set and pulling away slightly from the sides, but the center should still look slightly soft. A toothpick inserted in the center should come out with moist crumbs, not wet batter. If it’s clean, they’re overbaked. I take mine out when they look just barely done.
Step 6: Make the Ganache (5 minutes)
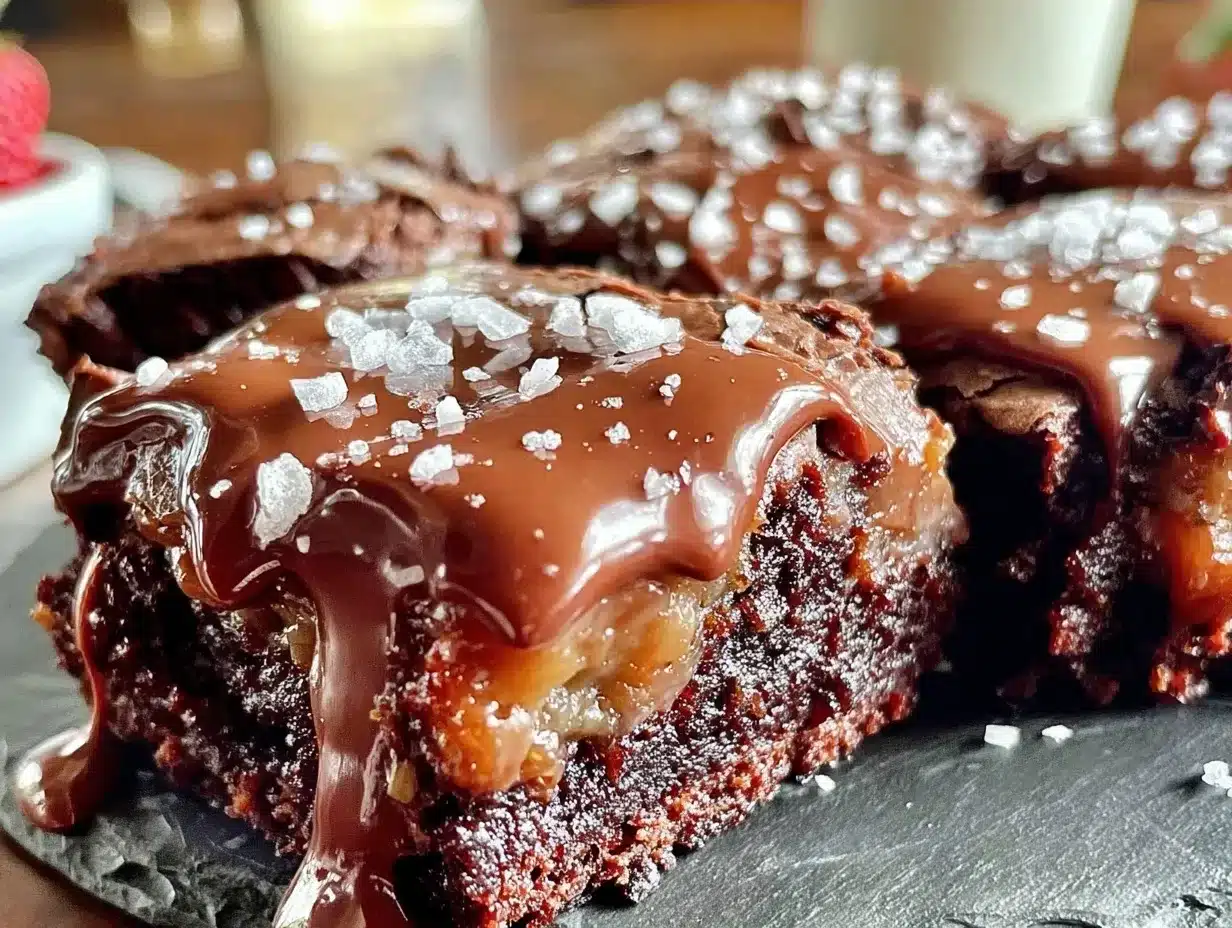
While the brownies bake, make the ganache. In a small saucepan, heat the ½ cup of heavy cream over medium heat until it just starts to simmer (small bubbles around the edges). Do not boil it vigorously. Pour the hot cream over the 1 cup of chocolate chips in a heatproof bowl. Let it sit for 2 minutes without stirring. Then, slowly whisk from the center outward until smooth and glossy. Stir in the 2 tablespoons of butter until melted. This is your melted chocolate ganache.
Step 7: Assemble and Cool (10 minutes)
Pour the warm ganache over the baked brownies. Use a spatula to spread it evenly to the edges. Sprinkle with sea salt flakes if using. Let the brownies cool in the pan for at least 10 minutes. This allows the ganache to set slightly so it doesn’t slide off when you cut. For cleaner cuts, chill them in the fridge for 30 minutes, but warm is best for immediate eating.
Total Time: About 30 minutes (5 minutes active, 20 minutes baking, 5 minutes ganache).
Expert Tips & Tricks
Here’s everything I’ve learned from making these dozens of times. These tips will save you from my mistakes.
Don’t Overbake
This is the #1 mistake. Brownies continue to cook in the hot pan after you take them out of the oven. If you bake them until they look dry, they’ll be dry when cooled. Aim for a slightly underbaked center. They should jiggle a little in the middle when you pull them out.
Room Temperature Eggs
While cold eggs work, room temperature eggs incorporate into the batter more smoothly. If you forget, just place them in a bowl of warm water for 5 minutes. It makes the texture more uniform.
Quality Chocolate Matters
For the ganache, use good chocolate chips. Cheap chips have more stabilizers and don’t melt as smoothly. Ghirardelli, Lindt, or Guittard are my go-tos. It’s worth the extra dollar.
The Wait is Worth It
I know it’s hard, but let them cool. Cutting into hot brownies with warm ganache is messy and they’ll fall apart. Ten minutes is enough to set the ganache. If you’re impatient, chill them for 15 minutes in the fridge.
Storage Hack
Store leftovers in an airtight container at room temperature for up to 3 days. If your kitchen is hot, refrigerate them. Bring to room temperature before eating for the best texture. They freeze well too—wrap individual squares in plastic wrap and freeze for up to 3 months.
Variations & Substitutions
Once you’ve nailed the basic version, here’s how you can mix it up. I’ve tried all of these.
Peanut Butter Swirl
Before baking, dollop spoonfuls of peanut butter on top of the batter and swirl with a knife. It adds a salty-sweet contrast that’s incredible. This is my favorite variation.
Chocolate Chip Explosion
Add 1 cup of chocolate chips to the batter before baking. For even more chocolate, sprinkle another ½ cup on top before baking.
Espresso Boost
Add 1 teaspoon of instant espresso powder to the dry ingredients. It doesn’t make them taste like coffee; it just intensifies the chocolate flavor. A pro tip for deeper taste.
Gluten-Free
Use a 1:1 gluten-free flour blend. The texture is almost identical to regular flour. I use Bob’s Red Mill 1-to-1 and it works perfectly.
Dairy-Free
Replace butter with coconut oil (solid, melted) and use dairy-free chocolate chips. Use coconut cream instead of heavy cream for the ganache. It’s rich and creamy, just like the original.
Nutty Version
Fold in 1 cup of chopped walnuts or pecans into the batter. Toast the nuts first for extra flavor. This adds crunch and makes it feel more like a dessert bar.
If you’re looking for other easy dessert hacks, check out my small batch salted caramel blondies—they’re great for smaller households.
Serving & Storage
How to Serve:
I usually serve these warm, cut into squares. They’re perfect for a casual dinner party, a potluck, or just a Tuesday night treat. Pair with a glass of cold milk or a cup of coffee. If you want to make it a full dessert course, serve with a dollop of whipped cream or a scoop of vanilla bean ice cream.
Side Dishes:
Since these are rich and sweet, they pair well with something light. A simple green salad with vinaigrette balances the heaviness. Or just enjoy them as is—they’re a complete treat.
Storage Instructions:
Refrigerator: Store in an airtight container for up to 4 days. The ganache will firm up in the fridge. Let them sit at room temperature for 10 minutes before eating.
Freezer: Wrap individual squares in plastic wrap, then place in a freezer bag. Freeze for up to 3 months. Thaw at room temperature.
Reheating:
Microwave a square for 10-15 seconds to warm the ganache. It becomes gooey and irresistible. Don’t overheat or the chocolate will melt too much.
Nutrition Information
I’m not a nutritionist, but here’s the breakdown if you’re tracking. This is a rich, indulgent treat, so portion control is key.
Per Serving (based on 12 bars):
- Calories: 380
- Protein: 5g
- Carbs: 45g
- Fiber: 2g
- Sugar: 35g
- Fat: 22g
- Saturated Fat: 13g
- Cholesterol: 65mg
- Sodium: 120mg
What’s Good: It’s satisfying, so you don’t need a huge portion. The cocoa has some antioxidants.
What to Know: High in sugar and saturated fat. It’s a dessert, not a health food. Enjoy in moderation.
Final Thoughts
So that’s my go-to fudgy brownie bars with melted chocolate ganache! I know it sounds weird to have brownies for dinner, but when you’re in that 5pm panic, this is the answer. It’s fast, it’s easy, and it tastes like you spent hours in the kitchen (even though you didn’t).
This recipe has saved me more times than I can count. It’s my answer to “what’s for dinner” when I’m tired, don’t want takeout, and still want something that tastes really good. My kids are happy, my husband’s happy, and I’m happy because I’m not stressed about cooking.
Make it yours! Try different add-ins, swap in your favorite chocolate, or adjust the sweetness. The best recipes are the ones you adapt to your family’s tastes. If you make this, drop a comment and let me know what you think! I love hearing how recipes turn out in your kitchen. And if something doesn’t work, tell me that too—I’m here to help troubleshoot.
Happy cooking! And I hope your kitchen smells half as good as mine does right now.
Frequently Asked Questions
Can I use dark chocolate instead of semi-sweet?
Yes! Dark chocolate (70% or higher) will make the ganache less sweet and more intense. It’s great if you prefer a less sugary treat. Just note that the overall sweetness of the bar will decrease, which might be a good thing for some people.
Why did my ganache turn out grainy?
Usually, this happens if the cream wasn’t hot enough when you poured it over the chocolate, or if you stirred too vigorously too soon. Let the cream and chocolate sit for 2 minutes before whisking. Whisk slowly from the center out. If it’s already grainy, you can gently reheat it in the microwave for 10 seconds and stir again.
Can I make this ahead for a dinner party?
Absolutely. You can bake the brownies up to 2 days ahead and store them covered at room temperature. Make the ganache the day of or the night before. Pour the ganache over the brownies just before serving, or let it set and cut them later. They actually taste better the next day!
Can I use milk instead of heavy cream for the ganache?
You can, but the ganache will be thinner and less rich. Whole milk works, but it won’t set as firmly. If you want a thicker ganache with milk, you might need to add a bit more chocolate. But for the best texture, heavy cream is worth it.
How do I store leftover brownies?
Store them in an airtight container at room temperature for up to 3 days. If your kitchen is very warm, refrigerate them. They will keep for up to 4 days in the fridge. Bring to room temperature before eating for the best texture.
Can I double this recipe?
Yes, but you’ll need a larger pan (like a 9×13 inch pan is fine for doubling if you want thicker bars, but a 9×13 is standard for this recipe). If you double it, keep an eye on the baking time—it might need an extra 2-3 minutes. Don’t overcrowd the oven.
Can I make these gluten-free?
Yes, use a 1:1 gluten-free flour blend. The texture will be almost identical. I’ve tested this with Bob’s Red Mill and King Arthur, and both work great. Make sure your chocolate chips are certified gluten-free if you have celiac disease.
Pin This Recipe!
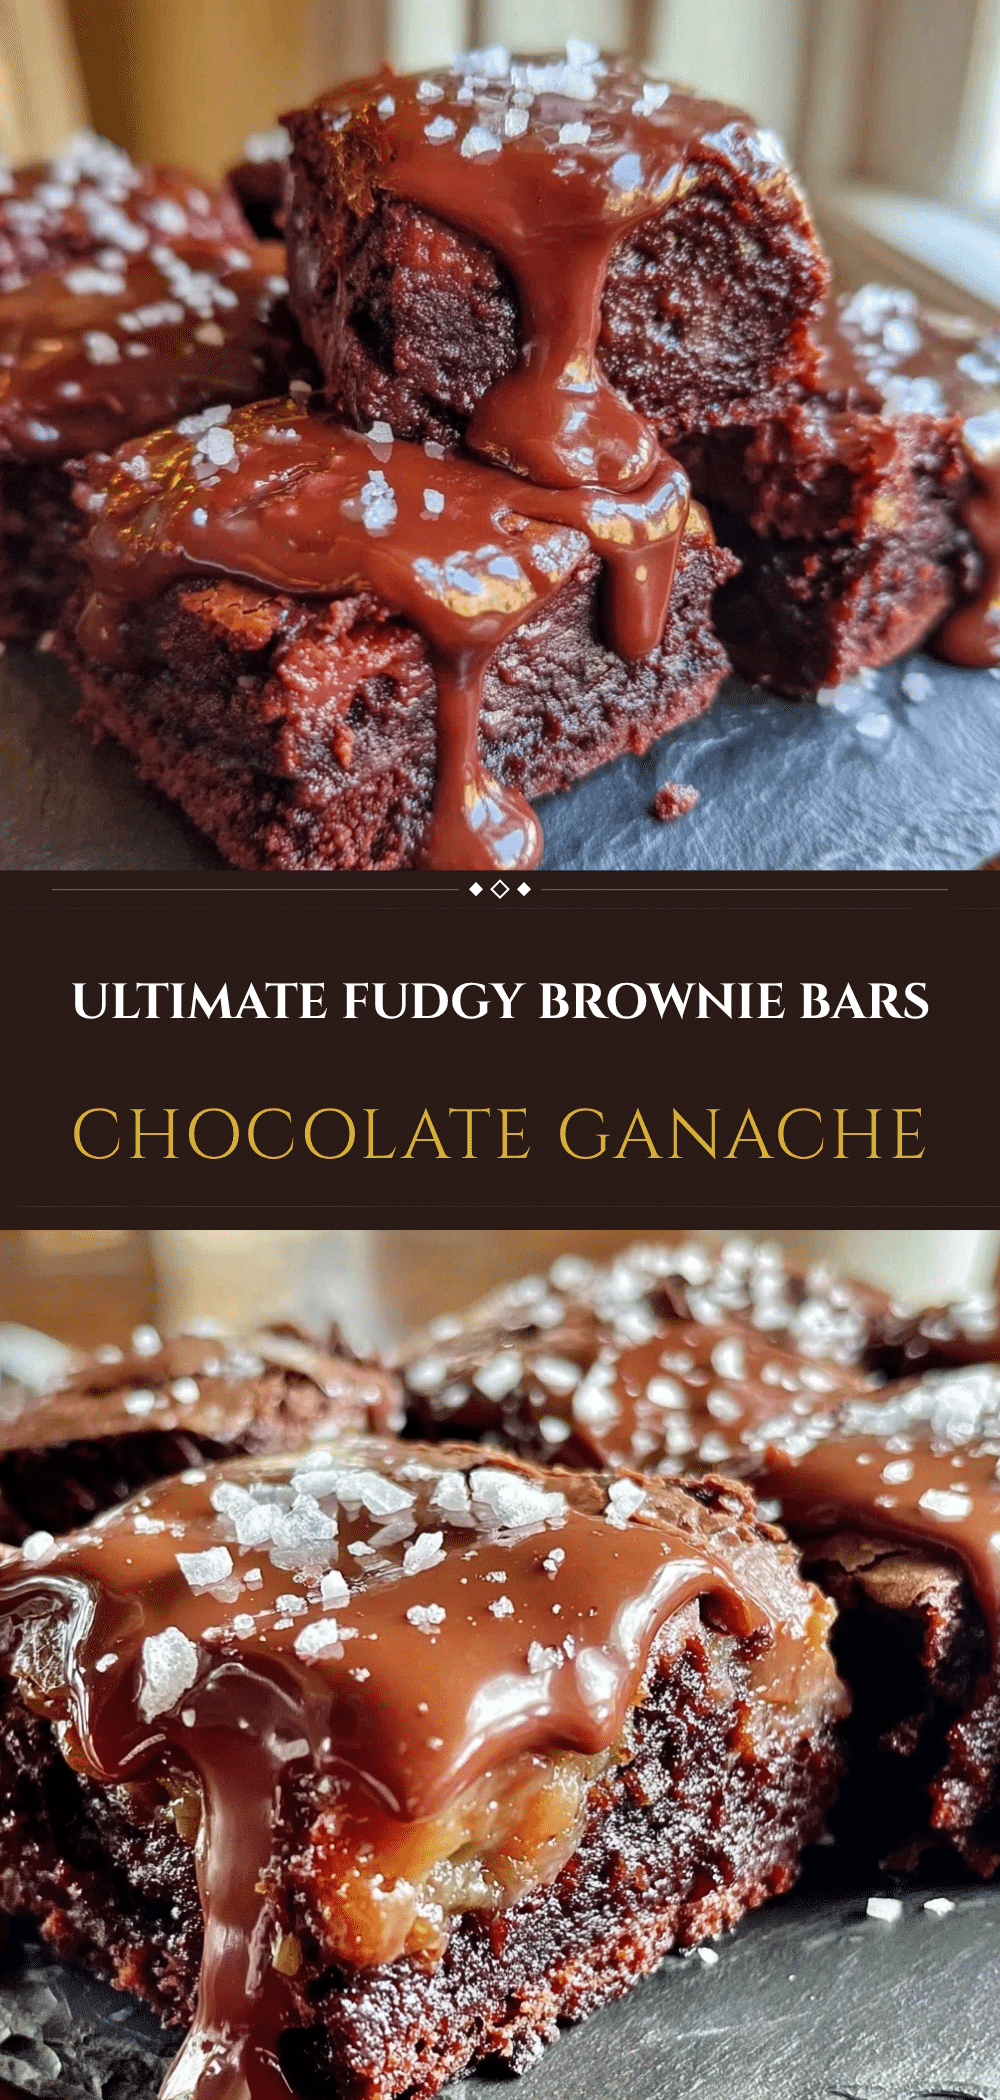
Fudgy Brownie Bars: Best 5pm Dinner Hack
- Total Time: 25 minutes
- Yield: 12 servings 1x
Description
A quick and indulgent fudgy brownie bar recipe topped with a rich melted chocolate ganache, designed as a fast 25-minute dinner hack for busy weeknights.
Ingredients
- 1 cup (226g) unsalted butter
- 2 cups (400g) granulated sugar
- 4 large eggs
- 2 teaspoons vanilla extract
- 1 cup (125g) all-purpose flour
- ½ cup (50g) unsweetened cocoa powder
- ½ teaspoon salt
- ½ cup (120ml) heavy cream
- 1 cup (170g) semi-sweet chocolate chips
- 2 tablespoons butter (for ganache)
- Sea salt flakes (optional, for topping)
Instructions
- Preheat oven to 350°F (175°C). Line a 9×13 inch baking pan with parchment paper, leaving an overhang on the sides, and grease with butter or spray.
- Melt 1 cup of butter in a microwave-safe bowl in 30-second intervals, stirring until liquid. Set aside to cool slightly.
- In a large mixing bowl, whisk together the melted butter and sugar until combined. Add eggs one at a time, whisking well after each addition. Stir in vanilla extract.
- Sift flour, cocoa powder, and salt into the wet mixture. Fold in with a spatula until just combined; do not overmix.
- Pour batter into the prepared pan and spread evenly. Bake for 20-22 minutes until edges are set but the center is still slightly soft.
- While brownies bake, heat heavy cream in a small saucepan until it just starts to simmer. Pour hot cream over chocolate chips in a heatproof bowl and let sit for 2 minutes. Whisk slowly until smooth, then stir in 2 tablespoons of butter.
- Pour warm ganache over baked brownies and spread evenly. Sprinkle with sea salt flakes if using.
- Let brownies cool in the pan for at least 10 minutes to allow ganache to set before cutting.
Notes
Do not overbake; brownies continue to cook in the hot pan. For cleaner cuts, chill in the fridge for 30 minutes. Store leftovers in an airtight container at room temperature for up to 3 days or refrigerate for up to 4 days. Can be frozen for up to 3 months.
- Prep Time: 5 minutes
- Cook Time: 20 minutes
- Category: Dessert
- Cuisine: American
Nutrition
- Serving Size: 1 bar
- Calories: 380
- Sugar: 35
- Sodium: 120
- Fat: 22
- Saturated Fat: 13
- Carbohydrates: 45
- Fiber: 2
- Protein: 5
Keywords: brownie bars, dinner hack, quick dinner, fudgy brownies, chocolate ganache, easy dessert, weeknight dinner, 5pm dinner


