It was 5:03 PM on a Tuesday. The kind of Tuesday where the dog is staring at you like you owe him money, the kids are asking “what’s for dinner” for the third time in an hour, and you are absolutely not leaving the house for takeout. I was standing in front of an open refrigerator, hoping a new ingredient would magically appear, when I remembered I had a bag of chicken thighs in the freezer.
Usually, this is where I panic. Chicken thighs take forever to cook if you want them tender, or they come out rubbery if you rush them. But then I remembered this specific method. It’s the one that changed my weeknight life. No marinating overnight. No standing over the stove flipping pieces. Just a single sheet pan, ten minutes of prep, and the smell of crispy, golden chicken filling the house by the time I can find a plate.
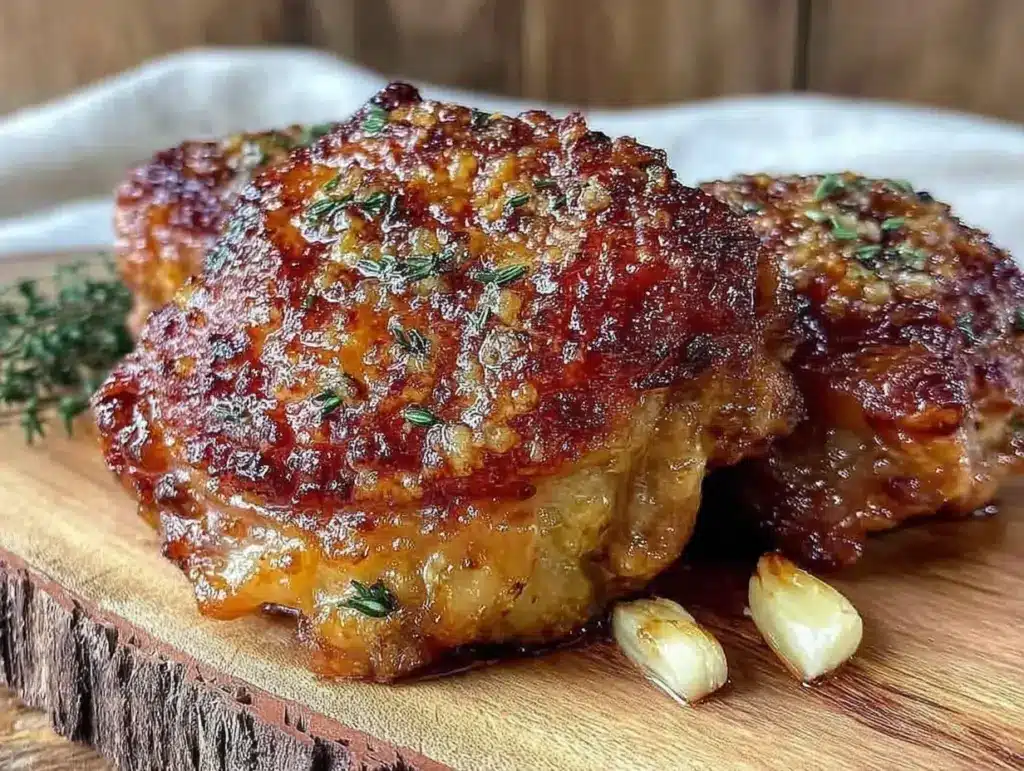
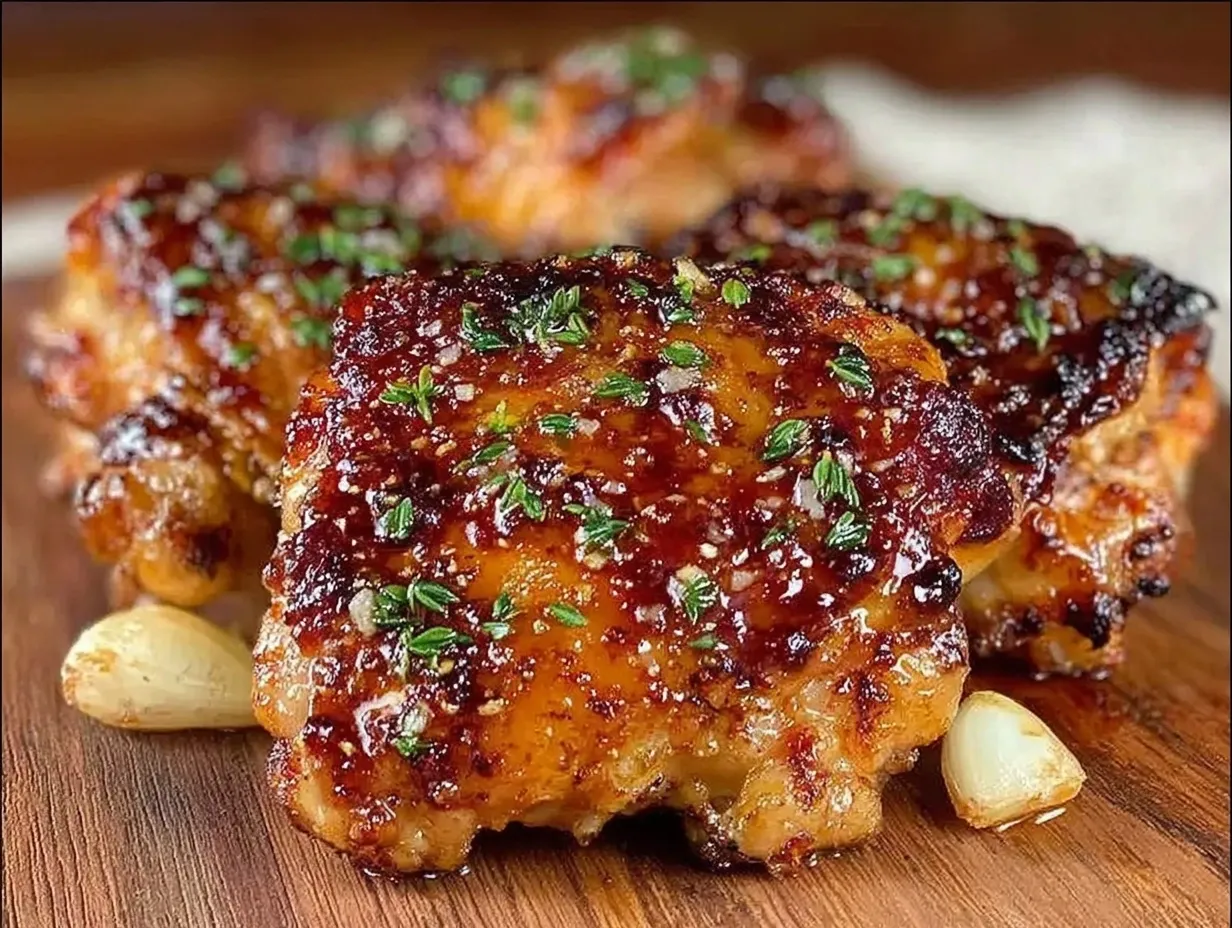
These crispy baked chicken thighs are my secret weapon for busy weeknights. They get that restaurant-quality crunch without the deep fryer mess, and they’re juicy enough that even my pickiest eater (who usually only eats bread sticks) asks for seconds. If you’re tired of dry, boring chicken dinners, you need to try this. It’s fast, it’s easy, and it actually tastes like you tried.
Why You’ll Love This Recipe
I’ve made this crispy baked chicken thighs recipe so many times that I can probably do it in my sleep. And honestly? That’s the point. When you’re exhausted at 5 PM, you don’t want a recipe that requires a PhD in cooking. You want dinner that just works. Here’s why this one keeps me coming back:
Actually Crispy Skin — Most baked chicken recipes fail here. The skin stays soggy. This method uses a little baking powder (yes, baking powder!) and high heat to pull moisture from the skin, creating actual crunch. It’s not a gimmick; it’s science. My husband literally licked his fingers after eating these.
Zero Marinating Time — I know, I know. People say you need to marinate chicken for flavor. You don’t. Not for this. The seasoning rub penetrates fast, and the high heat sears it in. You can go from frozen (thawed quickly) to oven in under 20 minutes.
One Pan, Zero Drama — Cleanup is the enemy of weeknight cooking. With this crispy baked chicken thighs recipe, you only use one baking sheet. Maybe a small bowl for the spices. That’s it. No dirty pots, no dirty pans, no dirty strainers. Just toss the pan in the dishwasher and call it a night.
Juicy, Not Dry — Breast meat dries out if you look at it wrong. Thighs? They’re forgiving. Even if you leave them in the oven five minutes too long, they stay moist. This is the protein I choose when I want to stop worrying and start eating.
Budget Friendly — Chicken thighs are cheaper than breasts, and they taste better. You can feed a family of four for under $12 if you buy them on sale. That’s less than the cost of delivery fees on an app.
This recipe has saved me more times than I care to admit. It’s my go-to when I have no energy, no plan, and no patience. It’s reliable, delicious, and it makes you look like a culinary genius with minimal effort.
Ingredients You’ll Need
Here’s the best part: you probably have most of this already in your pantry. I’m not asking you to go to three different stores for exotic spices. This is simple, honest food. Here’s what you need for the crispy baked chicken thighs:
For the Chicken
Chicken thighs (2.5 lbs / 1.1 kg) — Boneless, skin-on. This is non-negotiable if you want crispy skin. Skinless thighs will bake, but they won’t crisp. I buy the family pack and freeze what I don’t use immediately. Look for thighs that are roughly the same size so they cook evenly.
Neutral oil (2 tablespoons) — I use olive oil or avocado oil. You just need a little bit to help the spices stick and conduct heat. Don’t skimp, but don’t drown them either.
Baking powder (1 teaspoon) — Not baking soda! Baking powder changes the pH of the skin, helping it break down and crisp up like it’s been fried. It sounds weird, but it’s the secret ingredient. Make sure it’s aluminum-free for the best taste.
Salt (1 teaspoon kosher salt) — Kosher salt is better here because it’s less dense than table salt. If you use table salt, cut the amount in half. You want to season the meat, not just the surface.
The Spice Rub
Smoked paprika (1 teaspoon) — This gives that smoky, BBQ-like flavor without the smoke. If you only have sweet paprika, use that, but smoked is better for this crispy baked chicken thighs vibe.
Garlic powder (1 teaspoon) — Not fresh garlic. Fresh garlic burns at high heat and tastes bitter. Powder gives you that savory garlic flavor without the risk of burning.
Onion powder (½ teaspoon) — Adds depth and savory notes. If you don’t have it, skip it, but it really rounds out the flavor profile.
Dried thyme (½ teaspoon) — Earthy and slightly floral. It pairs perfectly with chicken. If you’re out, dried oregano works too, but thyme is classic.
Black pepper (½ teaspoon) — Freshly cracked is best. Pre-ground pepper loses its punch after a few months. Use the good stuff.
Optional: Cayenne pepper (¼ teaspoon) — If you like a little kick, add this. It’s subtle, just a warm background note. Skip it if you’re serving kids who are sensitive to spice.
What to Serve With It
Since this crispy baked chicken thighs recipe is so simple, the sides can be simple too. I usually go with roasted potatoes (toss them on the same pan if you have space!), a quick green salad, or steamed broccoli. I’ve also served these alongside sheet pan Greek lemon chicken for a Mediterranean twist, but honestly, plain is often best. Let the chicken shine.
Equipment Needed
You don’t need fancy gadgets for this. Here’s what I actually use, and what you can swap if you don’t have it.
Large baking sheet — I use a standard half-sheet pan (18×13 inches). A rimmed baking sheet is crucial so the juices don’t spill into the oven. I prefer dark metal pans because they brown the chicken faster, but light aluminum works fine too.
Wire rack (optional but recommended) — If you have a wire rack that fits inside your baking sheet, use it. It lets air circulate under the chicken, making the bottom crispy too. I don’t always use one (lazy me), but if I do, the texture is noticeably better. If you don’t have one, just flip the chicken halfway through cooking.
Small mixing bowl — For combining the spices. Any bowl works.
Pastry brush or hands — To oil the chicken. I usually just use my hands, but a brush is cleaner.
Parchment paper or foil — I line my pan with parchment paper for easy cleanup. It prevents sticking and means I don’t have to scrub the pan later. Disposable, right? Perfect.
Oven thermometer (nice to have) — Ovens are notoriously inaccurate. If your chicken is taking forever or burning, check your oven temp with a cheap thermometer. It might be running 25 degrees off.
How to Make It: Step-by-Step
Alright, let’s make this! I’m walking you through exactly how I do it. It’s simple, but there are a few tricks to get that perfect crisp. Total time is about 35 minutes, but only 10 minutes of active work.
Step 1: Prep the Oven and Pan (5 minutes)
Preheat your oven to 425°F (220°C). High heat is key for crispiness. Line your baking sheet with parchment paper. If you’re using a wire rack, place it on the sheet. Make sure your oven rack is in the center position so the heat distributes evenly.
Step 2: Dry the Chicken (Crucial Step)
Pat the chicken thighs completely dry with paper towels. Seriously. Get them as dry as possible. Moisture is the enemy of crispiness. If the skin is wet, it will steam instead of bake. This step takes two minutes but makes a huge difference. Discard the wet towels.
Step 3: Make the Spice Rub
In a small bowl, mix together the baking powder, salt, smoked paprika, garlic powder, onion powder, thyme, black pepper, and cayenne (if using). Stir until well combined. The baking powder should be evenly distributed so you don’t get a bitter bite.
Step 4: Season the Chicken
Place the dried chicken thighs in a large bowl. Drizzle with the oil and sprinkle the spice rub over them. Toss everything together until every piece is coated. You want a thin, even layer of seasoning. Don’t pile it on thick; you want the skin to be visible, not buried in spice.
Step 5: Arrange on the Pan
Place the chicken thighs on the prepared baking sheet, skin-side up. Make sure they are not touching each other. Crowding the pan causes steaming, which leads to soggy skin. If you have a small pan, do two batches. I know it’s annoying, but it’s worth it for the crisp.
Step 6: Bake
Put the pan in the preheated oven. Bake for 20-25 minutes. Do not open the oven door for the first 15 minutes! You want the heat to stay consistent. After 20 minutes, check the chicken. The skin should be golden brown and crispy. The internal temperature should reach 165°F (74°C) at the thickest part.
Step 7: Rest and Serve
Remove the chicken from the oven and let it rest for 5 minutes. This allows the juices to redistribute. If you cut into it immediately, all the juice runs out, and the meat gets dry. Resting keeps it juicy. Serve hot.
Troubleshooting: If the skin isn’t crispy enough, broil for 1-2 minutes at the end. Watch it closely! Broilers burn fast. If the chicken is done but the skin isn’t brown, increase the broil time by 30 seconds.
Expert Tips & Tricks
Here’s everything I’ve learned from making these crispy baked chicken thighs dozens of times. These tips will save you from my mistakes.
Don’t Skip the Baking Powder
I know it sounds weird, but it’s the secret. The baking powder raises the pH of the skin, which helps the proteins break down and crisp up faster. It doesn’t make the chicken taste like cookies. I promise. It just makes it crispy.
Dry Skin is King
I can’t stress this enough. If your chicken is wet, it won’t crisp. Use fresh paper towels. If they get wet, swap them. Dry chicken = crispy chicken. It’s that simple.
Space Out the Pieces
I’ve tried to cram too many pieces on the pan before. Result? Soggy bottoms. Give each piece room. Air needs to circulate. If you’re cooking for a crowd, do two batches. It’s better than waiting for one soggy batch.
Use a Meat Thermometer
Guessing doneness is risky. A cheap instant-read thermometer is worth every penny. Insert it into the thickest part, avoiding the bone. 165°F is safe. Some people pull them at 160°F because the temp will rise while resting, but 165°F is safe and juicy.
Flip Halfway (If No Rack)
If you’re not using a wire rack, flip the chicken halfway through cooking. This ensures the bottom gets some heat and doesn’t just sit in its own juices.
Variations & Substitutions
Once you’ve nailed the basic version, here’s how you can mix it up. I’ve tried all of these, and they’re all winners.
Spicy Version
Add an extra ½ teaspoon of cayenne pepper and a dash of chili powder. If you like heat, this version is incredible. I serve it with a cooling yogurt sauce to balance the spice.
Honey Glazed
Brush the chicken with a mix of honey and Dijon mustard during the last 5 minutes of cooking. The sugars caramelize and create a sticky, sweet-savory crust. Amazing with roasted vegetables.
Herb-Crusted
Skip the paprika and add more thyme, rosemary, and oregano. Top with fresh parsley after baking. It’s fresher and lighter, perfect for spring.
Gluten-Free
This recipe is naturally gluten-free! Just make sure your baking powder and spices are certified GF. Cross-contamination can happen in some brands, so check labels if you’re sensitive.
Dairy-Free
This recipe is naturally dairy-free. No butter or milk involved. It’s a great option for dairy-free weeknights.
Other Proteins
You can use chicken drumsticks or bone-in thighs for this method. Just increase cooking time by 10-15 minutes. The skin will still get crispy, but the meat takes longer to cook through.
Serving & Storage
How to Serve
I usually serve these straight from the pan, garnished with fresh parsley or chives. They go great with labor day grilled chicken salad components, like a simple vinaigrette and greens. I also love them with mashed potatoes to soak up any extra juices.
Storage
Store leftovers in an airtight container in the fridge for up to 4 days. The chicken stays moist for a few days, but the skin will soften. To re-crisp, pop it in the oven at 350°F for 10 minutes or in an air fryer for 3-4 minutes.
Reheating
Avoid the microwave if you want crispy skin. It makes the skin rubbery. The oven or air fryer is best. If you must use the microwave, do it for short bursts and finish in the toaster oven.
Freezing
You can freeze cooked chicken thighs for up to 3 months. Let them cool completely, then freeze in a single layer before bagging. Thaw in the fridge overnight and reheat in the oven.
Nutrition Information
I’m not a nutritionist, but here’s the breakdown if you’re tracking. Per serving (based on 4 servings, 2 thighs each):
- Calories: 320
- Protein: 28g
- Carbs: 1g
- Fat: 22g
- Sodium: 450mg
This is a high-protein, low-carb meal. The skin adds healthy fats, and the spices add flavor without calories. It’s a solid choice for keto or low-carb diets. Just watch the sodium if you’re sensitive to salt.
Final Thoughts
So that’s my crispy baked chicken thighs recipe! I’ve probably talked your ear off at this point, but when you make a recipe this often, you have a lot to say about it. This has saved weeknight dinners more times than I can count. It’s my answer to “what’s for dinner” when I’m tired, don’t want takeout, and still want something that tastes really good.
Make it yours! Try different spices, add veggies to the pan, or serve it with your favorite sides. The best recipes are the ones you adapt to your family’s tastes. If you make this, drop a comment and let me know what you think! I love hearing how recipes turn out in your kitchen.
Happy cooking! And I hope your kitchen smells half as good as mine does right now.
Frequently Asked Questions
Can I use chicken breasts instead of thighs?
You can, but the texture will be different. Breasts are leaner and can dry out easily. If you use breasts, reduce the cooking time to 15-18 minutes and check the temperature early. Thighs are juicier and more forgiving, which is why I prefer them for this method.
Why is my chicken skin soggy?
Usually, this happens because the skin wasn’t dry enough before seasoning, or the pieces were crowded on the pan. Make sure you pat them dry with paper towels and give them space. Also, ensure your oven is fully preheated before putting the chicken in.
Can I make this in an air fryer?
Yes! Cook at 400°F for 12-15 minutes, shaking the basket halfway through. The air fryer makes them even crispier, but you might need to cook in batches depending on the size of your basket.
Do I need to marinate the chicken first?
No. The dry rub adheres well to the oiled skin, and the high heat infuses the flavor quickly. Marinating is optional but not necessary for this recipe. If you want to marinate, do it for no more than 2 hours, or the salt can start to cure the meat.
How do I know when the chicken is done?
Use a meat thermometer. Insert it into the thickest part of the thigh, avoiding the bone. It should read 165°F. The juices should run clear, not pink. If you don’t have a thermometer, cut into the thickest part to check.
Can I double this recipe?
Absolutely! Just make sure you have enough space on the baking sheets. Do not overcrowd the pan. If you’re doubling, use two pans or cook in two batches. The cooking time stays the same.
Pin This Recipe!
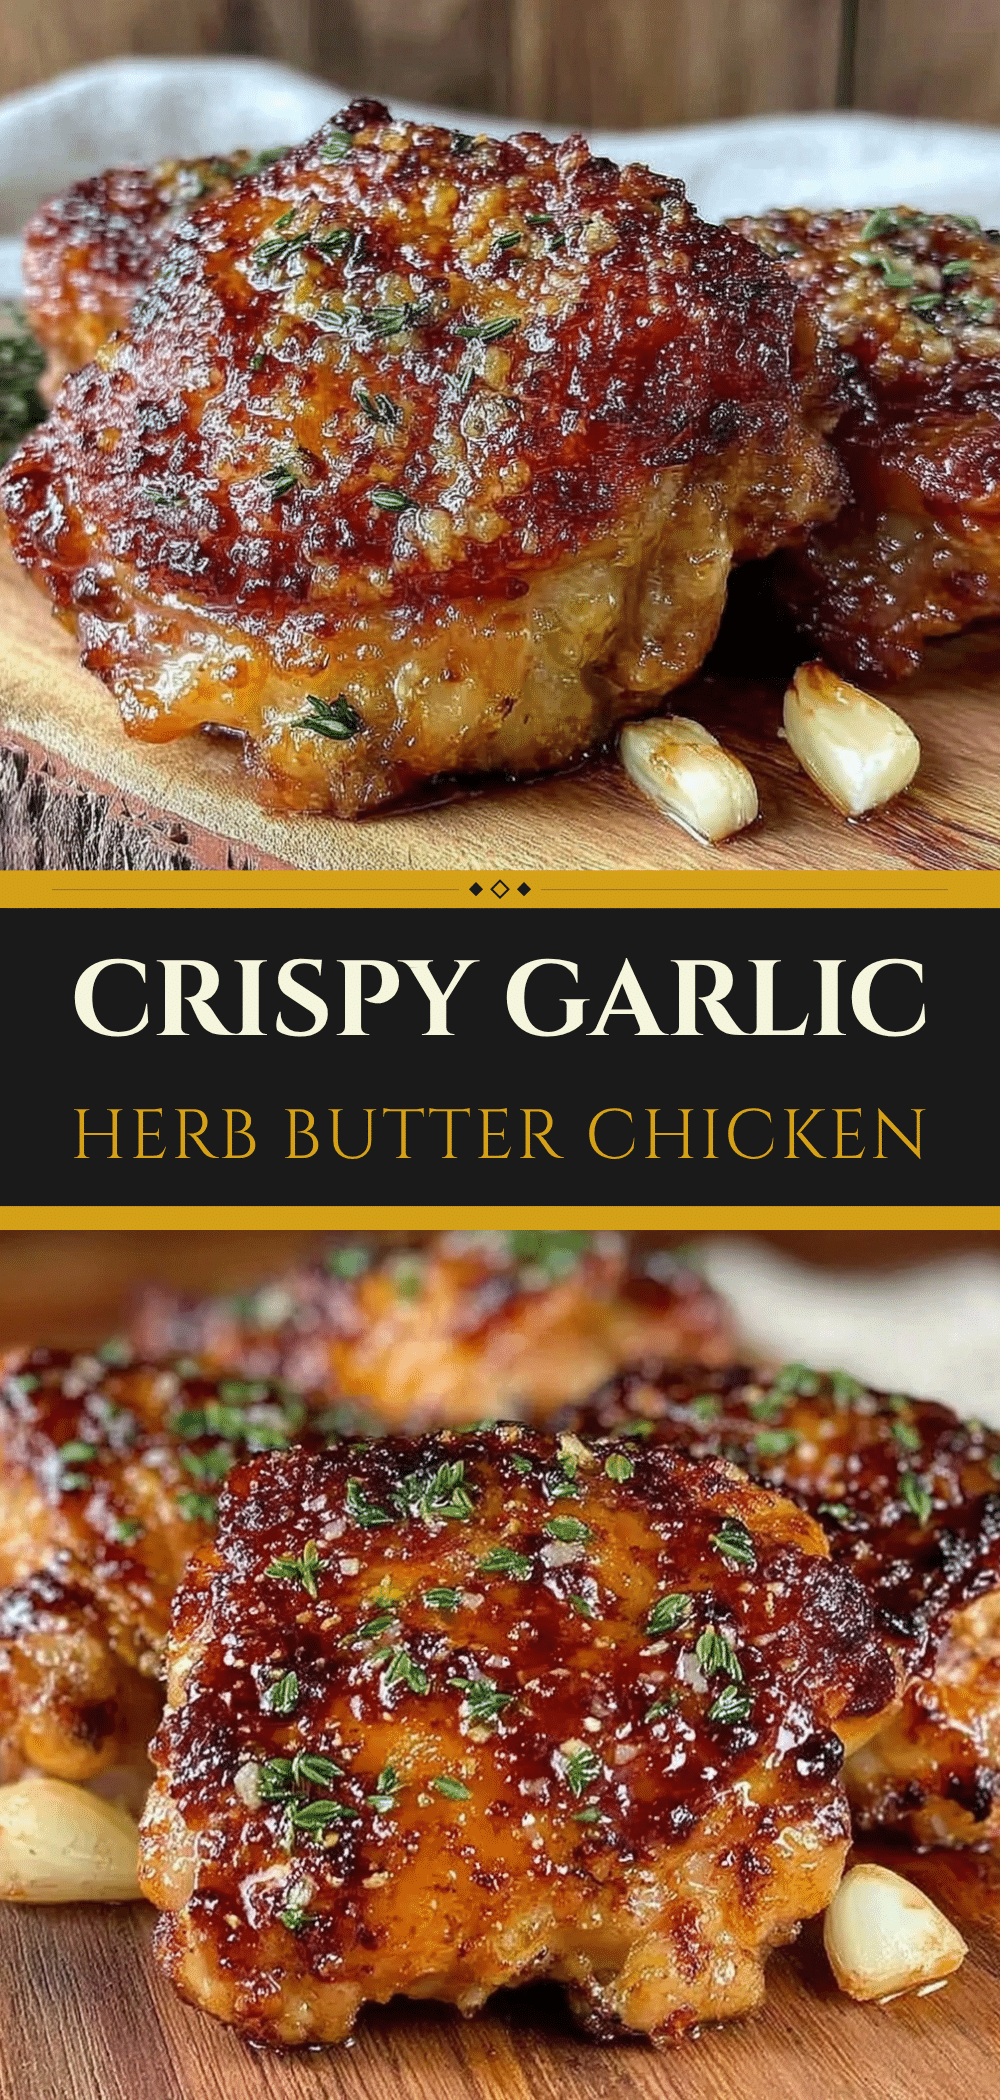

Crispy Baked Chicken Thighs: Easy One Pan 5PM Dinner
- Total Time: 35 minutes
- Yield: 4 servings 1x
Description
These crispy baked chicken thighs are a secret weapon for busy weeknights, offering restaurant-quality crunch without the deep fryer mess. With just ten minutes of prep and one pan, you get juicy, golden chicken that is budget-friendly and easy to clean up.
Ingredients
- 2.5 lbs (1.1 kg) boneless, skin-on chicken thighs
- 2 tablespoons neutral oil (olive oil or avocado oil)
- 1 teaspoon baking powder (aluminum-free)
- 1 teaspoon kosher salt
- 1 teaspoon smoked paprika
- 1 teaspoon garlic powder
- 0.5 teaspoon onion powder
- 0.5 teaspoon dried thyme
- 0.5 teaspoon black pepper
- 0.25 teaspoon cayenne pepper (optional)
Instructions
- Preheat oven to 425°F (220°C) and line a large rimmed baking sheet with parchment paper.
- Pat chicken thighs completely dry with paper towels to ensure crispiness.
- In a small bowl, mix baking powder, salt, smoked paprika, garlic powder, onion powder, thyme, black pepper, and cayenne.
- Place chicken in a large bowl, drizzle with oil, and sprinkle with spice rub. Toss to coat evenly.
- Arrange chicken thighs skin-side up on the baking sheet, ensuring they are not touching.
- Bake for 20-25 minutes without opening the oven door for the first 15 minutes, until internal temperature reaches 165°F (74°C).
- Remove from oven and let rest for 5 minutes before serving.
Notes
Ensure chicken skin is completely dry before seasoning to maximize crispiness. Do not overcrowd the pan; cook in batches if necessary. If skin isn’t crispy enough, broil for 1-2 minutes at the end. Store leftovers in an airtight container for up to 4 days. Reheat in oven or air fryer to maintain crispiness.
- Prep Time: 10 minutes
- Cook Time: 25 minutes
- Category: Main Course
- Cuisine: American
Nutrition
- Serving Size: 2 thighs per serving
- Calories: 320
- Sodium: 450
- Fat: 22
- Saturated Fat: 6
- Carbohydrates: 1
- Protein: 28
Keywords: crispy baked chicken thighs, one pan dinner, weeknight dinner, easy chicken recipe, gluten-free, dairy-free, keto friendly


