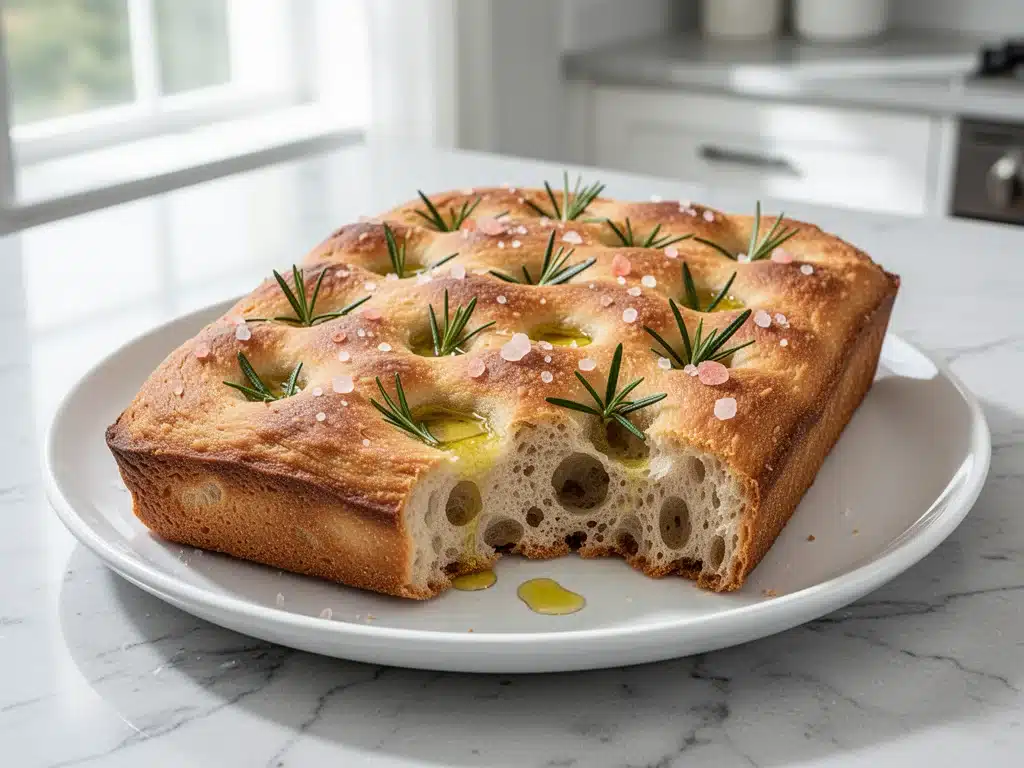
I used to throw my sourdough discard down the sink. I know, I know—sacrilege. For the first six months of my sourdough journey, I was obsessed with the starter but terrified of the waste. I’d make pancakes, or just dump it, feeling guilty every time I poured that tangy, bubbly liquid into the drain. Then came the rainy Tuesday in November when I was broke, out of bread, and staring at a jar of discard that had been sitting in the fridge for three days. I didn’t have flour for pancakes, and I certainly didn’t have the patience for a complex loaf.
So I threw everything into a baking pan. Flour, water, that sad discard, some olive oil, and the last sprig of rosemary from my windowsill. I didn’t measure. I just mixed it, poked dimples with my fingers, and shoved it in the oven. What came out was nothing like the dense, sad discard bricks I’d attempted before. It was golden, crisp on the bottom, pillowy soft in the middle, and smelled like heaven. My husband walked in, sniffed the air, and asked if I’d ordered takeout. When I told him it was just “trash” (the discard) and pantry staples, he didn’t believe me for a week.
That accidental Sourdough Discard Focaccia Bread with Rosemary and Sea Salt changed everything for me. It wasn’t just a way to use up waste; it was the easiest, most forgiving bread I’d ever made. No kneading. No precise proofing schedules. Just mix, poke, bake. I’ve made this focaccia at least twenty times since that rainy Tuesday. It’s my go-to when I need to feed a crowd, when I want to impress guests without looking like I tried too hard, or simply when I need that warm, yeasty smell to fill the house. If you’ve been hoarding your discard or feeling guilty about it, this is your sign to stop throwing it away. This recipe is the gateway drug to sourdough success.
Why You’ll Love This Recipe
There are a lot of sourdough recipes out there. Some require a 24-hour bulk ferment. Some need you to perform a dance with your dough at 2 AM. This Sourdough Discard Focaccia? It’s different. It’s the friendly neighbor of sourdough recipes—approachable, reliable, and always there when you need it.
Zero Kneading Required — Seriously. You mix the dough, you let it rest, and you poke holes in it. That’s it. If you can mix batter for banana bread, you can make this. I’ve made this while watching TV, while on phone calls, and while half-asleep. It works every time.
Uses Up the Discard — This is the best part. You need exactly one cup of discard. If you feed your starter weekly, you have a month’s worth of discard in your fridge right now. This recipe turns that “waste” into the most delicious thing on your table. It’s sustainable cooking at its finest.
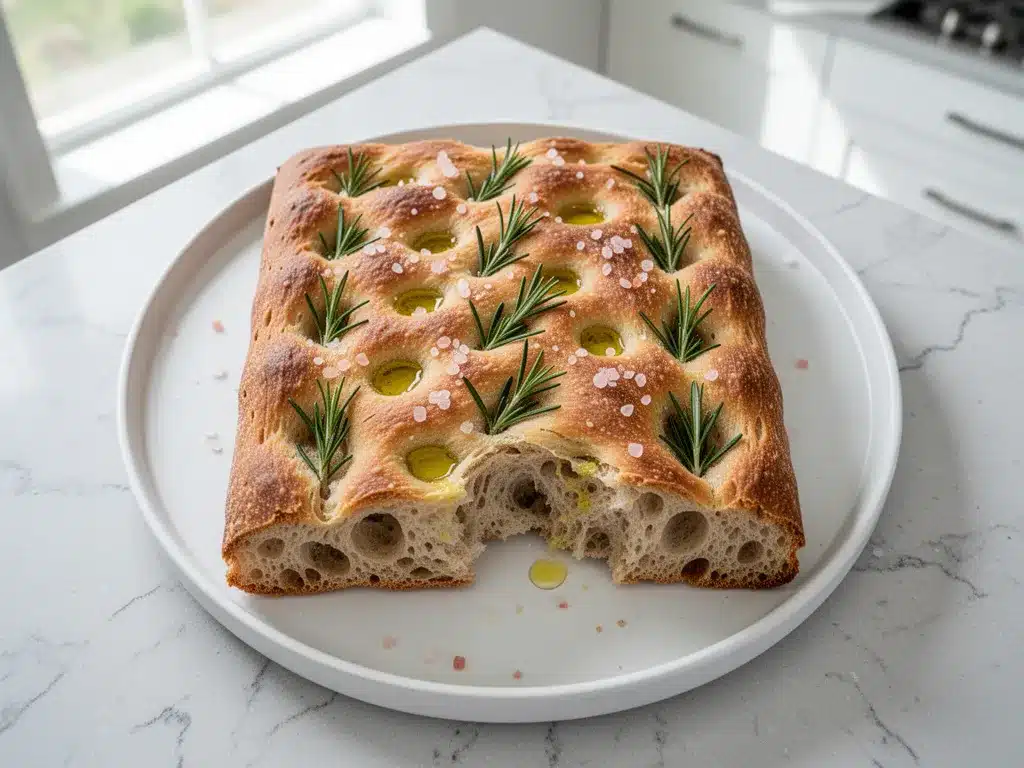
Restaurant-Quality Texture — Because of the high hydration and the olive oil, the crumb is incredibly airy with those signature large bubbles. The bottom gets crisp and chewy from the oil in the pan, while the top stays soft. It’s not dense like traditional discard breads. It’s light, fluffy, and addictive.
Perfect for Any Meal — I serve this as a side to honey mustard chicken on weeknights. I slice it up for appetizers with dips on weekends. I eat it for breakfast with just a smear of butter on rainy mornings. It’s versatile in a way that most breads aren’t.
Forgiving Beginner Recipe — Sourdough can be intimidating. This recipe is the perfect entry point. The discard doesn’t need to be at peak activity, and the long fermentation in the pan is very forgiving. If you over-proof it slightly, it just gets more tangy. You can’t mess this up.
Ingredients You’ll Need
Here’s the best part: you probably have 90% of this already in your kitchen. The beauty of focaccia is that it’s humble. It relies on technique and quality olive oil, not exotic ingredients. I’m particular about a few things here, so let’s break it down.
Sourdough Discard (1 cup / 240g) — This is the star. It doesn’t matter if it’s fed or unfed. It doesn’t matter if it’s been in the fridge for three days or one. Just take it out. If it’s super thick, you might need a splash more water to hydrate the dough, but generally, 1 cup is perfect. This is what gives the bread its subtle tang.
All-Purpose Flour (3 cups / 375g) — I use all-purpose flour for this. Bread flour makes it chewier, which is fine, but AP gives that perfect tender-crumble texture that focaccia lovers crave. Do not use cake flour; it won’t have enough structure. If you’re weighing your flour, spoon it into the cup and level it off. Don’t scoop and pack, or your dough will be dry.
Warm Water (1 cup / 240ml) — Not boiling, not cold. Think bathwater temperature. About 100-110°F (38-43°C). This helps activate whatever yeast is left in the discard and gets the gluten moving. If you don’t have a thermometer, just make sure it feels warm to the touch, not hot.
Extra Virgin Olive Oil (½ cup / 120ml) — Listen to me closely: do not skimp on the oil. And do not use vegetable oil. This needs to be good quality extra virgin olive oil. You’re going to brush it on top, so you want that fruity, peppery flavor to shine. I use the stuff I’d drizzle on a salad. If you use cheap oil, the bread will taste flat.
Instant Yeast (1 teaspoon) — I know, it’s sourdough, right? Why add yeast? Because discard alone can be unpredictable, especially if it’s been in the fridge. A tiny pinch of instant yeast guarantees a rise without taking over the flavor. It’s the safety net. You won’t taste it, I promise. It just helps the dough puff up.
Fine Sea Salt (1 ½ teaspoons) — Salt is flavor. Don’t use table salt; it’s too harsh and metallic. Use fine sea salt or kosher salt. You’ll also sprinkle flaky sea salt on top before baking for those beautiful, crunchy bites.
Fresh Rosemary (2 tablespoons, chopped) — Fresh is non-negotiable here. Dried rosemary is too woody and lacks the piney aroma that defines focaccia. If you don’t have fresh, you can use dried, but reduce the amount to 1 teaspoon and crush it between your palms first. But fresh? Fresh is where it’s at.
Garlic Cloves (2-3, minced) — Optional, but I highly recommend it. Minced garlic adds a savory depth that pairs perfectly with the rosemary. If you’re sensitive to garlic, skip it, but don’t say I didn’t warn you about missing out.
Flaky Sea Salt for Topping — Like Maldon or any largeflake salt. This is for the finish. It adds texture and those bursts of salty flavor.
Equipment Needed
You don’t need fancy equipment for this. Here’s what I actually use.
9×13 Inch Baking Pan — A metal pan is best because it conducts heat well, giving you that crispy bottom. Glass or ceramic pans work, but they might take a few extra minutes to brown the bottom. I use a rimmed baking sheet sometimes, but a deeper pan helps hold all that olive oil.
Large Mixing Bowl — Something big enough to handle the sticky dough. A 6-quart bowl is ideal.
Wooden Spoon or Spatula — For mixing. The dough is sticky, so a sturdy spatula works well to scrape the sides.
Pastry Brush — For brushing the top with olive oil. Silicone brushes are great because they don’t shed bristles.
Fork — For poking those classic dimples. You don’t need a special tool; a regular fork works perfectly.
Cling Wrap or Plastic Wrap — To cover the pan during the rise. You can also use a clean kitchen towel, but plastic wrap keeps the dough from drying out.
How to Make It: Step-by-Step
Alright, let’s make this! I’m walking you through exactly how I do it, including the little tricks I’ve picked up. This process is mostly hands-off, which is why it’s my favorite.
Step 1: Mix the Dough (5 minutes)
In your large bowl, whisk together the warm water, sourdough discard, and instant yeast. Let it sit for about 5 minutes. You’ll see it get a bit foamy. This tells you the yeast is waking up. Then, add the all-purpose flour and fine sea salt. Mix with a wooden spoon or spatula until no dry flour remains. The dough will be very sticky and shaggy. Don’t panic. This is normal. Focaccia dough should be wet. If it feels too dry to handle, add another tablespoon of water. If it’s soupy, add a sprinkle of flour. Aim for a consistency like thick cake batter.
Step 2: The First Rest (15 minutes)
Cover the bowl with plastic wrap or a damp towel and let it rest at room temperature for 15 minutes. This allows the flour to hydrate fully and the gluten to start developing without any kneading. It’s a crucial step for texture.
Step 3: Prep the Pan (2 minutes)
While the dough rests, pour about 3 tablespoons of your extra virgin olive oil into your 9×13 inch baking pan. Swirl it around to coat the bottom and sides generously. You want a good layer of oil. This is what creates the crispy, golden crust. Set the pan aside.
Step 4: Transfer and Stretch (5 minutes)
After the 15-minute rest, the dough will be smoother. Scrape it into your prepared pan. It will be sticky, so wet your hands with water or oil to prevent sticking. Gently press and stretch the dough toward the corners. Don’t worry about it being perfect. If it resists, let it sit for 5-10 minutes. The gluten will relax, and you can stretch it further. Aim for an even layer covering the bottom of the pan. It doesn’t need to be thin; focaccia should be substantial.
Step 5: The Long Rise (8-12 hours)
Once the dough is in the pan, cover it loosely with plastic wrap. Now, here’s the magic: put it in the refrigerator. You want a slow, cold fermentation. This develops the complex sourdough flavor. Let it rise in the fridge for 8 to 12 hours. Overnight is perfect. The dough will puff up and fill the pan. If you’re short on time, you can let it rise at room temperature for 2-3 hours, but the flavor won’t be as deep. I always do the overnight fridge rise.
Step 6: Bring to Room Temp and Preheat (1 hour)
Take the pan out of the fridge about an hour before you plan to bake. The dough needs to warm up slightly, or it might tear when you poke it. Meanwhile, preheat your oven to 425°F (220°C). Place a rack in the lower third of the oven. Focaccia needs bottom heat to get that crisp crust.
Step 7: Dimple and Top (5 minutes)
This is the fun part. Drizzle the remaining ¼ cup of olive oil over the top of the dough. Then, using your oiled fingertips, press deep dimples into the dough. Go all the way to the pan. Don’t be shy. These dimples hold the oil and create those pockets of air. Sprinkle the minced garlic (if using) and chopped rosemary over the top. Finish with a generous pinch of flaky sea salt. Press the herbs and salt gently into the oil so they stick.
Step 8: Bake (20-25 minutes)
Slide the pan into the preheated oven. Bake for 20-25 minutes. You’re looking for a deep golden brown color, especially on the edges and bottom. The top should be bubbly and crisp. If it’s browning too quickly, cover it loosely with foil for the last 5 minutes. Let it cool in the pan for 5 minutes, then lift it out onto a wire rack. The bottom should sound hollow when you tap it.
Expert Tips & Tricks
Here’s everything I’ve learned from making this dozens of times. These tips will save you from my mistakes.
Don’t Skip the Cold Ferment — I know it takes longer, but the overnight fridge rise is non-negotiable for flavor. Room temperature rise makes good bread; fridge rise makes great bread. The slow fermentation develops those complex, tangy notes that define sourdough.
Wet Hands are Your Friend — When transferring and stretching the dough, keep a bowl of water nearby. Dip your hands in before touching the dough. It prevents sticking and makes handling much easier. Also, oil your hands if the dough is particularly sticky.
Deep Dimples Matter — When you poke the holes, go deep. I mean, really press down. These holes trap the olive oil and create the signature airy texture. Shallow dimples result in dense spots. Make sure your dimples are uniform for even baking.
Use Good Olive Oil — I cannot stress this enough. The olive oil is a primary ingredient, not just a greasing agent. Use a high-quality EVOO. If you use rancid or cheap oil, the bread will taste oily and unpleasant. Trust your nose. It should smell fruity and fresh.
Check the Bottom — Every oven is different. Check the bottom of the focaccia at the 15-minute mark. If it’s too pale, move the rack lower or bake for a few more minutes. You want a deep golden crust, not a pale, soft bottom.
Let It Cool (Mostly) — I know, it’s hot and smells amazing. But if you cut into it immediately, the steam escapes and the crumb can be gummy. Let it cool for at least 5-10 minutes. It’s still warm and soft, but the structure sets.
Variations & Substitutions
Once you’ve nailed the basic version, here’s how you can mix it up. I’ve tried all of these, and they’re all winners.
Sun-Dried Tomato & Basil — Skip the rosemary. Chop up sun-dried tomatoes and fresh basil, then press them into the dough before baking. The tomatoes get crispy at the edges, and the basil stays vibrant. This is my favorite summer variation.
Roasted Garlic & Caramelized Onion — Sauté sliced onions until caramelized and let them cool. Mix in some roasted garlic cloves. Press these into the dough. It’s sweet, savory, and incredibly rich. Great with soup.
Chili Crisp & Scallion — Drizzle chili crisp oil over the dough before dimpling. Sprinkle with sliced scallions and red pepper flakes. This adds a spicy, savory kick that’s addictive. Perfect with wild rice soup on a cold night.
Simple Cheese — Sprinkle grated Parmesan or mozzarella over the top before baking. The cheese gets bubbly and brown. Add some cracked black pepper for a classic combo.
Gluten-Free — You can use a 1:1 gluten-free flour blend, but the texture will be different. It won’t be as chewy. Add an extra teaspoon of xanthan gum if your blend doesn’t have it. The dough will be stickier, so wet hands are essential.
Vegan — This recipe is naturally vegan! Just ensure your sourdough discard doesn’t contain any dairy byproducts (which it shouldn’t, as it’s just flour and water). Use vegan butter if you want to brush the top after baking for extra richness.
Serving & Storage
How to Serve: I usually tear this bread into rustic chunks and serve it warm. It’s perfect for dipping. I love it with marinara sauce, balsamic glaze, or just good olive oil and vinegar. It’s also amazing as a sandwich bread for stuffed shells leftovers or with deli meats and cheeses.
Side Dishes: Pair this with a simple green salad with a sharp vinaigrette to cut through the richness. It also goes beautifully with roasted vegetables, like garlic butter asparagus.
Storage: Store leftovers in an airtight container or a plastic bag at room temperature for up to 2 days. Focaccia is best fresh, but it stays soft for a day or two. If it gets stale, toast it in the oven for 5 minutes to crisp it back up.
Reheating: Reheat in a 350°F oven for 5-10 minutes. This restores the crispness. Don’t microwave it unless you’re in a huge rush, or it will get chewy and tough.
Freezing: Yes, you can freeze focaccia! Wrap it tightly in plastic wrap and then foil. It will keep for up to 3 months. Thaw at room temperature and refresh in the oven. I usually freeze half the batch if I’m making a big pan.
Nutrition Information
I’m not a nutritionist, but here’s the breakdown if you’re tracking. Please note that this is an estimate based on the ingredients listed.
Per Serving (based on 12 slices):
- Calories: 280
- Protein: 5g
- Carbs: 32g
- Fiber: 1g
- Sugar: 0g
- Fat: 15g
- Saturated Fat: 2g
- Cholesterol: 0mg
- Sodium: 320mg
What’s Good: It’s vegan, dairy-free, and uses whole grain potential if you swap the flour. The olive oil provides healthy monounsaturated fats.
What to Know: It’s calorie-dense due to the oil and flour. It’s not a “diet” food, but it’s made from simple, recognizable ingredients. Enjoy it as part of a balanced meal.
Dietary Notes: Contains gluten. Can be made gluten-free. Naturally vegan.
Final Thoughts
So that’s my go-to Sourdough Discard Focaccia Bread with Rosemary and Sea Salt. I’ve probably talked your ear off at this point, but when you make a recipe this often, you have a lot to say about it. This bread has saved weeknight dinners more times than I can count. It’s my answer to “what’s for dinner” when I’m tired, don’t want takeout, and still want something that tastes really good. My kids are happy, my husband’s happy, and I’m happy because I’m not stressed about cooking.
Make it yours! Try different add-ins, swap in your favorite vegetables, adjust the garlic (though more is always better in my opinion). The best recipes are the ones you adapt to your family’s tastes. Don’t be afraid to experiment. If you burn the bottom, just scrape it off. If it’s too dense, try a bit more water next time. Baking is about learning.
If you make this, drop a comment and let me know what you think! I love hearing how recipes turn out in your kitchen. And if something doesn’t work, tell me that too—I’m here to help troubleshoot. Happy cooking! And I hope your kitchen smells half as good as mine does right now.
Frequently Asked Questions
Can I use active dry yeast instead of instant yeast?
You can, but you’ll need to bloom it in the warm water first. Dissolve 1 teaspoon of active dry yeast in the warm water and let it sit for 5-10 minutes until foamy before adding the flour. The result is the same, but the timing is slightly different.
Why did my focaccia turn out dense?
This usually happens if the dough was over-proofed or under-hydrated. If you left it at room temperature for too long, the yeast ran out of food. Or, if you packed the flour too tightly when measuring, you added too much flour. Always spoon and level your flour. Also, make sure your discard is active enough to contribute to the rise.
Can I make this without the fridge?
Yes. After stretching the dough into the pan, cover it and let it rise at room temperature for 2-3 hours until it’s puffy and jiggly. Then proceed with dimpling and baking. The flavor will be milder, more like standard yeast bread, but it will still be delicious.
How do I know when the focaccia is done?
Look for a deep golden brown color on top and edges. The bottom should also be brown. If you lift a corner, it should be crisp. The internal temperature should be around 200-210°F (93-99°C) if you’re using a thermometer, but visual cues are usually enough.
Can I add cheese to this?
Absolutely. Sprinkle grated Parmesan, Pecorino, or Mozzarella on top before baking. Just be aware that cheese can burn if the oven is too hot. Keep an eye on it, or add the cheese in the last 5 minutes of baking.
What if I don’t have rosemary?
Thyme is a great substitute. It’s milder but still herbal. Oregano works too, but use less as it’s potent. You can also just skip the herbs and make plain focaccia with sea salt and olive oil. It’s still amazing.
Can I double this recipe?
Yes, but you’ll need a larger pan, like a 9×13 inch pan doubled or a sheet pan. Adjust the baking time slightly, as a thicker layer might take a few extra minutes. Just keep an eye on the browning.
Pin This Recipe!
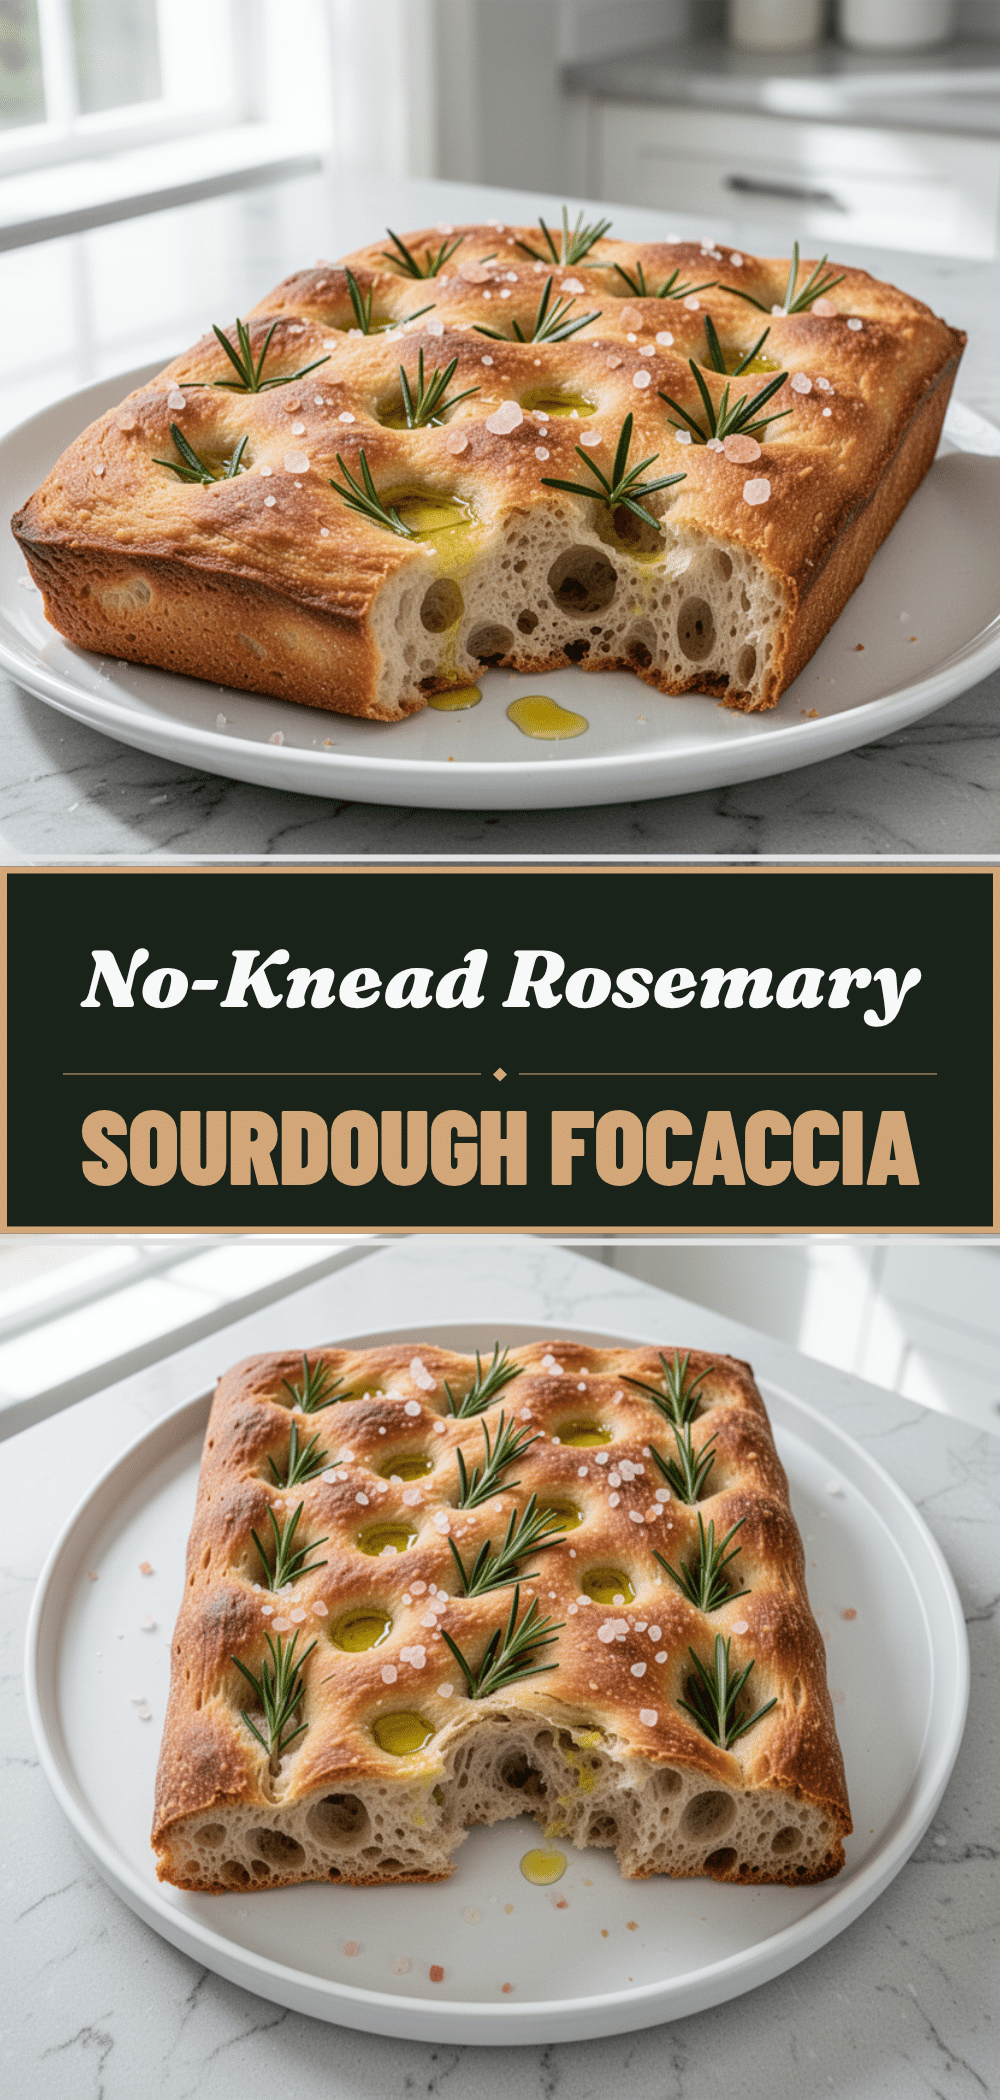
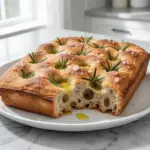
Sourdough Discard Focaccia: Easy Rosemary Bread
- Total Time: 1 hour 55 minutes
- Yield: 12 servings 1x
Description
An easy, no-knead sourdough discard focaccia that is golden, crisp on the bottom, and pillowy soft in the middle. This forgiving recipe uses a cold ferment for deep flavor and requires only pantry staples.
Ingredients
- 1 cup (240g) sourdough discard
- 1 cup (240ml) warm water (100-110°F / 38-43°C)
- 1 teaspoon instant yeast
- 3 cups (375g) all-purpose flour
- 1 ½ teaspoons fine sea salt
- ½ cup (120ml) extra virgin olive oil, divided
- 2 tablespoons fresh rosemary, chopped
- 2–3 garlic cloves, minced (optional)
- Flaky sea salt for topping
Instructions
- In a large bowl, whisk together warm water, sourdough discard, and instant yeast. Let sit for 5 minutes until foamy.
- Add all-purpose flour and fine sea salt. Mix with a wooden spoon or spatula until no dry flour remains. The dough should be sticky and shaggy.
- Cover the bowl with plastic wrap or a damp towel and let rest at room temperature for 15 minutes.
- Pour 3 tablespoons of olive oil into a 9×13 inch baking pan. Swirl to coat the bottom and sides generously.
- Scrape the dough into the prepared pan. Wet your hands with water or oil and gently press/stretch the dough to cover the pan evenly.
- Cover the pan loosely with plastic wrap and refrigerate for 8-12 hours (overnight) for a slow cold ferment.
- Remove the pan from the fridge about 1 hour before baking. Preheat oven to 425°F (220°C) with a rack in the lower third.
- Drizzle the remaining ¼ cup of olive oil over the dough. Use oiled fingertips to press deep dimples all the way to the pan.
- Sprinkle minced garlic (if using), chopped rosemary, and flaky sea salt over the top. Press gently to adhere.
- Bake for 20-25 minutes until deep golden brown and bubbly. If browning too quickly, cover loosely with foil for the last 5 minutes.
- Let cool in the pan for 5 minutes before lifting onto a wire rack.
Notes
For best flavor, do not skip the overnight cold ferment in the fridge. Use high-quality extra virgin olive oil as it is a primary flavor component. If the dough resists stretching, let it rest for 5-10 minutes to allow gluten to relax. Ensure the bottom is deep golden brown for the best texture.
- Prep Time: 30 minutes
- Cook Time: 25 minutes
- Category: Side Dish
- Cuisine: Italian
Nutrition
- Serving Size: 1 slice
- Calories: 280
- Sodium: 320
- Fat: 15
- Saturated Fat: 2
- Carbohydrates: 32
- Fiber: 1
- Protein: 5
Keywords: sourdough discard, focaccia, rosemary bread, easy bread, no knead bread, vegan bread, gluten free option