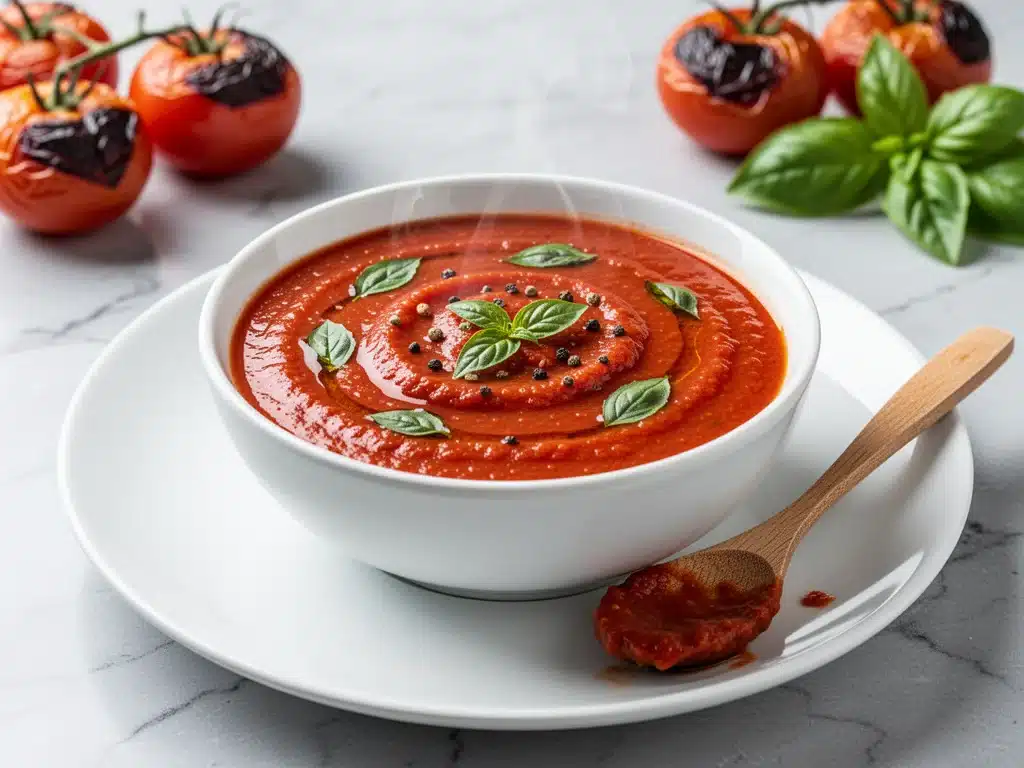
I still remember the smell. It wasn’t just tomatoes. It was the scent of summer captured in glass, sealed tight with wax and string, sitting on dusty shelves in my grandmother’s basement. Every autumn, as the air turned crisp and the leaves started to turn, she would pull those jars down. The sauce inside was deep red, almost dark, with a complexity that no store-bought jar could ever match. It tasted like sunshine and patience.
For years, I thought canning was this intimidating, high-stakes science that required a laboratory and a PhD in chemistry. I was terrified of botulism. I was scared of exploding lids. I was scared of wasting twenty pounds of tomatoes on a batch that would spoil in a month. So, I bought sauce. I bought the glass jars with the bright labels. I bought the convenience.
But last summer, I bought too many tomatoes. Like, way too many. My neighbors were giving them away. My local farmer’s market had them for a dollar a bag. And I had this sudden, desperate need to not throw them in the compost. So, I decided to try it. I decided to make Homemade Roasted Tomato Marinara for Canning.
I wasn’t aiming for perfection. I was aiming for not poisoning my family. And you know what? It worked. Better than worked. The first jar I opened six months later, the aroma hit me so hard I cried. It tasted exactly like that basement pantry. But it was mine. It was made by my hands, with my choices, roasted until the sugars caramelized and the acid softened into something rich and velvety.
This isn’t just a recipe. It’s a way to buy back a little bit of that security. It’s about taking the abundance of August and stretching it through the gray days of February. Once you learn how to make this roasted tomato marinara for canning, you’ll never look at a store-bought jar the same way again. It’s easier than you think, and the flavor payoff is absolutely insane.
Why You’ll Love This Roasted Tomato Marinara
There are about a million tomato sauce recipes out there. Why this one? Why roast the tomatoes? Why can it?
Because this method changes everything. Here’s why this Homemade Roasted Tomato Marinara for Canning has become the anchor of my pantry:
Roasting Concentrates Flavor — Raw tomato sauce can taste flat or watery. Roasting at high heat drives off moisture and caramelizes the natural sugars. The result is a sauce that’s deep, savory, and rich without needing a bunch of added sugar or heavy spices. It’s pure tomato intensity.
It’s Actually Safe and Easy — I know, I said I was scared of canning. But this recipe uses a tested, balanced acid-to-vegetable ratio. You add lemon juice or citric acid (more on that later), and you process it in a boiling water bath. It’s not hard. It’s just time-consuming in a meditative way. You put on a podcast, you listen to the bubbles, and you feel productive.
Meal Prep on Steroids — When I make this, I make a huge batch. Eight to ten jars. That means for the next six months, dinner is solved. I just grab a jar, heat it up, and toss it with spinach ricotta stuffed shells or pour it over roasted chicken. It turns a chaotic weeknight into a five-minute assembly.
Freezer-Friendly Backup — If you’re not ready to commit to canning, this sauce freezes beautifully. But let’s be real—canning is cooler. And having those jars stacked in the cupboard feels like an accomplishment. It’s edible security. You’re prepared for emergencies, for lazy days, for when you just don’t want to cook.
Budget Friendly — Tomatoes are cheap in season. If you buy them at their peak, a jar of this homemade sauce costs pennies compared to the artisanal jars at the grocery store. It’s cheaper, it’s healthier, and it tastes better. What’s not to love?
Ingredients You’ll Need
Before we dive into the roasting and the canning, let’s talk about what goes in. This Homemade Roasted Tomato Marinara for Canning relies on quality ingredients because there’s nowhere to hide. If your tomatoes taste like water, your sauce will too.
The Tomatoes
Roma or Paste Tomatoes (8-10 pounds) — These are the stars. They have fewer seeds, less water, and more flesh than beefsteak or cherry tomatoes. If you can’t find Roma, look for any “paste” variety. They roast down into a thick, rich pulp. Avoid juicy salad tomatoes—they’ll make your sauce watery and hard to can safely.
Yellow Onions (2 large) — Sweet and aromatic. Yellow onions hold up well to roasting and add a savory backbone. Don’t skip them; they add body.
Garlic (1 whole head) — Yes, a whole head. Roasting a whole head of garlic is a game-changer. It turns the cloves into a sweet, spreadable paste that melts into the sauce. No harsh, raw garlic bite.
The Aromatics & Herbs
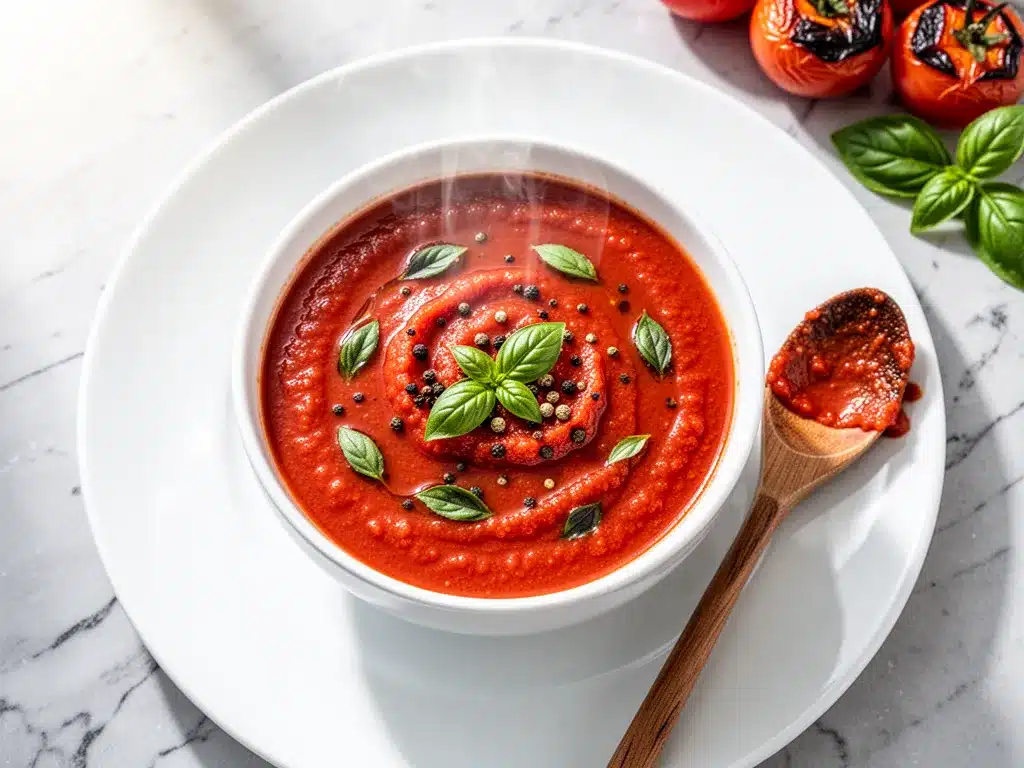
Extra Virgin Olive Oil (½ cup) — Use a good one here. You’re tasting it. Drizzle it over the tomatoes and onions before roasting. It helps the heat penetrate and adds richness.
Fresh Basil (1 large bunch) — I use about 20-25 large leaves. I chop them up and add them *after* roasting, right before blending. If you add fresh basil to the roasting pan, it burns and turns bitter. Add it at the end for that bright, fresh flavor.
Dried Oregano (2 teaspoons) — This is the classic Italian herb. It stands up to heat better than fresh oregano. Use the dried stuff; it’s more potent and traditional for marinara.
Red Pepper Flakes (½ teaspoon) — Optional, but I recommend it. Just a pinch adds a subtle warmth that balances the sweetness of the roasted tomatoes. It doesn’t make it spicy; it just makes it interesting.
Salt (1-2 teaspoons) — To taste. But remember, you’ll be tasting it hot and fresh. It will taste saltier than you think. Taste, then adjust.
The Canning Essentials (Crucial for Safety)
Acid (Lemon Juice or Citric Acid) — This is non-negotiable. Tomatoes are borderline acidic. To make them safe for water bath canning, you *must* add acid. I prefer bottled lemon juice because the acidity is consistent. You’ll add 1 tablespoon per pint jar, or 2 tablespoons per quart jar. Do not skip this. Do not use fresh lemon juice unless you’re measuring it very carefully—the acidity varies too much.
Water — Just enough to cover the tomatoes in the roasting pan if they aren’t juicy enough, but usually, they release enough liquid on their own.
Equipment You’ll Need
You don’t need a fancy kitchen to make this. Here’s what I actually use when I’m making my annual batch of Homemade Roasted Tomato Marinara for Canning:
Large Sheet Pans (2-3) — You need surface area. If you crowd the tomatoes, they steam instead of roast. Use multiple pans. Rimmed baking sheets are best so the oil doesn’t run everywhere.
Blender or Food Processor — I use a high-speed blender for a silky smooth sauce. If you like chunks, use a food processor or even an immersion blender. But be careful with hot liquid in blenders—blend in small batches and vent the lid with a towel.
Large Stockpot (8-quart minimum) — You need a big pot to simmer the sauce after roasting and to hold all the jars during the water bath. A standard 4-quart pot won’t cut it.
Canning Jars and Lids — New two-piece lids are a must. The rubber seal only works once. Reusing old lids is how you get spoilage. You can reuse the glass jars if they’re in good condition (no chips or cracks).
Jar Lifter — That tongs-looking tool. It’s cheap and saves your fingers from boiling water. Don’t try to fish jars out with a spoon. You’ll drop them. I speak from experience.
Bubble Remover/Headspace Tool — A plastic knife or a specialized tool to get air bubbles out of the jars before sealing. Air pockets can cause spoilage.
Canning Funnel — Keeps the sauce out of the jar threads. Clean threads are essential for a good seal. If sauce gets on the rim, wipe it with a vinegar-dampened cloth.
How to Make It: Step-by-Step
Alright, let’s get into the kitchen. Making this Homemade Roasted Tomato Marinara for Canning takes a few hours, but most of that time is hands-off. Here is exactly how I do it.
Step 1: Prep the Tomatoes (15 minutes)
Wash your tomatoes. You don’t need to peel them if you’re blending the sauce later—the skins soften during roasting and blend out. But if you’re picky about texture, score an ‘X’ on the bottom of each tomato, blanch them in boiling water for 30 seconds, then plunge into ice water. The skins will slip right off. I usually skip peeling for this recipe because I’m lazy and the blender hides them. Chop the tomatoes roughly. It doesn’t need to be uniform.
Step 2: Roast the Vegetables (45-60 minutes)
Preheat your oven to 400°F (200°C). Line your sheet pans with parchment paper (for easy cleanup) or just grease them well. Toss the chopped tomatoes and quartered onions with olive oil, salt, and half of the garlic (minced). Spread them out in a single layer. Don’t crowd the pan! If they’re touching, they’ll steam. Roast for 45-60 minutes, stirring halfway through. You want them dark, blistered, and caramelized. The edges should be dark brown. This is where the flavor happens.
While the tomatoes roast, wrap the remaining whole head of garlic in foil and roast it on a separate pan for the last 30 minutes. Once cool enough to handle, squeeze the soft, golden cloves out of their skins.
Step 3: Blend the Base (5 minutes)
Transfer the roasted tomatoes, onions, and garlic to a large bowl. Let them cool slightly so you don’t burn yourself. Add the fresh basil, dried oregano, and red pepper flakes. Blend in batches until smooth. If you like a chunkier sauce, leave some pieces whole. Pour the blended mixture into your large stockpot.
Step 4: Simmer and Reduce (20-30 minutes)
Place the pot over medium heat. Bring to a gentle simmer. You want to cook out the raw flavor of the garlic and basil and thicken the sauce. Let it bubble gently for 20-30 minutes, stirring occasionally to prevent sticking. Taste it. Add more salt if needed. This is also where you add the acid. For every pint of sauce, add 1 tablespoon of bottled lemon juice. For quarts, add 2 tablespoons. Stir well.
Pro Tip: If your sauce is too thin, let it simmer longer. If it’s too thick, add a splash of water. You want a consistency that pours easily but coats a spoon.
Step 5: Jar the Sauce (15 minutes)
This is the careful part. Wipe the rims of your clean, hot jars with a vinegar-dampened cloth. Ladle the hot sauce into the jars, leaving 1 inch of headspace (the space between the sauce and the rim). Use your bubble remover tool to release any trapped air. Wipe the rims again—this is critical for a seal. Place the lid on the jar and screw the band on until it’s “fingertip tight” (snug, but not forcing it).
Step 6: Water Bath Canning (35-45 minutes)
Fill your large canning pot with water and bring to a boil. Place a rack at the bottom. Lower the jars into the water using your jar lifter. The water should cover the jars by at least 1-2 inches. Process for 35 minutes for pints, 40 minutes for quarts. This processing time kills bacteria and creates the vacuum seal.
Step 7: Cool and Store
Turn off the heat and let the jars sit in the water for 5 minutes, then remove them to a towel-lined counter. Do not touch them for 12-24 hours. You’ll hear the “ping” sound as they seal. Once cool, check the seals by pressing the center of the lid. It shouldn’t flex. Store in a cool, dark place. Your Homemade Roasted Tomato Marinara for Canning is ready for the long haul.
Expert Tips & Tricks
I’ve made this sauce dozens of times, and I’ve made every mistake possible. Here’s what I’ve learned to ensure your Homemade Roasted Tomato Marinara for Canning is safe and delicious.
Acid is Non-Negotiable — I cannot stress this enough. Tomatoes vary in acidity depending on ripeness and variety. Adding lemon juice or citric acid ensures the pH is low enough to prevent botulism. Never skip this step. Never try to “fix” it with vinegar unless the recipe specifically calls for it.
Roast Until It Looks Like Jam — Don’t rush the roasting. The darker the tomatoes, the better the flavor. If they’re pale, your sauce will taste bland. Aim for deep red, almost brown edges.
Use Bottled Lemon Juice — Fresh lemon juice acidity varies. Bottled lemon juice is standardized to a consistent pH level, which is critical for safe canning. It’s worth the few extra cents.
Don’t Overfill the Jars — Leave 1 inch of headspace. The sauce expands when heated. If you overfill, it can spill over and prevent the seal, leading to spoilage.
Wipe the Rims — Any sauce on the rim will prevent a proper seal. Wipe with vinegar. Clean rims = sealed jars = safe sauce.
Test the Seals — After cooling, press the center of each lid. If it pops up and down, it didn’t seal. Refrigerate that jar and eat it within a week. Don’t can it.
Variations & Substitutions
Once you’ve mastered the basic Homemade Roasted Tomato Marinara for Canning, you can tweak it to suit your taste. Here are some variations I’ve tried:
Spicy Marinara — Add 1-2 diced jalapeños or increase the red pepper flakes to 1 teaspoon. Great for pizza or spicy pasta dishes.
Herb-Heavy — Add 1 tablespoon of dried thyme or rosemary during the simmering stage. It adds a woody, aromatic depth.
Carrot Sweetener — Roast 1-2 carrots along with the tomatoes. They add natural sweetness, so you don’t need to add sugar. It also gives the sauce a vibrant orange-red color.
Gluten-Free — This recipe is naturally gluten-free. Just ensure your spices and lemon juice are certified gluten-free if you have celiac disease.
Dairy-Free — Naturally dairy-free. Perfect for those avoiding dairy.
Vegetarian/Vegan — This recipe is 100% plant-based. No hidden animal products.
Serving & Storage
Now that you’ve got these jars sitting in your pantry, how do you use them?
How to Serve — Heat a jar in a saucepan over medium-low heat. Don’t boil it vigorously, or it might break down too much. Toss with your favorite pasta. I love this sauce with honey mustard chicken thighs on the side for a complete meal. It’s also perfect for dipping crusty bread, making pizza sauce, or braising vegetables.
Storage — Unopened jars can last 12-18 months in a cool, dark place. Once opened, refrigerate and use within 7-10 days. The flavor actually improves after a few weeks as the herbs meld together.
Freezing — If you don’t want to can, this sauce freezes well. Leave 1 inch of headspace in freezer-safe containers. It will keep for 6 months. Thaw in the fridge overnight before heating.
Nutrition Information
I’m not a nutritionist, but here’s a general breakdown per ½ cup serving of this Homemade Roasted Tomato Marinara for Canning:
– Calories: 45
– Protein: 1g
– Carbs: 8g
– Fiber: 2g
– Sugar: 5g
– Fat: 1.5g
– Sodium: 150mg (varies based on salt added)
It’s low calorie, low fat, and packed with lycopene from the tomatoes. It’s a healthy base for meals. If you’re watching sodium, reduce the salt in the recipe or use no-salt-added lemon juice.
Final Thoughts
Making Homemade Roasted Tomato Marinara for Canning is more than just cooking. It’s a ritual. It’s connecting with the seasons, with your family’s history, and with the simple joy of feeding yourself well. Yes, it takes time. Yes, it’s messy. But when you open that jar in the middle of winter, smelling that rich, roasted tomato scent, you’ll know it was worth it.
Don’t be afraid of canning. Start with one batch. Make a mess. Learn from it. Your future self will thank you when dinner is just a jar away. And if you want to pair it with something else, try this sauce with a simple garlic butter roasted asparagus for a light summer dinner.
Happy canning! And I hope your pantry looks as good as mine does.
Frequently Asked Questions
Can I use fresh tomatoes instead of Roma?
You can, but Roma tomatoes are recommended because they have less water and more flesh. If you use juicier tomatoes, you’ll need to simmer the sauce much longer to reduce it, which can affect the flavor. If you must use other tomatoes, roast them longer to drive off the moisture.
Why do I need to add lemon juice?
Tomatoes are borderline acidic. Adding lemon juice ensures the pH is low enough (below 4.6) to prevent the growth of botulism bacteria during water bath canning. It’s a safety requirement, not just a flavor choice.
Can I freeze this sauce instead of canning it?
Yes! This sauce freezes beautifully. Just skip the canning step. Let the sauce cool, ladle it into freezer-safe containers leaving 1 inch of headspace, and freeze for up to 6 months. It’s easier if you’re not ready to can.
What if my jars didn’t seal?
If a jar doesn’t seal after 24 hours, refrigerate it and use it within a week. Do not attempt to re-can it unless you re-boil the sauce and use a new lid. It’s safer to just eat it soon.
Can I add meat to this sauce before canning?
No. Adding meat changes the density and heat penetration of the jar, which can make it unsafe for water bath canning. If you want meat sauce, can the tomato sauce plain, then add cooked meat when you heat it up for serving.
How long does this sauce last in the pantry?
If properly canned and stored in a cool, dark place, it can last 12-18 months. The quality is best within the first year, but it’s usually safe longer. Always check for bulging lids or off smells before using.
Pin This Recipe!
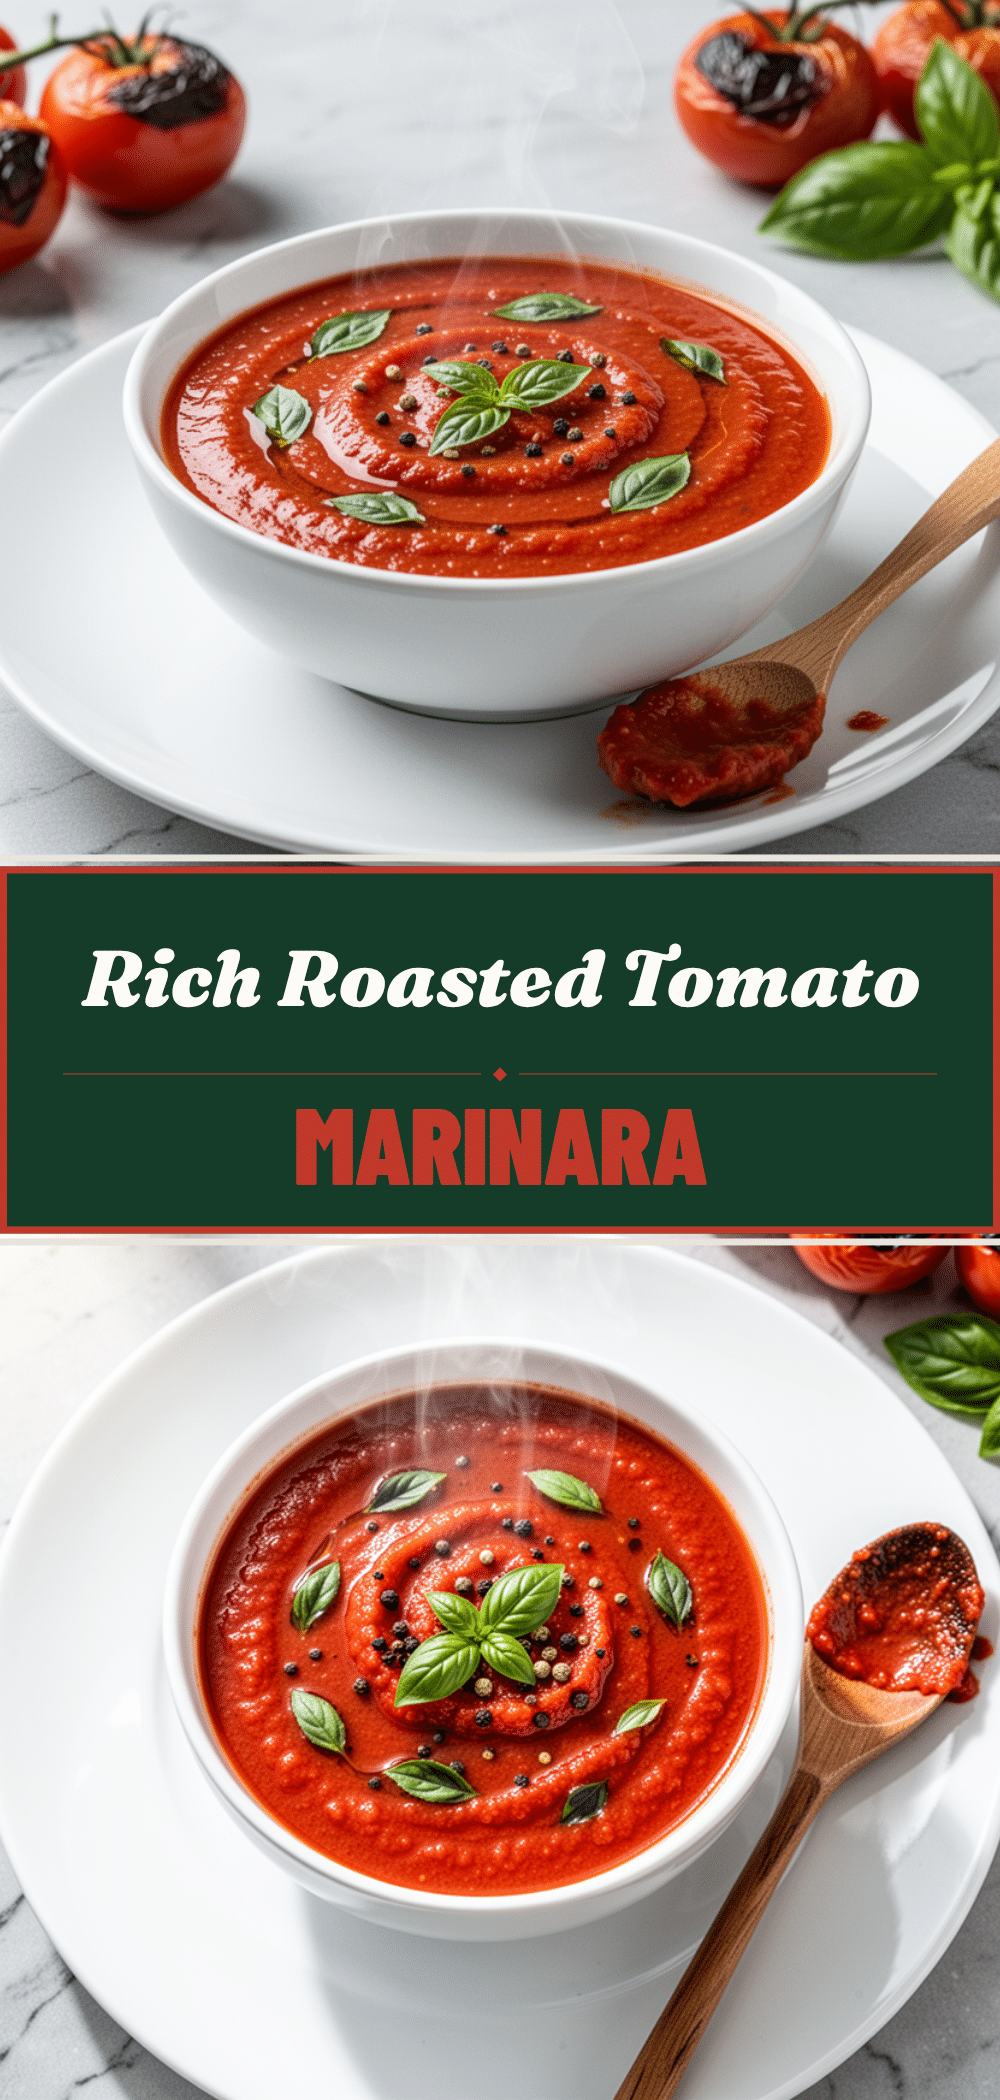
Homemade Roasted Tomato Marinara for Canning
- Total Time: 1 hour 50 minutes
- Yield: 8-10 servings (approx. 8-10 jars) 1x
Description
A rich, velvety roasted tomato marinara sauce that concentrates flavor through high-heat roasting. This tested recipe includes the necessary acid adjustments for safe water bath canning, allowing you to preserve summer abundance for months.
Ingredients
- 8–10 pounds Roma or Paste Tomatoes, chopped roughly
- 2 large Yellow Onions, quartered
- 1 whole head of Garlic, cloves separated but left in skin (half minced, half whole)
- ½ cup Extra Virgin Olive Oil
- 1 large bunch Fresh Basil (20–25 leaves), chopped
- 2 teaspoons Dried Oregano
- ½ teaspoon Red Pepper Flakes (optional)
- 1–2 teaspoons Salt, to taste
- Bottled Lemon Juice (1 tablespoon per pint jar or 2 tablespoons per quart jar)
- Water (as needed to prevent steaming)
Instructions
- Preheat oven to 400°F (200°C). Line large sheet pans with parchment paper.
- Toss chopped tomatoes, quartered onions, minced garlic, olive oil, and salt on the sheet pans. Spread in a single layer to ensure roasting, not steaming.
- Roast vegetables for 45-60 minutes, stirring halfway, until dark, blistered, and caramelized.
- Wrap the remaining whole head of garlic in foil and roast on a separate pan for the last 30 minutes. Once cool, squeeze soft cloves from skins.
- Transfer roasted tomatoes, onions, and garlic to a large bowl. Let cool slightly.
- Add fresh basil, dried oregano, red pepper flakes, and squeezed roasted garlic cloves. Blend in batches until smooth.
- Pour blended mixture into a large stockpot (8-quart minimum). Bring to a gentle simmer over medium heat.
- Simmer for 20-30 minutes to thicken and cook out raw flavors. Stir occasionally.
- Add bottled lemon juice (1 tbsp per pint or 2 tbsp per quart of sauce) and adjust salt to taste.
- Ladle hot sauce into clean, hot canning jars, leaving 1 inch of headspace.
- Remove air bubbles with a bubble remover tool. Wipe rims with a vinegar-dampened cloth.
- Place lids and screw bands on until fingertip tight.
- Process jars in a boiling water bath: 35 minutes for pints, 40 minutes for quarts.
- Remove jars and let cool undisturbed for 12-24 hours. Check seals before storing in a cool, dark place.
Notes
Acid is non-negotiable for safe canning; always use bottled lemon juice for consistent pH. Roast tomatoes until they look like jam for maximum flavor. Do not add meat before canning as it affects heat penetration safety. If jars do not seal after 24 hours, refrigerate and consume within a week.
- Prep Time: 15 minutes
- Cook Time: 1 hour 35 minutes
- Category: Condiments
- Cuisine: Italian
Nutrition
- Serving Size: ½ cup
- Calories: 45
- Sugar: 5
- Sodium: 150
- Fat: 1.5
- Saturated Fat: 0.2
- Carbohydrates: 8
- Fiber: 2
- Protein: 1
Keywords: tomato sauce, marinara, canning, roasted tomatoes, homemade sauce, preserving, Italian cooking, gluten-free, vegan