It was 5:30 AM on a Tuesday, and the house was still dark. My three kids were bouncing off the walls because I’d promised them “special pancakes” for their school day off, but I was running on four hours of sleep and pure caffeine denial. Normally, this is the part where I’d stand over the stove, flipping individual pancakes in the same hot, greasy skillet for forty-five minutes, sweating through my pajamas while the first batch got cold and rubbery.
But that morning, I had a different plan. I had a sheet pan. And suddenly, the chaos of feeding a family of five (or ten, or twenty) didn’t feel like a mountain. It felt like a game.
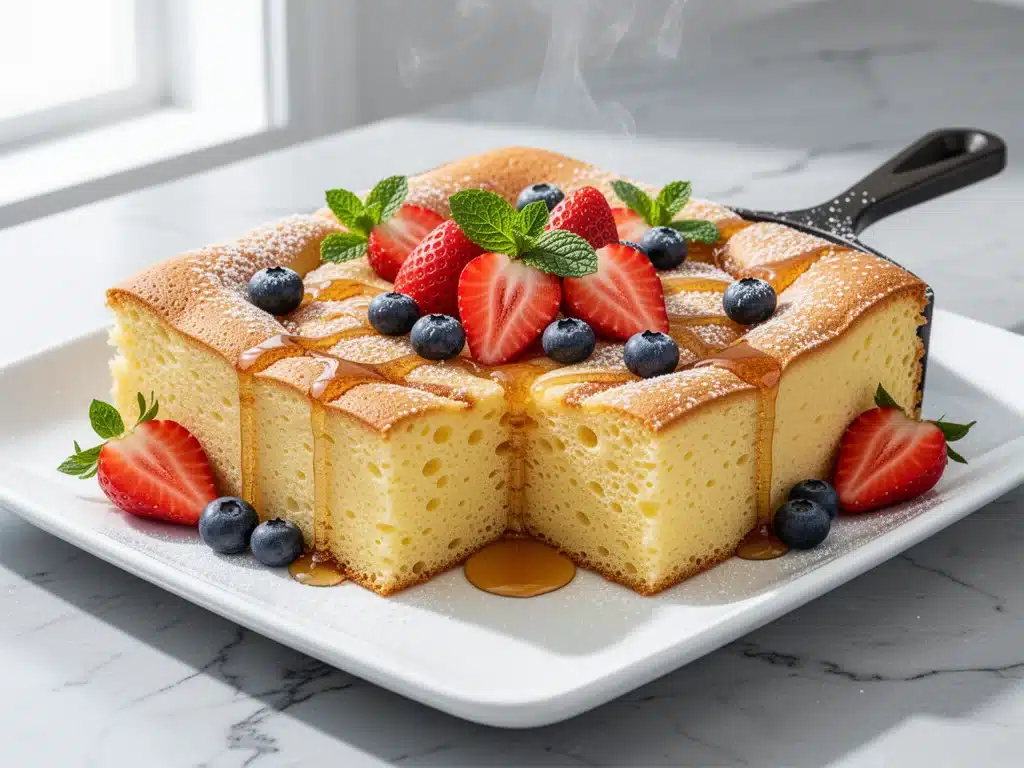
This is the story behind my Fluffy Sheet Pan Pancakes for a Crowd. I didn’t invent them, but I definitely perfected them. After years of failing at batch-cooking breakfasts that ended up tasting like cardboard, I realized the secret wasn’t better batter—it was better heat distribution. By baking the pancakes in a single layer on a large baking sheet, you get pancakes that are crispy on the outside, fluffy on the inside, and cooked evenly without anyone having to stand guard over a griddle.
They are perfect for busy weeknights (yes, you can have pancakes for dinner), busy mornings before school, or even a lazy Sunday brunch when you want to serve a crowd without looking stressed. I’ve made these pancakes in various shapes and sizes, but this 5-ingredient version is the one that keeps coming back to the top of my list. It’s simple, it’s forgiving, and it tastes like comfort.
Why You’ll Love This Sheet Pan Pancake Recipe
There are a lot of pancake recipes out there. But this one? It solves the biggest problem with big-batch breakfasts: the logistics. Here’s why this recipe has completely changed our morning routine.
- Zero Stove Space Required — Seriously, if your kitchen is tiny or you’re hosting a party, this is your best friend. You don’t need a griddle. You don’t need three skillets. You just need an oven. I can make this while helping my kids with homework or prepping for dinner. It’s hands-off cooking at its finest.
- Consistent Texture Every Time — Have you ever had a pancake that’s burnt on the bottom and raw on top? Or one that’s dry and tough? Sheet pan pancakes bake evenly. The edges get a little crispy (my favorite part), and the centers stay soft and airy. No flipping required means no uneven cooking.
- Stupid Simple Ingredients — You don’t need fancy flours or obscure ingredients. This recipe uses just five basic pantry staples. Flour, sugar, baking powder, salt, milk, and eggs. That’s it. If you can mix batter in a bowl, you can make this.
- Perfect for Meal Prep — I make these on Sunday morning, let them cool, and store them in the fridge. Reheating them in the toaster or microwave for a few seconds brings them back to life. It’s like having ready-made breakfast sandwiches waiting for you all week.
- Kid-Approved (and Adult-Approved) — These are sweet but not too sweet. They hold up well to syrup, but they’re also delicious plain. I’ve served these to my picky toddler and my food-snobby husband, and both asked for seconds. That’s a win.
This is my go-to when I need breakfast to just work. No complicated techniques, no weird ingredients, just reliable, delicious food that makes everyone happy.
Ingredients You’ll Need
Here’s the best part: you probably have most of this already. I’m particular about a few things here, and I’ll tell you exactly why.
For the Batter:
All-purpose flour (2 cups / 250g) — This is your base. I use regular all-purpose flour because it gives the perfect balance of structure and tenderness. Don’t swap in whole wheat unless you want dense pancakes. If you’re making classic southern red velvet sheet cake, you know the importance of using the right flour for the right texture.
Granulated sugar (3 tablespoons / 35g) — Just a little bit. It helps with browning and adds a hint of sweetness without making them dessert-like. If you prefer less sweet, reduce to 2 tablespoons.
Baking powder (1 tablespoon / 10g) — This is the leavening agent that makes them fluffy. Make sure it’s fresh! Old baking powder is the #1 reason pancakes turn out flat. I keep a fresh can in my pantry specifically for this.
Salt (1 teaspoon / 5g) — Essential for flavor. It balances the sweetness and enhances the other ingredients. Don’t skip it.
Milk (1 ¾ cups / 420ml) — I use whole milk for the richest flavor, but 2% works fine too. If you’re lactose-intolerant, almond or oat milk works, though the texture might be slightly less tender.
Eggs (2 large eggs) — These provide structure and richness. Room temperature eggs mix better, but cold eggs work if you’re in a hurry. Just whisk them well.
Vanilla extract (1 teaspoon / 5ml) — Optional, but I highly recommend it. It adds that classic pancake aroma. Pure vanilla is best, but imitation works in a pinch.
Butter (2 tablespoons / 30g, melted) — Adds richness and helps with browning. You can use oil, but butter tastes better. Let it cool slightly before adding so it doesn’t scramble the eggs.
For Serving:
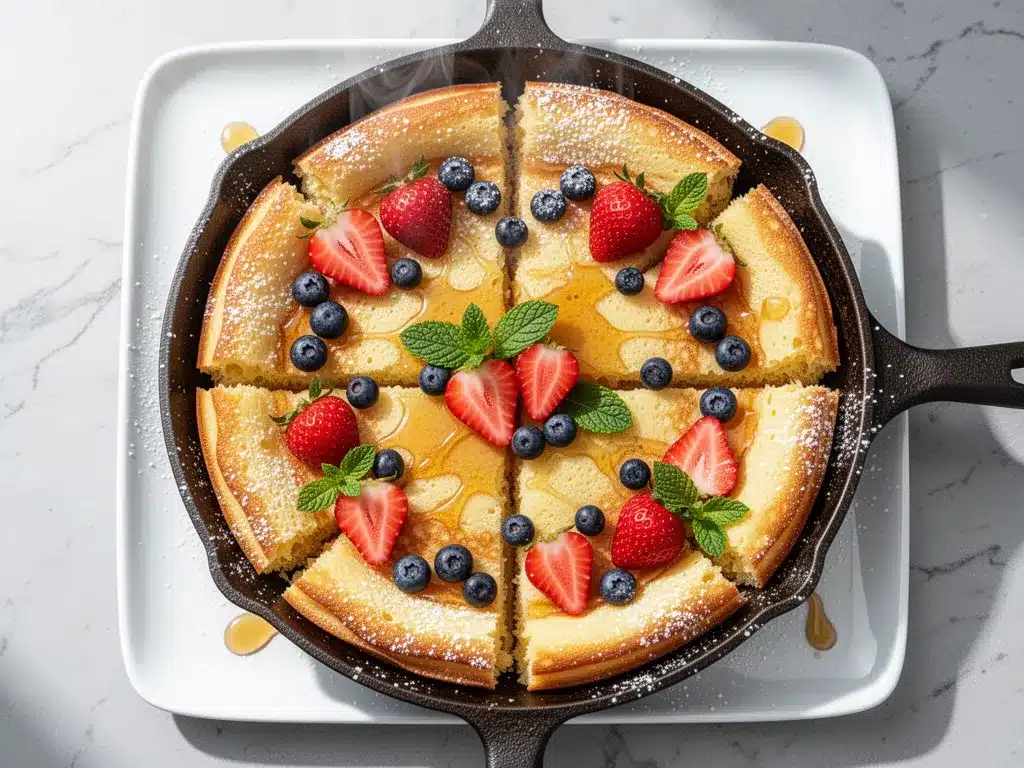
Syrup — Maple syrup is traditional, but this recipe is versatile. Try one pan honey mustard chicken thighs for a savory contrast if you’re doing a breakfast-for-dinner spread.
Fresh berries — Blueberries or strawberries add a fresh, tart contrast to the sweet batter.
Whipped cream — For the fancy crowd.
Equipment Needed
You don’t need fancy equipment for this. Here’s what I actually use.
12×18 inch Sheet Pan — This is the most important tool. A standard half-sheet pan (18×13 inches) is ideal. It gives enough surface area for the batter to spread out without being too thin. If you only have a 9×13 inch pan, you’ll need to double the batch, but that’s fine too.
Large Mixing Bowl — Something big enough to whisk the batter without spilling. I use a 4-quart bowl.
Whisk — For combining the dry and wet ingredients. A fork works, but a whisk is faster and ensures no lumps.
Measuring Cups and Spoons — Precision matters in baking. I use standard measuring cups for flour and spoons for smaller ingredients.
Pastry Brush or Paper Towel — For greasing the pan. I brush melted butter or oil onto the pan for even coverage.
Offset Spatula — For spreading the batter evenly. A regular spatula works, but an offset one makes it easier to get into the corners.
Cooling Rack — For cooling the pancakes after baking. This prevents them from getting soggy from steam.
How to Make It: Step-by-Step
Alright, let’s make this! I’m walking you through exactly how I do it, including the little tricks I’ve picked up.
Step 1: Prep Your Pan and Oven (5 minutes)
Preheat your oven to 425°F (220°C). This high heat is crucial for getting those crispy edges. While the oven heats, grease your 12×18 inch sheet pan generously with butter or oil. I like to use a pastry brush to spread it evenly, making sure to hit the corners. You can also line it with parchment paper for easy cleanup, though greasing is traditional.
Step 2: Mix the Dry Ingredients (2 minutes)
In your large mixing bowl, whisk together the flour, sugar, baking powder, and salt. Make sure there are no clumps of baking powder. This step ensures even distribution of leavening, which means uniform rising.
Step 3: Combine the Wet Ingredients (2 minutes)
In a separate bowl or measuring jug, whisk together the milk, eggs, vanilla extract, and melted butter. Whisk until the eggs are fully incorporated and the mixture is smooth. If your butter is still hot, let it cool for a minute.
Step 4: Make the Batter (3 minutes)
Pour the wet ingredients into the dry ingredients. Use your whisk to gently combine them. Crucial Tip: Do not overmix! It’s okay if there are a few small lumps. Overmixing develops gluten, which leads to tough, chewy pancakes instead of fluffy ones. Mix until just combined. This is the difference between a pancake and a rubber band.
Step 5: Spread the Batter (2 minutes)
Pour the batter onto the prepared sheet pan. Use your offset spatula to spread it out evenly. You want a uniform layer, about ¼ inch thick. If the batter is too thick, it won’t cook evenly. If it’s too thin, it’ll be dry. Aim for that sweet spot. Spread it all the way to the edges for maximum crispy perimeter.
Step 6: Bake (15-20 minutes)
Place the pan in the preheated oven. Bake for 15-20 minutes. You’ll know they’re done when the edges are golden brown and crisp, and the center is set and no longer jiggly. The top should be lightly golden. Every oven is different, so check at 15 minutes. If they’re browning too fast, cover loosely with foil.
Step 7: Cool and Cut (5 minutes)
Remove the pan from the oven and let it cool for 5 minutes. This allows the pancakes to set and makes them easier to cut. Use a sharp knife or pizza cutter to slice into squares, triangles, or whatever shape you like. Serve warm with your favorite toppings.
Total Time: About 30 minutes (10 minutes active, 20 minutes hands-off)
Expert Tips & Tricks
Here’s everything I’ve learned from making this dozens of times. These tips will save you from my mistakes.
Don’t Overmix the Batter
I cannot stress this enough. Lumps are good. If you mix until smooth, your pancakes will be dense. Mix until the flour is just moistened. It’s okay to have a few streaks of flour; they’ll disappear as the batter sits for a minute.
High Heat is Key
425°F is the magic number. Lower temperatures will steam the pancakes instead of baking them, resulting in a pale, soggy texture. High heat creates that desirable crispy edge and fluffy interior.
Grease the Pan Well
Pancakes stick to sheet pans if you’re not careful. Be generous with your butter or oil. If you’re using parchment paper, you can use less, but still grease the paper for easy release.
Use Fresh Baking Powder
Old baking powder loses its potency. If your pancakes aren’t rising, check your baking powder. It should be less than 6 months old for best results.
Room Temperature Ingredients
While not strictly necessary, room temperature ingredients mix more evenly and create a smoother batter. Take your eggs and milk out of the fridge 15 minutes before starting.
Cutting Before Serving
Let the pancakes cool slightly before cutting. This prevents them from falling apart and helps maintain their shape. Use a pizza cutter for clean, straight lines.
Variations & Substitutions
Once you’ve nailed the basic version, here’s how you can mix it up. I’ve tried all of these.
Blueberry Pancakes
Fold in 1 cup of fresh or frozen blueberries into the batter before spreading. Don’t overmix the berries in; just gently fold them in. They’ll burst and create pockets of sweetness.
Chocolate Chip Pancakes
Add ½ cup of chocolate chips to the batter. For a gourmet touch, use dark chocolate chips. The chocolate melts into gooey pockets.
Banana Pancakes
Mash 1 ripe banana and add it to the wet ingredients. This adds natural sweetness and moisture. You can reduce the sugar to 2 tablespoons.
Gluten-Free Option
Use a 1:1 gluten-free flour blend. The texture might be slightly different, but it still works well. I’ve used Bob’s Red Mill and it holds up nicely.
Dairy-Free Option
Replace milk with almond or oat milk and butter with coconut oil. The flavor will be slightly different, but still delicious.
Savory Version
Skip the sugar and vanilla. Add ½ cup of shredded cheddar cheese and 2 tablespoons of chopped chives to the batter. Serve with garlic butter roasted asparagus for a savory breakfast.
Serving & Storage
How to Serve:
I usually serve these straight from the pan at the breakfast table—it looks rustic and stays warm. But here are other ways I’ve enjoyed them:
- Breakfast Sandwiches — Cut into rounds and use as buns for eggs and bacon.
- French Toast Style — Dip slices in egg and milk, then pan-fry for a second breakfast treat.
- With Fruit — Top with fresh berries and a drizzle of honey.
Storage:
Refrigerator: Store in an airtight container for up to 3 days. The pancakes will firm up in the fridge, but they reheat beautifully.
Reheating: Best method: Toaster or toaster oven. Pop them in for 1-2 minutes and they’re crispy again. Microwave method: Heat in 30-second intervals, but they might get chewy. Add a splash of milk if you’re microwaving.
Freezing: Yes, they freeze well! Cool completely, then layer with parchment paper in an airtight container. Freeze for up to 2 months. Reheat in the toaster.
Nutrition Information
I’m not a nutritionist, but here’s the breakdown if you’re tracking. This is per serving (based on 12 servings).
- Calories: 180
- Protein: 5g
- Carbs: 30g
- Fiber: 1g
- Sugar: 4g
- Fat: 5g
- Saturated Fat: 3g
- Cholesterol: 35mg
- Sodium: 250mg
Look, this is comfort food. It’s not a diet recipe. But it’s way better than store-bought frozen pancakes, and I know exactly what’s in it. When I want to make it lighter, I use skim milk and reduce the sugar. But usually? I just eat a reasonable portion and enjoy it.
Final Thoughts
So that’s my Fluffy Sheet Pan Pancakes for a Crowd! I’ve probably talked your ear off at this point, but when you make a recipe this often, you have a lot to say about it.
This has saved weeknight mornings more times than I can count. It’s my answer to “what’s for breakfast” when I’m tired, don’t want to flip pancakes, and still want something that tastes really good. My kids are happy, my husband’s happy, and I’m happy because I’m not stressed about cooking.
Make it yours! Try different add-ins, swap in your favorite fruits, adjust the sweetness. The best recipes are the ones you adapt to your family’s tastes.
If you make this, drop a comment and let me know what you think! I love hearing how recipes turn out in your kitchen. And if something doesn’t work, tell me that too—I’m here to help troubleshoot.
Happy cooking! And I hope your kitchen smells half as good as mine does right now.
Frequently Asked Questions
Can I use a different size pan?
Yes, but the cooking time will change. If you use a 9×13 inch pan, the batter will be thicker, so bake for 20-25 minutes. If you use two 9×13 pans, bake for 15-18 minutes. Keep an eye on them.
Why are my pancakes dense?
Usually, this means you overmixed the batter. Mix until just combined. Also, check your baking powder. If it’s old, it won’t rise properly.
Can I make this ahead?
Absolutely! Make the batter and spread it on the pan, then cover and refrigerate for up to 8 hours. Bake when you’re ready. Or bake ahead and reheat.
Can I freeze the batter?
No, the baking powder will lose its potency. Make the batter fresh each time.
What’s the best way to cut them?
A pizza cutter works best for straight lines. A sharp knife works too, but be gentle to avoid squishing them.
Can I add nuts?
Yes! Chopped walnuts or pecans add great texture. Fold them in gently.
Do I need to flip them?
No, that’s the beauty of sheet pan pancakes. They bake on one side only. The top browns in the oven, and the bottom crisps against the pan.
Pin This Recipe!
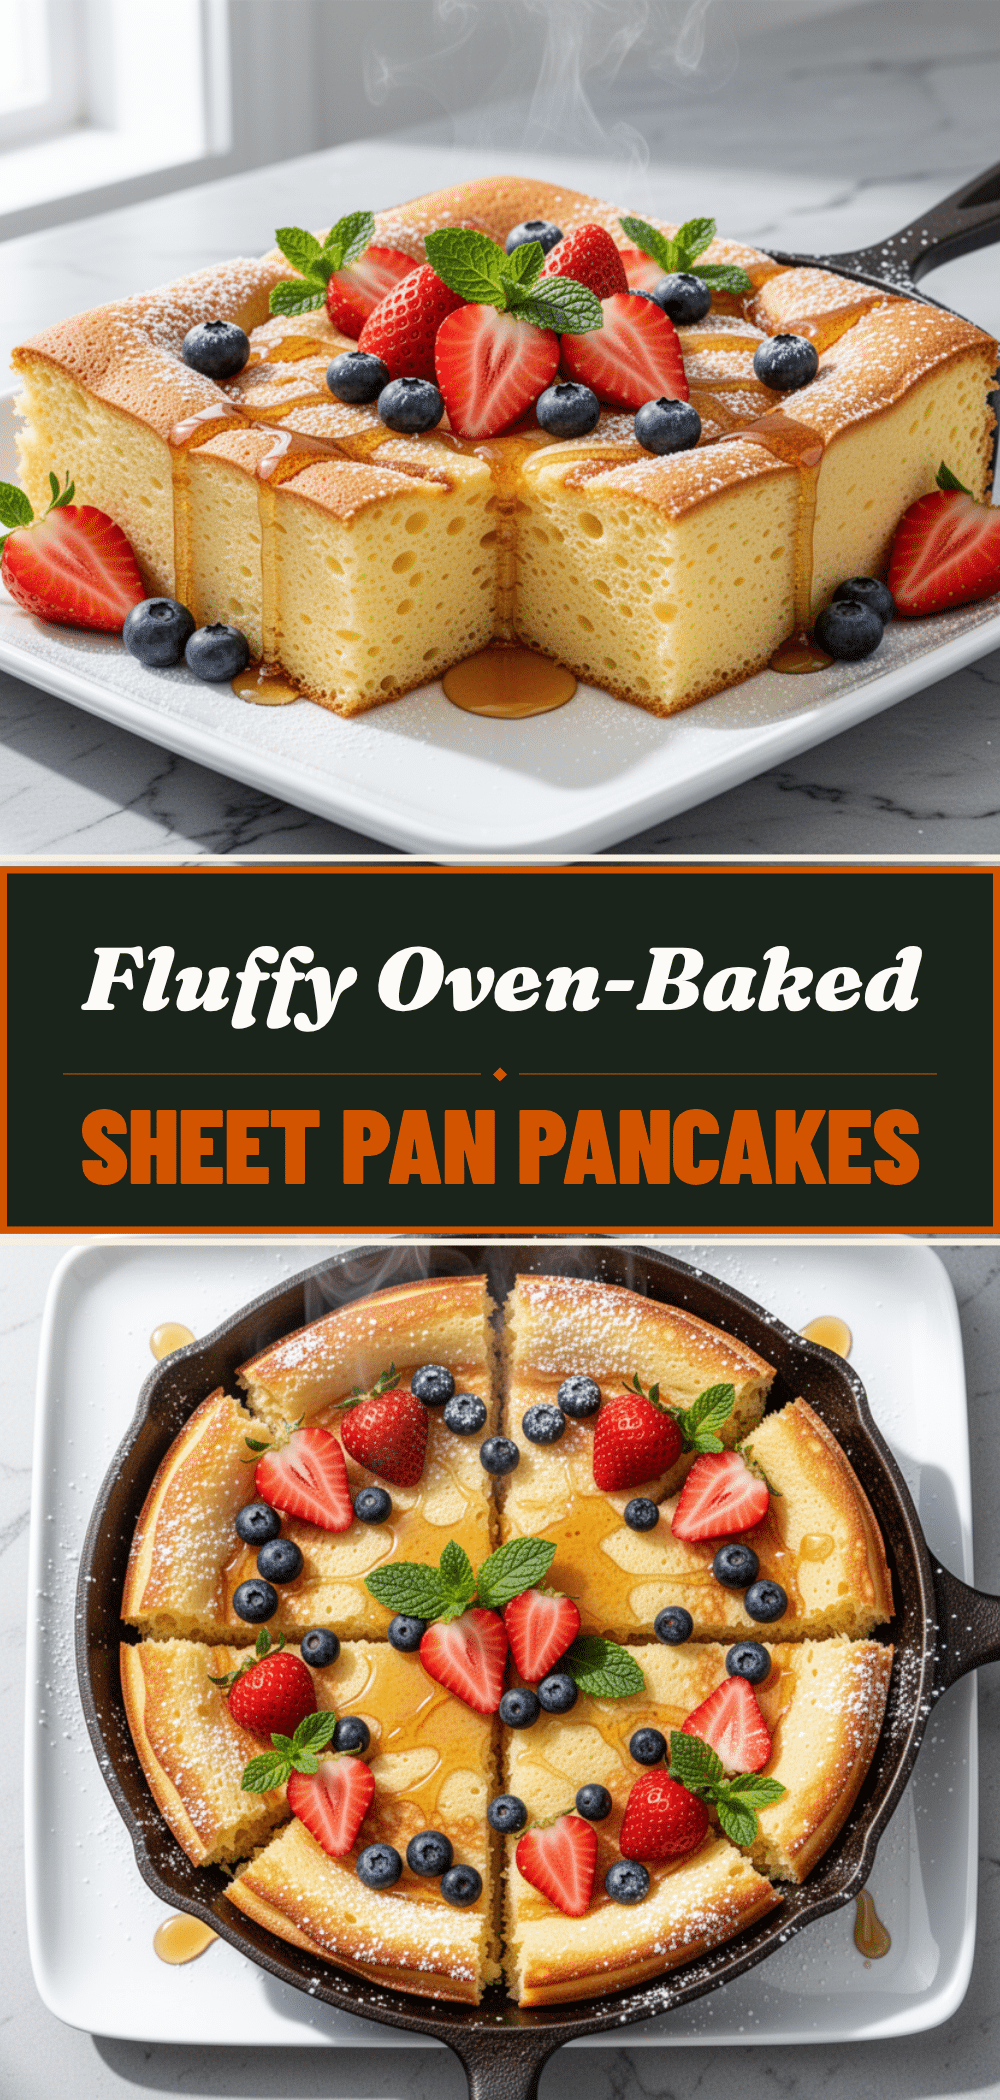
Fluffy Sheet Pan Pancakes: 5-Ingredient Weeknight Breakfast
- Total Time: 30 minutes
- Yield: 12 servings 1x
Description
These easy sheet pan pancakes are perfect for feeding a crowd or meal prepping. With just five basic ingredients and no flipping required, they bake up crispy on the edges and fluffy on the inside in under 30 minutes.
Ingredients
- 2 cups (250g) all-purpose flour
- 3 tablespoons (35g) granulated sugar
- 1 tablespoon (10g) baking powder
- 1 teaspoon (5g) salt
- 1 ¾ cups (420ml) milk
- 2 large eggs
- 1 teaspoon (5ml) vanilla extract
- 2 tablespoons (30g) butter, melted
Instructions
- Preheat oven to 425°F (220°C). Grease a 12×18 inch sheet pan generously with butter or oil.
- In a large mixing bowl, whisk together the flour, sugar, baking powder, and salt until no clumps remain.
- In a separate bowl or measuring jug, whisk together the milk, eggs, vanilla extract, and melted butter until smooth.
- Pour the wet ingredients into the dry ingredients. Gently whisk to combine, stopping as soon as the flour is moistened. Do not overmix; small lumps are okay.
- Pour the batter onto the prepared sheet pan. Use an offset spatula to spread it evenly into a layer about ¼ inch thick, reaching the edges.
- Bake for 15-20 minutes, or until the edges are golden brown and crisp, and the center is set.
- Remove from oven and let cool for 5 minutes to set. Cut into squares or triangles and serve warm.
Notes
Do not overmix the batter to ensure fluffy pancakes. High heat (425°F) is crucial for crispy edges. If using a 9×13 inch pan, double the batch or adjust baking time to 20-25 minutes. These freeze well for up to 2 months.
- Prep Time: 10 minutes
- Cook Time: 20 minutes
- Category: Breakfast
- Cuisine: American
Nutrition
- Serving Size: 1 slice (approx. 1/1
- Calories: 180
- Sugar: 4
- Sodium: 250
- Fat: 5
- Saturated Fat: 3
- Carbohydrates: 30
- Fiber: 1
- Protein: 5
Keywords: sheet pan pancakes, breakfast for a crowd, easy pancakes, meal prep breakfast, kid-friendly breakfast, 5-ingredient recipe