It was three years ago, right before our anniversary dinner at that tiny Italian place downtown. You know the kind—dim lighting, white tablecloths, and dessert menus that cost more than my grocery bill. My husband had been talking about this specific dessert he’d had on a trip to Boston years ago. He described it with this longing look in his eyes, talking about the soft yellow sponge and the silky custard.
I thought, “No problem. I’ll just buy a box cake mix and some pudding from the store. Easy.”
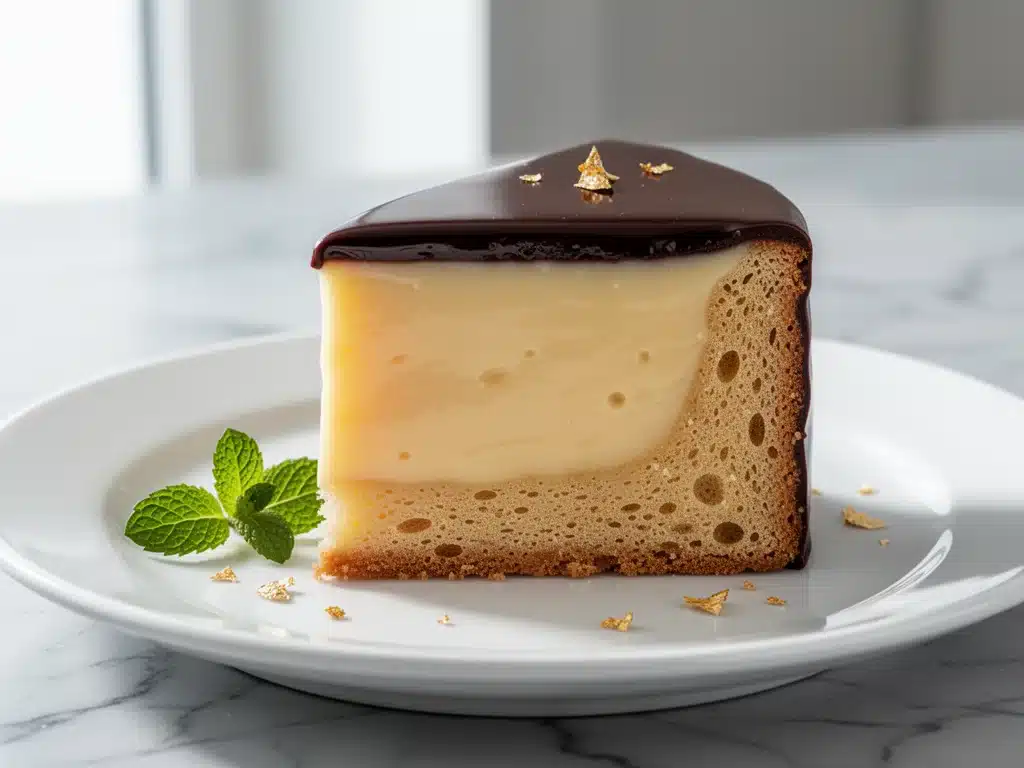
But when the waiter brought out the actual Boston Cream Pie, I felt a pang of jealousy. It wasn’t just cake and pudding. It was this light, airy sponge that melted in your mouth, filled with a vanilla bean custard so rich it felt like eating clouds, and topped with a chocolate ganache that snapped when you cut it. It was elegant. It was perfect. And it made my “easy” store-bought attempt look sad and dense by comparison.
I went home that night and made a promise to myself: I would master this dessert. Not just make it, but make it better than the restaurant version. I wanted something that tasted like celebration but could be made in my own kitchen, on my own terms.
That was the beginning of a love affair with the Classic Boston Cream Pie. It’s funny, isn’t it? It’s called a “pie” but it’s actually a cake. A two-layer cake, filled with custard, and glazed with chocolate. It’s a bit of a trickster. But once you understand what it really is, the recipe becomes less intimidating and more like a fun project.
I’ve tested this recipe at least a dozen times. I’ve burned the custard. I’ve over-whipped the cream. I’ve had the chocolate seize up into a rocky mess. But through all those mistakes, I’ve learned exactly how to get it right. And now, it’s my go-to for elegant dessert nights. It looks impressive, sure, but the truth is, it’s deeply comforting. It tastes like home, just dressed up in a tuxedo.
If you’ve ever been intimidated by making custard from scratch or worried that a homemade cake will be too dry, this is the recipe for you. It’s forgiving, it’s delicious, and it’s absolutely worth the effort. Let’s get into why this dessert deserves a spot in your rotation.
Why You’ll Love This Classic Boston Cream Pie Recipe
There are a lot of fancy desserts out there. Some are complicated, some are expensive, and some just don’t taste as good as they look. This Boston Cream Pie hits that sweet spot—literally and figuratively. It’s the kind of dessert that makes people ask, “Did you buy this?” And when you tell them you made it, their faces light up with respect.
Here’s why this recipe has completely changed how I approach special occasions:
It’s Surprisingly Approachable — Seriously, if you can boil water and whisk eggs, you can make this. I’ve walked my teenage niece through the custard step over FaceTime, and she nailed it. You don’t need to be a pastry chef. You just need patience and a thermometer (or your finger).
The Texture is Unbeatable — Most homemade cakes turn out dry or dense. This sponge cake is baked in a specific way that keeps it incredibly moist. The custard is silky, not grainy. And the chocolate glaze? It sets with a slight snap but stays soft enough to cut through easily. The contrast of textures is what makes it addictive.
It’s a Make-Ahead Dream — This is my secret weapon for dinner parties. You can bake the cake and make the custard a day in advance. In fact, it tastes better the next day because the flavors have had time to meld. You just assemble and glaze right before serving. No last-minute panic.
It Feels Luxurious Without the Price Tag — A single slice at a high-end bakery can run you $8 or $10. Making this at home costs you maybe $15 total for ingredients, and you get 12 generous slices. That’s less than $2 per serving. And the quality? Way better.
It’s Versatile — While this is the classic version, you can tweak it. Want a coffee flavor? Add espresso to the custard. Want it richer? Use dark chocolate for the glaze. It’s a blank canvas for your creativity.
I’ve served this to my vegetarian sister, my gluten-free neighbor (with a simple swap), and my dad who usually complains about “too much sweetness.” Everyone loved it. It’s a crowd-pleaser that doesn’t try too hard. It just works.
Ingredients You’ll Need for the Perfect Boston Cream Pie
Here’s the best part: most of these ingredients are staples. You probably have half of them in your pantry right now. The key is quality. Since there aren’t a ton of ingredients, each one has to do heavy lifting. You can’t hide behind complex flavors.
For the Sponge Cake:
All-purpose flour (2 cups / 250g) — I use Gold Medal or King Arthur. Don’t use self-rising; the leavening will be off. Sifting is non-negotiable here for that light, airy texture.
Granulated sugar (1 ½ cups / 300g) — Yes, it seems like a lot, but the sugar tenderizes the crumb. Don’t reduce it, or the cake will be tough.
Eggs (4 large, room temperature) — Room temp eggs whip up to double their volume much easier than cold ones. This is crucial for the sponge’s rise. Separate them carefully—no yolk in the whites.
Vanilla extract (1 teaspoon) — Use real vanilla. I hate fake vanilla in anything, but especially in a cake where it’s the main flavor.
Salt (½ teaspoon) — Just a pinch to balance the sweetness.
Butter (4 tablespoons / 55g, melted and cooled) — Adds richness. Make sure it’s not hot, or it’ll cook the eggs.
Whole milk (½ cup / 120ml) — Adds moisture and tenderness.
For the Vanilla Custard:
Whole milk (3 cups / 720ml) — Do not use skim or 2%. You need the fat for that creamy mouthfeel. If you can find organic whole milk, even better.
Vanilla bean (1 pod, or 2 teaspoons paste) — This is the game-changer. Scraping the seeds gives you those little black specks and incredible aroma. If you’re lazy, high-quality vanilla paste works, but the pod is worth the 5 minutes.
Egg yolks (6 large) — You’ll have leftover egg whites from the cake. Freeze them for meringues or omelets later. Don’t waste them!
Granulated sugar (¾ cup / 150g) — Sweetens the custard perfectly.
Cornstarch (¼ cup / 30g) — This is what thickens the custard. Some recipes use flour, but cornstarch gives a smoother, glossier texture.
Unsalted butter (2 tablespoons / 28g) — Stirred in at the end for richness and shine.
For the Chocolate Glaze:
Semi-sweet chocolate chips (1 cup / 170g) — I use Ghirardelli or Ghirardelli 60% Cacao. Avoid the cheap baking chips; they have wax and don’t melt smoothly.
Heavy cream (½ cup / 120ml) — Full fat only. This creates the ganache.
Butter (1 tablespoon / 14g) — Optional, but adds a nice sheen and stabilizes the glaze.
Quick Note on Substitutions: If you’re dairy-free, you can use coconut milk for the custard and chocolate, but the flavor will shift. For gluten-free, use a 1:1 gluten-free flour blend, but note the texture will be slightly denser.
Equipment Needed
You don’t need a fancy kitchen to make this. Here’s what I actually use, and what you can skip.
Two 9-inch round cake pans — I use metal pans, not glass. Metal conducts heat better for even baking. Grease and flour them thoroughly, or use parchment paper circles at the bottom. Trust me, don’t skip the parchment.
Stand mixer or hand mixer — You need to whip the egg whites to stiff peaks. A stand mixer with a whisk attachment is easiest, but a hand mixer works fine if you have the arm strength.
Medium saucepan — For heating the milk. Heavy-bottomed is best to prevent scorching.
Medium saucepan or double boiler — For cooking the custard. A double boiler is safer if you’re nervous about curdling, but a saucepan works if you whisk constantly.
Whisk — Your best friend. Get a good silicone one that fits the corners of your bowl.
Instant-read thermometer — Highly recommended for the custard. It should reach 170°F (77°C). If you don’t have one, watch for the thickening signs.
Offset spatula — For spreading the custard and glaze. Not strictly necessary, but it makes leveling the cake so much easier.
Wire cooling rack — So the cake doesn’t get soggy from steam.
Small bowl — For melting the chocolate glaze in the microwave or over a double boiler.
Pro Tip: I’m obsessed with my digital thermometer. It takes the guesswork out of the custard. If you don’t have one, just know that the custard is done when it coats the back of a spoon and you can draw a line through it with your finger.
How to Make It: Step-by-Step Guide
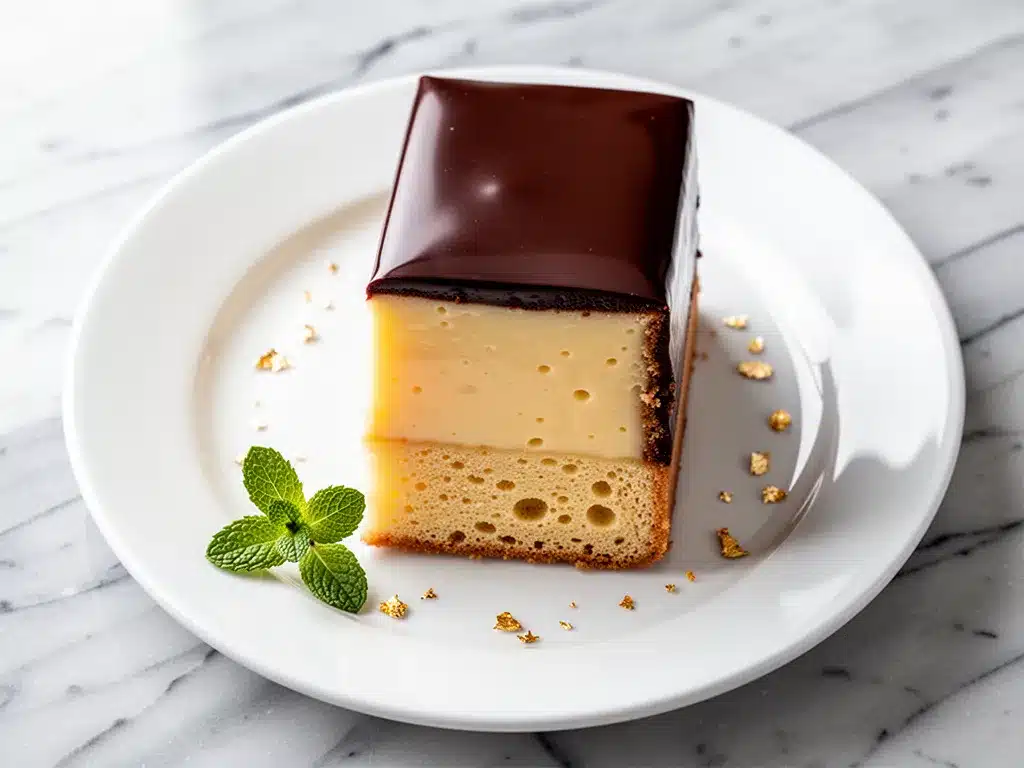
Alright, let’s make this! I’m walking you through exactly how I do it, including the little tricks I’ve picked up so you don’t make my mistakes.
Step 1: Prep Your Pans and Oven
Preheat your oven to 350°F (175°C). Grease your two 9-inch cake pans with butter or non-stick spray. Dust with flour, tapping out the excess. Or, better yet, cut circles of parchment paper to line the bottoms. This guarantees the cakes won’t stick. Set your pans aside.
Step 2: Make the Sponge Cake Batter
In a medium bowl, sift together the flour, sugar, and salt. Set aside. In another bowl, whisk the egg yolks, vanilla, milk, and melted butter until smooth. This is your wet mixture.
In a large, clean bowl (make sure no grease is on the sides!), whip the egg whites with a pinch of salt until soft peaks form. Gradually add ½ cup of the sugar while whipping. Continue whipping until stiff, glossy peaks form. This should take about 3-4 minutes. Don’t under-whip, or the cake won’t rise.
Now, the delicate part. Add ⅓ of the flour mixture to the egg whites and gently fold it in with a spatula. Then add ⅓ of the egg whites to the flour mixture and fold. Finally, combine the two mixtures, folding gently until just combined. Do not overmix! You want to keep the air in those whites. Fold in the remaining wet mixture (yolk mixture) until smooth.
Step 3: Bake the Cakes
Pour the batter evenly into the prepared pans. Smooth the tops. Bake for 20-25 minutes. The cakes are done when they spring back when lightly touched and a toothpick inserted in the center comes out clean. Let them cool in the pans for 10 minutes, then turn them out onto a wire rack to cool completely. This is crucial. If you assemble a warm cake, the custard will melt and slide out.
Step 4: Make the Vanilla Custard
In a saucepan, heat the milk with the vanilla bean (scraped seeds and pod) over medium heat until it just begins to simmer. Remove from heat and let it steep for 15 minutes. Remove the pod. This infuses the milk with vanilla flavor.
In a separate bowl, whisk the egg yolks and remaining ¾ cup sugar until pale and thick. Whisk in the cornstarch until smooth. Slowly temper the egg mixture by whisking in a ladle of the hot milk. Repeat with another ladle. This prevents the eggs from scrambling. Pour the egg mixture back into the saucepan with the rest of the milk.
Cook over medium heat, whisking constantly. The mixture will thicken. Once it bubbles and thickens to a pudding consistency (about 2-3 minutes), remove from heat. Discard the vanilla pod if you left it in. Stir in the 2 tablespoons of butter until melted. Cover the surface directly with plastic wrap (to prevent a skin from forming) and chill in the fridge for at least 2 hours, or overnight. It should be thick and cold.
Step 5: Assemble the Cake
Once the cakes are completely cool, level them if needed with a serrated knife. Place one cake layer on your serving plate. Spread the chilled custard evenly over the top, leaving a small border. Place the second cake layer on top, flat side up. If you have any extra custard, you can spread a thin layer on top before glazing, but it’s not necessary.
Step 6: Make and Apply the Chocolate Glaze
Place the chocolate chips in a heatproof bowl. Heat the heavy cream in a saucepan until it just simmers. Pour the hot cream over the chocolate. Let it sit for 2 minutes, then stir until smooth and glossy. Stir in the butter if using. Let it cool for 5-10 minutes until it thickens slightly but is still pourable.
Pour the glaze over the top of the cake, letting it drip down the sides. Use an offset spatula to smooth the top if needed. Let the glaze set for at least 30 minutes before slicing.
Expert Tips & Tricks for Success
Here’s everything I’ve learned from making this dozens of times. These tips will save you from my mistakes.
Room Temperature Eggs are Non-Negotiable
Cold egg whites will never reach the same volume as room temperature ones. Take your eggs out of the fridge an hour before you start. If you forget, run them under warm water for 5 minutes.
Don’t Skip the Sifting
Sifting the flour removes lumps and aerates it. This helps the cake stay light. If you don’t sift, you might end up with dense patches. It’s an extra minute, but it’s worth it.
Temper the Eggs Properly
When making custard, if you pour the hot milk directly into the eggs, you’ll get scrambled egg custard. Always add the hot liquid slowly while whisking constantly. It’s the difference between silky and curdled.
Cool the Cakes Completely
I know it’s tempting to assemble while the cake is still warm. Don’t do it. The residual heat will melt the custard, and the cake might crumble. Patience pays off.
Glaze Consistency
If the chocolate glaze is too thick, add a teaspoon of warm cream. If it’s too thin, let it cool longer. You want it to coat the spoon but still flow. If it’s too thick, it won’t drip nicely. If it’s too thin, it’ll run off the edges completely.
Common Mistake: Grainy Custard
This usually happens if you don’t whisk enough or if the heat is too high. Keep the heat medium and whisk constantly. If it starts to look lumpy, take it off the heat immediately and whisk vigorously.
Pro Trick: The Chill
Let the assembled cake chill in the fridge for an hour before glazing. This helps the custard set firmly so it doesn’t squish out when you add the glaze.
Variations & Substitutions
Once you’ve nailed the basic version, here’s how you can mix it up. I’ve tried all of these.
Coffee Boston Cream Pie
Add 1 tablespoon of instant espresso powder to the custard. The coffee flavor complements the vanilla and chocolate beautifully. It adds a subtle depth without being overtly “coffee-flavored.”
Almond Boston Cream Pie
Replace ¼ cup of the flour with almond flour. Add 1 teaspoon of almond extract to the cake batter. This gives it a fancy, French-inspired twist.
Dark Chocolate Glaze
Use dark chocolate chips (70% cacao) instead of semi-sweet. This makes the glaze richer and less sweet. Great if you prefer a less sugary dessert.
Gluten-Free Version
Use a 1:1 gluten-free flour blend. The texture will be slightly denser, but still delicious. Make sure your baking powder is gluten-free.
Dairy-Free Version
Use coconut milk instead of regular milk for the custard. Use dairy-free chocolate chips and coconut cream for the glaze. The flavor will be coconut-forward, which is actually really nice.
Mini Individual Pies
You can bake the batter in mini muffin tins (about 12-15 minutes) and fill each with a spoonful of custard. Top with a dollop of whipped cream and a chocolate drizzle. Perfect for parties.
Serving & Storage
How to Serve:
Slice with a sharp knife dipped in hot water for clean cuts. This is a pro tip! Dip the knife in hot water, wipe dry, and cut. You’ll get perfect slices without squishing the custard.
Side Dishes:
This dessert is rich, so keep sides light. A simple green salad or some fresh berries work well if you’re serving a full dinner. Or, just serve it as is with a cup of coffee or tea.
Wine Pairing:
A glass of Port or a sweet Moscato pairs beautifully with the chocolate and vanilla.
Storage:
Store leftovers in the refrigerator, covered, for up to 3 days. The custard needs to stay cold. Let it come to room temperature for 20 minutes before serving for the best texture.
Freezing:
You can freeze the plain cake layers (without custard or glaze) for up to 2 months. Wrap tightly in plastic and foil. Thaw overnight in the fridge. Make the custard and glaze fresh when you’re ready to assemble. Do not freeze the assembled cake; the custard will separate and become grainy.
Nutrition Information
I’m not a nutritionist, but here’s the breakdown if you’re tracking. This is a rich dessert, so portion control is key.
Per Slice (based on 12 slices):
- Calories: 380
- Protein: 6g
- Carbs: 45g
- Fat: 20g
- Sugar: 32g
It’s definitely a treat. The custard adds fat and sugar, and the chocolate glaze adds more sugar. But it’s also made with real ingredients, no artificial preservatives. When I make it, I usually cut it into smaller slices to share, and it feels like a special indulgence.
Final Thoughts
So that’s my take on the Classic Boston Cream Pie. It’s a recipe that took me a while to master, but now it’s one of my favorites. It’s elegant, it’s delicious, and it’s surprisingly doable for home cooks.
I remember that night at the Italian restaurant, feeling a bit defeated by my store-bought attempt. But now, when I make this cake, I feel proud. I feel like I’ve created something special. And when my family tastes it, their faces light up in that same way my husband’s did years ago.
Make it yours. Try the coffee variation. Use dark chocolate. Decorate it with fresh berries. The best recipes are the ones you adapt to your tastes. If you make this, I’d love to hear how it turns out. Drop a comment and let me know!
Happy baking! And I hope your kitchen smells as good as mine does right now.
Frequently Asked Questions
Can I make this cake ahead of time?
Yes! In fact, it’s better made ahead. You can bake the cakes and make the custard up to 2 days in advance. Store the cakes wrapped tightly at room temperature and the custard in the fridge. Assemble and glaze the day you plan to serve it. This takes the stress out of dinner parties.
Why is my custard lumpy?
This usually happens if the heat was too high or if you didn’t whisk enough. When cooking custard, keep the heat at medium and whisk constantly. If it starts to lump, take it off the heat immediately and whisk vigorously to smooth it out. Also, make sure you temper the eggs properly by adding the hot milk slowly.
Can I use vanilla extract instead of vanilla bean?
Yes, you can. Use 2 teaspoons of high-quality vanilla extract. Add it when you remove the milk from heat. The flavor won’t be quite as aromatic as the bean, but it will still be delicious. The little black specks from the bean are mostly for show, but they do add a nice touch.
How do I get clean slices?
Dip a sharp knife in hot water, wipe it dry, and cut. The heat helps the knife glide through the custard and chocolate without squishing the cake. Wipe the knife clean between cuts for the neatest slices.
Can I freeze the assembled cake?
No, I don’t recommend it. The custard contains dairy and eggs, which can separate and become grainy when frozen and thawed. The texture will suffer. It’s best to freeze the plain cake layers and assemble fresh.
What if I don’t have a stand mixer?
You can use a hand mixer or even whisk by hand, but it will take longer. Whisking egg whites by hand requires a lot of arm strength and patience. If you don’t have a mixer, consider using the “sponge cake” method where you whip the whole eggs with sugar over a double boiler, then whip them off heat. It’s a bit more technical but works well.
Can I use buttercream instead of custard?
You could, but it’s not traditional. Boston Cream Pie is specifically defined by the pastry cream (custard) filling. Buttercream is heavier and sweeter. If you want a lighter texture, stick with the custard. If you’re short on time, you can use a high-quality store-bought pudding mix, but homemade is always better.
Pin This Recipe!
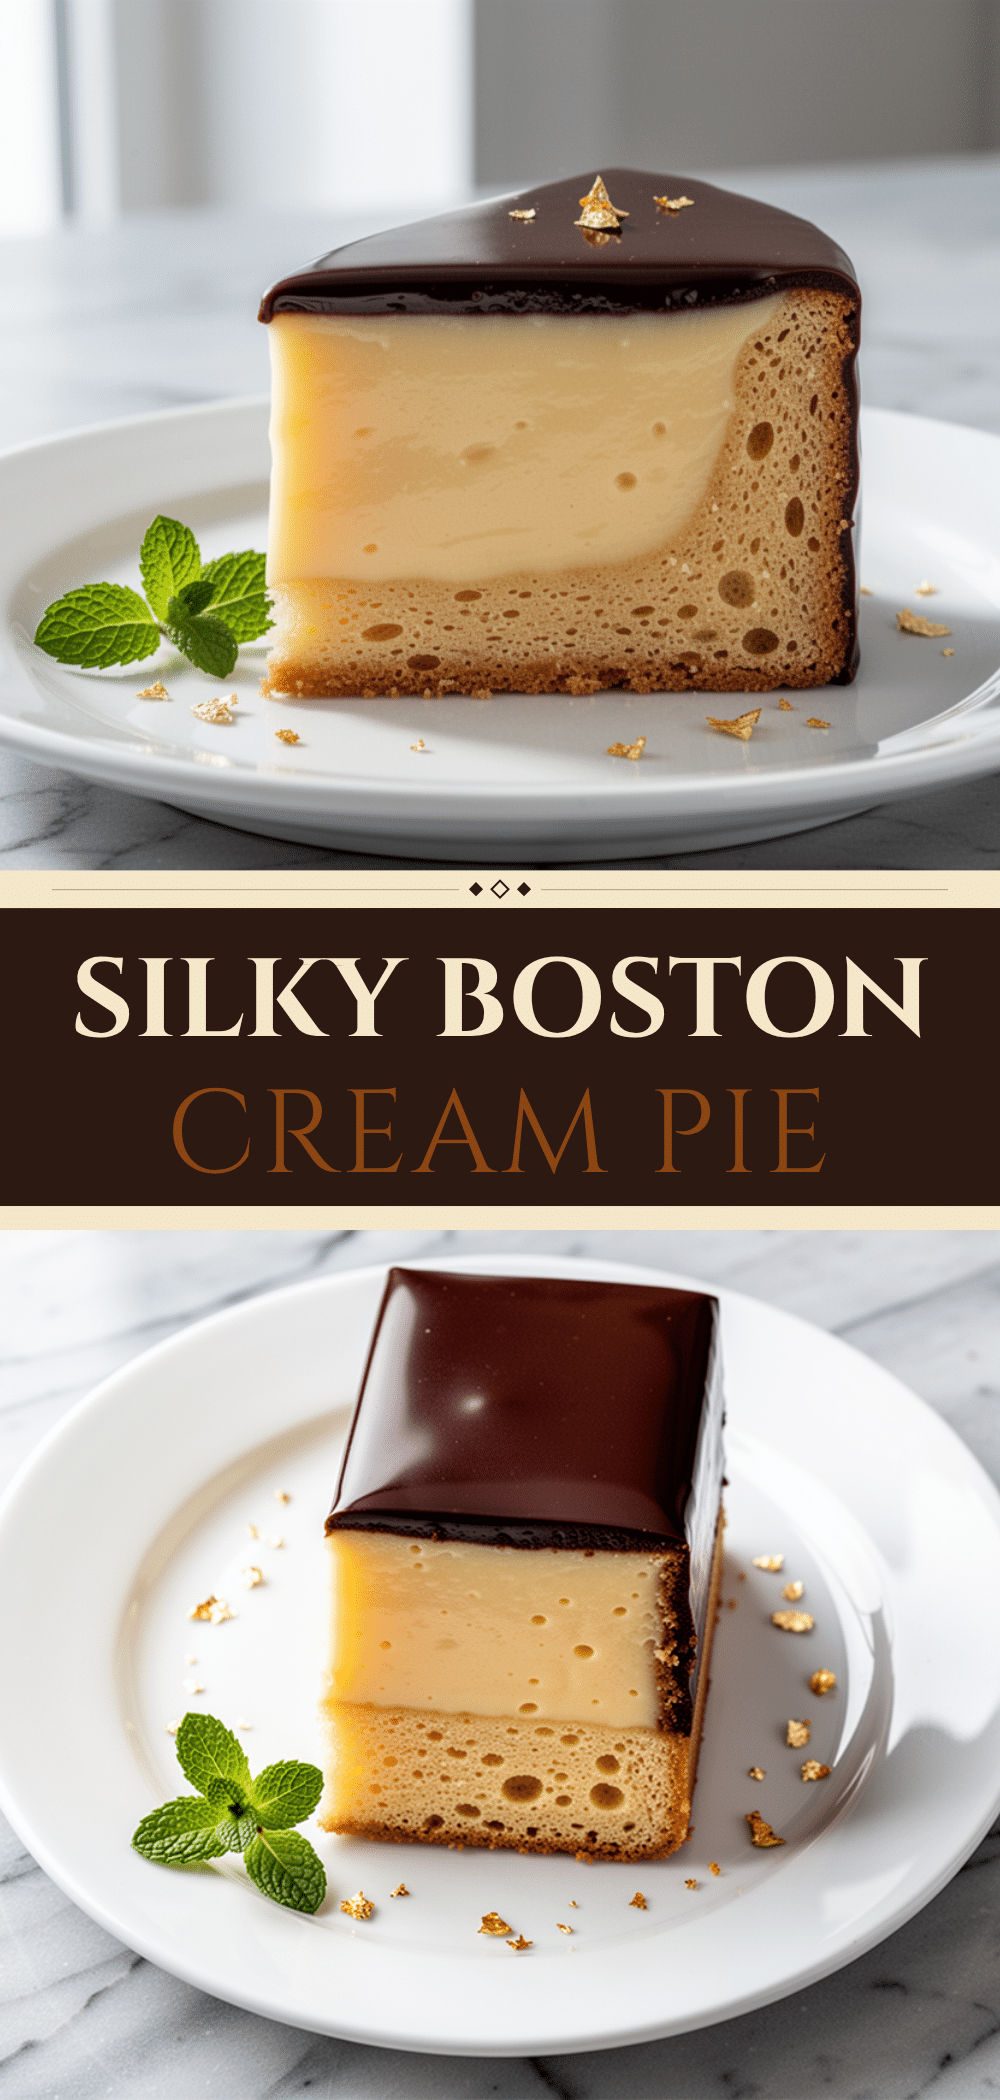
Classic Boston Cream Pie: 5-Step Perfect Recipe
- Total Time: 3 hours 10 minutes
- Yield: 12 servings 1x
Description
A homemade two-layer sponge cake filled with silky vanilla bean custard and topped with a rich chocolate ganache. This elegant dessert is surprisingly approachable, forgiving for home cooks, and tastes better than restaurant versions.
Ingredients
- 2 cups (250g) all-purpose flour
- 1 ½ cups (300g) granulated sugar
- 4 large eggs, room temperature, separated
- 1 teaspoon vanilla extract
- ½ teaspoon salt
- 4 tablespoons (55g) butter, melted and cooled
- ½ cup (120ml) whole milk
- 3 cups (720ml) whole milk
- 1 vanilla bean pod (or 2 teaspoons vanilla paste)
- 6 large egg yolks
- ¾ cup (150g) granulated sugar
- ¼ cup (30g) cornstarch
- 2 tablespoons (28g) unsalted butter
- 1 cup (170g) semi-sweet chocolate chips
- ½ cup (120ml) heavy cream
- 1 tablespoon (14g) butter (optional, for glaze)
Instructions
- Preheat oven to 350°F (175°C). Grease two 9-inch round cake pans, dust with flour, and line bottoms with parchment paper.
- Sift together flour, 1 ½ cups sugar, and salt in a medium bowl.
- Whisk egg yolks, vanilla, ½ cup milk, and melted butter in a separate bowl.
- Whip egg whites with a pinch of salt until soft peaks form. Gradually add ½ cup sugar and whip until stiff, glossy peaks form.
- Gently fold ⅓ of the flour mixture into the egg whites, then fold ⅓ of the egg whites into the flour mixture. Combine remaining mixtures gently until just combined. Fold in the yolk mixture until smooth.
- Pour batter evenly into prepared pans. Bake for 20-25 minutes until a toothpick comes out clean. Cool in pans for 10 minutes, then turn out onto a wire rack to cool completely.
- Heat 3 cups milk with vanilla bean (seeds and pod) in a saucepan until simmering. Remove from heat and steep for 15 minutes. Remove pod.
- Whisk egg yolks and ¾ cup sugar until pale. Whisk in cornstarch. Temper by slowly whisking in hot milk. Return to saucepan.
- Cook over medium heat, whisking constantly, until thickened and bubbling (2-3 minutes). Remove from heat, stir in 2 tablespoons butter. Cover surface with plastic wrap and chill for at least 2 hours.
- Level cooled cake layers. Place one layer on a plate and spread chilled custard evenly over the top. Top with second layer.
- Heat heavy cream until simmering. Pour over chocolate chips, let sit for 2 minutes, then stir until smooth. Stir in optional butter. Let cool slightly until pourable.
- Pour glaze over the cake, allowing it to drip down the sides. Let set for at least 30 minutes before slicing.
Notes
Ensure eggs are at room temperature for proper whipping. Sift flour for a lighter texture. Temper eggs slowly when making custard to prevent curdling. Cool cakes completely before assembling to prevent custard from melting. Store leftovers in the refrigerator for up to 3 days. Do not freeze the assembled cake.
- Prep Time: 45 minutes
- Cook Time: 25 minutes
- Category: Dessert
- Cuisine: American
Nutrition
- Serving Size: 1 slice
- Calories: 380
- Sugar: 32
- Sodium: 150
- Fat: 20
- Saturated Fat: 10
- Carbohydrates: 45
- Fiber: 1
- Protein: 6
Keywords: Boston Cream Pie, sponge cake, vanilla custard, chocolate ganache, homemade dessert, elegant cake, pastry cream