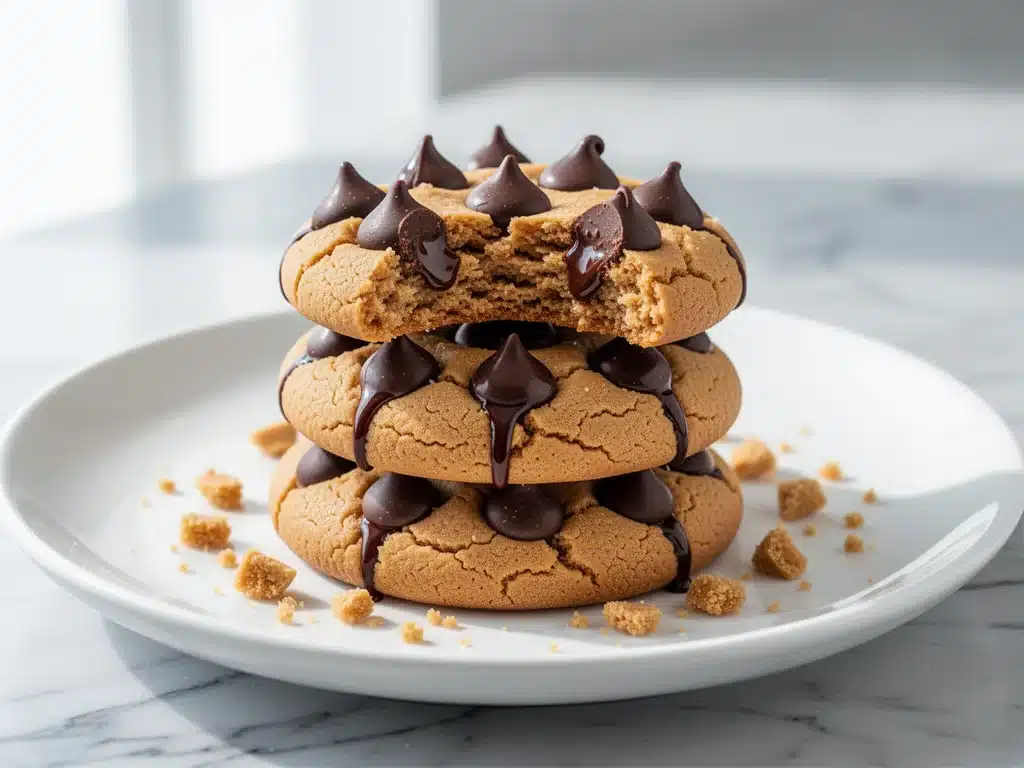
Let me confess something that might shock you: I used to think sugar-free cookies were a lie. You know the kind. Dry, crumbly disasters that taste like sawdust and regret, with that weird chemical aftertaste that makes your tongue tingle. I ate them once out of guilt, stared at the empty wrapper, and vowed never to buy another box of “diet” treats again.
But then my husband came home with a bag of almond flour and a jar of natural peanut butter, looking at me with that hopeful, “can we try making something healthy for once?” expression. I was skeptical. I really was. We had just finished a heavy dinner of one-pan honey mustard chicken thighs (seriously, you need to try that if you haven’t—it’s a weeknight lifesaver), and my carb cravings were hitting hard. I didn’t want another chicken dinner. I wanted something sweet, but I also didn’t want to feel sluggish the next morning.
So I threw almond flour, peanut butter, an egg, and a sugar substitute into a bowl. I didn’t measure much. I just mixed it until it looked like dough. Then I pressed chocolate chips on top and baked them. The result? I literally stopped mid-bite. They were chewy. They were rich. They tasted exactly like the classic peanut butter blossom cookies I grew up with, minus the sugar crash. That was three years ago. Since then, I’ve made these sugar-free almond flour peanut butter blossom cookies at least fifty times. They are my go-to for when I need a treat that doesn’t derail my progress, and honestly, they’re better than any store-bought cookie you can buy.
Why You’ll Love This Sugar-Free Almond Flour Peanut Butter Blossom Cookies Recipe
There’s a reason this recipe has moved from my “experiment” folder to my “permanent rotation” list. It solves the biggest problem with low-carb baking: texture. Usually, almond flour bakes up dry or sandy. Not these. These are soft, chewy, and melt-in-your-mouth delicious. Here’s why they’ve become my new obsession:
- Zero Guilt, All Flavor — Seriously, if you close your eyes, you can’t tell the difference. The peanut butter flavor is intense and authentic, not watered down or artificial. My kids think they’re getting a “treat” because they’re chocolate-covered, and I love that.
- Gluten-Free and Grain-Free — No wheat, no rice flour, no gums. Just simple, whole-food ingredients. If you have allergies or are watching your gluten intake, these are safe, delicious, and satisfying.
- Ready in 15 Minutes — From mixing to oven, it takes less time than it takes to drive to a bakery. I make these on Tuesday nights after dinner. By the time I’ve cleared the dishes, the cookies are cooling on the rack.
- High Protein Snack — Because of the almond flour and peanut butter, these are packed with protein. They keep you fuller longer than a regular cookie would. I actually eat one of these with my morning coffee instead of a bagel. It pairs perfectly with the high protein peanut butter banana shake I sometimes have for a bigger breakfast.
- Only 5 Ingredients — You don’t need a chemistry degree or a specialty store. Just almond flour, peanut butter, an egg, a sweetener, and chocolate chips. That’s it. No xanthan gum, no baking soda wars, no confusing substitutions.
These cookies are the perfect bridge between “I want dessert” and “I want to stay healthy.” They’re rich enough to feel indulgent but light enough to not leave you feeling bloated. Trust me, your cravings will thank you.
Ingredients You’ll Need for Sugar-Free Almond Flour Peanut Butter Blossom Cookies
Here’s the best part: you probably have most of this already in your pantry. I’m not asking you to order specialty items from three different online retailers. Just five simple ingredients. Here’s what you need and why each one matters.
For the Cookie Base
Almond Flour (2 cups / 200g) — This is the star. Make sure you use super-fine almond flour, not almond meal with skins in it. Almond meal is too gritty and will make your cookies crumbly. I buy mine in bulk and keep it in the freezer so it stays fresh. Look for brands that say “blanched super-fine.” It makes a huge difference in texture.
Natural Peanut Butter (½ cup / 128g) — This is crucial. Use creamy, all-natural peanut butter. No sugar added, no hydrogenated oils. The kind where you have to stir the oil back in before using it. Skippy or Jif won’t work here because of the added sugars and stabilizers. I love brands like Smucker’s Natural or Peter Pan Natural. If the oil has separated, just stir it well until it’s creamy again. It needs to be soft enough to mix easily.
Egg (1 large) — This binds everything together. Almond flour doesn’t have gluten, so the egg is what gives the cookies structure. Room temperature eggs mix better, but it’s not a dealbreaker if you forget. Just don’t use cold eggs straight from the fridge if you can help it.
Granulated Erythritol or Monk Fruit Sweetener (½ cup / 100g) — I use a granulated sweetener that measures 1:1 like sugar. Monk fruit blends (like Lakanto or Swerve) work beautifully because they don’t have the cooling aftertaste that pure erythritol sometimes has. If you use pure erythritol, you might notice a slight coolness, but it’s still delicious. Avoid liquid sweeteners; they’ll throw off the dry-to-wet ratio.
Vanilla Extract (1 teaspoon) — Just a splash to round out the flavors. Don’t skip it. It makes the peanut butter taste deeper and more “cookie-like.”
For the Chocolate Topping
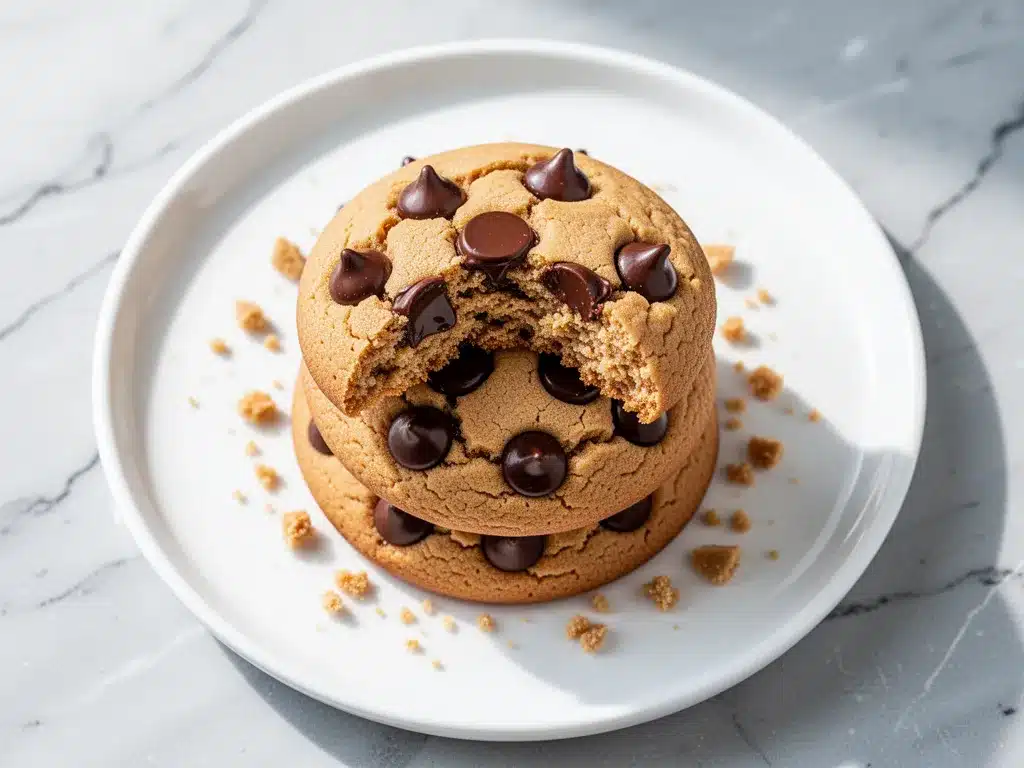
Sugar-Free Chocolate Chips (½ cup / 80g) — This is where you can get fancy or keep it simple. I use Lily’s Chocolate Chips because they’re widely available and taste great. Ghirardelli Sugar-Free Semi-Sweet is another good option. If you can’t find sugar-free chips, you can chop up a sugar-free chocolate bar, but chips hold their shape better in the oven. Avoid chocolate with artificial sweeteners that melt weirdly; you want chips that melt smoothly.
Pinch of Salt — Just a tiny pinch to enhance the peanut butter flavor. If your peanut butter is salted, you can skip this.
Equipment Needed
You don’t need fancy gadgets for these. Here’s what I actually use, and what you can skip.
Mixing Bowls — One medium bowl is enough. I use a glass bowl because I can see the texture of the dough clearly. Plastic works fine too.
Measuring Cups and Spoons — For almond flour, I prefer weighing it if I have a scale (200g is perfect), but if you’re using cups, spoon it in and level it off. Don’t scoop directly from the bag, or you’ll pack it down and end up with dry cookies.
Baking Sheet — A standard half-sheet pan. I line mine with parchment paper. Silicone mats work too, but parchment is easier to clean and gives a nice even bake.
Cookie Scoop — I love using a small ice cream scoop or a 1.5 tablespoon cookie scoop. It keeps the cookies uniform in size so they bake evenly. If you don’t have one, just use two spoons to drop mounds onto the sheet.
Wire Cooling Rack — Essential. These cookies are delicate when hot. If you try to move them off the pan while warm, they’ll break. Let them cool on the rack for at least 10 minutes.
Optional: Offset Spatula — If you want to smooth the tops of the cookies before adding chocolate, an offset spatula helps. But I usually just press them down with the back of a spoon.
How to Make It: Step-by-Step
Alright, let’s make these! I’m walking you through exactly how I do it. It’s simple, but there are a few tricks to get that perfect chewy texture.
Step 1: Prep Your Oven and Pan (2 minutes)
Preheat your oven to 350°F (175°C). Line a baking sheet with parchment paper. I usually bake two sheets at a time, so prep both. Make sure your natural peanut butter is well-stirred and at room temperature. If it’s too cold or stiff, microwave it for 10 seconds to soften it up.
Step 2: Mix the Wet Ingredients (2 minutes)
In a medium bowl, combine the softened peanut butter, egg, vanilla extract, and sweetener. Whisk them together vigorously. It might look a bit separated at first, but keep whisking until it’s smooth and glossy. This step is important because you want the egg and peanut butter to emulsify properly. If you skip this, your cookies might be crumbly.
Step 3: Add the Almond Flour (1 minute)
Stir in the almond flour and the pinch of salt. Mix until a dough forms. It will look thick and slightly sticky. Don’t overmix! Just combine until no dry flour remains. The dough should hold together when you pinch it. If it’s too dry, add a teaspoon of milk or extra peanut butter. If it’s too wet, add a tablespoon more almond flour.
Step 4: Scoop and Shape (5 minutes)
Scoop tablespoon-sized portions of dough onto the prepared baking sheet. Roll them into balls between your palms. This helps them bake evenly. Place them about 2 inches apart because they will spread slightly. Use the back of a spoon to gently flatten each ball into a disc shape. They don’t need to be perfectly flat, just about ½ inch thick.
Step 5: Bake (8-10 minutes)
Place the baking sheet in the preheated oven. Bake for 8-10 minutes. The edges should be lightly golden, and the centers should still look slightly soft. Do not overbake! Almond flour cookies continue to cook on the hot pan after you take them out. If you bake them until they’re firm, they’ll be dry when cool.
Step 6: Add the Chocolate (2 minutes)
Remove the cookies from the oven. Immediately press 3-4 sugar-free chocolate chips onto the top of each warm cookie. The heat from the cookie will melt the chips slightly, adhering them to the surface. If you wait too long, they won’t stick. Do this quickly while they’re still hot.
Step 7: Cool Completely (15 minutes)
Let the cookies cool on the baking sheet for 5 minutes, then transfer them to a wire rack to cool completely. This is the hardest part—waiting. But if you touch them too soon, they’ll break. Once cool, they firm up and become perfectly chewy.
Expert Tips & Tricks for Perfect Cookies
Here’s everything I’ve learned from making these dozens of times. These tips will save you from my mistakes.
Measure Almond Flour Correctly
This is the #1 mistake people make. If you scoop almond flour directly from the bag, you’ll pack it down and use too much. Too much almond flour = dry, crumbly cookies. Always spoon it into the measuring cup and level it off. Or better yet, weigh it. 200g is the sweet spot.
Don’t Skip the Egg
I know some people try to make vegan versions, but almond flour needs that protein structure. If you’re vegan, try using a flax egg (1 tbsp ground flax + 3 tbsp water), but the texture will be denser. The regular egg gives the best chew.
Chill the Dough (Optional but Helpful)
If your kitchen is hot, or if you have time, chill the dough balls in the fridge for 15 minutes before baking. This prevents them from spreading too much and helps them stay thick and fudgy. I usually don’t bother on weeknights, but on weekends, I chill them.
Use High-Quality Chocolate Chips
Not all sugar-free chips are created equal. Some melt into a puddle, others stay hard. Lily’s chips are my favorite because they melt smoothly and have a nice snap. If you use cheap chips, your cookies might look messy. Invest in good chocolate.
Store Properly
These cookies are moist, so they need to be stored in an airtight container. If you leave them out, they’ll dry out. I keep them in the fridge if I’m meal-prepping for the week, but they’re best eaten at room temperature. Take them out 10 minutes before eating for the best texture.
Variations & Substitutions
Once you’ve nailed the basic version, here’s how you can mix it up. I’ve tried all of these, and they all work.
Chocolate Chip Only
Skip the peanut butter on top and just fold chocolate chips into the dough. Mix ½ cup of chips into the dough before scooping. This is great for kids who don’t love peanut butter on top.
Peanut Butter Cup Style
After baking and flattening, press a small piece of sugar-free peanut butter cup (like a mini Reese’s, if you find one) into the center. It melts into a gooey center. So good.
Coconut Almond
Add ¼ cup of shredded coconut to the dough. It adds a nice chew and tropical flavor. Pair it with dark chocolate chips.
Spiced Peanut Butter
Add ½ teaspoon of cinnamon and a pinch of nutmeg to the dough. It makes them taste like a peanut butter cookie from a bakery. Great for fall.
Protein Boost
Stir in 1 scoop of vanilla protein powder. The cookies will be denser and higher in protein. You might need an extra tablespoon of almond flour if the dough gets too dry.
Serving & Storage
How to enjoy these beauties and keep them fresh.
How to Serve
I usually serve these straight from the cooling rack with a cold glass of almond milk. They’re perfect with coffee or tea. I also pack them in lunchboxes for my husband. They hold up well and don’t make a mess. If I’m having guests, I put them on a platter with some fresh berries. The tartness of the berries balances the richness of the cookies.
Refrigerator
Store in an airtight container in the fridge for up to 1 week. They actually get fudgier in the fridge. I love them cold, straight from the container. If you prefer them soft, let them sit at room temperature for 10 minutes before eating.
Freezer
Yes, you can freeze these! Place them in a single layer on a baking sheet to freeze, then transfer to a freezer bag. They’ll last for 3 months. Thaw at room temperature. They taste just as good frozen as fresh. I keep a batch frozen at all times for quick snacks.
Pro Tip
If your cookies seem dry after storage, add a slice of bread to the container for a few hours. The moisture from the bread will soften the cookies. It’s a weird trick, but it works wonders.
Nutrition Information
I’m not a nutritionist, but here’s the breakdown if you’re tracking. These are estimates based on standard ingredients.
Per Cookie (makes about 18 cookies):
- Calories: 90
- Protein: 4g
- Carbs: 3g (1g fiber, 1g sugar)
- Net Carbs: 2g
- Fat: 7g
- Saturated Fat: 1g
- Cholesterol: 15mg
- Sodium: 35mg
What’s Good:
- Very low net carb count, perfect for keto or low-carb diets.
- Good source of healthy fats from almond flour and peanut butter.
- Decent protein content for a snack.
What to Know:
- Nutritional values will vary depending on the specific brands of almond flour and sweetener you use.
- Always check the labels on your chocolate chips for accurate carb counts.
My Take:
Look, these are treats. They’re not a salad. But they’re far better than a regular cookie in terms of blood sugar impact. I enjoy two cookies with my coffee and feel satisfied without the crash. That’s the win.
Final Thoughts
So that’s my go-to sugar-free almond flour peanut butter blossom cookies! I’ve probably talked your ear off at this point, but when you make a recipe this often, you have a lot to say about it. These cookies have saved my sweet tooth during my health journey. They’re my answer to “I need dessert” when I’m tired, don’t want to bake a whole cake, and still want something that tastes really good.
Make them yours! Try different chocolate chips, add nuts, or adjust the sweetener to your taste. The best recipes are the ones you adapt to your family’s tastes. If you make these, drop a comment and let me know what you think! I love hearing how recipes turn out in your kitchen. And if something doesn’t work, tell me that too—I’m here to help troubleshoot.
Happy baking! And I hope your kitchen smells half as good as mine does right now.
Frequently Asked Questions
Can I use almond meal instead of almond flour?
You can, but the texture will be different. Almond meal has skins in it, so the cookies will be darker and grittier. They’ll still taste good, but they won’t have that smooth, cake-like crumb that almond flour gives. If you’re okay with a denser texture, go for it. Otherwise, stick to super-fine blanched almond flour.
Why did my cookies spread too much?
This usually happens if the dough was too warm when you baked them, or if you didn’t measure the almond flour correctly (too little flour means less structure). Next time, try chilling the dough balls for 15 minutes before baking. Also, make sure you’re using the right amount of almond flour. If the dough feels loose, add a bit more flour.
Can I use a different sweetener?
Yes! You can use granulated erythritol, monk fruit, or allulose. Avoid liquid sweeteners like stevia drops because they’ll throw off the dry-to-wet ratio. If you use a powdered sweetener, you might need to add a tiny bit more almond flour to absorb the extra moisture. Start with ½ cup and adjust if needed.
Are these cookies keto-friendly?
Yes! With only 2g net carbs per cookie, these are perfect for a keto diet. Just make sure your chocolate chips are also keto-friendly (sugar-free). Most sugar-free chocolate chips use erythritol or stevia, which are keto-approved. Always check the label to be sure.
Can I make these gluten-free?
Absolutely. Almond flour is naturally gluten-free. Just make sure your sweetener and chocolate chips are certified gluten-free if you have celiac disease or a severe sensitivity. Some sugar-free products are processed in facilities that handle wheat, so check the labels.
How do I reheat leftovers?
If you like warm cookies, microwave one for 10-15 seconds. It will become soft and gooey. You can also bake them fresh and eat them warm. But honestly, I prefer them cool or at room temperature. They hold their shape better and have a nicer chew.
Can I double this recipe?
Yes, just double all the ingredients. You’ll need two baking sheets or to bake in batches. The cooking time stays the same. I usually double this recipe when I’m meal-prepping for the week. It saves time and I have cookies ready to go.
Pin This Recipe!
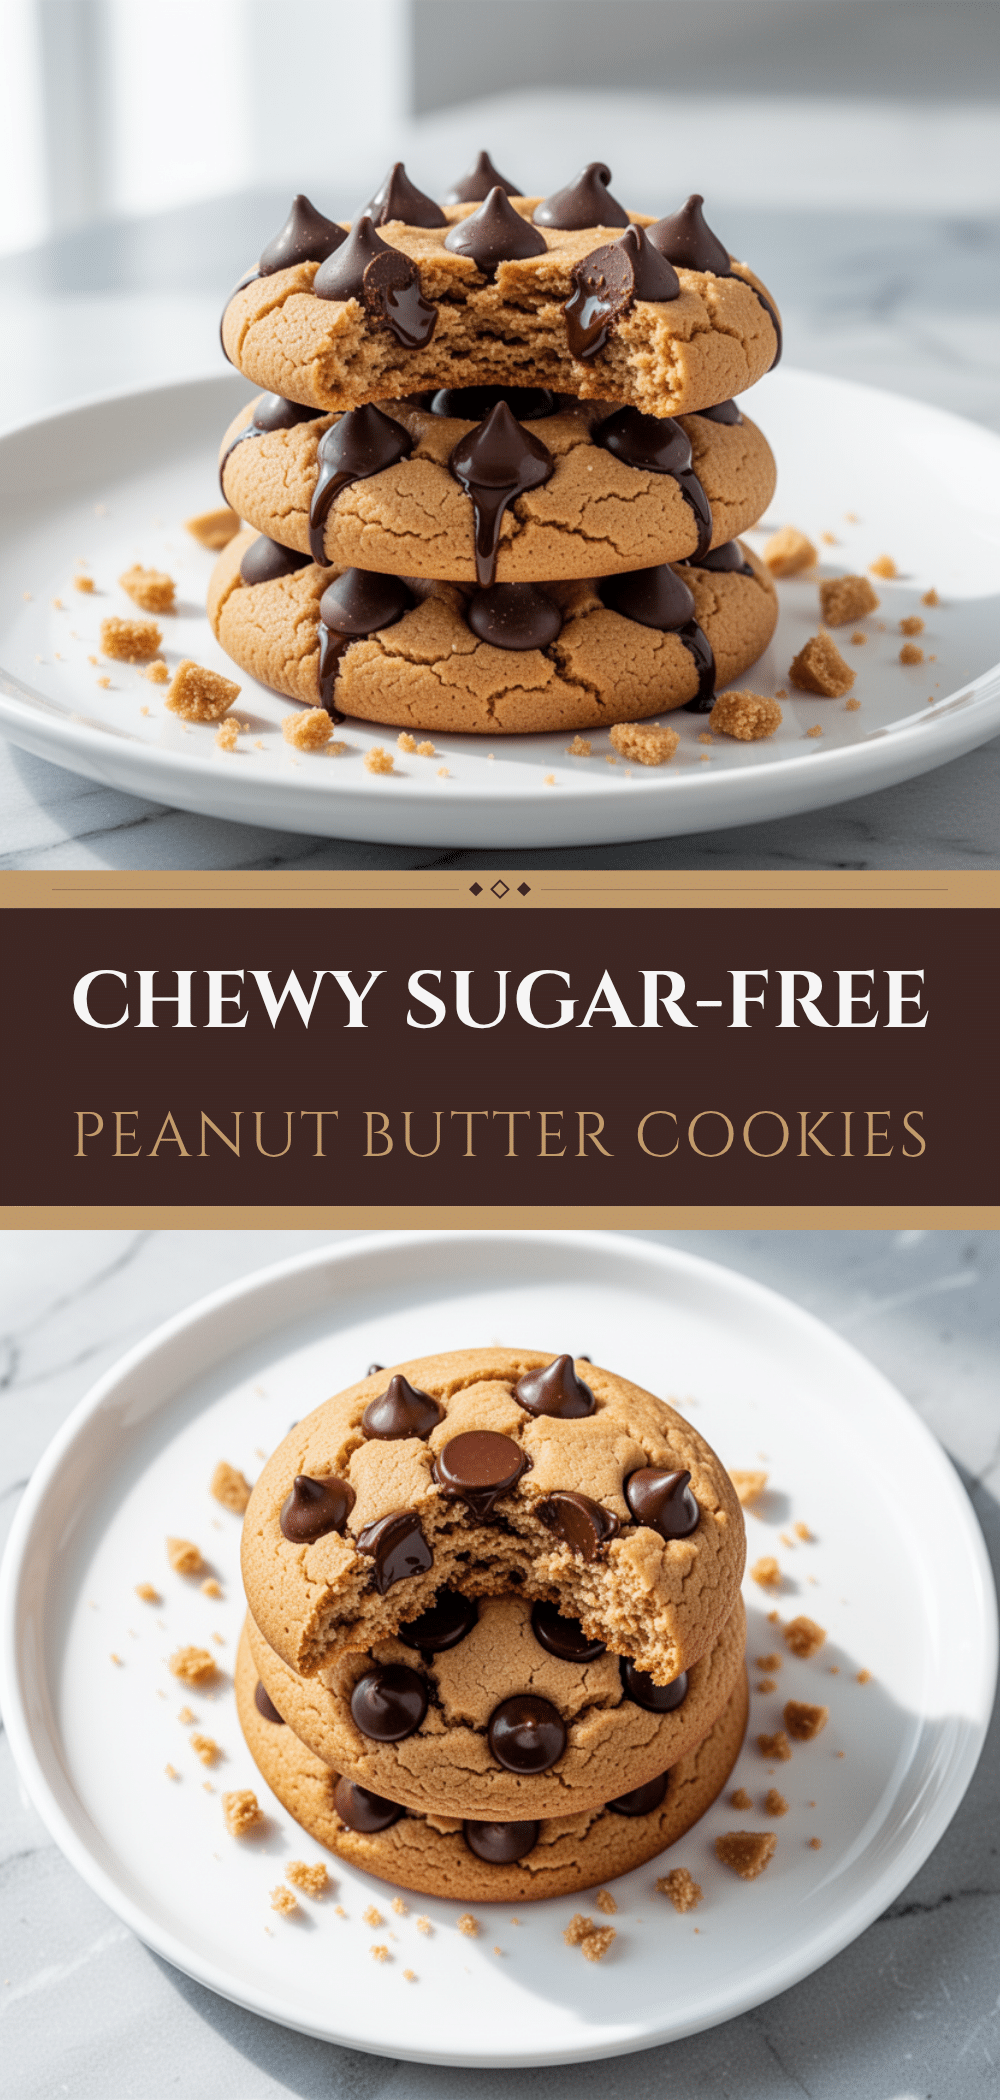
Sugar-Free Almond Flour Peanut Butter Blossom Cookies
- Total Time: 18-20 minutes
- Yield: 18 cookies 1x
Description
Soft, chewy, and rich sugar-free cookies made with almond flour and natural peanut butter. These gluten-free, low-carb treats are ready in 15 minutes and satisfy sweet cravings without the sugar crash.
Ingredients
- 2 cups (200g) super-fine blanched almond flour
- 1/2 cup (128g) creamy natural peanut butter (no sugar added)
- 1 large egg (room temperature)
- 1/2 cup (100g) granulated erythritol or monk fruit sweetener
- 1 teaspoon vanilla extract
- 1/2 cup (80g) sugar-free chocolate chips
- Pinch of salt
Instructions
- Preheat oven to 350°F (175°C) and line a baking sheet with parchment paper.
- In a medium bowl, whisk together the softened peanut butter, egg, vanilla extract, and sweetener until smooth and glossy.
- Stir in the almond flour and salt until a thick, slightly sticky dough forms.
- Scoop tablespoon-sized portions of dough, roll into balls, and place on the baking sheet 2 inches apart.
- Gently flatten each ball into a disc shape about 1/2 inch thick.
- Bake for 8-10 minutes until edges are lightly golden but centers still look soft.
- Remove from oven and immediately press 3-4 sugar-free chocolate chips onto the top of each warm cookie.
- Let cookies cool on the baking sheet for 5 minutes, then transfer to a wire rack to cool completely.
Notes
Ensure almond flour is super-fine, not almond meal, for the best texture. Do not overbake as almond flour cookies continue to cook on the hot pan. Store in an airtight container in the fridge for up to 1 week or freeze for up to 3 months.
- Prep Time: 10 minutes
- Cook Time: 8-10 minutes
- Category: Dessert
- Cuisine: American
Nutrition
- Serving Size: 1 cookie
- Calories: 90
- Sugar: 1
- Sodium: 35
- Fat: 7
- Saturated Fat: 1
- Carbohydrates: 3
- Fiber: 1
- Protein: 4
Keywords: sugar-free, almond flour, peanut butter cookies, keto, gluten-free, low-carb, healthy dessert, easy cookies


