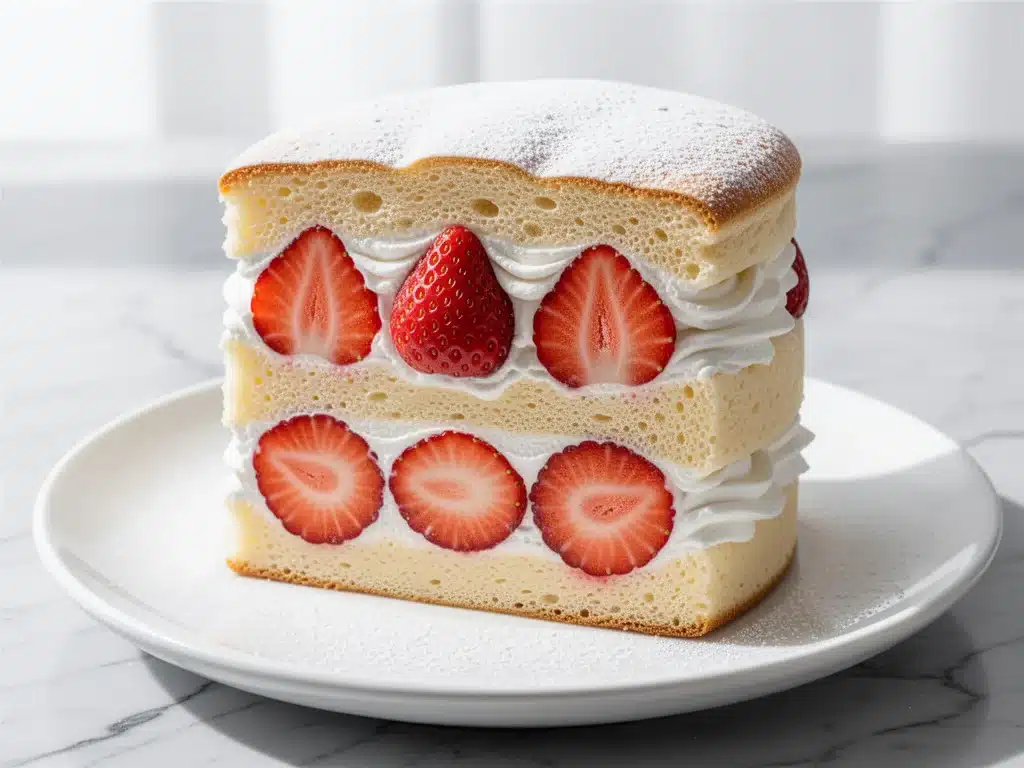
Last spring, I was obsessed with finding the perfect dessert for my sister’s engagement party. You know the kind—something elegant enough to serve to adults, but fun enough that kids wouldn’t ignore it. I spent weeks researching French macarons, Italian tarts, and American layer cakes. I even tried making a sponge cake that required whipping egg whites to stiff peaks and folding them in with the tenderness of a newborn baby. It collapsed. Twice. I was ready to just buy a box mix from the grocery store and call it a day.
Then, a friend mentioned something called “Japanese Strawberry Shortcake,” or *Strawberry Shortcake* as they call it in Japan. She said it wasn’t a cake at all—not really. It was more like a cloud. A sponge cake so light it practically dissolved on your tongue, layered with sweetened whipped cream and fresh strawberries. I was skeptical. How could a cake be that light without falling apart? But desperate times call for desperate measures, so I gave it a shot.
What happened next changed my baking life forever. The cake didn’t just hold together; it was impossibly soft, moist, and airy. It tasted like springtime. My sister’s guests didn’t just eat it; they stared at it in disbelief. One guy actually asked if I had hired a professional pastry chef. I didn’t. I just followed a specific method that involves a water bath (yes, really) and a lot of gentle handling.
This isn’t your average birthday cake. It’s delicate, it’s beautiful, and it’s surprisingly easy if you know the tricks. I’ve tested this ultra-fluffy Japanese strawberry shortcake recipe about ten times now, tweaking the batter ratio and the whipping technique until it was perfect. It’s become my go-to for special occasions because it looks impressive but doesn’t require a culinary degree. If you’re tired of dense, heavy cakes, you need to try this. Trust me.
Why You’ll Love This Japanese Strawberry Shortcake
There are about a dozen reasons I keep making this dessert, but here are the big ones that keep it in my regular rotation.
Incredibly Light Texture — Seriously, this cake is lighter than air. It’s not dry like a traditional sponge; it’s moist and tender. I’ve had people close their eyes when they take a bite because the texture is just that surprising. It melts in your mouth.
No Complex Techniques — You don’t need a stand mixer or fancy piping bags. I use a hand whisk and a few bowls. If you can whisk eggs and fold ingredients, you can make this. I made it while balancing a toddler on my hip last week, and it still came out perfect.
Simple Ingredients — You probably have everything in your pantry. Flour, sugar, eggs, milk, butter, vanilla. No weird extracts or hard-to-find items. The magic comes from the method, not obscure ingredients.
Visually Stunning — This cake looks like it came from a high-end patisserie. The layers are clean, the cream is pillowy, and the strawberries are bright and fresh. It’s the kind of dessert that gets photographed before it gets eaten. I’ve had friends ask for the recipe just because it looked so good on Instagram.
Perfect for Celebrations — Whether it’s a birthday, an anniversary, or just a Tuesday night treat, this cake feels special. It’s elegant but not pretentious. My family asks for it whenever we have a reason to celebrate. It’s become our tradition.
This is my secret weapon for impressing guests without spending hours in the kitchen. It’s reliable, delicious, and always a crowd-pleaser.
Ingredients You’ll Need
Here’s the best part: the ingredient list is short and simple. You don’t need a specialty store for this. I’m particular about a few things, though, so pay attention to the details.
For the Cake
Whole eggs (4 large, room temperature) — Room temperature eggs whip up much better than cold ones. If you forgot to take them out, put them in a bowl of warm water for 10 minutes. This is crucial for the volume.
Cake flour (1 cup / 120g) — Cake flour has less protein than all-purpose flour, which means a tender crumb. If you don’t have it, you can make a substitute: take 1 cup of all-purpose flour, remove 2 tablespoons, and replace with 2 tablespoons of cornstarch. Sift it well.
Granulated sugar (½ cup / 100g) — I use regular white sugar. It dissolves easily into the eggs. Brown sugar will make it too dense.
Unsalted butter (2 tablespoons / 30g) — Melted and cooled slightly. Don’t use hot butter, or it’ll cook the eggs. I like unsalted so I can control the saltiness.
Milk (3 tablespoons / 45ml) — Whole milk is best for richness. Any milk works, but whole milk gives that buttery flavor.
Vanilla extract (1 teaspoon) — Pure vanilla, please. Artificial stuff tastes harsh in a delicate cake like this.
Salt (¼ teaspoon) — Just a pinch to enhance the sweetness.
For the Filling and Topping
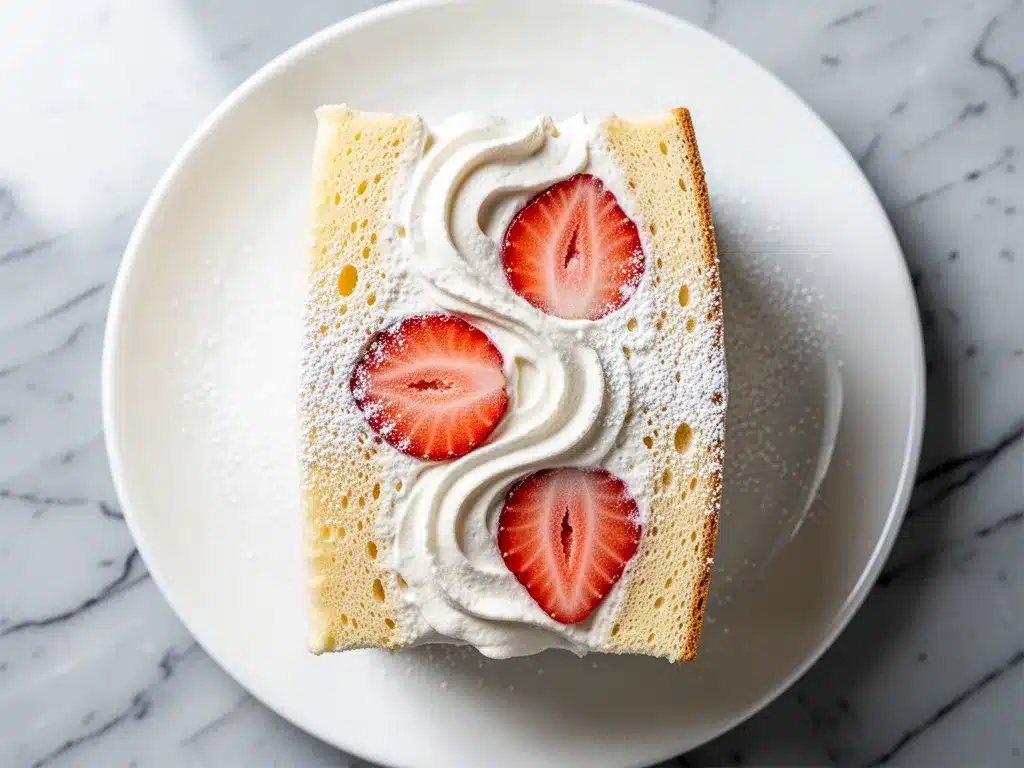
Heavy cream (1 ½ cups / 360ml, cold) — This is non-negotiable. It must be very cold. If the cream is warm, it won’t whip. Keep it in the fridge until the last minute.
Confectioners’ sugar (3 tablespoons / 25g) — Sifted. This dissolves faster than granulated sugar in whipped cream. I hate gritty cream.
Vanilla extract (1 teaspoon) — For the cream, too. Vanilla is the star here.
Fresh strawberries (1 pound / 450g) — Choose firm, ripe strawberries that are red all the way through. Avoid the ones that are white at the tips—they’re tart and won’t taste good. I buy the best I can find because they’re the main flavor.
Mascarpone cheese (2 tablespoons / 30g, optional) — I add this for stability. It helps the cream hold its shape, especially if you’re serving in warm weather. It also adds a lovely tangy richness.
Strawberry jam (2 tablespoons, optional) — I warm it up and brush it on the cake layers to keep them moist and add a subtle strawberry flavor. It’s a pro tip that makes a huge difference.
Equipment Needed
You don’t need fancy gadgets for this. Here’s what I actually use.
Large mixing bowl — For whipping the eggs. Glass or stainless steel works best because it’s easy to clean and doesn’t retain oil.
Hand whisk — I prefer a balloon whisk. It incorporates air better than a spoon. You’ll be whisking for a while, so get a comfortable one.
Spatula — A silicone spatula is essential for folding. It needs to be flexible to gently mix the batter without deflating it.
9-inch round cake pan — I use a metal pan. Glass pans heat differently and can make the bottom too dark. Line the bottom with parchment paper for easy removal.
Small saucepan — For melting the butter and heating the jam.
Electric mixer (optional) — I usually whip the eggs by hand, but if you have a hand mixer, it speeds things up. For the cream, a hand mixer is helpful if you’re not strong enough to whisk by hand.
Offset spatula — For spreading the cream evenly. It makes decorating much easier.
How to Make It: Step-by-Step
Alright, let’s make this! I’m walking you through exactly how I do it, including the little tricks I’ve picked up over the years. This method is gentle, so go slow.
Step 1: Prep Your Pan and Oven (5 minutes)
Preheat your oven to 325°F (160°C). This is a low temperature, which helps the cake rise slowly and stay fluffy. Line a 9-inch round cake pan with parchment paper on the bottom. Grease the sides lightly with butter or non-stick spray. Don’t skip the parchment; it’s your safety net.
Step 2: Whip the Eggs and Sugar (10-12 minutes)
This is the most important step. In your large bowl, add the eggs and sugar. Whisk vigorously by hand. You’re trying to incorporate air. Keep whisking for about 10-12 minutes. The mixture should become pale, thick, and triple in volume. When you lift the whisk, the batter should fall in a ribbon that stays on the surface for a few seconds before dissolving. This is called the “ribbon stage.” If you rush this, your cake won’t be fluffy. I’ve failed when I didn’t whisk long enough. Don’t make my mistake.
Step 3: Sift the Flour (2 minutes)
Sift the cake flour (and cornstarch mix if you’re using it) over the whipped eggs. Do it in two or three batches. Don’t dump it all at once. Gently sprinkle it over the surface.
Step 4: Fold the Batter (3-4 minutes)
Using your spatula, gently fold the flour into the eggs. Start from the bottom and fold over the top, rotating the bowl. Be gentle! You don’t want to deflate the air you worked so hard to incorporate. Stop folding when you just see streaks of flour. It doesn’t need to be perfect. Overmixing is the enemy here.
Step 5: Add the Butter and Milk (2 minutes)
Take a scoop of the batter and mix it into the melted butter and milk. This lightens the butter mixture so it mixes easier into the main batter. Then, pour the butter mixture back into the main bowl and fold it in gently. Again, stop when it’s just combined. The batter should be smooth and airy.
Step 6: Bake the Cake (25-30 minutes)
Pour the batter into the prepared pan. Smooth the top with your spatula. Here’s the secret: place the pan in a larger roasting pan, then fill the roasting pan with about an inch of hot water. This is a water bath (bain-marie). It creates steam and gentle heat, preventing the cake from drying out or cracking. Bake for 25-30 minutes. The cake is done when the top is golden brown and springs back when you touch it lightly. A toothpick inserted in the center should come out clean.
Step 7: Cool Completely (1 hour)
Remove the cake from the water bath and let it cool in the pan for 10 minutes. Then, turn it out onto a wire rack to cool completely. This step is critical. You cannot assemble a warm cake. The cream will melt, and the layers will slide apart. I usually bake the cake the day before, or at least 4 hours ahead.
Step 8: Whip the Cream (5 minutes)
In a cold bowl, whip the heavy cream, confectioners’ sugar, and vanilla (and mascarpone if using) until stiff peaks form. The cream should hold its shape when you lift the whisk. Don’t over-whip it, or it’ll turn into butter. Stop just before it gets grainy.
Step 9: Assemble the Cake (15 minutes)
Once the cake is cool, slice it horizontally into two or three even layers. If you have strawberry jam, warm it slightly and brush a thin layer on each cake layer. This keeps the cake moist. Spread a thick layer of whipped cream on the bottom layer. Arrange sliced strawberries on top, covering the cream. Add another layer of cream, then the next cake layer. Repeat until you’re done. Top with the final cake layer.
Step 10: Decorate and Chill (30 minutes)
Spread the remaining cream on top and around the sides. Decorate with whole or halved strawberries. Chill in the fridge for at least 30 minutes before serving. This sets the cream and makes slicing easier.
Expert Tips & Tricks
Here’s everything I’ve learned from making this dozens of times. These tips will save you from my mistakes.
Room Temperature Eggs are Non-Negotiable
If your eggs are cold, they won’t whip up to the same volume. Take them out of the fridge 30 minutes before you start. If you’re in a hurry, soak them in warm water for 10 minutes. This makes a huge difference in the cake’s height.
Don’t Skip the Water Bath
I know it sounds fancy, but the water bath is what makes this cake so moist and tender. It prevents the top from browning too quickly and keeps the texture soft. It’s easy to set up—just use a larger pan.
Fold, Don’t Stir
When mixing the flour, use a folding motion. Stirring in circles will deflate the batter. Think of it like folding a letter, not stirring coffee. Be gentle and patient.
Cool Completely
I cannot stress this enough. If you assemble the cake while it’s warm, it will collapse. Let it cool on a wire rack until it’s completely room temperature. I’ve ruined cakes by rushing this step.
Keep the Cream Cold
Chill your mixing bowl and whisk in the fridge for 15 minutes before whipping the cream. Cold cream whips faster and holds its shape better. If the kitchen is hot, work quickly.
Use the Best Strawberries
Since this cake has so little batter, the strawberries are the star. Buy the best, ripest strawberries you can find. If they’re out of season, you might want to add a layer of strawberry jam or puree for extra flavor.
Variations & Substitutions
Once you’ve nailed the basic version, here’s how you can mix it up. I’ve tried all of these.
Raspberry Version
Swap the strawberries for fresh raspberries. The tartness pairs beautifully with the sweet cream. I also like to add a layer of raspberry jam.
Matcha Green Tea
Replace 2 tablespoons of the cake flour with matcha powder. The green color is stunning against the white cream and red strawberries. It adds a subtle earthy flavor that’s amazing.
Lemon Zest
Add the zest of one lemon to the cake batter. It adds a bright, fresh flavor that cuts through the sweetness. Great for spring.
Gluten-Free
Use a 1:1 gluten-free flour blend. Make sure it contains xanthan gum, or add ½ teaspoon. The texture might be slightly different, but it still works.
Dairy-Free
Use coconut cream instead of heavy cream, and coconut milk instead of dairy milk. Use dairy-free butter. It’s rich and delicious, though the flavor will be coconut-forward.
Chocolate Drizzle
Drizzle melted dark chocolate over the top after assembling. It adds a nice contrast to the light cream.
Serving & Storage
How to Serve:
I usually serve this straight from the fridge. The cold cream and fresh strawberries are perfect together. Slice it with a sharp knife dipped in hot water for clean cuts. It looks beautiful on a simple white plate.
Side Dishes:
This cake stands alone beautifully. But if you want drinks, I love serving it with dairy-free iced matcha coconut latte or a simple black coffee. The bitterness balances the sweetness.
Storage:
Store leftovers in the refrigerator, covered, for up to 3 days. The cake will stay moist, but the cream might soften slightly. Bring it to room temperature for 15 minutes before serving for the best texture.
Freezing:
I don’t recommend freezing this cake. The cream and fresh strawberries don’t freeze well. They become watery and lose their texture. Make it fresh for the best results.
Meal Prep:
You can bake the cake layers 2 days ahead and store them wrapped in plastic wrap at room temperature. Whip the cream the day of serving. This saves time if you’re hosting a party.
Nutrition Information
I’m not a nutritionist, but here’s the breakdown if you’re tracking. Keep in mind this is a rich dessert, so a small slice is plenty.
Per Serving (based on 8 slices):
– Calories: 280
– Protein: 4g
– Carbs: 28g
– Fiber: 1g
– Sugar: 22g
– Fat: 18g
– Saturated Fat: 11g
– Cholesterol: 95mg
– Sodium: 45mg
What’s Good:
– Moderate calories for a dessert
– Good source of fat from cream and eggs
– No artificial additives
What to Know:
– High in sugar from the cream and strawberries
– Contains dairy and eggs
– Not suitable for vegans or those with egg/dairy allergies
My Take:
Look, this is a special occasion dessert. It’s not everyday food. But it’s made with real ingredients, no preservatives, and it’s far better than store-bought cake. When I make it, I enjoy a small slice and savor it. It’s worth the treat.
Final Thoughts
So that’s my ultra-fluffy Japanese strawberry shortcake! I’ve probably talked your ear off at this point, but when you make a recipe this often, you have a lot to say about it. This cake has saved me more times than I can count. It’s my answer to “what’s for dessert” when I want to impress but don’t want to stress. My friends are happy, my family is happy, and I’m happy because I know exactly how to make it work.
Make it yours! Try different fruits, add a different flavor to the cream, or experiment with the layers. The best recipes are the ones you adapt to your tastes. If you make this, drop a comment and let me know what you think! I love hearing how recipes turn out in your kitchen. And if something doesn’t work, tell me that too—I’m here to help troubleshoot.
Happy baking! And I hope your kitchen smells as amazing as mine does right now.
Frequently Asked Questions
Q: Can I use all-purpose flour instead of cake flour?
A: You can, but the cake won’t be as tender. If you use all-purpose flour, remove 2 tablespoons per cup and replace with cornstarch. Sift it well. It’s a common substitute and it works okay, but cake flour is better.
Q: Why did my cake collapse after baking?
A: This usually happens if you under-whipped the eggs or deflated the batter while folding. Make sure you reach the ribbon stage and fold gently. Also, don’t open the oven door while it’s baking. The temperature change can cause it to fall.
Q: Can I make this cake ahead of time?
A: Yes! Bake the cake layers up to 2 days ahead. Store them wrapped in plastic at room temperature. Whip the cream and assemble the cake the day you plan to serve it. This is actually the best way to do it.
Q: Why is my whipped cream runny?
A: The cream was probably too warm, or you didn’t whip it long enough. Make sure your bowl and whisk are cold, and whip until stiff peaks form. If you add mascarpone, it helps stabilize the cream.
Q: Can I use frozen strawberries?
A: I don’t recommend it. Frozen strawberries release a lot of water and become mushy. They’ll make the cake soggy. Fresh strawberries are best for this recipe.
Q: How do I slice the cake cleanly?
A: Dip a sharp knife in hot water and wipe it dry before each cut. The heat helps the knife glide through the cream and cake without squishing it. This is a pro trick that makes a huge difference.
Q: Can I double this recipe?
A: Yes, but you’ll need a larger pan (like a 10-inch or two 9-inch pans). The baking time might increase slightly. Keep an eye on it. I usually make one 9-inch cake because it’s easier to handle.
Pin This Recipe!
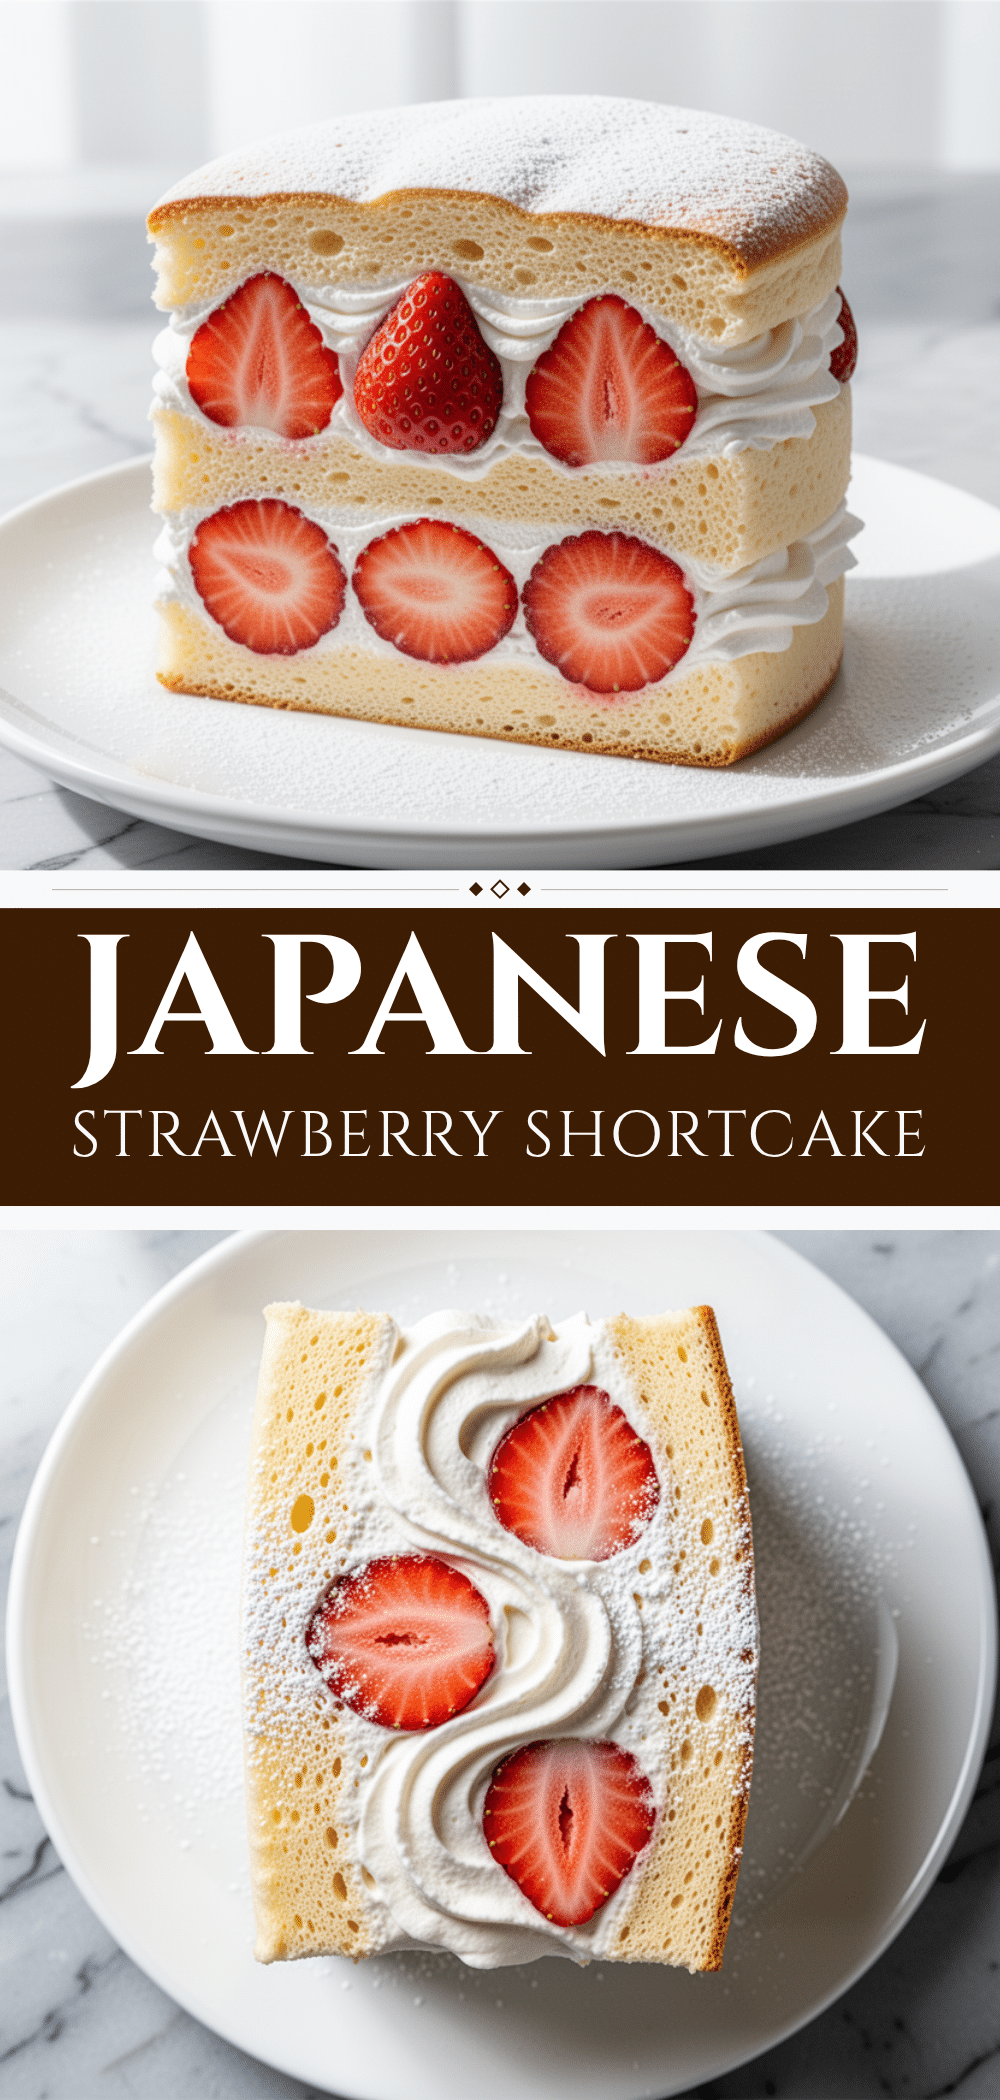
Ultra-Fluffy Japanese Strawberry Shortcake
- Total Time: 1 hour 30 minutes
- Yield: 8 servings 1x
Description
An incredibly light, moist, and airy sponge cake layered with sweetened whipped cream and fresh strawberries. This delicate dessert is surprisingly easy to make using a water bath method for perfect texture.
Ingredients
- 4 large whole eggs, room temperature
- 1 cup (120g) cake flour
- 1/2 cup (100g) granulated sugar
- 2 tablespoons (30g) unsalted butter, melted and cooled
- 3 tablespoons (45ml) whole milk
- 1 teaspoon vanilla extract
- 1/4 teaspoon salt
- 1 1/2 cups (360ml) heavy cream, cold
- 3 tablespoons (25g) confectioners’ sugar, sifted
- 1 teaspoon vanilla extract
- 1 pound (450g) fresh strawberries
- 2 tablespoons (30g) mascarpone cheese, optional
- 2 tablespoons strawberry jam, optional
Instructions
- Preheat oven to 325°F (160°C). Line a 9-inch round cake pan with parchment paper on the bottom and grease the sides lightly.
- In a large bowl, whisk eggs and granulated sugar vigorously by hand for 10-12 minutes until the mixture is pale, thick, and triple in volume (ribbon stage).
- Sift the cake flour over the whipped eggs in two or three batches.
- Gently fold the flour into the eggs using a spatula until just combined, being careful not to deflate the batter.
- Mix a scoop of the batter into the melted butter and milk to lighten it, then pour back into the main bowl and fold gently until smooth.
- Pour batter into the prepared pan. Place the cake pan inside a larger roasting pan and fill the roasting pan with about an inch of hot water (water bath).
- Bake for 25-30 minutes until the top is golden brown and springs back when touched. A toothpick inserted in the center should come out clean.
- Remove from the water bath and let cool in the pan for 10 minutes, then turn out onto a wire rack to cool completely.
- In a cold bowl, whip heavy cream, confectioners’ sugar, vanilla, and mascarpone (if using) until stiff peaks form.
- Slice the cooled cake horizontally into two or three layers. Brush with warmed strawberry jam if using.
- Spread a layer of whipped cream on the bottom cake layer, top with sliced strawberries, add more cream, and repeat layers.
- Top with the final cake layer, spread remaining cream on top and sides, and decorate with strawberries.
- Chill in the refrigerator for at least 30 minutes before serving.
Notes
Room temperature eggs are crucial for volume. Do not skip the water bath as it ensures a moist, tender crumb. The cake must cool completely before assembly to prevent the cream from melting. For clean slices, dip a sharp knife in hot water and wipe dry before cutting.
- Prep Time: 30 minutes
- Cook Time: 30 minutes
- Category: Dessert
- Cuisine: Japanese
Nutrition
- Serving Size: 1 slice
- Calories: 280
- Sugar: 22
- Sodium: 45
- Fat: 18
- Saturated Fat: 11
- Carbohydrates: 28
- Fiber: 1
- Protein: 4
Keywords: Japanese strawberry shortcake, fluffy sponge cake, water bath cake, easy dessert, spring dessert, elegant cake


