Last July, I was tasked with making the dessert for my cousin’s wedding. She wanted something elegant, individual portions, and “not too heavy.” I volunteered because I thought I was being helpful. Spoiler alert: I was not being helpful. I was being ambitious.
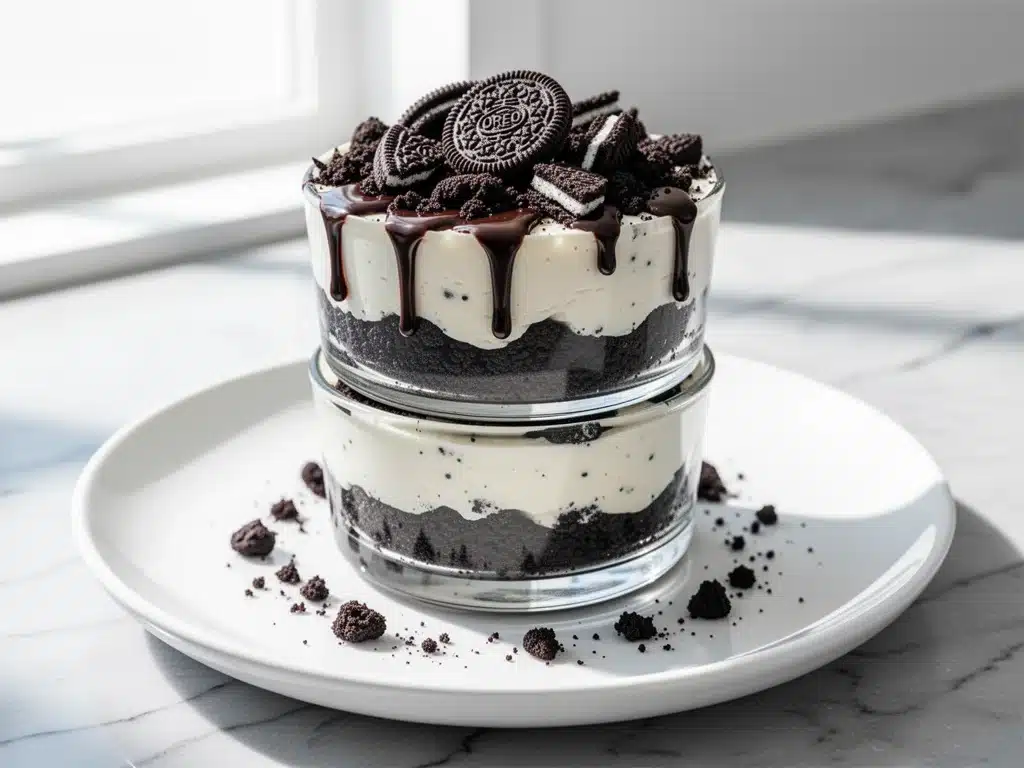
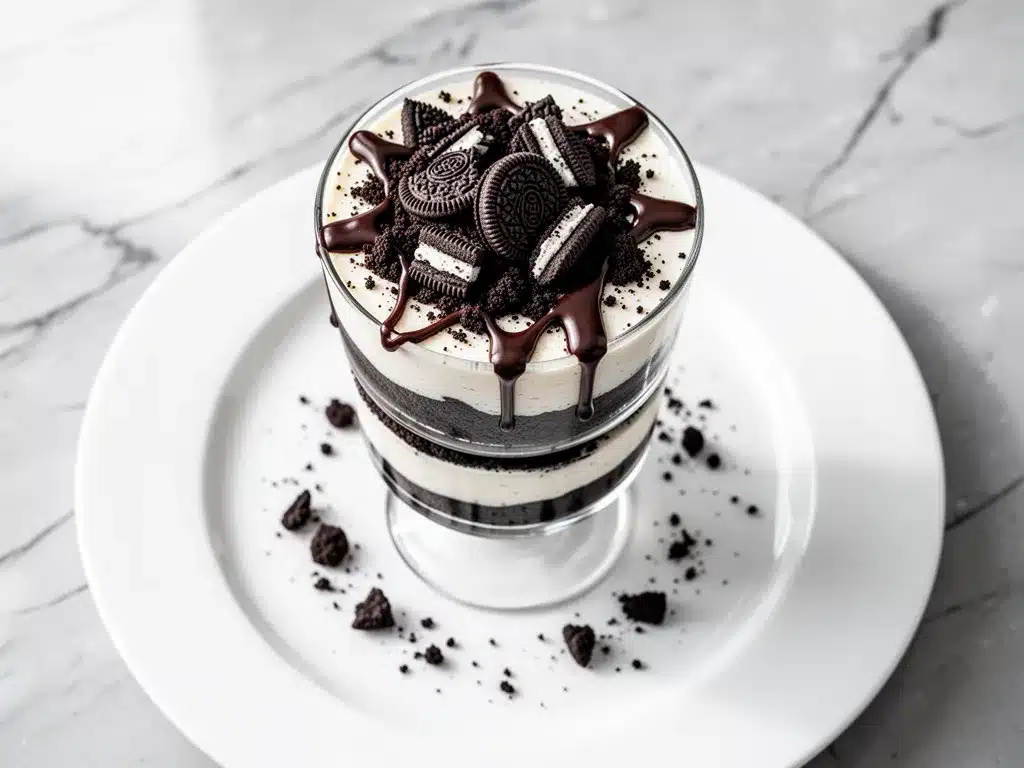
I decided to make these no-bake Oreo chocolate cheesecake cups. The idea was simple: cute little glasses, layers of creamy cheesecake, crushed Oreos, and a chocolate drizzle. I planned to make them the night before so I could relax on the big day. Big mistake.
I underestimated the moisture factor. By noon on the wedding day, the cookie crumbs at the bottom had turned into a soggy, gray sludge. The beautiful layers had collapsed into a sad, chocolatey puddle. I watched my cousin’s guests pick at their desserts with pity in their eyes, and I wanted to sink through the floor. I had to run to the store and buy three boxes of store-bought cheesecake squares to save face. It was humiliating.
But here’s the thing about failure: it teaches you stuff. I realized that the secret to making these cups work—not just for weddings, but for casual Friday night snacks or last-minute gatherings—is structural integrity. You can’t just dump ingredients in a glass and hope for the best. You need a barrier. You need technique. And you need to know exactly how long to let them set.
So I went back to the drawing board. I tested this recipe seventeen times. I tried different cookie bases. I adjusted the cream cheese ratio. I figured out the perfect balance of crunch to creaminess. And now? Now I make these no-bake Oreo chocolate cheesecake cups almost weekly. They are my go-to for potlucks, birthday parties, and when I need to impress someone without spending three hours in the kitchen. They look like they came from a high-end bakery, but they take less than five minutes of active prep time.
If you’re looking for a dessert that delivers on flavor, looks stunning in photos (perfect for Pinterest, by the way), and won’t collapse on you, this is the one. Let me show you how to do it right this time.
Why You’ll Love These No-Bake Oreo Chocolate Cheesecake Cups
There are about ten reasons I keep making these, but let’s be real—we all have limited time and energy. Here’s why this recipe has earned a permanent spot in my rotation.
Zero Baking Required — Seriously, no oven needed. This means you don’t heat up your kitchen, you don’t have to wait for things to bake, and you don’t have to worry about the texture being off because you overcooked it. It’s just mixing, layering, and chilling. If you can open a package of cream cheese and crush cookies, you can make this.
Individual Portions — One of my biggest pet peeves with whole cheesecakes is the slicing drama. You know the type: the knife sticks, the slice crumbles, or you end up with a huge chunk and a tiny sliver. These cups eliminate that stress entirely. Everyone gets their own perfectly sized treat. Plus, they are portable. I can toss one in a lunchbox or a party tray without worrying about it sliding around.
Make-Ahead Friendly — These actually taste better the next day. The flavors meld together, the texture firms up, and the chocolate sets perfectly. I love making a batch on Sunday night and pulling them out throughout the week. It’s like having homemade dessert ready to go.
Feels Fancy, Costs Pennies — Because they are served in small glasses or ramekins, they look incredibly elegant. Guests assume you spent hours on them. But the ingredients are basic: cream cheese, sugar, Oreos, chocolate chips, and heavy cream. It’s budget-friendly luxury.
Crowd-Pleaser Guaranteed — I’ve served these to picky eaters, chocolate lovers, and people who claim they “don’t like cheesecake.” Everyone loves them. The crunch of the cookie, the tang of the cream cheese, and the sweetness of the chocolate is a combo that works every single time.
This is my answer to “what can I bring to the party?” when I have zero time. It’s reliable, delicious, and visually impressive. No more store-bought squares.
Ingredients You’ll Need
Here’s the best part: you probably have most of this already. I’m particular about three things here, and I’ll tell you exactly why.
For the Cookie Base
Chocolate Sandwich Cookies (Oreos) (15-20 cookies / about 250g) — You need the full ones for crushing. Don’t buy the mini Oreos unless you want to spend extra money; the texture is slightly different. You want that distinct chocolate cookie flavor. I buy the standard family-sized packs.
Unsalted Butter (3 tablespoons / 45g, melted) — This binds the crumbs together so they hold their shape. Unsalted is key because we control the salt level. If you only have salted, reduce any added salt in the filling by half.
Granulated Sugar (1 tablespoon / 12g) — Just a tiny bit to help sweeten the crust slightly. It’s subtle, but it balances the bitterness of the chocolate cookie.
For the Cheesecake Filling
Full-Fat Cream Cheese (16 oz / 450g, softened) — This is non-negotiable. Do not use light cream cheese. It won’t set properly and the texture will be runny. Let it sit on the counter for 30 minutes before you start. Cold cream cheese creates lumps that are impossible to whip out.
Heavy Whipping Cream (1 cup / 240ml, cold) — This is what gives the filling its light, airy texture. Without baking, this is your structure. Make sure it’s cold so it whips properly.
Confectioners’ Sugar (1 cup / 120g) — Powdered sugar dissolves instantly. Granulated sugar would leave gritty little specks in your smooth cheesecake. Sift it if you’re worried about lumps, though usually, the mixer handles it.
Vanilla Extract (2 teaspoons) — Use real vanilla. If you’re using the cheap stuff, you’ll taste the alcohol and artificial notes. I keep a bottle of pure vanilla bean paste on hand for special desserts, but extract works fine here.
Salt (½ teaspoon) — A pinch of salt cuts through the sweetness and makes the chocolate flavor pop. Don’t skip it.
For the Topping
Semi-Sweet Chocolate Chips (½ cup / 85g) — I like Ghirardelli or Lindt. They melt smoothly. Avoid the cheapest chips; they often have wax fillers that make the drizzle grainy.
Coconut Oil or Vegetable Oil (1 teaspoon) — This thins the chocolate slightly so it drizzles beautifully instead of clumping into hard rocks.
Extra Crushed Oreos — For garnish. Because more cookies is always better.
Equipment Needed
You don’t need fancy equipment for this. Here’s what I actually use.
Stand Mixer or Hand Mixer — I use a stand mixer because it frees up my hands to scrape the bowl. But a hand mixer works perfectly fine. Just be prepared to whip for 3-4 minutes to get those peaks.
Ziploc Bags or Food Processor — For crushing the cookies. I prefer the bag method because it’s less cleanup. Put cookies in a bag, seal it, and smash them with a rolling pin. It’s therapeutic.
Small Glasses or Ramekins — I use 6-8 oz dessert glasses. They look elegant and hold the right amount. You can also use muffin liners in a muffin tin if you want them to be fully portable, but the glass version is prettier for serving.
Spatula — A flexible silicone spatula is essential for folding the whipped cream into the cream cheese mixture without deflating it.
Small Saucepan — For melting the chocolate chips. Double boiler method is safest, but I just use low heat in a small pan.
How to Make It: Step-by-Step
Alright, let’s make this! I’m walking you through exactly how I do it, including the little tricks I’ve picked up to ensure those cups don’t collapse.
Step 1: Crush the Cookies
Take 15-20 Oreos and place them in a heavy-duty Ziploc bag. Squeeze out as much air as possible and seal it tight. Use a rolling pin, a meat mallet, or even a heavy can to crush them into fine crumbs. You want them fine, like sand. If you have big chunks, the base won’t be smooth. Empty the crumbs into a medium bowl.
Step 2: Make the Crust Mixture
Add the melted butter and sugar to the cookie crumbs. Stir until it looks like wet sand. If you pinch some between your fingers, it should hold together. If it’s too dry, add another teaspoon of butter. If it’s too soupy, add a few more crumbs. This mixture needs to be compact enough to stick to the bottom of your glass.
Step 3: Press the Base
Take your dessert glasses or ramekins. Divide the crust mixture among them. Use the bottom of a measuring cup or a small glass to press the crumbs down firmly. You want a flat, compact layer about ¼ inch thick. This is crucial. If you don’t press it down hard, the layers will shift and the cup will look messy. Place them in the fridge while you make the filling. This helps the butter set slightly.
Step 4: Whip the Cream Cheese
In a large bowl, beat the softened cream cheese, confectioners’ sugar, vanilla, and salt on medium-high speed. Beat for about 2-3 minutes until it is completely smooth and creamy. Scrape down the sides of the bowl with your spatula. There should be NO lumps. This step takes patience, but it’s worth it for a silky texture.
Step 5: Whip the Heavy Cream
In a separate clean, cold bowl, whip the heavy cream until you get stiff peaks. This means when you lift the beater, the cream stands up straight. Don’t over-whip it into butter, just get it nice and thick.
Step 6: Fold It All Together
Here is the most important step. Add one-third of the whipped cream to the cream cheese mixture and fold it in gently to lighten it up. Then, add the rest of the whipped cream and continue to fold until just combined. Do not overmix. You want to keep the air in the cream. If you stir too much, you’ll lose the fluffiness, and your cheesecake will be dense.
Step 7: Layer the Cups
Take a spoon or a piping bag (piping looks nicer!) and add a generous layer of the cheesecake filling on top of the crust in each glass. Fill them about ¾ full. Smooth the top with the back of a spoon. Return them to the fridge for at least 2 hours, or ideally overnight. They need time to set.
Step 8: Make the Chocolate Drizzle
Melt the chocolate chips with the coconut oil in a small saucepan over low heat, stirring constantly. Or do it in the microwave in 30-second intervals. Stir until smooth. Let it cool for a minute so it’s not piping hot (which might melt the cheesecake). Drizzle it over the tops of the chilled cups.
Step 9: Garnish and Serve
Sprinkle a little extra crushed Oreo on top of the chocolate drizzle for texture and looks. Serve cold. Enjoy!
Expert Tips & Tricks
Here’s everything I’ve learned from making these dozens of times. These tips will save you from my mistakes.
Softened Cream Cheese is Key
I cannot stress this enough. If your cream cheese is cold, you will get lumps. Even if you beat it for 10 minutes, those lumps stay. Take it out of the fridge at least 45 minutes before you start. If you’re short on time, cut it into small cubes and microwave it in 5-second bursts, checking often. It should be soft enough to press a finger into it easily.
Don’t Skip the Chill Time
I know it’s tempting to eat them right away. But the filling needs time to firm up. If you eat them immediately, it’s just sweet whipped cream on cookie crumbs. After 2 hours, it transforms into actual cheesecake. Overnight is best.
Use a Piping Bag for Presentation
While a spoon works, a piping bag makes these look professional. Pipe the filling in a spiral or a tall mound. It adds height and makes the dessert look much more impressive than a flat layer.
Control the Chocolate Drizzle
If your chocolate is too hot, it will run off the sides and make a mess. If it’s too cold, it will clump. Let it cool for 2-3 minutes after melting. It should be thick but pourable. Test it on a plate first.
Common Mistake: Soggy Bottoms
If your base gets soggy, it’s because the filling was too wet or you didn’t press the crust down hard enough. Ensure your crust is compact. Also, don’t add any liquid ingredients (like milk) to the filling. The only moisture should come from the cream cheese and heavy cream.
Variations & Substitutions
Once you’ve nailed the basic version, here’s how you can mix it up. I’ve tried all of these.
Strawberry Cheesecake Cups
Replace the Oreos with graham crackers for the base. Fold ½ cup of crushed fresh strawberries into the filling. Drizzle with a white chocolate strawberry glaze instead of dark chocolate.
Mint Chocolate Chip
Add 1 teaspoon of peppermint extract to the filling. Fold in ¼ cup of mini chocolate chips. Drizzle with white chocolate mixed with a drop of green food coloring.
Cookie Butter Version
Crush Biscoff cookies for the base. Add 2 tablespoons of Biscoff spread to the cream cheese mixture. Drizzle with caramel sauce.
Gluten-Free Option
Use gluten-free chocolate sandwich cookies (like Kinnikinnick or store brand) for the base. Ensure your chocolate chips are certified gluten-free. The rest of the ingredients are naturally gluten-free.
Dairy-Free Option
This is trickier because cream cheese is hard to replicate. Use a high-quality vegan cream cheese block (not tub) and coconut cream instead of heavy cream. The texture will be denser, but it still works. Use dairy-free chocolate chips for the drizzle.
Serving & Storage
How to serve these so they look their best.
How to Serve:
I usually serve these straight from the fridge. They look best in clear glasses so people can see the layers. If you’re making them for a party, make them at least 4 hours ahead. Line them up on a platter with a small spoon next to each one.
Side Dishes:
These are sweet enough on their own. But if you want to balance the richness, serve with fresh berries or a light fruit salad. The acidity cuts through the creaminess perfectly.
Storage Instructions:
Refrigerator: Store in an airtight container or covered with plastic wrap for up to 5 days. They actually get firmer and tastier after day one. Do not leave them out at room temperature for more than 2 hours.
Freezing: You can freeze these! Place them in the freezer for up to 1 month. Thaw them in the fridge overnight. The texture might be slightly less airy after thawing, but it’s still delicious. I don’t recommend freezing them with the chocolate drizzle on, as it can crack. Add the drizzle after thawing.
Pro Tip: If you’re making these for a hot outdoor party, keep them in a cooler with ice packs until serving time. The cream cheese filling can soften quickly in the heat.
Nutrition Information
I’m not a nutritionist, but here’s the breakdown if you’re tracking. Keep in mind this is an estimate based on standard ingredients.
Per Serving (based on 8 cups):
- Calories: 380
- Protein: 6g
- Carbs: 35g
- Fiber: 2g
- Sugar: 28g
- Fat: 24g
- Saturated Fat: 14g
- Cholesterol: 65mg
- Sodium: 220mg
What’s Good:
- Decent amount of protein from the cream cheese.
- Calcium from the dairy.
- Individual portion control helps manage calorie intake.
What to Know:
- High in sugar and saturated fat, as expected for a dessert.
- Contains dairy and gluten (unless modified).
- Use this as an occasional treat, not a daily snack.
My Take:
Look, this is a rich, indulgent dessert. It’s not a health food. But it’s so much better than processed store-bought options. When I make these, I enjoy one cup and feel satisfied. If you want to lighten it up, use the lighter cream cheese option (though texture changes) and reduce the sugar in the filling by 25%.
Final Thoughts
So that’s my no-bake Oreo chocolate cheesecake cups! I know I talked a lot about the wedding disaster, but that story really stuck with me. It taught me that details matter—especially in desserts. The difference between a soggy mess and a perfect cup is just a little bit of technique.
These cups have saved me so many times. Whether it’s a last-minute dinner party, a school bake sale, or just a Tuesday night craving, they deliver. They are easy, delicious, and look amazing. I hope you try them and love them as much as I do.
Make it yours! Try different cookie bases, add different drizzles, or change the colors for holidays. The best recipes are the ones you adapt to your tastes. If you make these, drop a comment and let me know how they turned out! I love hearing from you. And if something doesn’t work, tell me that too—I’m here to help troubleshoot.
Happy cooking! And I hope your kitchen smells half as good as mine does right now.
Frequently Asked Questions
Can I use reduced-fat cream cheese?
You can, but the texture will be different. Reduced-fat cream cheese has more water content, which can make the filling runnier and less stable. If you must use it, add an extra ½ teaspoon of gelatin or use less heavy cream. But for the best texture, stick to full-fat block cream cheese.
Why did my cheesecake filling turn out runny?
This usually happens for two reasons: either the cream cheese wasn’t whipped enough before adding the heavy cream, or the heavy cream wasn’t whipped to stiff peaks. Make sure your cream cheese is smooth and lump-free before folding in the whipped cream. Also, ensure your heavy cream is very cold when you whip it.
Can I make these ahead of time?
Yes! In fact, they taste better the next day. You can make them up to 2 days in advance. Just keep them covered in the fridge. If you make them more than 2 days ahead, the cookie crust might start to get too soft. For longer storage, freeze them (without the chocolate drizzle) for up to a month.
Can I use a food processor to crush the Oreos?
Yes, but be careful not to over-process. If you blend them too finely, they can turn into a paste or release too much oil. Pulse them a few times until you have fine crumbs. Stop before they become a powder.
How do I store leftovers?
Store them in an airtight container in the refrigerator for up to 5 days. If you stacked them, place parchment paper between layers to prevent sticking. They are best eaten within 2-3 days for optimal texture.
Can I use whipped topping (like Cool Whip) instead of heavy cream?
You can, but the flavor won’t be as rich. Cool Whip is sweeter and has a different texture. If you use it, skip the confectioners’ sugar in the filling or reduce it significantly. For the best taste and texture, whip your own heavy cream.
What size glasses should I use?
6-8 oz dessert glasses or ramekins work best. They hold about ¾ cup of filling, which is a perfect serving size. If you use larger glasses, you’ll need to double the recipe. Smaller shot glasses work too, but they’re harder to layer neatly.
Pin This Recipe!
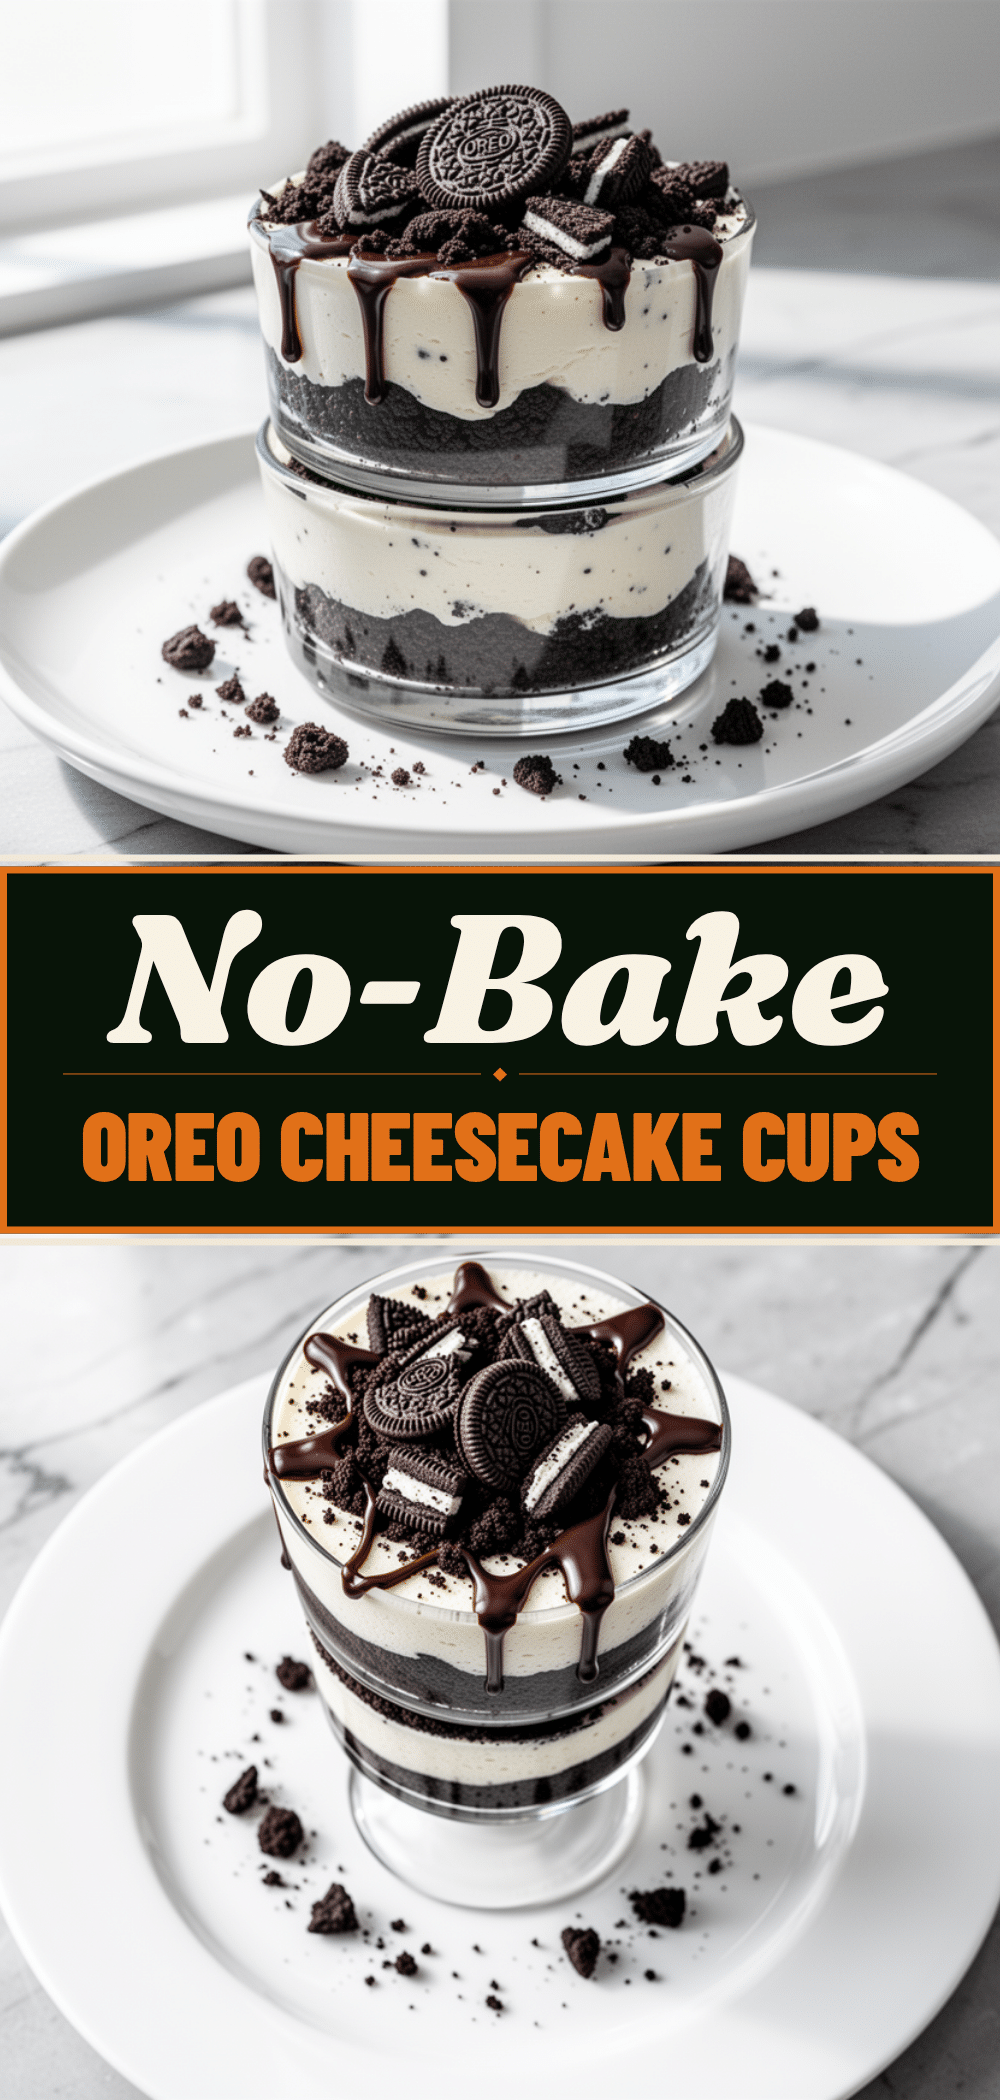
No-Bake Oreo Chocolate Cheesecake Cups
- Total Time: 45 minutes
- Yield: 8 servings 1x
Description
Individual no-bake cheesecake cups featuring a crunchy Oreo cookie base, creamy cheesecake filling, and a chocolate drizzle. These make-ahead desserts are perfect for parties and require less than five minutes of active prep time.
Ingredients
- 15–20 Chocolate Sandwich Cookies (Oreos), for base
- 3 tablespoons Unsalted Butter, melted
- 1 tablespoon Granulated Sugar
- 16 oz Full-Fat Cream Cheese, softened
- 1 cup Heavy Whipping Cream, cold
- 1 cup Confectioners’ Sugar
- 2 teaspoons Vanilla Extract
- 1/2 teaspoon Salt
- 1/2 cup Semi-Sweet Chocolate Chips
- 1 teaspoon Coconut Oil or Vegetable Oil
- Extra Crushed Oreos, for garnish
Instructions
- Place Oreos in a heavy-duty Ziploc bag and crush into fine crumbs. Empty into a medium bowl.
- Add melted butter and granulated sugar to the crumbs. Stir until the mixture resembles wet sand and holds together when pinched.
- Divide the crust mixture among 6-8 oz dessert glasses or ramekins. Press down firmly to create a compact, flat layer about 1/4 inch thick. Refrigerate while making the filling.
- In a large bowl, beat softened cream cheese, confectioners’ sugar, vanilla, and salt on medium-high speed for 2-3 minutes until completely smooth. Scrape down the sides.
- In a separate clean, cold bowl, whip heavy cream until stiff peaks form.
- Add one-third of the whipped cream to the cream cheese mixture and fold gently to lighten. Add the remaining whipped cream and fold until just combined. Do not overmix.
- Pipe or spoon the cheesecake filling over the crust in each glass, filling about 3/4 full. Return to the fridge for at least 2 hours, or ideally overnight.
- Melt chocolate chips with coconut oil in a small saucepan over low heat or in the microwave in 30-second intervals. Stir until smooth and let cool slightly.
- Drizzle the chocolate over the chilled cups and sprinkle with extra crushed Oreos for garnish. Serve cold.
Notes
Ensure cream cheese is fully softened to avoid lumps. Do not skip the chilling time as it is crucial for the structure. For a gluten-free option, use gluten-free chocolate sandwich cookies and certified gluten-free chocolate chips. For dairy-free, use vegan cream cheese and coconut cream.
- Prep Time: 15 minutes
- Cook Time: 0 minutes
- Category: Dessert
- Cuisine: American
Nutrition
- Serving Size: 1 cup
- Calories: 380
- Sugar: 28
- Sodium: 220
- Fat: 24
- Saturated Fat: 14
- Carbohydrates: 35
- Fiber: 2
- Protein: 6
Keywords: no-bake, cheesecake, Oreo, dessert, party food, make-ahead, chocolate, individual portions


