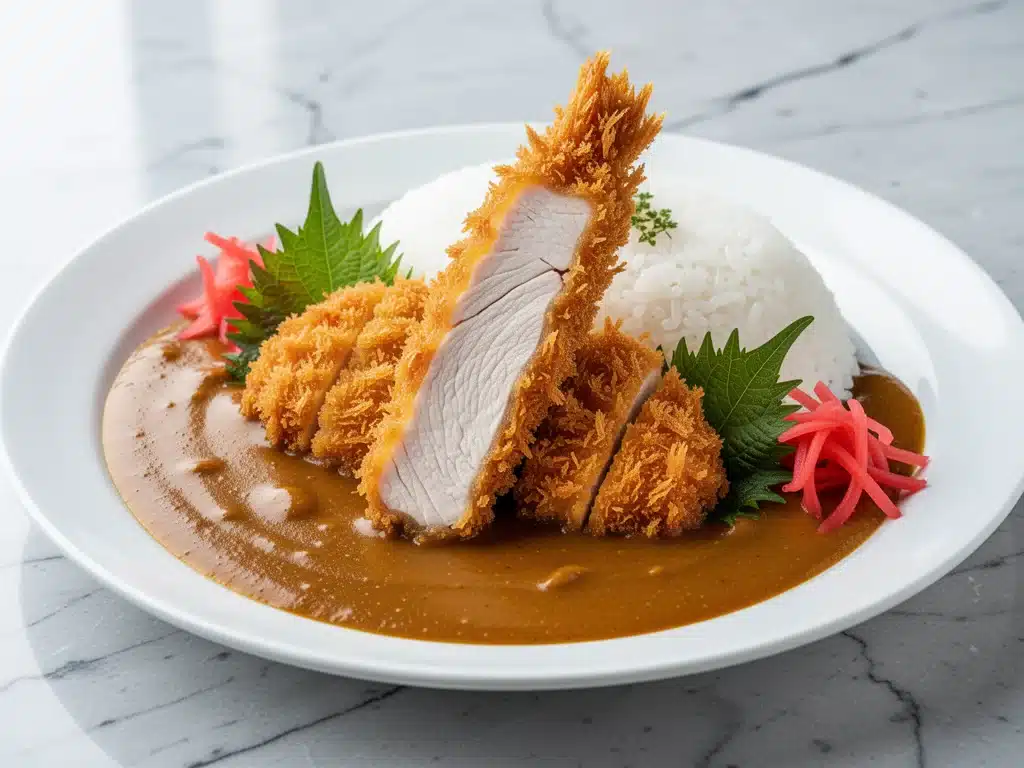
Three years ago, I came home from a long day of work, completely drained, and opened my fridge. It was that sad state of affairs where you have half a lemon, some sad spinach, and a single chicken breast that’s been marinating since Tuesday. I didn’t have the energy to think. I just wanted hot, comforting food that tasted like it came from somewhere warm and cozy.
I decided to make my first chicken katsu curry. I’d seen it in anime and read about it online, but honestly? I thought it would be complicated. I imagined I’d need to visit a specialty Asian market just to buy the right spice blends, or maybe I’d end up with a dry, breaded chicken patty swimming in something that tasted like ketchup.
I was wrong. So wrong.
The first time I made this authentic Japanese chicken katsu curry, I didn’t even finish the whole bowl. I was too busy staring at the contrast between the golden, shattering crust and the rich, dark sauce. My husband walked in, took one bite, and said, “This is it. This is the dinner we’re having every week now.” And he was right. It’s become our go-to weeknight dinner, hands down.
Here’s the thing about katsu curry: it’s not actually hard. It’s just different. It requires a little bit of prep, sure, but the payoff is huge. You get this incredible texture combination—crispy on the outside, juicy on the inside, with a sauce that’s sweet, savory, and deeply comforting all at once. It’s the kind of meal that makes you forget you’re tired. It’s the kind of meal that makes you want to clean the kitchen afterward because you’re so happy with what you made.
I’ve tested this recipe at least a dozen times. I’ve tried different breading methods, different curry roux brands, and different chicken cuts. I’ve burned the breadcrumbs (don’t do that, trust me) and I’ve undercooked the chicken (also don’t do that). Through all those mistakes, I’ve landed on a version that is foolproof, delicious, and surprisingly fast for a “fancy” meal. If you’re looking for a weeknight dinner that feels like a treat but doesn’t require a trip to a restaurant, this is the one.
Why You’ll Love This Chicken Katsu Curry
There are a lot of reasons I keep coming back to this recipe, but let’s be real. It’s not just because it tastes good. It’s because it works. It fits into real life. Here’s why this authentic Japanese chicken katsu curry has earned a permanent spot in our weekly rotation:
- Texture Overload (In a Good Way) — I’m obsessed with the crunch. The panko breadcrumbs create this shattering, golden crust that stays crispy even after you pour the sauce over it (if you eat it fast enough). It’s a sensory experience. Every bite has that contrast.
- Sauce That’s Better Than Takeout — Store-bought curry sauce is fine, but homemade roux? Or even a good quality block roux mixed with fresh ingredients? It’s richer, deeper, and has this incredible warmth. It coats everything perfectly.
- Actually Fast for a “Project” Meal — People think katsu is a weekend project. It’s not. Once you get the breading station set up, you can bread and fry four cutlets in about 15 minutes. The curry sauce simmers while you do that. You’re looking at 45 minutes total, but only 20 minutes of active work.
- Leftovers Are Legendary — Seriously. I’ve made this for lunch the next day, and it’s still good. The chicken absorbs a little bit of the sauce and becomes even more flavorful. It’s my favorite meal-prep option that doesn’t taste sad or dry.
- Family-Friendly (Even for Picky Eaters) — My kids usually hate “weird” spices. But curry? They love it. It’s sweet enough to be approachable, and the familiar fried chicken element makes it a winner. It’s a great way to introduce new flavors without a fight.
- Uses Cheap Ingredients — Chicken thighs, flour, eggs, panko, carrots, onions, potatoes. These are pantry staples. You don’t need expensive cuts of meat or exotic produce. It’s budget-friendly comfort food.
This recipe has saved me on nights when I didn’t know what to cook. It’s reliable, it’s delicious, and it makes your house smell like a high-end Japanese restaurant. That’s a win in my book.
Ingredients You’ll Need
Before we get to the cooking, let’s talk about what goes into this bowl. I’m particular about a few things here, especially the curry and the breading. Here’s what you’ll need to make this authentic Japanese chicken katsu curry, and why each part matters.
For the Chicken
Chicken thighs (4 large boneless, skinless thighs / about 600g) — I use thighs, not breasts. Thighs stay juicy even if you overcook them slightly. Breasts get dry and rubbery. If you must use breasts, pound them thin and watch the cooking time closely.
Panko breadcrumbs (1.5 cups / 150g) — This is non-negotiable. Regular breadcrumbs are too fine and dense. Panko is light, airy, and creates that signature shattering crunch. Buy the Japanese brand if you can, but standard panko works fine.
All-purpose flour (1 cup / 125g) — For the first dredge. It helps the egg stick to the chicken.
Eggs (2 large) — Beaten with a splash of water or milk. This is the glue for the breadcrumbs.
Salt and black pepper — To season the chicken before dredging. Don’t skip this.
Vegetable oil (1 cup / 240ml) — For frying. You need enough to submerge the chicken about halfway. Canola or peanut oil works too.
For the Curry Sauce
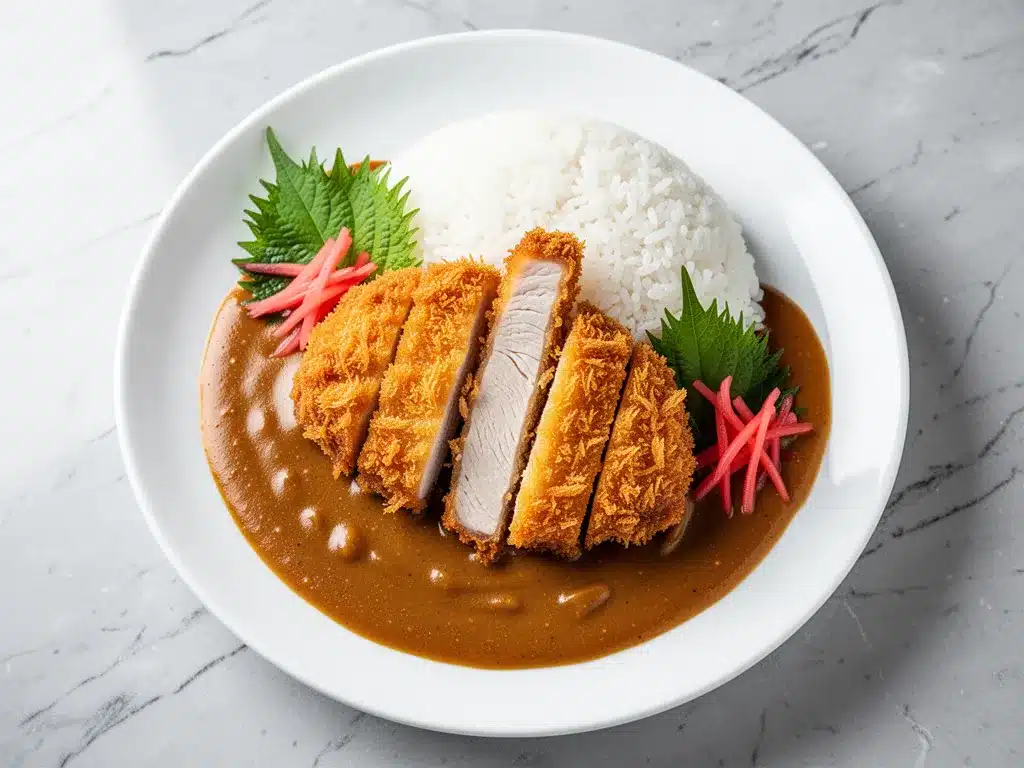
Curry roux blocks (2 boxes / 400g total) — This is the secret weapon. Brands like Vermont Curry, Golden Curry, or Sun-Mark are standard in Japan. They contain flour, fat, and spices already blended. You just melt them in. I prefer medium heat, but mild is great for kids.
Onion (1 large, thinly sliced / about 200g) — The base of the sauce. Sliced thin so it melts into the sauce.
Carrots (2 medium, chopped / about 200g) — Adds sweetness and color. Chop them into bite-sized chunks.
Potatoes (2 medium, peeled and cubed / about 300g) — Adds creaminess and thickness. Cut them into 1-inch cubes so they cook evenly.
Chicken broth (3 cups / 720ml) — Use low-sodium so you can control the salt. Water works, but broth adds depth.
Garlic and ginger (1 clove garlic, minced; 1 tsp fresh ginger, grated) — Adds that fresh aromatic kick that makes it taste homemade.
Apple (1 small, grated / about 100g) — This is the Japanese secret. Grated apple adds natural sweetness and helps tenderize the meat. It sounds weird, but it works. Don’t skip it.
For Serving
Steamed rice — Short-grain Japanese rice is best. It’s sticky and perfect for soaking up the sauce.
Benishōga (pickled red ginger) — Optional, but traditional. It cuts through the richness of the curry.
Shredded cabbage — Fresh, crisp cabbage on the side adds a nice texture contrast.
Equipment Needed
You don’t need fancy gadgets for this. Here’s what I actually use in my kitchen:
Three shallow bowls — For the dredging station (flour, egg, panko). I use pie plates or shallow pasta bowls.
Large skillet or Dutch oven — For frying the chicken. I use a 12-inch cast-iron skillet. It holds heat well and gives a nice crust.
Large pot — For the curry sauce. A 6-quart pot works perfectly. You need room for the vegetables to simmer.
Chef’s knife and cutting board — For prepping the veggies and chicken.
Tongs — For flipping the chicken. Much easier than a fork.
Wire rack or paper towels — To drain the fried chicken. A rack is better because it keeps the bottom crispy.
Grater — For the apple and ginger. A microplane works best.
How to Make It: Step-by-Step
Alright, let’s make this! I’m walking you through exactly how I do it, including the little tricks I’ve picked up over the years.
Step 1: Prep the Curry Sauce (Start This First)
Heat a little oil in a large pot over medium heat. Add the sliced onions and cook for 5-7 minutes until they are soft and translucent. They should be sweet, not brown. Add the garlic and ginger and cook for 1 minute until fragrant.
Add the carrots, potatoes, and chicken broth. Bring to a boil, then reduce heat to low. Cover and simmer for 15-20 minutes, until the vegetables are tender. This takes the longest, so start here.
Step 2: Prepare the Chicken
While the veggies simmer, prep the chicken. Place the chicken thighs between two sheets of plastic wrap and pound them with a meat mallet (or a heavy pan) until they are about ½-inch thick. This ensures even cooking and helps the breading stick.
Season both sides generously with salt and pepper.
Step 3: Set Up the Breading Station
Set up three shallow bowls. Bowl 1: Flour. Bowl 2: Beaten eggs (with a splash of water). Bowl 3: Panko breadcrumbs.
Step 4: Bread the Chicken
Dredge each chicken cutlet in flour, shaking off the excess. Dip it into the egg wash, letting the excess drip off. Finally, press it firmly into the panko breadcrumbs. Make sure it’s fully coated. Press down gently so the crumbs stick.
Place the breaded chicken on a plate. Let it rest for 5 minutes. This helps the coating set so it doesn’t fall off in the oil.
Step 5: Fry the Chicken
Heat about 1 inch of oil in your skillet over medium-high heat. The oil is ready when you drop a few breadcrumbs in—they should sizzle immediately.
Fry the chicken for 3-4 minutes per side, until golden brown and cooked through. The internal temperature should reach 165°F (74°C). Do not overcrowd the pan. Fry in batches if needed.
Transfer the fried chicken to a wire rack to drain. Do not put it on paper towels, or the bottom will get soggy.
Step 6: Finish the Sauce
Once the vegetables are tender, turn off the heat. Break the curry roux blocks into pieces and stir them into the pot. The residual heat will melt the roux. Stir until completely dissolved.
Stir in the grated apple. Taste and adjust if needed (usually no extra salt is needed). Let the sauce simmer on low for 5-10 minutes to thicken. It should be like a thick stew.
Step 7: Assemble and Serve
Cut the chicken into strips. Place a generous scoop of rice on a plate. Top with the chicken strips. Ladle the hot curry sauce over everything. Garnish with pickled ginger and shredded cabbage. Serve immediately.
Expert Tips & Tricks
Here’s everything I’ve learned from making this dozens of times. These tips will save you from my mistakes.
Don’t Skip the Resting Time
After breading the chicken, let it rest for 5-10 minutes. If you fry it immediately, the panko will slide off. This step is crucial for a crispy crust.
Keep the Oil at 350°F
If the oil is too hot, the breadcrumbs will burn before the chicken cooks. If it’s too cool, the chicken will absorb oil and get greasy. Use a thermometer if you have one. Aim for 350°F (175°C).
Grate the Apple, Don’t Chop It
Grated apple melts into the sauce, adding sweetness and body. Chopped apple leaves chunks that change the texture. I know it sounds odd, but trust me.
Use the Best Roux You Can Afford
The roux is 50% of the flavor. Don’t buy the cheapest brand. Vermont Curry or Golden Curry (Medium Heat) are reliable and widely available. The quality difference is noticeable.
Cut the Chicken Against the Grain
When slicing the fried chicken, cut against the grain. This makes each bite more tender and easier to eat.
Variations & Substitutions
Once you’ve nailed the basic version, here’s how you can mix it up. I’ve tried all of these.
Pork Katsu Curry
Use pork loin or pork shoulder instead of chicken. Pork pairs beautifully with curry. Cook it the same way.
Vegetable Katsu
Replace the chicken with thick slices of eggplant or mushroom caps. Bread and fry them the same way. It’s surprisingly satisfying.
Spicy Katsu Curry
Add a teaspoon of chili oil or sriracha to the curry sauce. Or serve with a side of chili flakes. Great for heat lovers.
Creamy Katsu Curry
Stir in a splash of heavy cream or coconut milk at the end. Makes it richer and milder. My kids love this version.
Gluten-Free Option
Use gluten-free panko and tamari instead of soy sauce (if adding any). Most curry roux blocks are gluten-free, but check the label. Vermont Curry has a GF version.
Serving & Storage
How to Serve
I usually serve this straight from the kitchen to the table. It’s a family-style meal. Place the rice, chicken, and sauce in the center, and everyone serves themselves. It’s communal and fun.
Side Dishes:
- Shredded cabbage (essential for crunch)
- Simple green salad with sesame dressing
- Edamame (for extra protein)
- Miso soup (traditional pairing)
Storage Instructions
Refrigerator:
Store the curry sauce and chicken separately in airtight containers for up to 3 days. The chicken will lose some crispiness, so reheat it in the oven or air fryer, not the microwave.
Reheating:
Reheat the sauce gently on the stove, adding a splash of water if it’s too thick. Reheat the chicken in an air fryer at 375°F for 3-4 minutes to restore crunch. Microwave only if you’re in a huge rush.
Freezing:
You can freeze the curry sauce for up to 3 months. Freeze in portions. Thaw in the fridge and reheat. Do not freeze the breaded chicken—it will get soggy and unpleasant.
Nutrition Information
I’m not a nutritionist, but here’s the breakdown if you’re tracking. This is a hearty meal, so portion control matters.
Per Serving (based on 4 servings):
- Calories: 650
- Protein: 35g
- Carbs: 70g
- Fiber: 4g
- Fat: 25g
Look, this is comfort food. It has carbs, fat, and protein. It’s not a diet meal, but it’s balanced enough for a weeknight dinner. If you want to lighten it up, use less oil for frying (bake the chicken in the oven instead) and use light roux if available.
Final Thoughts
So that’s my authentic Japanese chicken katsu curry! I’ve probably talked your ear off at this point, but when you make a recipe this often, you have a lot to say about it.
This has saved weeknight dinners more times than I can count. It’s my answer to “what’s for dinner” when I’m tired, don’t want takeout, and still want something that tastes really good. My kids are happy, my husband’s happy, and I’m happy because I’m not stressed about cooking.
Make it yours! Try different add-ins, swap in your favorite vegetables, adjust the spice level. The best recipes are the ones you adapt to your family’s tastes.
If you make this, drop a comment and let me know what you think! I love hearing how recipes turn out in your kitchen. And if something doesn’t work, tell me that too—I’m here to help troubleshoot.
Happy cooking! And I hope your kitchen smells half as good as mine does right now.
Frequently Asked Questions
Can I bake the chicken instead of frying it?
Yes! Brush the breaded chicken with a little oil and bake at 400°F (200°C) for 20-25 minutes, flipping halfway. It won’t be as crispy as frying, but it’s healthier and easier. Use a wire rack on the baking sheet for best results.
Why is my curry sauce too thin?
Let it simmer longer. The roux needs time to thicken. Also, make sure you’re using the right amount of liquid. If it’s still too thin, you can mix a little cornstarch with water and stir it in, but usually, just more simmering does the trick.
Can I make the curry ahead of time?
Absolutely. In fact, it tastes better the next day! The flavors meld together overnight. Make the sauce, let it cool, and store in the fridge. Reheat gently before serving.
What kind of rice should I use?
Short-grain Japanese rice (like Koshihikari) is best. It’s sticky and slightly sweet, perfect for soaking up the curry. Long-grain rice (like Basmati) is too fluffy and won’t hold the sauce well.
Can I use chicken breasts?
You can, but they dry out faster. If you use breasts, pound them thin and cook them for less time. Check the temperature frequently. Thighs are just more forgiving.
Is curry roux the same as curry powder?
No. Curry powder is just spices. Curry roux is a block of flour, fat, and spices blended together. It’s what gives the sauce its thick, stew-like consistency. You can’t substitute one for the other directly.
Pin This Recipe!
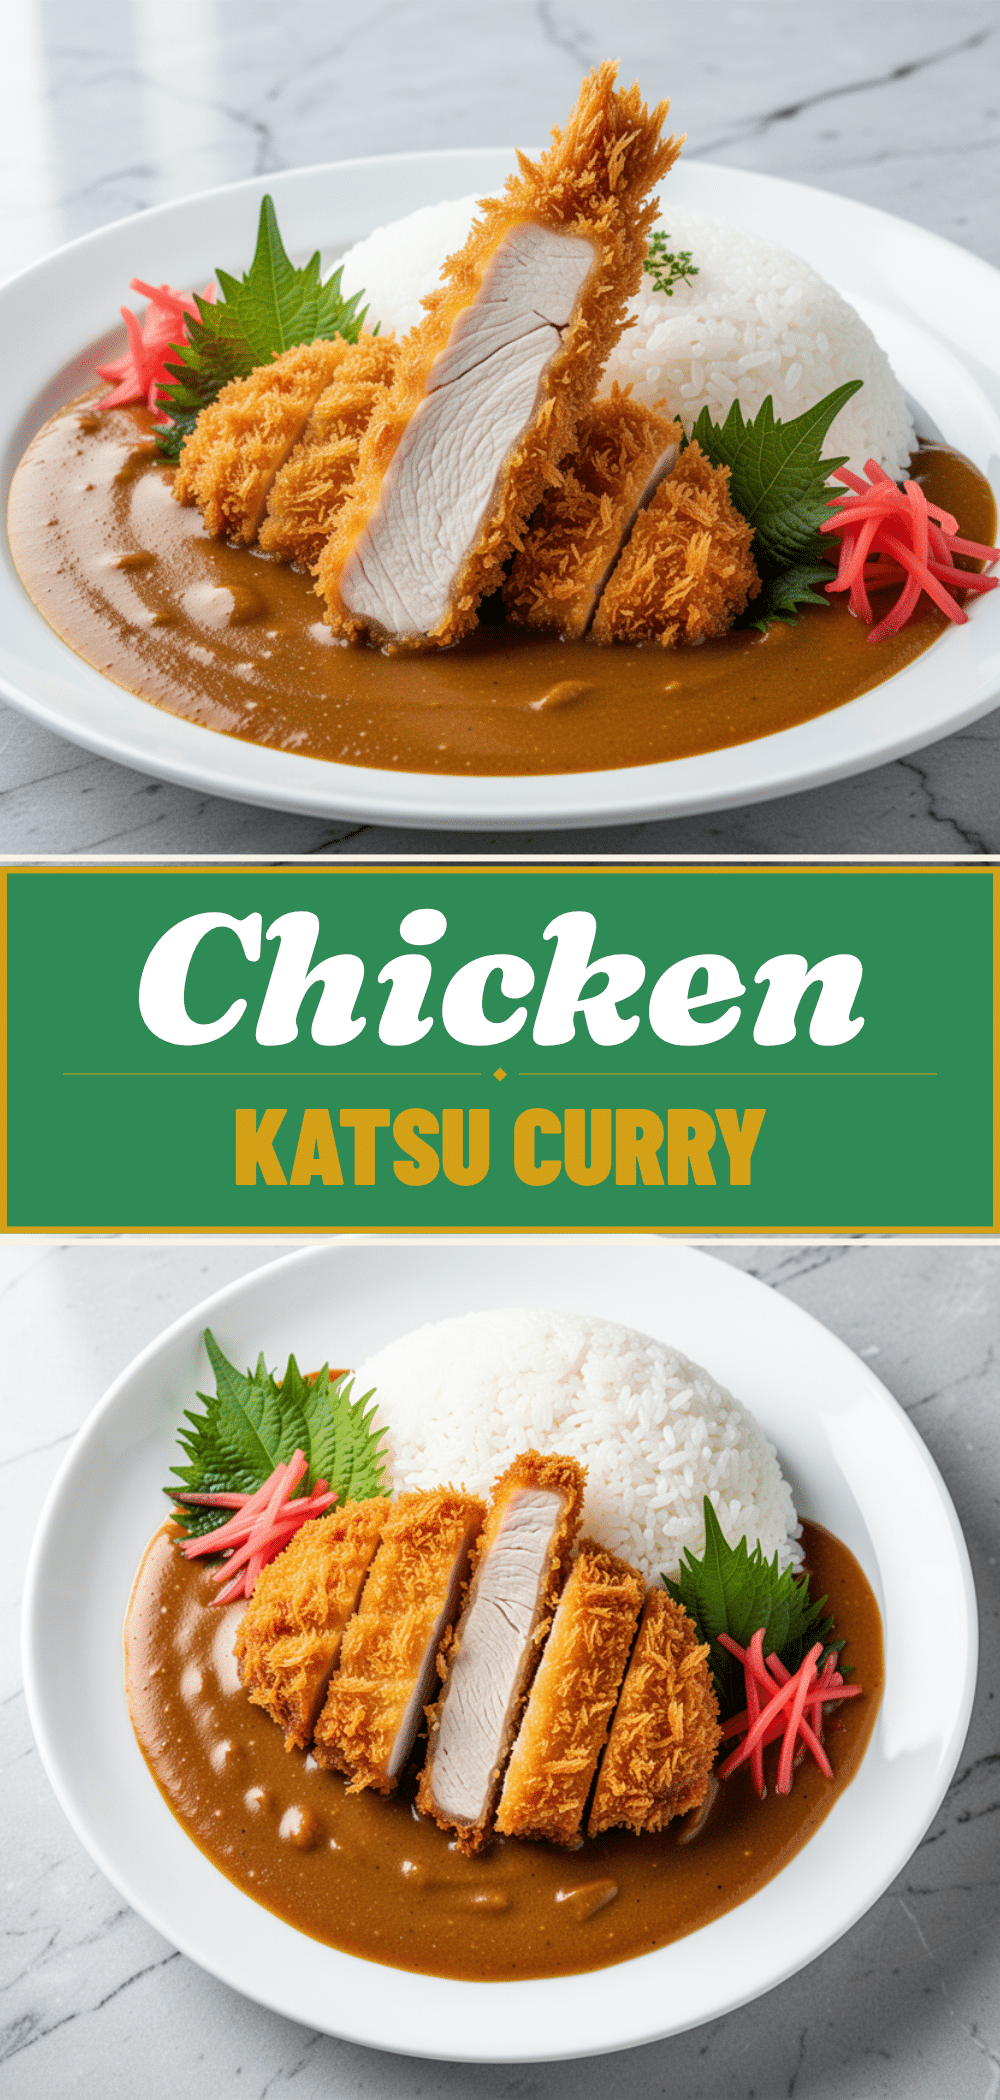
Authentic Japanese Chicken Katsu Curry: Easy Weeknight Dinner
- Total Time: 45 minutes
- Yield: 4 servings 1x
Description
A foolproof, crispy chicken katsu curry recipe that delivers restaurant-quality flavor at home. Featuring juicy fried chicken cutlets and a rich, sweet-savory curry sauce made with roux blocks, this meal is perfect for busy weeknights.
Ingredients
- 4 large boneless, skinless chicken thighs (about 600g)
- 1.5 cups (150g) panko breadcrumbs
- 1 cup (125g) all-purpose flour
- 2 large eggs, beaten with a splash of water or milk
- Salt and black pepper
- 1 cup (240ml) vegetable oil (for frying)
- 2 boxes (400g total) curry roux blocks (e.g., Vermont or Golden Curry)
- 1 large onion, thinly sliced
- 2 medium carrots, chopped into bite-sized chunks
- 2 medium potatoes, peeled and cubed
- 3 cups (720ml) low-sodium chicken broth
- 1 clove garlic, minced
- 1 tsp fresh ginger, grated
- 1 small apple, grated
- Steamed short-grain Japanese rice (for serving)
- Benishōga (pickled red ginger, optional)
- Shredded cabbage (for serving)
Instructions
- Heat a little oil in a large pot over medium heat. Add sliced onions and cook for 5-7 minutes until soft and translucent. Add garlic and ginger, cooking for 1 minute until fragrant.
- Add carrots, potatoes, and chicken broth. Bring to a boil, then reduce heat to low. Cover and simmer for 15-20 minutes until vegetables are tender.
- While vegetables simmer, pound chicken thighs between plastic wrap until about ½-inch thick. Season both sides generously with salt and pepper.
- Set up a breading station with three shallow bowls: one with flour, one with beaten eggs, and one with panko breadcrumbs.
- Dredge each chicken cutlet in flour, shaking off excess. Dip into egg wash, letting excess drip off. Press firmly into panko breadcrumbs to coat fully.
- Place breaded chicken on a plate and let rest for 5 minutes to help the coating set.
- Heat about 1 inch of oil in a large skillet over medium-high heat (aim for 350°F/175°C). Fry chicken for 3-4 minutes per side until golden brown and internal temperature reaches 165°F (74°C). Do not overcrowd the pan.
- Transfer fried chicken to a wire rack to drain.
- Once vegetables are tender, turn off the heat. Break curry roux blocks into pieces and stir into the pot until completely dissolved using residual heat.
- Stir in grated apple. Let sauce simmer on low for 5-10 minutes to thicken.
- Cut fried chicken into strips. Serve over steamed rice, topped with chicken strips and ladle hot curry sauce over everything. Garnish with pickled ginger and shredded cabbage.
Notes
Let the breaded chicken rest for 5-10 minutes before frying to prevent the panko from sliding off. Use short-grain Japanese rice for best texture. Curry roux blocks contain flour, fat, and spices; do not substitute with curry powder. For a lighter version, bake the chicken at 400°F for 20-25 minutes instead of frying.
- Prep Time: 20 minutes
- Cook Time: 25 minutes
- Category: Main Course
- Cuisine: Japanese
Nutrition
- Serving Size: 1 chicken cutlet, 1
- Calories: 650
- Fat: 25
- Carbohydrates: 70
- Fiber: 4
- Protein: 35
Keywords: Japanese chicken katsu curry, weeknight dinner, easy curry recipe, crispy chicken, homemade curry sauce, comfort food, family-friendly meals


