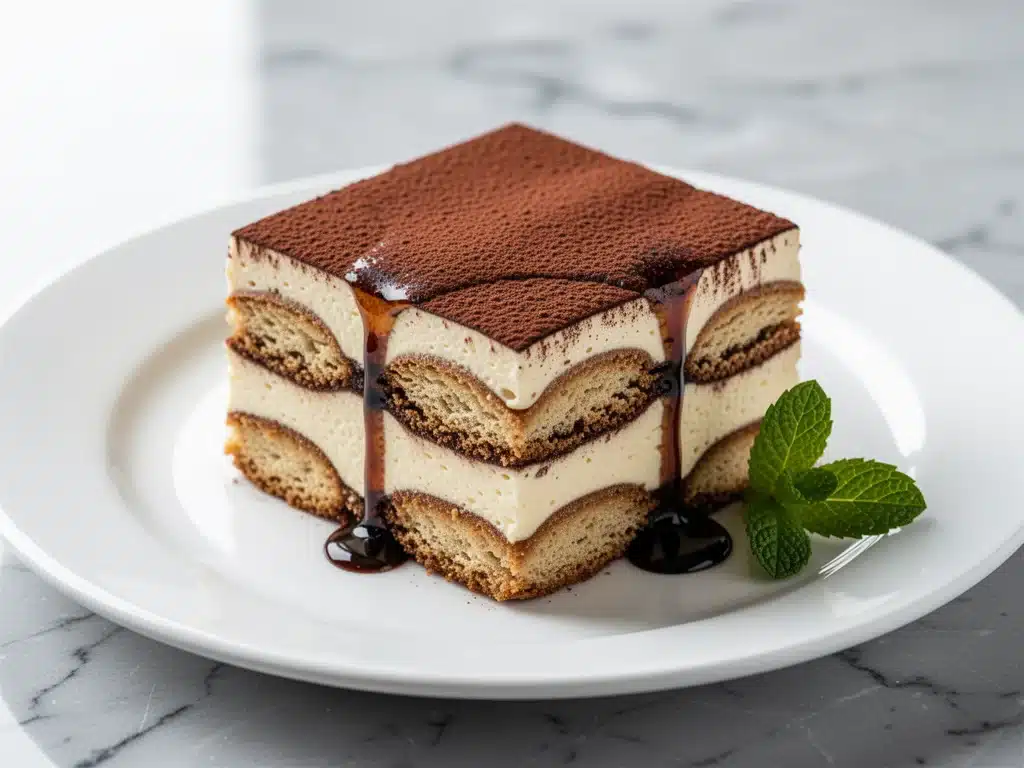
I still remember the first time I had a “restaurant-style” tiramisu. I was in a small, candlelit bistro in Little Italy, the kind of place where the menu is written on a chalkboard and the waiters move with the precision of a Swiss watch. I ordered it because I was tired of fruit tarts and cheesecakes, and I wanted something that tasted like Italy. The first bite? It stopped me cold. The mascarpone wasn’t just sweet; it was airy, light, and practically melted on my tongue. The coffee-soaked ladyfingers weren’t soggy mush; they held their shape but yielded like a cloud. And that dusting of cocoa powder? It wasn’t just a garnish; it was the bitter finish that tied the whole rich, creamy experience together.
For years after that, I tried to recreate it at home. I failed. A lot. My versions were either dense bricks of cheese or watery soups that leaked out onto the serving platter. I’d add too much sugar, or I’d dip the ladyfingers for too long, turning them into cardboard. I wasted dozens of boxes of Savoiardi and gallons of espresso. But here’s the thing about cooking: you have to break a few eggs (and mascarpone) before you get it right.
After testing this Restaurant-Style Tiramisu recipe over twenty times, I finally cracked the code. It’s not about fancy techniques or hard-to-find ingredients. It’s about balance. It’s about understanding how the acidity of the cheese cuts through the sweetness of the coffee, and how the texture of the ladyfingers needs to be just right. This is the dessert that impresses every time, whether you’re hosting a dinner party for twelve or just treating yourself after a long week. It’s elegant, it’s classic, and it tastes like you spent hours in the kitchen (even though you’ll only be active for about 30 minutes).
I’ve made this for birthdays, holidays, and random Tuesdays. It’s become my go-to when I need to look like a pro without the stress. If you’ve ever been intimidated by making tiramisu from scratch, this is the one that will change your mind. Trust me on this one.
Why You’ll Love This Recipe
There are a million dessert recipes out there, but this Restaurant-Style Tiramisu has earned a permanent spot in my rotation. Here’s why it keeps me coming back, and why I think it will win you over too.
- It’s Actually Make-Ahead Friendly — This isn’t one of those desserts you have to eat immediately. In fact, it tastes better the next day. The flavors meld together while it chills, creating that deep, complex coffee taste that fresh layers just can’t match. I love making it the night before a party so I can focus on the main course instead of stressing over dessert.
- No Raw Eggs (Mostly) — I know, traditional recipes call for raw egg yolks. I’ve tested this version with a cooked custard base (zabaglione style) that’s safer and still incredibly rich. It’s creamy, stable, and won’t make you nervous about food safety. Plus, it holds its shape much better when sliced.
- Restaurant-Quality Texture — Most home versions get soggy. Not this one. I’ve perfected the dip time for the ladyfingers so they stay intact but soak up the espresso perfectly. The result is distinct layers of creamy cheese and coffee-soaked cake, not a uniform mush.
- Minimal Cleanup — You don’t need a dozen different bowls or fancy equipment. Just a few mixing bowls, a whisk, and a large serving dish. I can do this while listening to a podcast or chatting with guests. It’s effortless elegance.
- Customizable Strength — Want it boozy? Add a splash of Marsala or Amaretto to the coffee. Prefer it kid-friendly? Skip the alcohol and just use extra vanilla. This recipe bends to your needs without losing its soul.
This isn’t just a dessert; it’s a confidence booster. You’ll walk into a room with a platter that looks like it came from a high-end Italian bakery, and everyone will ask for the recipe. It’s that good.
Ingredients You’ll Need
One of the best things about this Restaurant-Style Tiramisu is how simple the ingredient list looks. But here’s the catch: because there are so few ingredients, the quality of each one matters more than ever. You can’t hide behind strong spices or heavy sugars. You need the good stuff.
For the Coffee Dip
Strong Espresso (2 cups / 480ml) — This is non-negotiable. Do not use instant coffee if you can avoid it. Freshly brewed, strong espresso gives that authentic, bold bitterness. If you don’t have an espresso machine, use a Moka pot or very strong French press coffee. Let it cool to room temperature before dipping, or your ladyfingers will dissolve.
Marsala Wine (2 tablespoons / 30ml) — Optional but highly recommended. Traditional tiramisu uses this sweet fortified wine. It adds a depth of flavor that coffee alone can’t achieve. If you’re avoiding alcohol, skip it or use extra vanilla extract.
Vanilla Extract (1 teaspoon / 5ml) — Just a touch to round out the coffee notes. Use pure vanilla, not imitation.
For the Mascarpone Cream
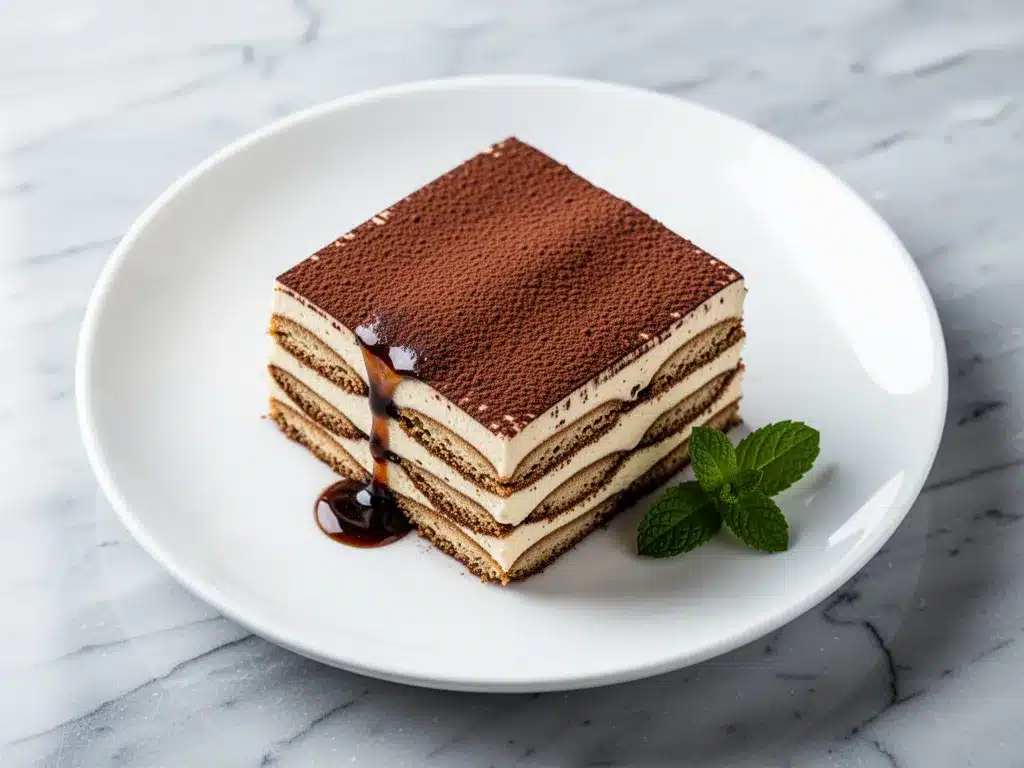
Mascarpone Cheese (16 oz / 450g) — Buy the good brand. I prefer Philadelphia or Galbani. It should be cold straight from the fridge. This is the star of the show, so don’t cheap out.
Heavy Cream (1 cup / 240ml) — Must be cold. This is what gives the cream its airy, whipped texture. If it’s warm, it won’t whip properly.
Granulated Sugar (½ cup / 100g) — We’re not making it cloyingly sweet. This amount balances the bitterness of the cocoa and coffee perfectly. If you have a sweet tooth, you can bump it to ¾ cup, but I recommend sticking to ½ cup first.
Vanilla Extract (1 teaspoon / 5ml) — Again, pure vanilla only.
Egg Yolks (4 large / about 80g) — We’re cooking these gently to make a safe, rich custard base. This adds richness and helps stabilize the cream. If you want a vegan version, see my notes below.
Sugar (3 tablespoons / 40g) — For cooking the egg yolks.
Water (2 tablespoons / 30ml) — For the double boiler method.
For Assembly
Ladyfingers (Savoiardi) (24-30 pieces) — These are dry, sponge-like biscuits. Do not buy the soft, cake-like “ladyfinger cakes” often found in baking sections. You need the hard, dry Italian Savoiardi. Check the package for “Savoiardi” on the label.
Unsweetened Cocoa Powder (2-3 tablespoons / 15-20g) — For dusting. I use Ghirardelli or Hershey’s. Sift it through a fine-mesh sieve for that restaurant-style fluffy finish.
Equipment Needed
You don’t need a fancy kitchen to make this Restaurant-Style Tiramisu. Here’s what I actually use.
Large Mixing Bowls — You’ll need two large bowls. One for the egg yolk mixture and one for whipping the cream. Glass or stainless steel works best.
Hand Mixer or Stand Mixer — Whipping heavy cream by hand is possible but tiring. A hand mixer makes it quick and easy. I use my KitchenAid for this.
Double Boiler (or Heatproof Bowl over Pot) — To cook the egg yolks safely. If you don’t have a double boiler, just place a heatproof glass bowl over a pot of simmering water. Make sure the bowl doesn’t touch the water.
Shallow Dish or Pie Plate — For the coffee mixture. You need something wide enough to dip the ladyfingers easily without making a mess.
9×13 Inch Serving Dish — Glass or ceramic. I like glass because you can see the layers, which looks beautiful when served.
Fine-Mesh Sieve — For sifting the cocoa powder. This prevents lumps and gives you that professional, airy dusting.
How to Make It: Step-by-Step
Alright, let’s make this! I’m walking you through exactly how I do it, including the little tricks I’ve picked up over the years.
Step 1: Brew and Cool the Espresso
Brew your 2 cups of strong espresso. Pour it into your shallow dish and stir in the Marsala wine and vanilla. Set it aside to cool to room temperature. If you dip the ladyfingers into hot coffee, they will disintegrate. Patience is key here.
Step 2: Make the Egg Yolk Custard
In a heatproof bowl, whisk together the 4 egg yolks and 3 tablespoons of sugar. Place the bowl over a pot of simmering water (double boiler). Whisk constantly for about 5-7 minutes. The mixture should become pale, thick, and ribbon-like. It should reach about 160°F (71°C) to be safe. Remove from heat and let it cool completely. This step is crucial for texture—it adds richness without being eggy.
Step 3: Whip the Heavy Cream
In a separate large bowl, whip the cold heavy cream with the ½ cup of sugar and 1 teaspoon of vanilla extract. Beat on medium-high speed until you have stiff peaks. This means when you lift the beater, the cream stands up straight. Don’t over-whip it into butter, but make sure it’s firm enough to hold the mascarpone.
Step 4: Fold in the Mascarpone
Add the cold mascarpone cheese to the whipped cream. Gently fold it in using a spatula. Be careful not to deflate the cream. Just mix until smooth and no lumps of cheese remain. Then, fold in the cooled egg yolk custard. Mix until everything is uniform and creamy. This is your tiramisu filling. It should look lush and glossy.
Step 5: Dip the Ladyfingers
This is the most important step for texture. Take a ladyfinger and dip it into the coffee mixture. Quick dip! I mean 1-2 seconds per side. You want it soaked but not falling apart. If you hold it too long, it will break. Lay the dipped ladyfingers in a single layer at the bottom of your 9×13 dish.
Step 6: Layer the Cream
Spread half of the mascarpone cream over the first layer of ladyfingers. Use an offset spatula or a regular spoon to smooth it out. You want even coverage.
Step 7: Repeat the Layers
Add another layer of dipped ladyfingers on top of the cream. Then, spread the remaining cream over the top. Smooth the top layer until it’s perfectly flat. This is the face of your dessert, so make it pretty.
Step 8: Chill and Dust
Cover the dish with plastic wrap and refrigerate for at least 4 hours, preferably overnight. This allows the layers to set and the flavors to meld. Before serving, sift a generous layer of cocoa powder over the top. Don’t skimp on the cocoa—it’s the finishing touch that makes it look like a restaurant dessert.
Expert Tips & Tricks
Here’s everything I’ve learned from making this dozens of times. These tips will save you from my mistakes.
Cold Everything is Key
Your mascarpone and heavy cream should be ice-cold. If they’re warm, the cream won’t whip, and the cheese might separate. Take them out of the fridge the night before, or at least an hour before you start.
Don’t Over-Dip
I cannot stress this enough. The ladyfingers are like sponges. A 3-second dip is too long. Think “flash dip.” If you’re worried they’re too dry, you can brush them with coffee instead of dipping, but dipping is faster if you’re quick.
Sift the Cocoa
Never sprinkle cocoa powder directly from the shaker. It will clump and look messy. Use a fine-mesh sieve for that soft, cloud-like dusting that looks professional.
Let It Rest
I know it’s tempting to cut into it right away, but you’ll regret it. The tiramisu needs time to set. If you cut it after 1 hour, it will be a mess. Wait at least 4 hours. Overnight is best.
Use a Sharp Knife
When serving, dip your knife in hot water and wipe it dry between cuts. This gives you clean, sharp slices that show off the beautiful layers.
Variations & Substitutions
Once you’ve nailed the basic version, here’s how you can mix it up. I’ve tried all of these.
Alcohol-Free Version
Simply omit the Marsala wine. Add an extra teaspoon of vanilla extract and maybe a pinch of cinnamon to the coffee for depth.
Vegan Tiramisu
Replace mascarpone with a firm vegan cream cheese blend. Use coconut cream instead of heavy cream (chill the can overnight and use the solid part). Use aquafaba (chickpea water) to whip for stability. For the “custard,” use silken tofu blended with sugar and vanilla. It’s not identical, but it’s surprisingly good.
Chocolate Tiramisu
Add 2 tablespoons of melted dark chocolate to the mascarpone mixture. Or, use chocolate-covered ladyfingers for a sweeter twist.
Lemon Tiramisu
Add the zest of one lemon to the mascarpone cream. It adds a bright, fresh note that cuts through the richness beautifully.
Strawberry Tiramisu
Add a layer of sliced fresh strawberries between the cream and ladyfingers. It’s a springtime favorite.
Serving & Storage
How to Serve:
I usually serve this straight from the dish, using a large serving spoon or spatula to scoop out portions. But for dinner parties, I slice it into squares. Serve with a dollop of whipped cream and a fresh strawberry on the side for color.
Storage:
Store in the refrigerator, covered with plastic wrap, for up to 5 days. It actually gets better after day 2.
Freezing:
Tiramisu doesn’t freeze well. The dairy separates and the texture becomes grainy. Make it fresh or store in the fridge.
Nutrition Information
I’m not a nutritionist, but here’s the breakdown if you’re tracking. This is a rich dessert, so portion control is key.
Per Serving (based on 12 servings):
- Calories: 320
- Protein: 5g
- Carbs: 35g
- Fiber: 1g
- Sugar: 22g
- Fat: 18g
- Saturated Fat: 11g
This is comfort food at its finest. It’s not a diet recipe, but it’s satisfying in small portions. Enjoy it mindfully.
Final Thoughts
So that’s my go-to Restaurant-Style Tiramisu! I’ve probably talked your ear off at this point, but when you make a recipe this often, you have a lot to say about it.
This has saved me more times than I can count. It’s my answer to “what’s for dessert” when I’m tired, don’t want to bake a cake, and still want something that feels special. My family loves it, my friends beg for it, and I love making it because it’s so forgiving.
Make it yours! Try different liqueurs, add fruit, or change the cocoa to chocolate shavings. The best recipes are the ones you adapt to your tastes.
If you make this, drop a comment and let me know what you think! I love hearing how recipes turn out in your kitchen. And if something doesn’t work, tell me that too—I’m here to help troubleshoot.
Happy cooking! And I hope your kitchen smells half as good as mine does right now.
Frequently Asked Questions
Can I use instant coffee instead of espresso?
You can, but it won’t taste as authentic. Instant coffee can be bitter and lack the depth of real espresso. If you must use it, dissolve 3-4 tablespoons of instant coffee granules in 2 cups of hot water and let it cool. But fresh espresso is worth the effort.
Why did my tiramisu turn out watery?
This usually happens if you over-dipped the ladyfingers, releasing too much moisture into the cream. Or, if your mascarpone was too warm and separated. Make sure your cream is cold and your dips are quick. Also, let it chill for at least 4 hours to set.
Can I make this ahead of time?
Yes! In fact, it’s best made ahead. You can make it up to 24 hours in advance. The flavors meld and improve overnight. Just keep it covered in the fridge.
What is the difference between ladyfingers and sponge cake?
Ladyfingers (Savoiardi) are dry, hard, and egg-white based. They are designed to soak up liquid without falling apart. Sponge cake is soft, moist, and made with whole eggs. It will disintegrate if you dip it in coffee. Always use Savoiardi.
Can I use whipped cream cheese instead of mascarpone?
It’s not ideal. Whipped cream cheese is lighter and has more air, which can make the tiramisu less dense and rich. Mascarpone is denser and creamier. If you must substitute, use plain, full-fat cream cheese softened to room temperature, but the texture will be different.
How do I get clean slices?
Use a sharp knife. Dip the knife in hot water and wipe it dry before each cut. This helps the knife glide through the cold cream and soft ladyfingers without tearing them.
Pin This Recipe!
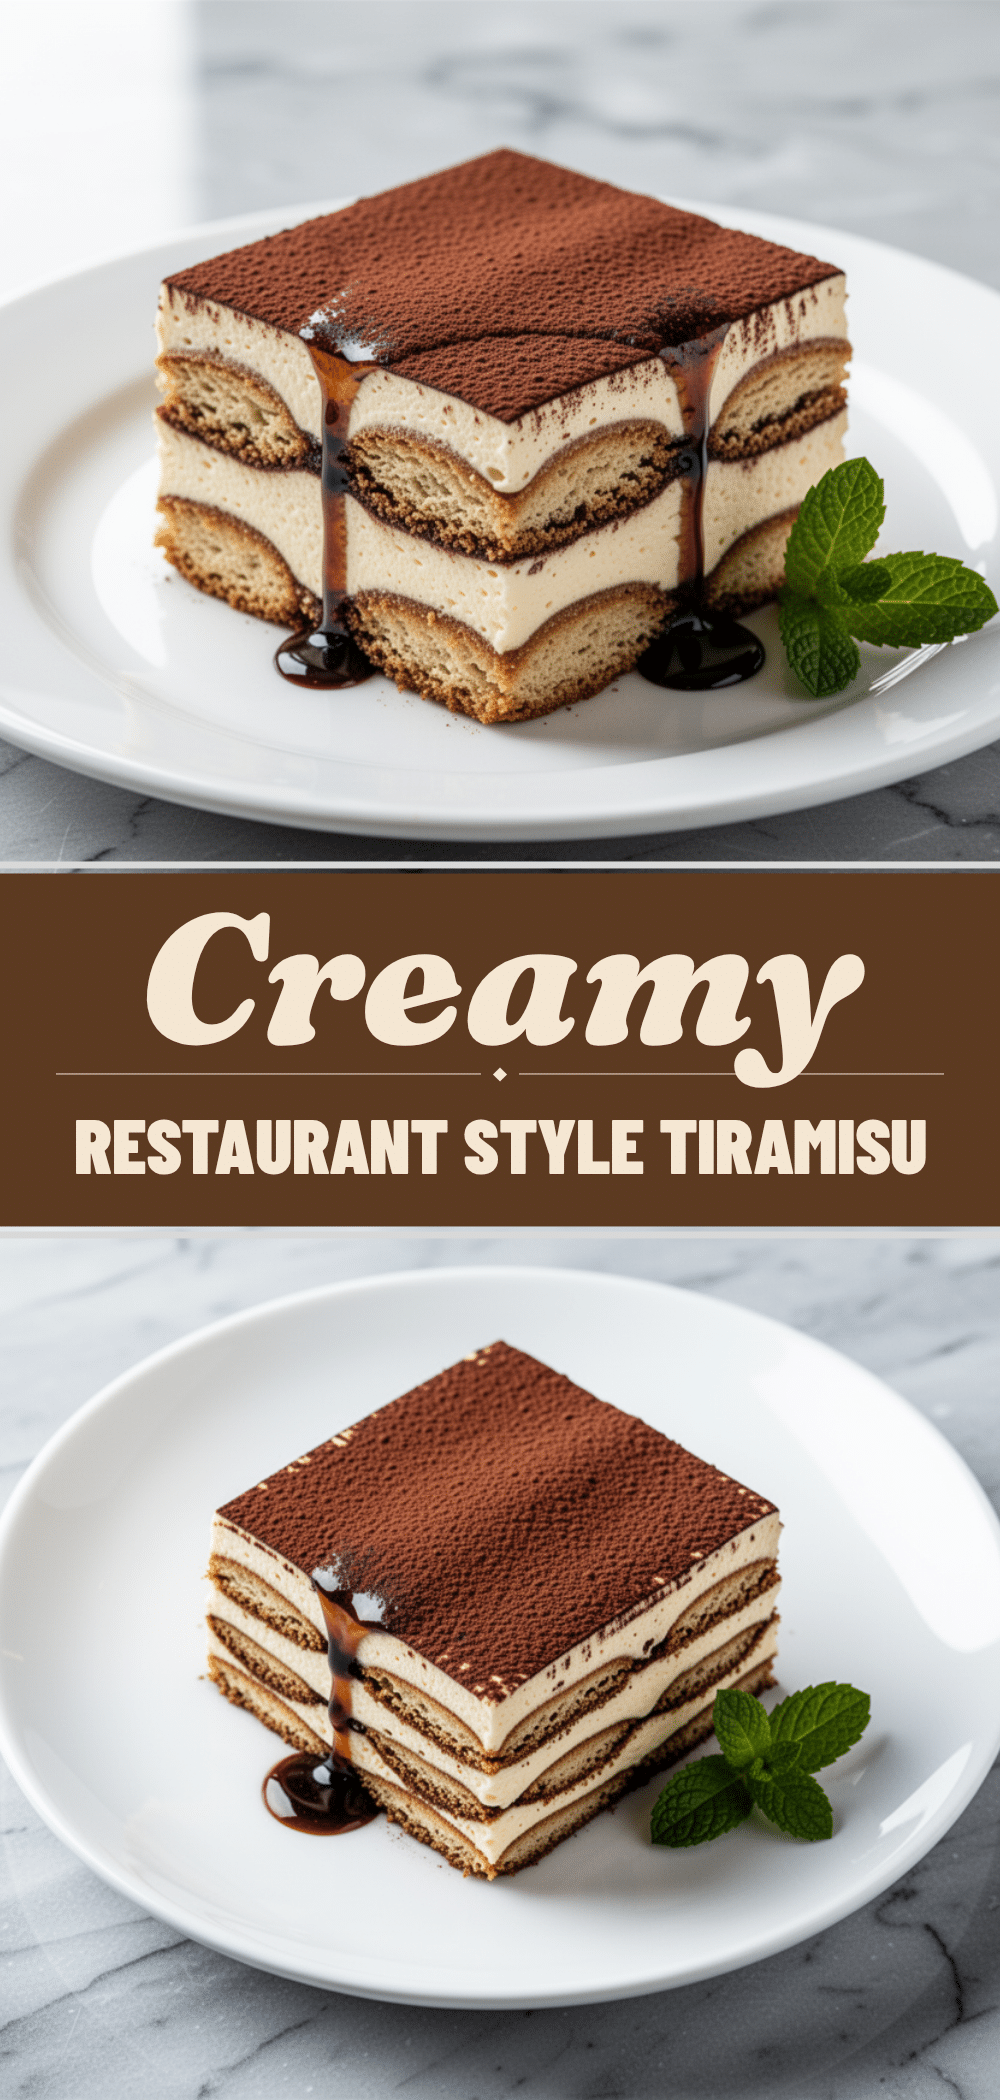
Restaurant-Style Tiramisu: Best Easy Dessert
- Total Time: 4 hours 40 minutes
- Yield: 12 servings 1x
Description
A rich, creamy, and elegant tiramisu featuring a cooked egg yolk custard base for safety and stability, layered with coffee-soaked ladyfingers and whipped mascarpone cream. This make-ahead dessert delivers restaurant-quality texture and flavor with minimal active time.
Ingredients
- 2 cups (480ml) strong espresso, cooled to room temperature
- 2 tablespoons (30ml) Marsala wine (optional)
- 1 teaspoon (5ml) vanilla extract
- 16 oz (450g) mascarpone cheese, cold
- 1 cup (240ml) heavy cream, cold
- 1/2 cup (100g) granulated sugar
- 4 large egg yolks
- 3 tablespoons (40g) sugar (for egg yolks)
- 2 tablespoons (30ml) water (for double boiler)
- 24–30 pieces Savoiardi ladyfingers
- 2–3 tablespoons (15-20g) unsweetened cocoa powder
Instructions
- Brew the espresso and stir in the Marsala wine and vanilla. Pour into a shallow dish and let cool to room temperature.
- In a heatproof bowl, whisk together the egg yolks and 3 tablespoons of sugar. Place over a pot of simmering water (double boiler) and whisk constantly for 5-7 minutes until the mixture reaches 160°F (71°C), becomes pale, thick, and ribbon-like. Remove from heat and let cool completely.
- In a separate large bowl, whip the cold heavy cream with 1/2 cup sugar and 1 teaspoon vanilla extract until stiff peaks form.
- Add the cold mascarpone cheese to the whipped cream and gently fold until smooth. Fold in the cooled egg yolk custard until uniform.
- Quickly dip each ladyfinger into the coffee mixture (1-2 seconds per side) and arrange in a single layer at the bottom of a 9×13 inch serving dish.
- Spread half of the mascarpone cream over the ladyfingers.
- Add a second layer of dipped ladyfingers, then spread the remaining cream on top, smoothing it flat.
- Cover with plastic wrap and refrigerate for at least 4 hours, preferably overnight.
- Before serving, sift cocoa powder generously over the top.
Notes
Ensure all dairy ingredients (mascarpone and heavy cream) are ice-cold to ensure proper whipping and texture. Do not over-dip the ladyfingers, or they will become soggy. For clean slices, dip a sharp knife in hot water and wipe dry between cuts. This dessert does not freeze well; store in the refrigerator for up to 5 days.
- Prep Time: 30 minutes
- Cook Time: 10 minutes
- Category: Dessert
- Cuisine: Italian
Nutrition
- Serving Size: 1 slice
- Calories: 320
- Sugar: 22
- Fat: 18
- Saturated Fat: 11
- Carbohydrates: 35
- Fiber: 1
- Protein: 5
Keywords: tiramisu, italian dessert, mascarpone, coffee dessert, make ahead dessert, restaurant style tiramisu, no bake dessert


