There was a phase in my life where I thought baking had to be perfect. I’m talking about the kind of perfect where every chocolate chip cookie is the exact same shade of golden brown, every edge is crisp, and the center is soft but not doughy. I spent weekends rolling out dough, chilling it for hours, and cutting out shapes with cookie cutters that were way too complicated for a Tuesday night.
Then came the party disaster of 2019. I was making 200 sugar cookies for my niece’s birthday party. I spent three days icing them. Delicate, intricate designs. And what happened? They cracked. They broke in the box. The humidity in my kitchen did them in. I ended up with a pile of cookie shards and a very disappointed five-year-old. That was the moment I realized I didn’t want perfection. I wanted joy. I wanted something easy to make, easy to eat, and impossible to mess up.
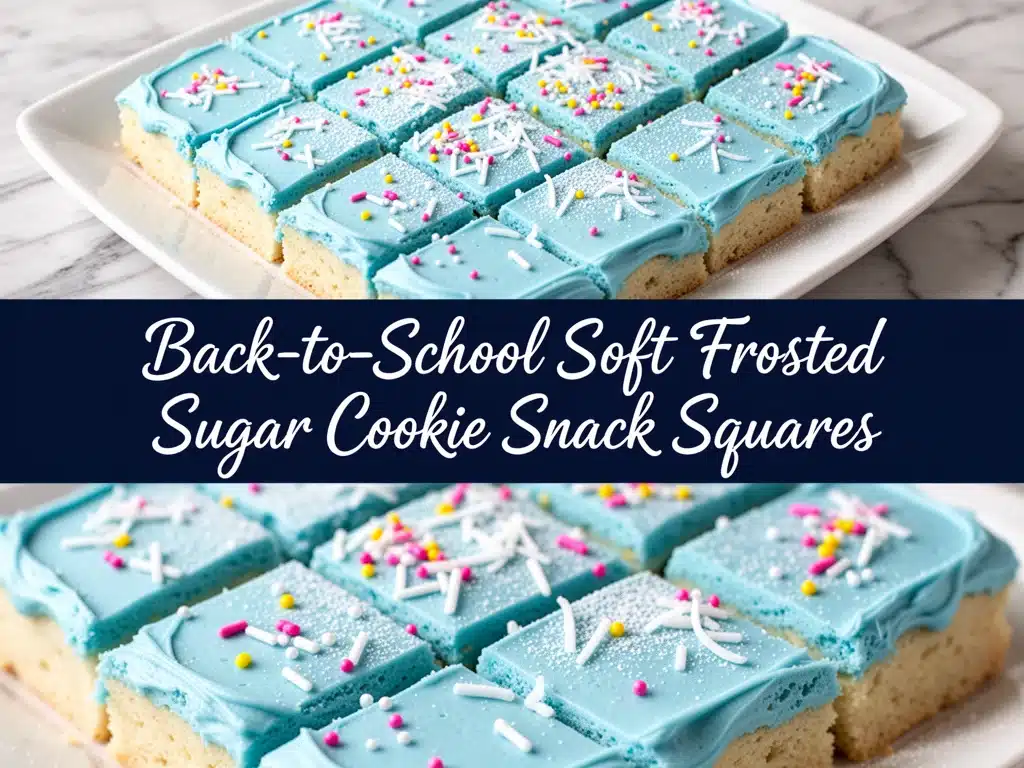
That’s when I discovered the magic of Soft Frosted Sugar Cookie Snack Squares. Instead of individual cookies that require patience and precision, I started pressing the dough into a pan, baking it in one big batch, and slicing it into neat little squares. It’s the same flavor profile—buttery, sweet, vanilla-forward—but the texture is completely different. It’s softer, more cake-like, and the frosting covers every single bite, so you can’t have a “bad” cookie.
I’ve made these squares at least fifteen times in the last year. They’ve been at potlucks, school bake sales (where they vanished in minutes), and late-night snack sessions when I just needed a sugar fix. They’re my answer to “what can I bring that’s impressive but doesn’t take all day?” And the best part? You’ll make them on repeat because they’re genuinely addictive. The frosting-to-cookie ratio is scientifically optimized for happiness.
Why You’ll Love This Recipe
I know, I know. There are a million sugar cookie recipes out there. But this one? It’s different. It’s not about rolling and cutting. It’s about convenience, consistency, and that irresistible chewy-soft texture that melts in your mouth. Here’s why these squares have taken over my kitchen:
- Zero Rolling Required — Seriously. If you can spread butter, you can make these. I’ve made these while helping my kids with homework because I never have to leave the counter. No rolling pins, no chilling time, no mess.
- Uniform Results Every Time — When you bake in a pan, every square is the same size and bakes evenly. No more burnt edges and raw centers. My first batch of round cookies was a disaster; my first batch of squares was perfect.
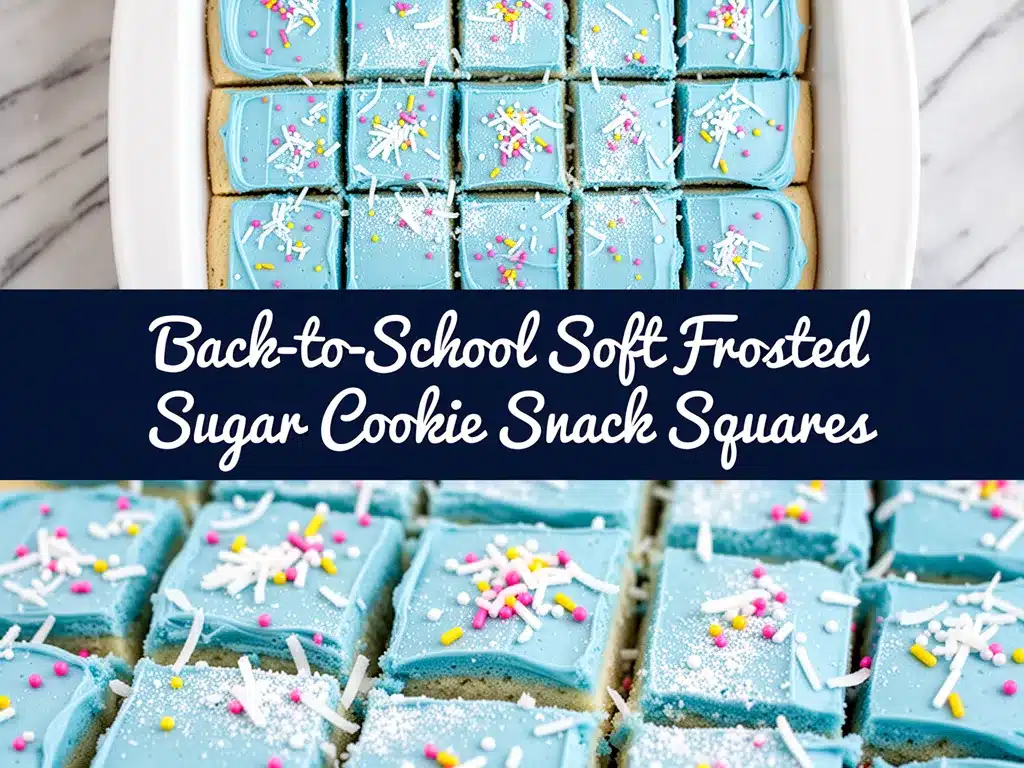
- Frosting Heaven — The frosting is thick, creamy, and covers the entire surface. It’s not just a drizzle; it’s a layer of sweetness that complements the mild cookie dough. It’s like eating a sugar cookie bar from a fancy bakery, but homemade.
- Meal-Prep Friendly — I make these on Sunday and they last all week in the fridge. They actually get softer and more flavorful as they sit. I pack them in my lunchbox three times a week. They don’t get stale.
- Crowd-Pleaser Status — I’ve served these to picky eaters, gluten-free friends (with a simple swap), and adults who think they “don’t like sweets.” Everyone goes back for seconds. Even the people who claim they’re on a diet sneak one.
These squares are my go-to when I need a win in the kitchen. They’re reliable, delicious, and make me feel like a baking pro without the stress. If you’ve ever struggled with traditional sugar cookies, this is your redemption arc.
Ingredients You’ll Need
Here’s the best part: you probably have most of these ingredients already. This isn’t a recipe that requires a trip to three different specialty stores. It’s pantry-friendly, simple, and straightforward. I’m particular about a few things here, but mostly, it’s about quality control on the basics.
For the Cookie Squares
Unsalted butter (1 cup / 226g, softened) — This is the base of your flavor. Use real butter, not margarine. Margarine has too much water and makes the texture greasy. I use unsalted so I can control the salt level. Let it soften at room temperature for 30 minutes—don’t microwave it!
Granulated sugar (1 ½ cups / 300g) — Standard white sugar gives that classic sugar cookie crunch and sweetness. Don’t substitute with brown sugar here; you’ll get a gingerbread-like flavor. We want clean, sweet vanilla.
Light brown sugar (½ cup / 100g, packed) — This adds a hint of molasses depth and keeps the squares chewy. It’s the secret to the soft texture. Without it, they’d be more cake-like.
Large eggs (2 large, room temperature) — Room temp eggs emulsify better with the butter and sugar. Cold eggs can cause the mixture to curdle. I take them out of the fridge when I start prepping.
Vanilla extract (2 teaspoons) — Use pure vanilla, not imitation. I know it’s pricey, but in a sugar cookie, vanilla is the star. I use Nielsen-Massey or extract from a local brand. It makes a huge difference.
All-purpose flour (3 ½ cups / 440g) — Don’t overmeasure! Spoon the flour into your measuring cup and level it off. Packing it down will make dense, tough squares. I sift mine just to be safe, but it’s not strictly necessary.
Baking powder (1 ½ teaspoons) — This gives the squares a slight lift. Unlike round cookies that spread, these need to rise a bit to get that tender crumb.
Salt (1 teaspoon) — Essential for balancing the sweetness. Don’t skip it, even if you like sweet treats. It makes the vanilla flavor pop.
For the Vanilla Frosting
Unsalted butter (½ cup / 113g, softened) — Same rule as above. Softened, not melted.
Confectioners’ sugar (4 cups / 500g, sifted) — I can’t stress this enough: SIFT IT. Lumps in powdered sugar are the enemy of smooth frosting. I use a fine-mesh sieve and press it through. Takes 2 minutes, worth every second.
Heavy cream (3-4 tablespoons) — Adds richness and helps achieve the right consistency. I start with 3 tablespoons and add more if needed. Whole milk works too, but heavy cream makes it richer.
Vanilla extract (2 teaspoons) — Double the vanilla here because it’s the main flavor. You want it to smell like a bakery.
Salt (¼ teaspoon) — Just a pinch to cut the sweetness.
Optional Add-Ins
Food coloring — Gel paste works best. A little goes a long way. I use pastel pinks, blues, and yellows for fun. Liquid coloring makes the frosting too runny.
Sprinkles — Jimmies or nonpareils. I sprinkle them on right after frosting so they stick.
Equipment Needed
You don’t need fancy gadgets for this. Here’s what I actually use in my kitchen:
9×13 inch baking pan — Grease it well. I use butter and a little flour, or non-stick spray. This is the standard size for bars. If you use a smaller pan, the squares will be thicker and bake differently.
Electric mixer — Handheld or stand mixer. You need to cream the butter and sugar until fluffy. Doing this by hand is possible but takes 10 minutes of arm workout. I let the mixer do the work.
Rubber spatula — For scraping the bowl and folding in the flour. Silicone spatulas are best because they get every bit of batter out.
Offset spatula — For spreading the frosting. It makes the job so much easier than a regular spoon. I have a cheap one from IKEA that works perfectly.
Sharp knife or pizza cutter — For slicing the squares after they’ve cooled. A pizza cutter is surprisingly effective for clean cuts.
Sieve or sifter — For the powdered sugar. Don’t skip this step.
How to Make It: Step-by-Step
Alright, let’s make these! I’m walking you through exactly how I do it, including the little tricks I’ve picked up over dozens of batches.
Step 1: Prep Your Pan and Oven (5 minutes)
Preheat your oven to 350°F (175°C). Grease your 9×13 inch baking pan thoroughly. I line the bottom with parchment paper for easy removal later, but it’s not mandatory. Just make sure the corners are greased well—those are the spots that stick.
Step 2: Cream the Butter and Sugars (3-4 minutes)
In a large bowl, beat the softened butter, granulated sugar, and brown sugar together on medium-high speed. You’re looking for a light, fluffy texture, about 3-4 minutes. The mixture should look pale and airy. This step incorporates air, which makes the squares tender. Don’t rush this!
Step 3: Add Eggs and Vanilla (2 minutes)
Add the eggs one at a time, beating well after each addition. Scrape down the sides of the bowl with your spatula. Add the vanilla extract and mix until combined. The mixture might look slightly curdled at first—that’s normal. It’ll come together when you add the flour.
Step 4: Mix in Dry Ingredients (2 minutes)
In a separate bowl, whisk together the flour, baking powder, and salt. Gradually add the dry ingredients to the wet mixture, mixing on low speed. Stop as soon as the flour disappears. Overmixing develops gluten, which makes the squares tough. You want them soft and tender.
Step 5: Spread and Bake (25-30 minutes)
Spread the batter evenly into your prepared pan. Use a wet spatula or your fingers to press it into the corners. Bake for 25-30 minutes. The edges should be lightly golden, and the center should be set but still slightly soft. It will firm up as it cools. Don’t overbake!
Step 6: Cool Completely (30 minutes)
Let the squares cool in the pan on a wire rack. This is crucial. If you frost warm squares, the frosting will melt and slide off. I usually make the frosting while the squares cool, but you can do it ahead.
Step 7: Make the Frosting (5 minutes)
Beat the softened butter until creamy. Add the sifted powdered sugar, vanilla, and salt. Beat on low until combined, then increase to high speed and beat for 2-3 minutes until fluffy. Add heavy cream one tablespoon at a time until you reach your desired consistency. It should be thick enough to hold peaks but soft enough to spread easily.
Step 8: Frost and Slice (5 minutes)
Spread the frosting evenly over the cooled squares. Use an offset spatula for a smooth finish. Sprinkle with colored sugar or sprinkles if desired. Let the frosting set for 15 minutes, then slice into squares. I cut them into 24 pieces, but you can make them bigger or smaller.
Expert Tips & Tricks
Here’s everything I’ve learned from making these dozens of times. These tips will save you from my mistakes.
Don’t Overmix the Batter — This is the #1 mistake. Once you add the flour, mix just until combined. Overmixing leads to tough, chewy squares instead of soft, cake-like ones. I’ve ruined batches this way. Trust me, less is more.
Sift Your Powdered Sugar — I know it’s tedious, but lumpy frosting is a disaster. I use a fine-mesh sieve and press it through. If you’re in a rush, you can pulse it in a blender, but sifting is foolproof.
Room Temperature Ingredients — Cold butter and eggs won’t cream properly. Take them out 30 minutes before you start. If you forget, soften butter in the microwave in 5-second bursts. Don’t melt it!
Cool Completely Before Frosting — I’ve been guilty of rushing this. Warm squares + frosting = melted mess. Let them cool for at least 30 minutes. The squares will firm up, making slicing easier.
Use Gel Food Coloring — Liquid coloring adds water, which can thin out your frosting. Gel paste gives vibrant color without affecting texture. A little goes a long way.
Store Properly — Keep them in an airtight container at room temperature for up to 3 days. In the fridge for up to 5 days. They last longer in the fridge, but let them come to room temperature before eating for the best texture.
Variations & Substitutions
Once you’ve nailed the basic version, here’s how you can mix it up. I’ve tried all of these.
Lemon Sugar Squares — Swap the vanilla extract for lemon zest and lemon juice in the frosting. Add 1 teaspoon of lemon extract to the batter. Bright and refreshing.
Chocolate Chip Squares — Fold 1 cup of chocolate chips into the batter before baking. They’re like brownie-cookie bars. My kids’ favorite.
Gluten-Free Version — Use a 1:1 gluten-free flour blend. I’ve used Bob’s Red Mill and Cup4Cup, both work great. Add ½ teaspoon of xanthan gum if your blend doesn’t include it.
Dairy-Free Option — Use dairy-free butter and heavy cream substitute (like coconut cream). The flavor is slightly different, but still delicious.
Red Velvet — Add 1 tablespoon of cocoa powder and 1 teaspoon of red gel food coloring to the batter. Top with cream cheese frosting for a twist.
Mini Squares — Press the batter into a mini muffin tin and bake for 12-15 minutes. Great for parties and portion control.
Serving & Storage
These squares are versatile and easy to serve. I usually cut them into 2×2 inch squares, but you can make them bigger for a dessert or smaller for a snack.
How to Serve
I serve these at room temperature. They’re soft, chewy, and the frosting is perfectly spreadable. They go well with coffee, tea, or milk. I’ve served them at baby showers, birthday parties, and office potlucks. They’re always a hit.
Storage Instructions
Room Temperature: Store in an airtight container for up to 3 days. Place parchment paper between layers if stacking.
Refrigerator: Store for up to 5 days. They’ll be firmer but still delicious. Let them sit out for 15 minutes before eating.
Freezer: Yes, you can freeze them! Freeze the unfrosted squares for up to 3 months. Thaw, then frost. Or freeze frosted squares for up to 2 months. Thaw in the fridge overnight. They might lose a bit of texture, but still taste good.
Pro Tip: If your frosting gets too hard in the fridge, let it sit at room temperature for 10 minutes. It’ll soften up.
Nutrition Information
I’m not a nutritionist, but here’s the breakdown if you’re tracking. Keep in mind that these are treats, so portion control is key.
Per square (based on 24 servings):
- Calories: 220
- Protein: 2g
- Carbs: 32g
- Fiber: 0g
- Sugar: 24g
- Fat: 10g
- Saturated Fat: 6g
- Cholesterol: 30mg
- Sodium: 120mg
These squares are high in sugar and carbs, which is expected for a sugar cookie. But they’re also satisfying, so one or two squares is usually enough. If you’re watching your intake, try the mini version or share them with friends.
Final Thoughts
So that’s my Soft Frosted Sugar Cookie Snack Squares! I’ve probably talked your ear off at this point, but when you make a recipe this often, you have a lot to say about it. These squares have saved me from baking disasters, impressed guests, and provided late-night comfort. They’re my answer to “what’s for dessert” when I want something easy but impressive.
Make them yours! Try different flavors, add sprinkles, or experiment with fillings. The best recipes are the ones you adapt to your tastes. If you make these, drop a comment and let me know what you think! I love hearing how recipes turn out in your kitchen. And if something doesn’t work, tell me that too—I’m here to help troubleshoot.
Happy baking! And I hope your kitchen smells as sweet as mine does right now.
Frequently Asked Questions
Can I use vegetable oil instead of butter?
You can, but the texture will be different. Butter gives those squares their rich, tender crumb. Oil makes them denser and more cake-like. If you must use oil, use a neutral oil like canola or grapeseed, and reduce the amount by ¼ cup. But honestly, butter is worth the extra effort.
Why did my squares turn out dry?
Overbaking is the most common culprit. Sugar squares continue to cook in the pan after you take them out of the oven. Pull them when the edges are just starting to turn golden and the center still looks slightly soft. They’ll firm up as they cool. Also, don’t overmix the batter—it develops gluten and makes them tough.
Can I make these ahead of time?
Absolutely! I often make the squares a day ahead and store them unfrosted in an airtight container. Frost them the day of the event. This prevents the frosting from getting soggy or melting. They stay fresh for up to 3 days at room temperature.
Why is my frosting too runny?
Usually, this means you added too much liquid or the butter was too warm. Start with less cream and add gradually. If it’s still too runny, add more powdered sugar, a little at a time. If it’s too stiff, add a teaspoon of cream. You want a spreadable consistency, like thick peanut butter.
Can I freeze the frosted squares?
Yes, but the texture might change slightly. Freeze them in a single layer on a baking sheet, then transfer to an airtight container. They’ll last up to 2 months. Thaw in the fridge overnight. The frosting might get a bit soft, but it’ll still taste good. I prefer freezing the unfrosted squares for best results.
How do I cut clean squares?
Use a sharp knife and wipe it between cuts. Or use a pizza cutter for easy, even slices. If the frosting is too soft, chill the squares in the fridge for 15 minutes before cutting. This firms up the frosting and makes clean cuts easier.
Pin This Recipe!
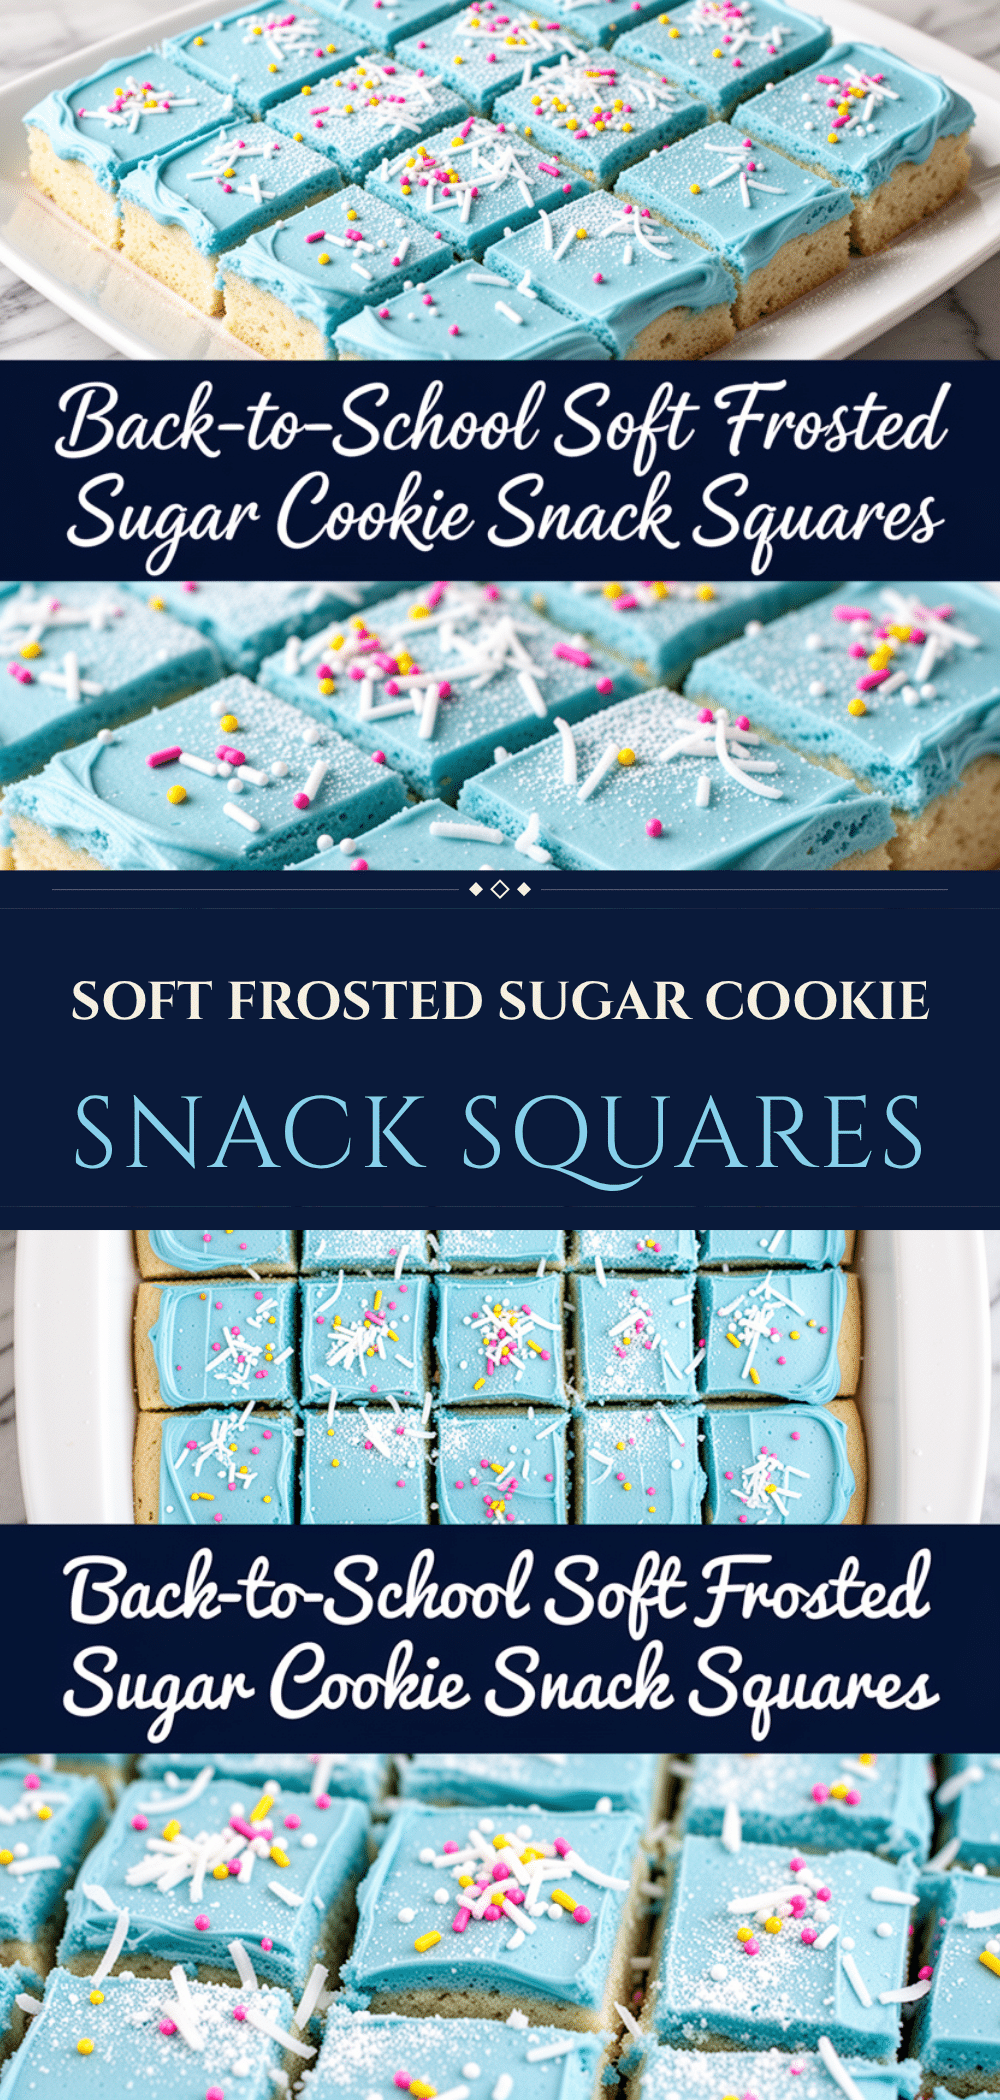

Soft Frosted Sugar Cookie Snack Squares
- Total Time: 45 minutes
- Yield: 24 servings 1x
Description
Easy-to-make, chewy-soft sugar cookie bars baked in a pan and topped with a thick, creamy vanilla frosting. Perfect for parties, potlucks, or a quick sweet treat without the hassle of rolling and cutting individual cookies.
Ingredients
- 1 cup (226g) unsalted butter, softened
- 1 ½ cups (300g) granulated sugar
- ½ cup (100g) light brown sugar, packed
- 2 large eggs, room temperature
- 2 teaspoons vanilla extract
- 3 ½ cups (440g) all-purpose flour
- 1 ½ teaspoons baking powder
- 1 teaspoon salt
- ½ cup (113g) unsalted butter, softened (for frosting)
- 4 cups (500g) confectioners’ sugar, sifted (for frosting)
- 3–4 tablespoons heavy cream (for frosting)
- 2 teaspoons vanilla extract (for frosting)
- ¼ teaspoon salt (for frosting)
- Optional: Gel food coloring and sprinkles
Instructions
- Preheat oven to 350°F (175°C). Grease a 9×13 inch baking pan thoroughly and line with parchment paper if desired.
- In a large bowl, beat the softened butter, granulated sugar, and brown sugar on medium-high speed for 3-4 minutes until light and fluffy.
- Add eggs one at a time, beating well after each addition. Scrape down the sides of the bowl. Add 2 teaspoons vanilla extract and mix until combined.
- In a separate bowl, whisk together the flour, baking powder, and 1 teaspoon salt.
- Gradually add the dry ingredients to the wet mixture on low speed. Mix just until the flour disappears; do not overmix.
- Spread the batter evenly into the prepared pan, pressing into corners.
- Bake for 25-30 minutes until edges are lightly golden and the center is set but slightly soft.
- Let the squares cool completely in the pan on a wire rack (about 30 minutes).
- While cooling, make the frosting: Beat ½ cup softened butter until creamy. Add sifted confectioners’ sugar, 2 teaspoons vanilla, and ¼ teaspoon salt. Beat on low until combined, then high for 2-3 minutes until fluffy.
- Add heavy cream one tablespoon at a time until desired spreadable consistency is reached.
- Spread frosting evenly over cooled squares using an offset spatula.
- Add sprinkles if desired. Let frosting set for 15 minutes, then slice into 24 squares.
Notes
Do not overmix the batter once flour is added to avoid tough squares. Sift powdered sugar for smooth frosting. Ensure squares are completely cool before frosting to prevent melting. Store in an airtight container at room temperature for up to 3 days or in the fridge for up to 5 days.
- Prep Time: 15 minutes
- Cook Time: 30 minutes
- Category: Dessert
- Cuisine: American
Nutrition
- Serving Size: 1 square
- Calories: 220
- Sugar: 24
- Sodium: 120
- Fat: 10
- Saturated Fat: 6
- Carbohydrates: 32
- Protein: 2
Keywords: sugar cookie bars, soft frosted cookies, easy dessert, party snacks, vanilla frosting, bake sale recipes, no rolling cookies


