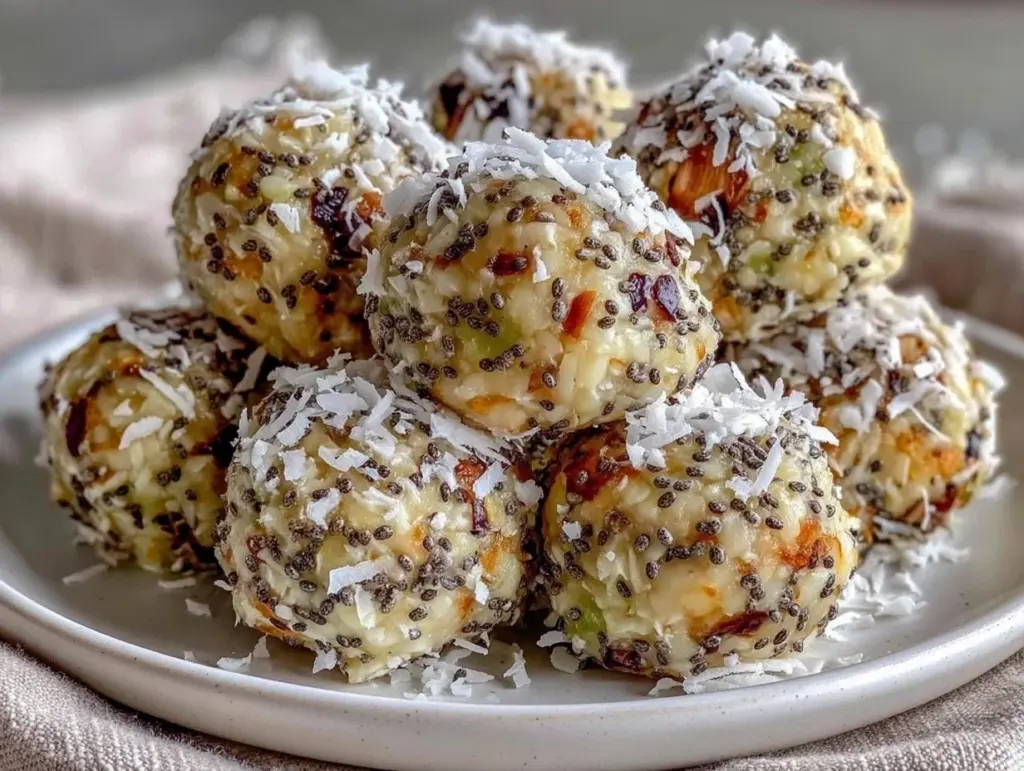
There is something deeply satisfying about standing outside at 7 PM with the grill still warm, the sun dipping below the tree line, and a cooler full of ingredients waiting to be turned into something delicious. I’ve spent years chasing that perfect char on a ribeye or that smoky depth in a brisket, but lately, my cravings have shifted. I don’t always want a heavy steak. Sometimes, especially when the humidity is rising and I’m still sweating from tending the fire, I want something bright. Something that wakes up your palate without weighing you down.
That’s exactly why I started making these no-bake lemon coconut protein bites. They are my secret weapon for post-grilling snacks, mid-workout fuel, or just that 3 PM slump when you’re trying to avoid the junk food aisle. I’ve tested this recipe about twelve times now, tweaking the ratio of coconut to protein powder until it hit that sweet spot—chewy but not gummy, tart but not sour. And the best part? You don’t even need to turn on the oven. Well, technically, you don’t need to turn on *anything* except your food processor, which is basically cheating. It’s fast, it’s clean, and it tastes like a vacation in a bite-sized sphere.
I’ve been serving these at my backyard cookouts, and people always ask what’s in them. They expect something artificial, some synthetic supplement bar taste. But when they taste the real lemon zest and the toasted coconut, they’re hooked. It’s the perfect bridge between healthy eating and actual flavor. If you’re into no-bake pumpkin pie cheesecake, you’ll love how easy this is to whip up. No baking, no mess, just pure flavor.
Why You’ll Love This Recipe
I know what you’re thinking. Another protein bite? Another “healthy” snack? But hear me out. These aren’t dry, chalky balls that stick to the roof of your mouth. These are moist, tangy, and packed with healthy fats that actually keep you full. Here’s why they’ve earned a permanent spot in my weekly meal prep rotation.
- Zero Cooking Required — Seriously. If you can mix ingredients in a bowl, you can make these. No heating elements, no monitoring temperatures, no risk of burning. I make these on days when I’m already cooking dinner on the grill and don’t want to deal with another appliance.
- Five Ingredients Max — I’m not kidding. I keep it simple. Coconut, protein powder, lemon, chia seeds, and a binder. That’s it. No weird chemical names you can’t pronounce. Just real food.
- Meal Prep Friendly — I batch-make these on Sunday. They store perfectly in the fridge for up to two weeks. I keep a container in the front so I grab one before I leave for work. It’s my go-to way to start the day with protein instead of just coffee.
- Gluten-Free and Dairy-Free Options — Depending on the protein powder you choose, these can be completely dairy-free. If you’re watching gluten, just stick to certified gluten-free oats or protein powder. It’s naturally inclusive for most dietary needs.
- Perfect for Outdoor Snacking — These don’t melt in your pocket like chocolate. They don’t get soggy. They’re sturdy little powerhouses. I toss a few in my camping bag or my fishing tackle box. They’re the ultimate trail snack that doesn’t require a cooler.
This recipe has saved me from buying overpriced, sugary energy bars at the gas station more times than I can count. It’s my answer to “what’s for a snack” when I want something that feels like a treat but fuels my body like a performance snack.
Ingredients You’ll Need
Here’s the beauty of this recipe: you probably have most of this already. I’m particular about three things here, and I’ll tell you exactly why they matter. This isn’t just a list; it’s a guide to getting the texture right.
The Base
Shredded Coconut (2 cups / 140g) — Use unsweetened, fine-shred coconut. I buy the large bags from the baking aisle. Sweetened coconut will make these too sugary and sticky. Fine shred blends better with the protein powder. If you only have large flakes, pulse them in the food processor first.
Protein Powder (1 scoop / 30g) — This is the most critical variable. I recommend a vanilla whey or plant-based protein. Unflavored works if you want pure lemon flavor, but vanilla adds a nice creamy undertone. Avoid chocolate or fruity flavors unless you want to mask the lemon. I use high-quality vanilla protein because it mixes smoothly without clumping.
Chia Seeds (2 tablespoons / 20g) — These are the secret glue. They absorb moisture and expand, holding the bites together without needing sticky sweeteners like honey or syrup. They also add a nice textural crunch and boost the omega-3s. Don’t skip them.
The Flavor
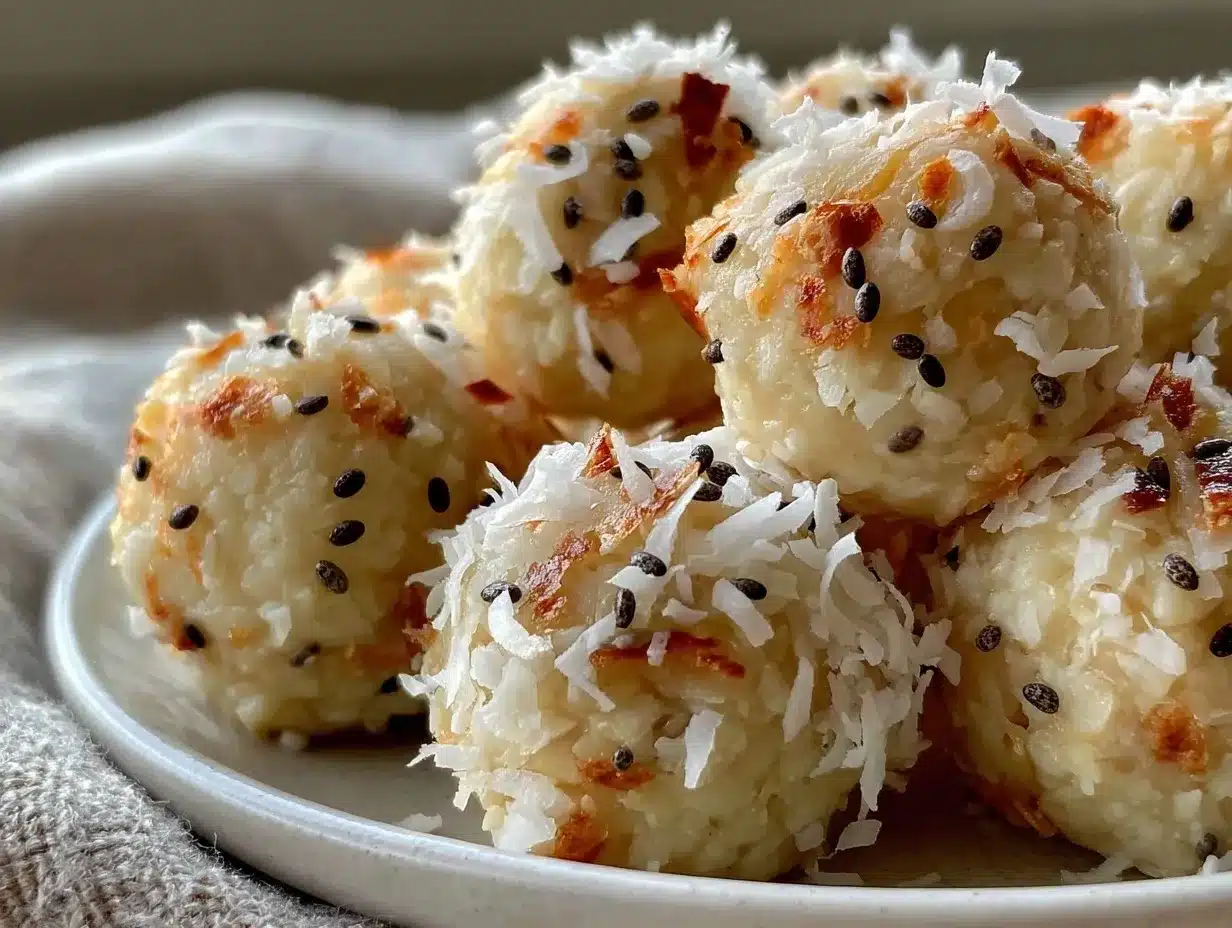
Fresh Lemon Juice (3-4 tablespoons / 45-60ml) — Bottled lemon juice tastes flat and metallic. You need fresh-squeezed. The acidity cuts through the richness of the coconut and protein. Squeeze two lemons and measure it out. If it’s too tart, you can add a teaspoon of honey, but I like it bright.
Lemon Zest (2 teaspoons / 5g) — This is where the real lemon flavor lives. The juice provides tartness, but the zest provides the aromatic oil. Use a microplane or fine grater. Get the yellow part only, not the white pith, which is bitter. I zest the lemon right before juicing to keep the oils fresh.
Mashed Banana (1 small / 50g) — This is your binder. It adds natural sweetness and moisture. Use a ripe banana with brown spots. The riper, the sweeter. If you don’t like banana flavor, you can use applesauce, but banana blends better with coconut.
Optional Add-ins
White Chocolate Chips (2 tablespoons / 20g) — For the sweet tooth. I toss these in at the end. They melt slightly from the heat of the mixture and create little pockets of sweetness.
Desiccated Coconut (2 tablespoons / 15g) — For rolling. Keeps them from sticking to your hands and adds a nice outer crunch.
Equipment Needed
You don’t need fancy gear for this. Here’s what I actually use.
Food Processor — This is my preferred tool. It blends the coconut and protein powder evenly in seconds. A bowl and spoon works, but you’ll need to mix for five minutes and it won’t be as uniform. I use my Cuisinart; it’s old but reliable.
Measuring Cups and Spoons — Standard stuff. Accuracy matters more here than in baking because there’s no flour to absorb variance. Get the ratios right.
Silicone Mat or Parchment Paper — For setting the bites. I keep a silicone mat in my drawer. It’s easier to clean than parchment. Just lay it out on the counter.
Small Bowl — For mixing if you’re not using a food processor.
Airtight Container — Glass or plastic. I use glass because it doesn’t stain from the coconut oil or lemon zest.
How to Make It: Step-by-Step
Alright, let’s make these! It takes about 15 minutes from start to finish. I’m walking you through exactly how I do it, including the little tricks I’ve picked up.
Step 1: Prep the Coconut
If your coconut is in large shreds, pulse it in the food processor for 10-15 seconds. You want it to look more like flour or coarse sand. This ensures it mixes evenly with the protein powder. If you’re using fine shred already, skip this step.
Step 2: Mix the Dry Ingredients
Add the processed coconut, protein powder, and chia seeds to the food processor. Pulse a few times to combine. You want these evenly distributed before you add the wet ingredients. If you dump everything in at once, you’ll get clumps of protein powder.
Step 3: Add the Wet Ingredients
Add the mashed banana, fresh lemon juice, and lemon zest. Pulse again. Stop and scrape down the sides of the bowl with a spatula. Check the consistency. It should look like damp sand that holds together when you squeeze it in your hand. If it’s too dry, add another teaspoon of lemon juice or a splash of water. If it’s too wet, add a sprinkle more coconut or protein powder.
Step 4: Roll the Bites
Wet your hands slightly with water or coconut oil to prevent sticking. Scoop out about a tablespoon of mixture and roll it into a ball between your palms. Place it on the silicone mat. Repeat until all the mixture is used. You should get about 15-20 bites depending on size. Try to keep them uniform so they set evenly.
Step 5: Chill
Place the tray in the refrigerator for at least 30 minutes. This allows the chia seeds to expand and the coconut to firm up. If you’re in a hurry, you can put them in the freezer for 15 minutes. They’re ready when they hold their shape firmly.
Step 6: Store and Serve
Transfer to an airtight container. They’ll keep in the fridge for up to two weeks. I usually eat them within five days because they’re so good. Enjoy straight from the container or pack them for later.
Expert Tips & Tricks
Here’s everything I’ve learned from making this dozens of times. These tips will save you from my mistakes.
Don’t Skimp on the Zest — The juice is sour, but the zest is fragrant. I’ve made these with just juice before, and they tasted like bland protein balls. The zest is non-negotiable for that “lemon” flavor.
Use Ripe Bananas — Green bananas are starchy and taste weird. Overripe bananas are sweet and mash easily. Look for bananas with lots of brown spots. If you don’t have ripe bananas, use unsweetened applesauce, but the flavor profile changes slightly.
Chia Seeds Need Time — If you eat these immediately, they might fall apart. The chia seeds need time to absorb the liquid. Don’t skip the chilling step. 30 minutes is the minimum.
Protein Powder Variance — Different brands absorb moisture differently. Whey absorbs more than plant-based. If your mixture looks crumbly, add liquid one teaspoon at a time. Don’t add too much at once.
Keep Them Cool — Coconut and banana can get soft in hot weather. If you’re taking these to a picnic or a game, keep them in a cooler. They’ll hold up better.
Variations & Substitutions
Once you’ve nailed the basic version, here’s how you can mix it up. I’ve tried all of these.
Double Chocolate — Swap the lemon juice and zest for 2 tablespoons of cocoa powder and 2 tablespoons of maple syrup. Add chocolate chips. It’s like a raw brownie bite.
Peanut Butter Banana — Replace the lemon juice with 2 tablespoons of peanut butter. Add a dash of cinnamon. This is my husband’s favorite version. It’s richer and more indulgent.
Matcha Green Tea — Add 1 teaspoon of matcha powder to the dry ingredients. Keep the lemon zest; it pairs surprisingly well with matcha. It’s earthy and bright.
Low-Sugar — Skip the banana. Use stevia or monk fruit sweetener instead. Add a splash of almond milk for moisture. It’s less sweet but still satisfying.
Gluten-Free — Most protein powders and coconut are naturally gluten-free. Just check your protein powder label. I use certified gluten-free oats in other recipes, but here, just ensure your protein powder is GF.
Serving & Storage
How to Serve: I usually eat them straight out of the container as a snack. But they’re also great crumbled over yogurt or mixed into oatmeal. I’ve even used them as a topping for ice cream when I’m feeling fancy.
Side Dishes: Pair with a glass of iced green tea or black coffee. The bitterness of the coffee complements the tartness of the lemon perfectly.
Storage Instructions: Store in an airtight container in the refrigerator for up to two weeks. They will firm up in the cold. If they get too hard, let them sit at room temperature for 10 minutes before eating.
Freezing: Yes, you can freeze them! Place them in a freezer-safe bag. They’ll last for three months. Thaw in the fridge overnight. They might be slightly softer, but the flavor remains.
Pro Tip: If you’re meal prepping, portion them out into single-serving bags. It stops you from eating the whole batch in one sitting. (I’ve been known to do that, so I’m just saying.)
Nutrition Information
I’m not a nutritionist, but here’s the breakdown if you’re tracking. Per bite (based on 20 bites):
- Calories: 75
- Protein: 4g
- Carbs: 6g
- Fiber: 1g
- Sugar: 3g
- Fat: 4g
What’s Good: Decent protein for a snack, healthy fats from coconut and chia, low sugar. What to Know: Depends on the protein powder used. Some powders add more carbs or sugar. Check your label. This is a clean, whole-food snack. It’s not a diet pill, but it’s a smart choice.
Final Thoughts
So that’s my no-bake lemon coconut protein bites! I’ve probably talked your ear off at this point, but when you make a recipe this often, you have a lot to say about it. These have saved me from vending machine runs more times than I can count. They’re my answer to “what’s for a snack” when I want something that feels like a treat but fuels my body like a performance snack.
Make it yours! Try different protein powders, swap the coconut for almond flour, or add different zest. The best recipes are the ones you adapt to your tastes. If you make this, drop a comment and let me know what you think! I love hearing how recipes turn out in your kitchen. And if something doesn’t work, tell me that too—I’m here to help troubleshoot.
Happy cooking! And I hope your kitchen smells half as good as mine does right now.
Frequently Asked Questions
Can I use a different sweetener?
Yes! I used banana for natural sweetness, but you can use honey, maple syrup, or agave. Start with 1 tablespoon and adjust to taste. Just remember, adding liquid sweetener might make the mixture wetter, so you may need more coconut or protein powder.
Why did my bites fall apart?
Usually, this means the mixture was too dry. The chia seeds and coconut need enough moisture to bind. Add a teaspoon of water, milk, or lemon juice at a time until it holds together when squeezed. Also, make sure you chilled them long enough.
Can I make these ahead of time?
Absolutely. They keep well in the fridge for up to two weeks. I usually make a batch on Sunday and eat them throughout the week. They actually taste better after a day or two as the flavors meld together.
Is this recipe keto-friendly?
It can be! Use a keto-friendly protein powder (like whey isolate or collagen), use unsweetened coconut, and skip the banana. Replace the banana with a keto-friendly binder like almond butter or coconut oil. Check your protein powder for hidden sugars.
Can I use dried lemon zest?
You can, but fresh zest is so much better. Dried zest loses its oils and flavor. If you must use dried, use half the amount because it’s more concentrated. But I highly recommend fresh.
How do I store them for travel?
Use a small airtight container or a ziplock bag. Keep them cool if it’s hot outside. They hold up well in backpacks or gym bags. Just avoid direct sunlight.
Pin This Recipe!
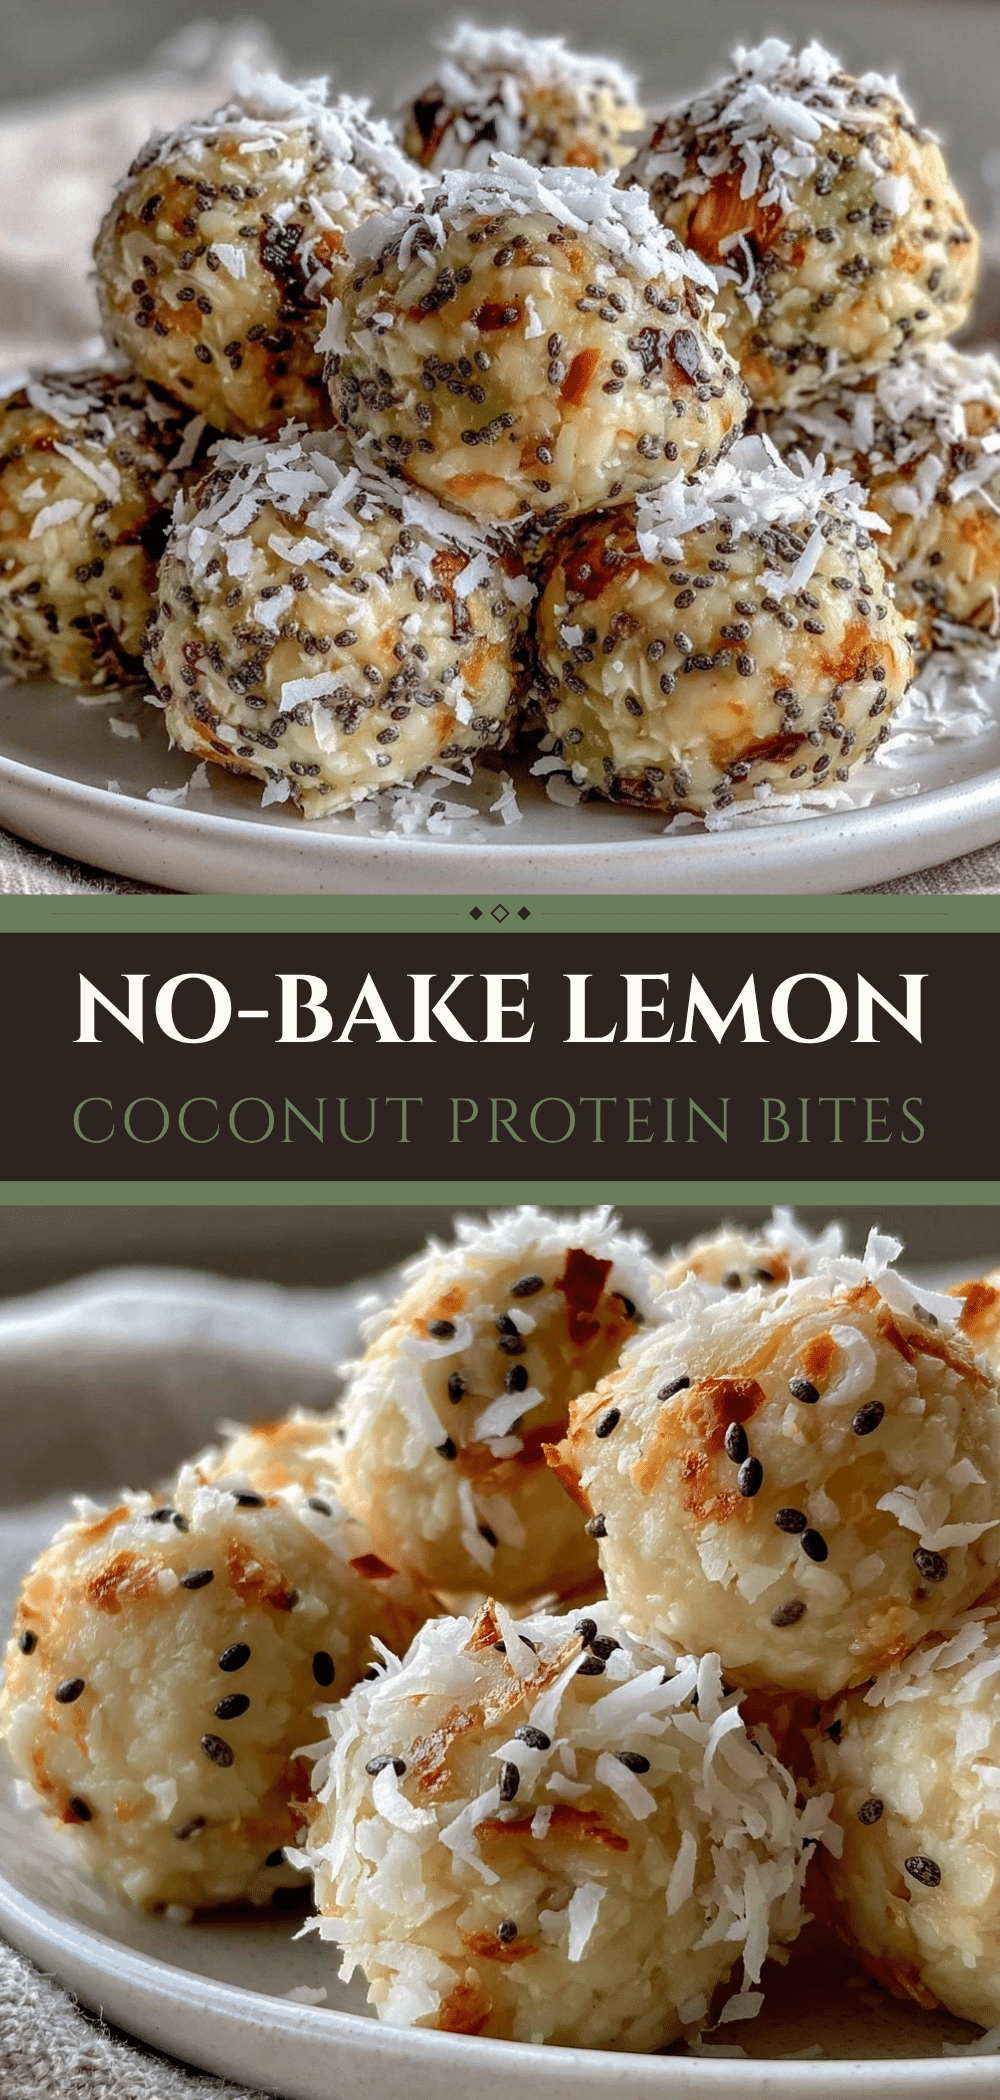
No-Bake Lemon Coconut Protein Bites
- Total Time: 45 minutes
- Yield: 20 servings 1x
Description
These moist, tangy, and chewy protein bites are a perfect no-bake snack packed with healthy fats and bright lemon flavor. Made with just five simple ingredients, they are gluten-free, dairy-free, and ideal for meal prep or outdoor snacking.
Ingredients
- 2 cups (140g) unsweetened fine-shred coconut
- 1 scoop (30g) vanilla whey or plant-based protein powder
- 2 tablespoons (20g) chia seeds
- 3–4 tablespoons (45-60ml) fresh lemon juice
- 2 teaspoons (5g) fresh lemon zest
- 1 small (50g) ripe banana, mashed
- 2 tablespoons (20g) white chocolate chips (optional)
- 2 tablespoons (15g) desiccated coconut (for rolling)
Instructions
- If using large-shred coconut, pulse it in a food processor for 10-15 seconds until it resembles coarse sand or flour.
- Add the processed coconut, protein powder, and chia seeds to the food processor. Pulse a few times to combine the dry ingredients evenly.
- Add the mashed banana, fresh lemon juice, and lemon zest to the food processor. Pulse again, stopping to scrape down the sides with a spatula.
- Check the consistency; it should resemble damp sand that holds together when squeezed. If too dry, add a teaspoon of lemon juice or water. If too wet, add a sprinkle of coconut or protein powder.
- Wet your hands slightly with water or coconut oil to prevent sticking. Scoop about a tablespoon of mixture and roll into a ball between your palms.
- Place the bites on a silicone mat or parchment paper. Repeat until all mixture is used, aiming for 15-20 uniform bites.
- Refrigerate the tray for at least 30 minutes (or freeze for 15 minutes) to allow chia seeds to expand and bites to firm up.
- Roll the chilled bites in desiccated coconut if desired, then store in an airtight container in the refrigerator for up to two weeks.
Notes
Use ripe bananas with brown spots for natural sweetness. Fresh lemon zest is essential for flavor; bottled juice tastes flat. Different protein powders absorb moisture differently, so adjust liquid content as needed. These bites hold up well in hot weather if kept cool.
- Prep Time: 15 minutes
- Cook Time: 0 minutes
- Category: Snack
- Cuisine: American
Nutrition
- Serving Size: 1 bite
- Calories: 75
- Sugar: 3
- Sodium: 15
- Fat: 4
- Saturated Fat: 3
- Carbohydrates: 6
- Fiber: 1
- Protein: 4
Keywords: no-bake, protein bites, lemon coconut, healthy snack, gluten-free, dairy-free, meal prep, high protein, low sugar, vegan option


