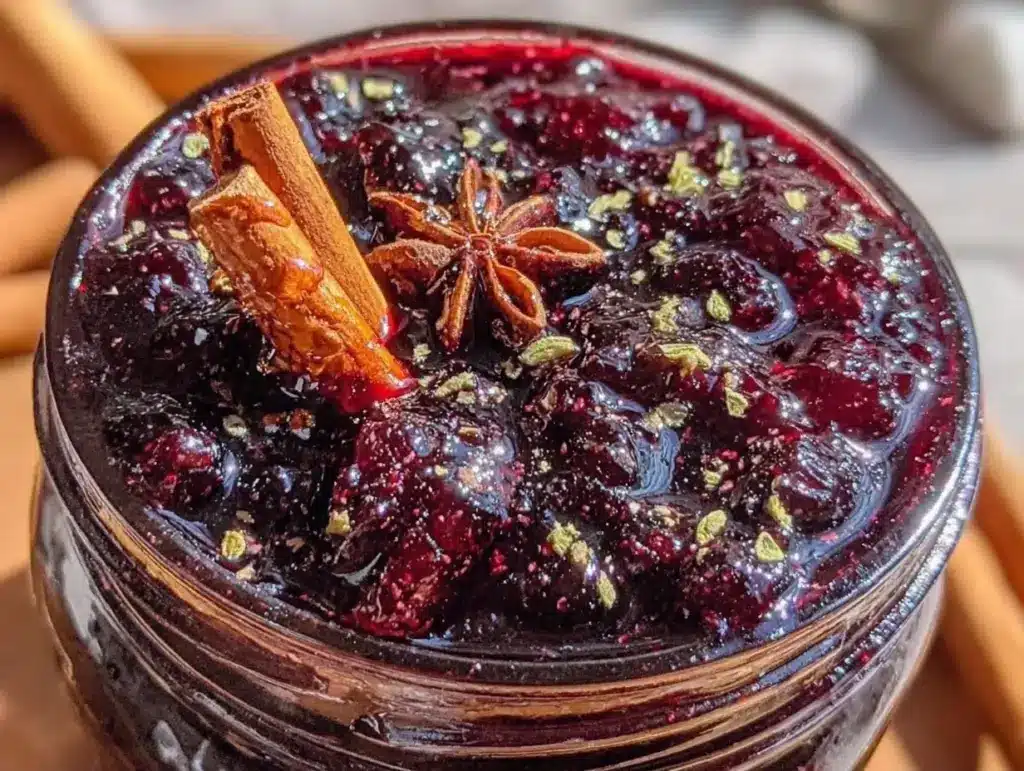
Last November, I woke up with that familiar, heavy feeling in my chest—the kind that tells you the seasonal shift has hit you before you’ve even put on your coat. I was living alone, working a job that left my bank account thinner than my willpower, and I was staring at a pharmacy shelf with bottles of immune supplements that cost more than my weekly grocery budget for produce. I knew I needed something to help me through the winter, but I wasn’t about to spend $25 on a tiny bottle of syrup I’d finish in a week and forget.
So, I did what any broke, stubborn cook does: I went to the source. I found a local farmer’s market stall selling fresh elderberries for pennies on the dollar compared to the dried jars online. I bought a jar of raw honey (yes, it’s an upfront cost, but you use it for months), grabbed some cinnamon sticks from my pantry, and decided to make my own elderberry syrup with raw honey and cinnamon. I was skeptical. Could I really make something potent for under $3? Could I actually taste the difference between store-bought syrup and something I cooked on my own stove?
The answer is a resounding yes. This elderberry syrup has become my non-negotiable winter ritual. I make a small batch—just enough for my one-person household—and keep it in the fridge. It’s thick, dark, and tastes like a spiced autumn evening rather than medicine. Best of all? It costs me less than $0.50 per serving. That’s right. Half a dollar to feel protected, warm, and ready for the day. If you’re trying to stretch your budget while keeping your immune system strong, this is the secret weapon you didn’t know you needed.
Why You’ll Love This Recipe
I’ve tried a lot of “natural” remedies over the years, and most of them taste like dirt or cost a fortune. This elderberry syrup is different. It’s practical, it’s cheap, and it actually works. Here’s why I keep making it every single season:
- Stupidly Affordable — Elderberries are often ignored because they’re seasonal and messy to process. But that means they’re cheap. I spent about $4 total for enough syrup to last me six weeks. Compare that to a $20 bottle of zinc lozenges.
- One Person Friendly — I don’t need to make a gallon of this for my family of five. I make a small batch in my saucepan that fits perfectly on my single burner. No waste, no leftover jars gathering dust.
- Tastes Like Dessert — Raw honey and cinnamon mask the tartness of the berries. It’s sweet, spiced, and comforting. I keep it on my counter and take a spoonful before bed like a treat, not a chore.
- Pantry Staples — You probably already have the honey and cinnamon. All you really need to hunt for are the berries. It’s an ingredient list that won’t wreck your grocery budget because you’re only buying one new item.
- Long Shelf Life — Once it’s in the fridge, it lasts for about a month. That’s four weeks of daily immune support from one hour of cooking. I make it once in early fall and again in mid-winter if I run low.
This isn’t just about saving money; it’s about taking control of what goes into my body without paying a premium for it. It’s my go-to when I feel that tickle in my throat or when the cold weather makes me want to hibernate. It’s simple, it’s effective, and it’s mine.
Ingredients You’ll Need
Here’s the thing about this recipe: the quality of your ingredients matters, but the quantity is tiny. You don’t need a whole grocery run. In fact, if you have honey and cinnamon, you’re 80% done. Here is exactly what you need to make one batch of elderberry syrup with raw honey and cinnamon for immune support.
For the Syrup Base
Dried Elderberries (1 cup / 100g) — This is the star. You can find these at health food stores, Amazon, or local farmers markets. If you’re lucky enough to have a farmer nearby selling fresh ones in late summer, use 3 cups of fresh berries instead. Dried are easier to store and ship, which keeps the cost down.
Water (2 cups / 480ml) — Just plain old tap water. I filter mine if my tap tastes funny, but for this recipe, standard water is fine. You’re boiling it anyway.
Cinnamon Sticks (2 large sticks / or 1 tsp ground cinnamon) — I prefer sticks because they infuse slowly and don’t make the syrup gritty. If you use ground cinnamon, add it at the very end so it doesn’t clump. Sticks are cheaper per use, too, since you’ll use them for tea or other recipes like my Rosh Hashanah Honey Apple Cake.
Raw Honey (½ cup / 170g) — This is the preservative and the sweetener. Use raw, unfiltered honey if you can. It has more enzymes and nutrients than processed white honey. It’s pricier upfront, but since you only use ½ cup per batch, a $10 jar will last you ten batches. That’s $1 per batch.
Optional Boosters
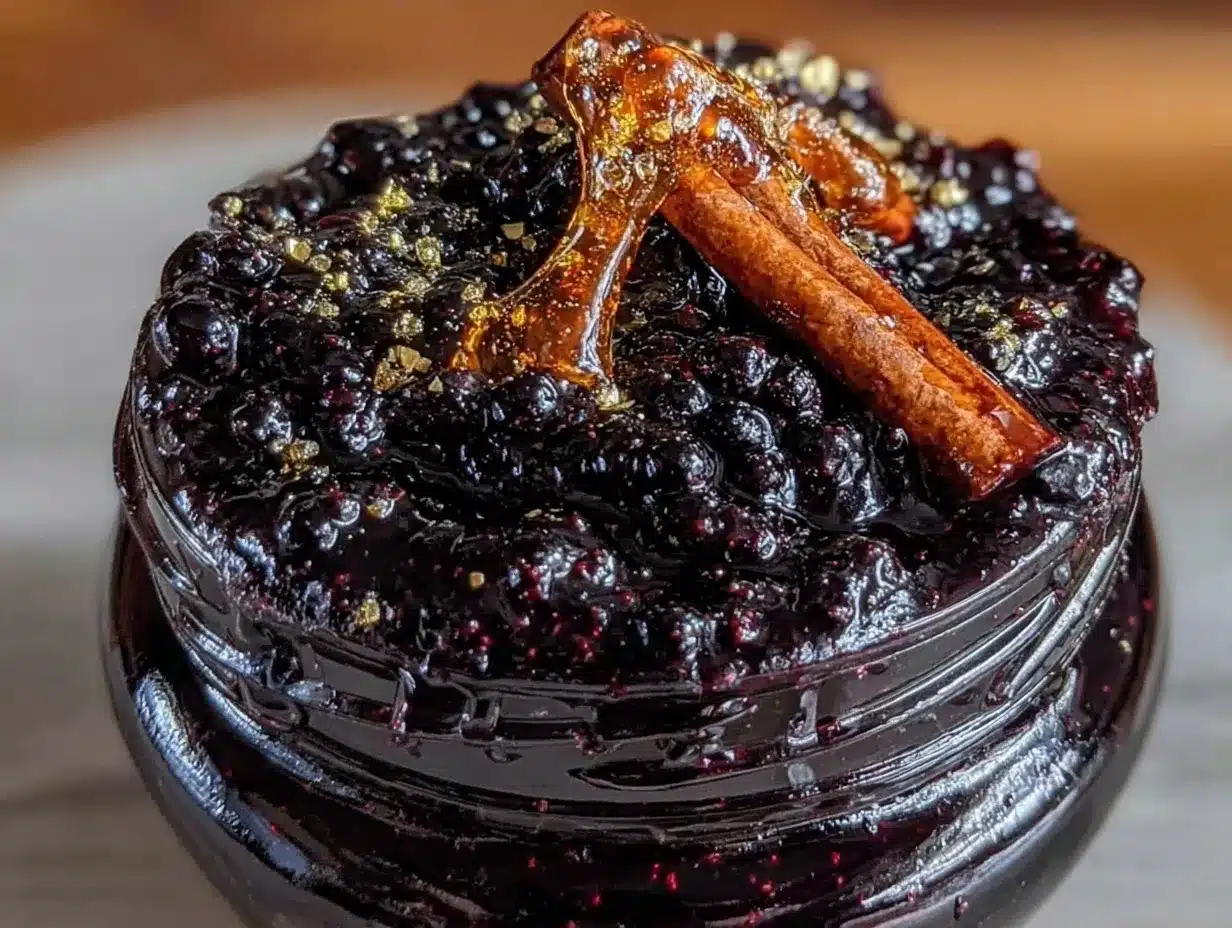
Fresh Ginger (1 inch piece, sliced) — If you’re feeling particularly run down, add a few slices of fresh ginger. It adds a spicy kick that warms you up from the inside. I keep a small bag of ginger in the freezer, so it’s always available.
Orange Peel (1 strip) — For brightness. I save orange peels from my morning juice or breakfast and freeze them until I need them. It adds a citrus note that cuts through the heaviness of the berries.
Star Anise (1 pod) — If you like a licorice flavor, this is great. But it’s strong. One pod is plenty. I skip this if I’m in a rush, but it makes the syrup smell incredible.
Pro Tip for Budgeting: Buy your elderberries in bulk if possible. The price per ounce drops significantly. Also, check your local ethnic grocery stores; they often have dried herbs and berries for much less than the health food store next door.
Equipment Needed
You don’t need fancy gadgets for this. I’m a one-person cook with a small apartment kitchen, so I keep my gear minimal. Here’s what you’ll need:
- Small Saucepan — A 2-quart pot is perfect. I use my oldest, dented enamel pot. It doesn’t matter what it looks like; it just needs to hold the liquid without boiling over.
- Mesh Strainer — A fine-mesh sieve is best to catch all the tiny seeds and bits. If you don’t have one, a cheesecloth or a clean cotton tea towel works, but it takes longer to strain.
- Wooden Spoon — For stirring. Metal can scratch your pot, and plastic can melt if the syrup gets too hot.
- Measuring Cups and Spoons — Standard stuff. I use the metal ones from the dollar store.
- Glass Jar for Storage — A clean 8-ounce or 16-ounce mason jar. Wash it in hot soapy water or run it through the dishwasher. Sterilizing isn’t strictly necessary if it’s clean and you’re keeping it in the fridge, but it helps it last longer.
Tool Tip: If you don’t have a strainer, you can use a slotted spoon to remove the cinnamon sticks and large berry pieces, then mash the rest against the side of the pot to extract the juice. It’s messier, but it works in a pinch.
How to Make It: Step-by-Step
Alright, let’s make this! It’s basically boiling water with flavor, but there are a few tricks to get the consistency right and keep it safe. I’m walking you through exactly how I do it, step by step.
Step 1: Combine Berries and Water (2 minutes)
Put your dried elderberries, cinnamon sticks, and any optional spices (ginger, orange peel, star anise) into the saucepan. Pour in the 2 cups of water. Give it a quick stir to make sure the berries are submerged. If some float, that’s okay—they’ll sink as they soften.
Step 2: Simmer the Syrup (20-25 minutes)
Place the pot over medium-high heat and bring it to a boil. Once it bubbles, reduce the heat to low. You want a gentle simmer, not a rolling boil. Cover the pot with a lid, but leave it slightly ajar to let steam escape. Let it simmer for 20 to 25 minutes. You’ll notice the water turning a deep, dark purple and the berries swelling up and bursting. This is the extraction happening. The longer you simmer, the stronger the flavor, but 20 minutes is usually enough for a potent syrup.
Step 3: Cool Slightly (10 minutes)
Turn off the heat. Remove the cinnamon sticks and any large spice pieces (like ginger slices or star anise pods) with a slotted spoon. Discard them. Let the mixture cool for about 10 minutes. Crucial Step: Do not add honey to boiling liquid. High heat destroys the beneficial enzymes in raw honey. Wait until the syrup is warm, not hot. If you touch the side of the pot, it should feel warm like a cup of tea, not scalding.
Step 4: Add the Honey (2 minutes)
Once the mixture is warm, stir in the ½ cup of raw honey. Whisk it in until it’s completely dissolved. The syrup will look thinner now, but it will thicken as it cools. Taste it. If you want it sweeter, add another tablespoon of honey. If you want more spice, add a pinch of ground cinnamon. This is your chance to customize it to your budget and taste.
Step 5: Strain and Store (5 minutes)
Place your mesh strainer over your glass jar. Pour the berry mixture through the strainer. Use the back of a spoon to press down on the berries and extract every drop of juice. You’ll be left with dry, flavorless skins in the strainer—discard those. You now have your finished elderberry syrup with raw honey and cinnamon for immune support.
Let it cool completely to room temperature before putting the lid on. Then, store it in the fridge. It will keep for about 3-4 weeks. If you want it to last longer, you can freeze it in ice cube trays and pop the cubes into a bag. That way, you have individual servings ready to go.
Expert Tips & Tricks
I’ve made this syrup enough times to know what goes wrong and how to fix it. Here’s everything I’ve learned from my own mistakes.
- Don’t Rush the Simmer — If you boil it too hard, you might evaporate too much liquid and end up with a thick paste instead of a syrup. Keep that heat low. Patience pays off in flavor.
- Honey Temperature Matters — I can’t stress this enough. Add the honey when the syrup is warm, not hot. Raw honey loses its health benefits if heated above 118°F (48°C). If you’re not sure, wait 15 minutes after turning off the heat.
- Strain Twice for Clarity — If you hate bits in your syrup, strain it twice. Pour it through the strainer, then pour the liquid through a coffee filter or cheesecloth. It takes longer, but the result is silky smooth.
- Label Your Jar — It sounds silly, but I’ve forgotten what’s in jars before. Write the date on the jar with a marker. Elderberry syrup doesn’t last forever, especially with fresh ingredients like ginger. Stick to the 4-week rule.
- Adjust Sweetness for Usage — If you’re drinking it straight as a tonic, you might want it sweeter. If you’re adding it to tea or oatmeal, less honey is fine. I make mine moderately sweet so it works for both.
Pro Trick: If you want to stretch your batch further, you can add an extra ½ cup of water at the end if it’s too thick. But remember, more water means a shorter shelf life. Stick to the ratio for best results.
Variations & Substitutions
Once you’ve mastered the basic version, here’s how you can mix it up based on what you have or what your body needs.
Stronger Immune Boost
Add ½ teaspoon of turmeric powder and a pinch of black pepper when you simmer. Turmeric is anti-inflammatory, and pepper helps your body absorb it. It turns the syrup a lovely golden-orange color and adds an earthy flavor. This pairs well with the Cozy Fall Turkey Chili if you’re looking for other immune-friendly meals.
Less Sweet / Keto-Friendly
Skip the honey entirely and use a sugar-free sweetener like erythritol or monk fruit, or just drink it unsweetened. It’s tart and medicinal, but great for blood sugar control. Or, use a small amount of stevia drops.
Fruity Twist
Add a cup of chopped apples or pears when you simmer the berries. It adds natural sweetness and pectin, which thickens the syrup. I love adding apple scraps from my Fall Harvest Apple Crisp prep to save money on fruit.
Vegan Option
Simply use maple syrup instead of honey. It has a stronger flavor, so start with less and taste as you go. It works beautifully and keeps the recipe vegan.
Serving & Storage
How do you actually use this syrup? It’s versatile.
How to Serve
- Direct Tonic: Take 1 tablespoon daily. It’s potent, so don’t overdo it.
- Tea Add-in: Stir 1-2 tablespoons into hot water with lemon. It’s like a fancy herbal tea.
- Oatmeal Drizzle: Use it instead of maple syrup on your morning oats. It adds a health boost to your breakfast.
- Yogurt Topper: Swirl it into plain Greek yogurt for a antioxidant-rich snack.
Storage Instructions
Refrigerator: Store in a clean glass jar in the fridge for up to 4 weeks. The honey acts as a preservative, but the berries are perishable, so don’t leave it out.
Freezer: For long-term storage, freeze it in ice cube trays. Once frozen, transfer the cubes to a ziplock bag. They’ll last for 6 months. Thaw a cube in hot water or tea when you need it.
Pro Tip: If you see mold, toss it. Don’t try to skim it off. Mold can have roots that go deeper than you see. Better safe than sorry.
Nutrition Information
I’m not a nutritionist, but here’s the breakdown if you’re tracking. Keep in mind, this is an estimate based on standard ingredients.
| Per Serving (1 Tablespoon) | Amount |
|---|---|
| Calories | 30 |
| Total Fat | 0g |
| Carbohydrates | 8g |
| Sugar | 7g |
| Protein | 0g |
| Sodium | 1mg |
What’s Good: High in antioxidants from the elderberries. Raw honey has antimicrobial properties. Cinnamon helps regulate blood sugar.
What to Know: It contains sugar from the honey. If you’re diabetic, consult your doctor before using it regularly. It’s not a medicine, just a supportive food.
Final Thoughts
So there you have it—my elderberry syrup with raw honey and cinnamon for immune support. It’s simple, it’s cheap, and it’s made with care. I love that I can make this in my small kitchen, knowing I’m spending less than a dollar a week on my health. It’s a reminder that you don’t need to buy expensive supplements to take care of yourself. Sometimes, the best solutions are the ones you make yourself.
If you make this, let me know how it turns out! I’d love to hear if you added any extra spices or if it helped you through the winter. And if you’re looking for more budget-friendly, cozy recipes, check out my Pumpkin Spice Overnight Oats for a quick breakfast idea.
Happy cooking, and stay healthy!
Frequently Asked Questions
Can I use fresh elderberries instead of dried?
Yes! If you have access to fresh elderberries, use 3 cups of fresh berries for every 1 cup of dried. You might need a little more water (2.5 cups) to account for the extra moisture. Fresh berries have a brighter flavor, but dried are more concentrated. Both work great.
How long does elderberry syrup last?
In the fridge, it lasts about 3-4 weeks. The honey helps preserve it, but because it’s a natural product, it’s best to make small batches. If you want it to last longer, freeze it in ice cube trays. It will keep for 6 months frozen.
Is this safe for children?
Elderberry syrup is generally considered safe for children over 1 year old (never give honey to infants under 1 due to botulism risk). Start with a smaller dose, like 1 teaspoon, and see how they like the taste. It’s tart, so they might need a little extra honey.
Can I double the recipe?
Absolutely. Just use a larger pot to prevent boiling over. Double all ingredients: 2 cups dried berries, 4 cups water, 4 cinnamon sticks, and 1 cup honey. The cooking time stays the same.
Why is my syrup too thin?
It might just need more time to cool. The syrup thickens as it reaches room temperature. If it’s still too thin after cooling, you can simmer it again without the honey to reduce the liquid. Just be careful not to burn it.
Can I use regular honey instead of raw honey?
Yes, but raw honey has more enzymes and nutrients. Regular honey is still sweet and works fine, especially if you’re just using it for taste. If you’re using it for immune support, raw is the better choice.
Does this cure the flu?
No food cures the flu. However, elderberries have been shown in studies to potentially reduce the duration and severity of flu symptoms when taken at the first sign of illness. Think of it as a supportive tool, not a magic bullet.
Pin This Recipe!
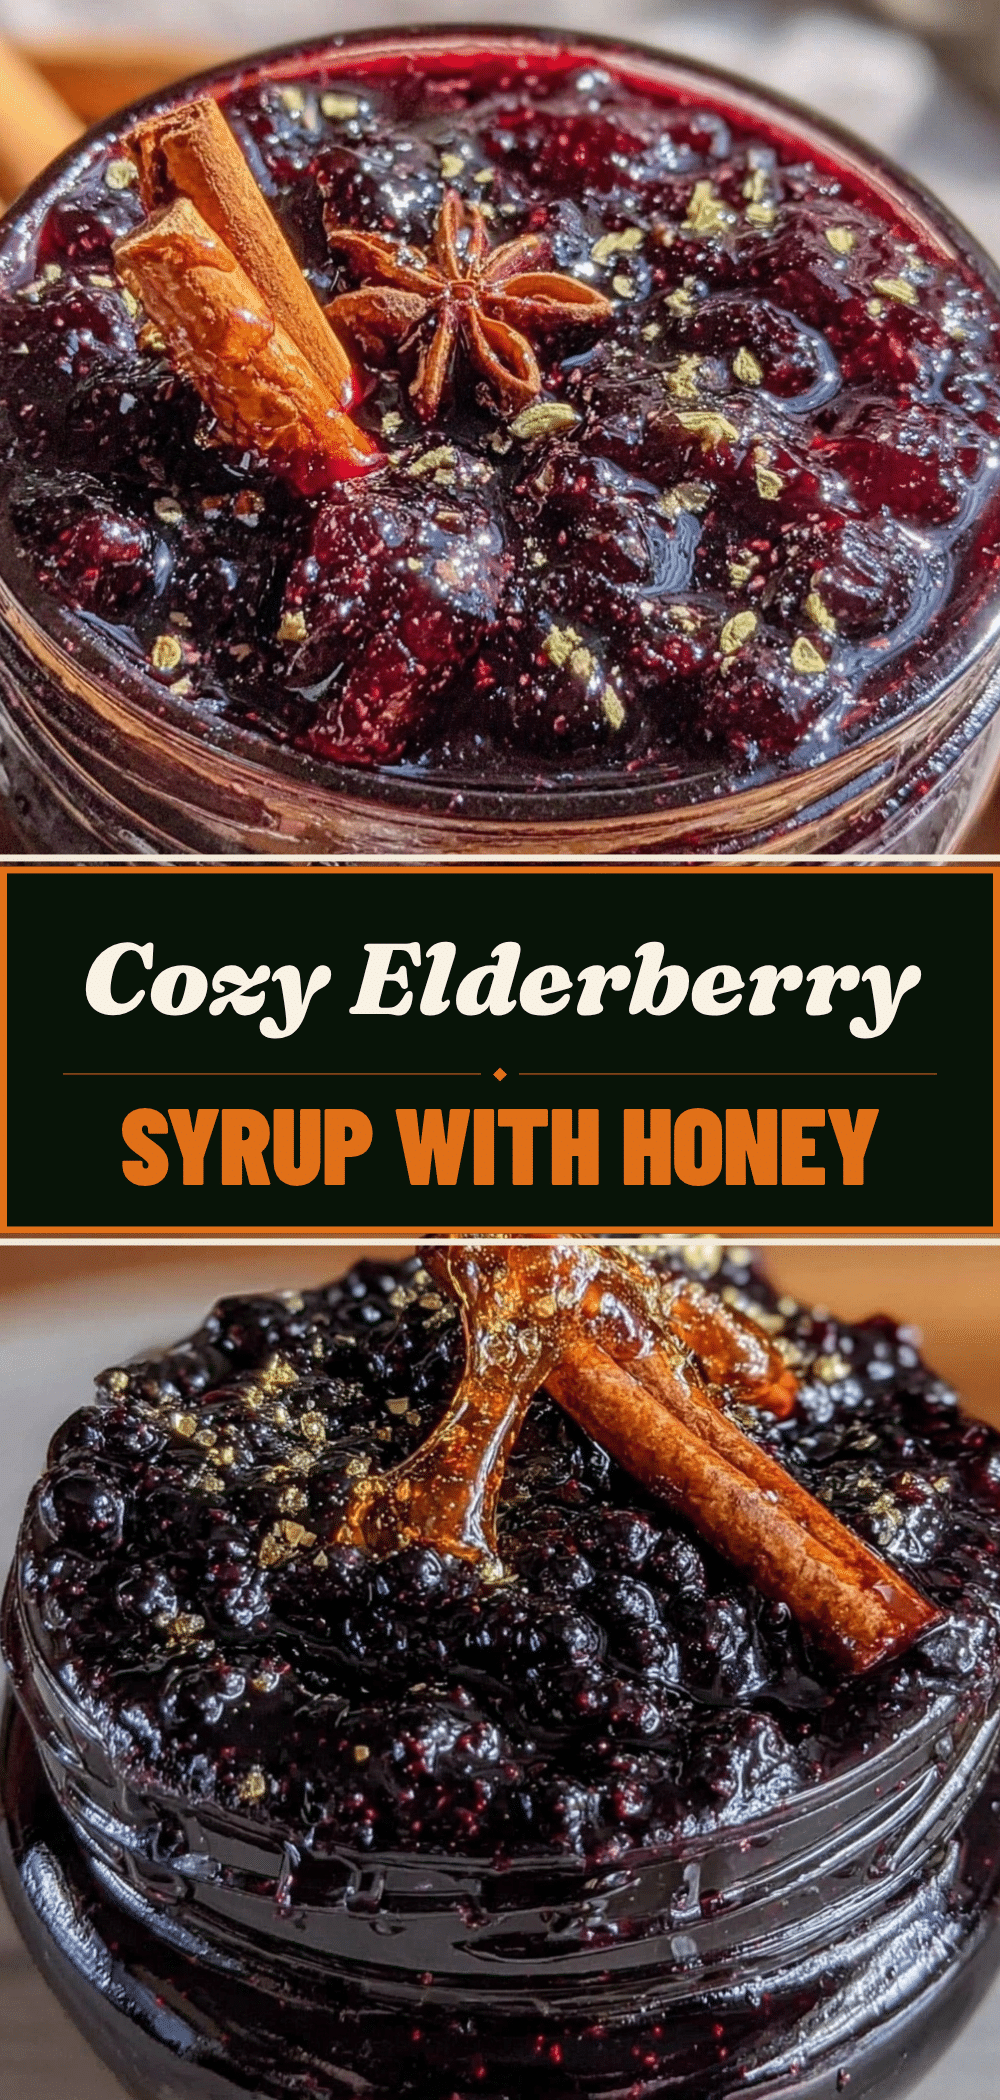
Elderberry Syrup: 1 Person Budget Immune Boost
- Total Time: 30 minutes
- Yield: Approximately 1 cup (16 servings) 1x
Description
A budget-friendly, homemade elderberry syrup made with raw honey and cinnamon. This small-batch recipe provides immune support for under $0.50 per serving and is perfect for single-person households.
Ingredients
- 1 cup dried elderberries (or 3 cups fresh elderberries)
- 2 cups water
- 2 large cinnamon sticks (or 1 tsp ground cinnamon)
- ½ cup raw honey
- 1 inch piece fresh ginger, sliced (optional)
- 1 strip orange peel (optional)
- 1 star anise pod (optional)
Instructions
- Combine dried elderberries, cinnamon sticks, and optional spices in a small saucepan. Pour in 2 cups of water and stir to submerge berries.
- Place the pot over medium-high heat and bring to a boil. Reduce heat to low to maintain a gentle simmer. Cover with a lid slightly ajar and simmer for 20-25 minutes until the liquid turns dark purple and berries burst.
- Turn off the heat and remove large spice pieces (cinnamon sticks, ginger, star anise) with a slotted spoon. Let the mixture cool for about 10 minutes until warm, not hot.
- Stir in the ½ cup of raw honey until completely dissolved. Adjust sweetness or spice to taste.
- Place a mesh strainer over a glass jar and pour the mixture through. Press down on the berries with the back of a spoon to extract all juice. Discard the solids.
- Let the syrup cool completely to room temperature before sealing and storing in the refrigerator.
Notes
Do not add honey to boiling liquid as high heat destroys beneficial enzymes; wait until the syrup is warm. For a clearer syrup, strain twice using a coffee filter or cheesecloth. Store in the fridge for up to 4 weeks or freeze in ice cube trays for up to 6 months. Not suitable for infants under 1 year due to honey content.
- Prep Time: 2 minutes
- Cook Time: 25 minutes
- Category: Condiments
- Cuisine: American
Nutrition
- Serving Size: 1 tablespoon
- Calories: 30
- Sugar: 7
- Sodium: 1
- Carbohydrates: 8
Keywords: elderberry syrup, immune boost, budget recipe, raw honey, cinnamon, homemade syrup, winter wellness, single serving


