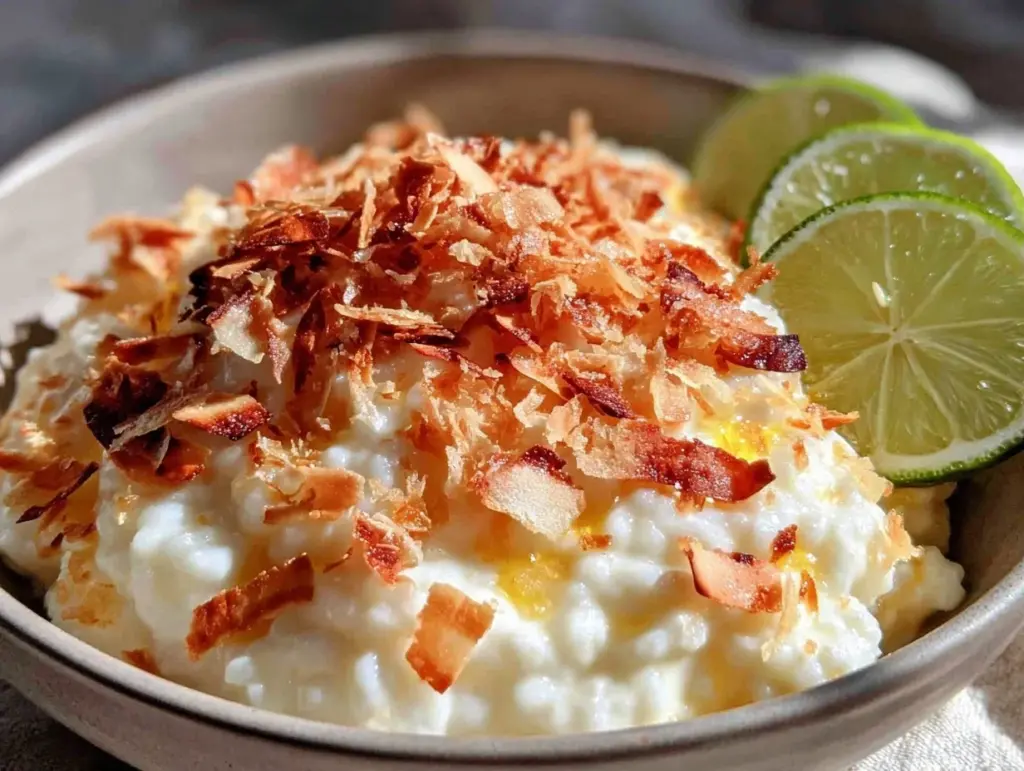
My son has what I call a “texture veto.” If something is slimy, too mushy, or has a weird white coating, it’s out. For years, I tried to sneak dairy into his life using cheese and yogurt, but he’d pick it out with the precision of a surgeon. Then came the dairy-free phase. I thought it would be a nightmare. I was wrong. It turned out to be the best thing that could have happened for our dessert routine.
Last month, I was staring at a half-empty pantry, feeling that familiar 4 PM panic. The kids were hungry, the grocery store was closed, and I had nothing but rice, coconut milk, and a bottle of lime juice. I threw together what I thought would be a mediocre rice pudding. I was expecting complaints. Instead, I got silence. Then, a small voice from the other room: “Mom, can I have more?”
That was the moment I knew I had struck gold. This Dairy-Free Coconut Lime Rice Pudding with Toasted Coconut Flakes isn’t just a workaround for allergies. It’s genuinely delicious. It’s creamy, it’s tangy, it’s sweet, and it costs pennies to make. I’ve made it at least a dozen times since that Tuesday evening. My kids love it, my husband pretends he doesn’t care but finishes his bowl, and I’m happy because I didn’t have to run to the store. It’s become our go-to weeknight treat, right up there with our pumpkin spice Rice Krispie treats for ease of preparation.
If you’ve been searching for a dessert that’s safe for lactose-intolerant kids but still tastes like a indulgent treat, stop looking. This is it. It’s simpler than pie, cheaper than takeout, and tastes like a tropical vacation in a bowl.
Why You’ll Love This Dairy-Free Coconut Lime Rice Pudding
There are about ten reasons I keep making this rice pudding, but here are the big ones. It’s not just about being dairy-free (though that’s huge for us). It’s about how easy it is to fit into a real family’s life.
It’s Stupid Simple — Seriously, if you can boil water and stir a spoon, you can make this. I’ve walked my teenage daughter through it over FaceTime when she was at college for the weekend. There’s no chopping, no complex techniques, and no fancy equipment. Just rice, liquid, and heat.
It’s Lightning Fast (Mostly) — While it does simmer, 80% of the time is hands-off. You dump everything in a pot, set a timer, and go do homework. I make this on weeknights when I get home at 7pm and have zero energy to stand over a stove. It’s the perfect “set it and forget it” dessert.
It’s Pantry-Friendly — You probably have most of these ingredients already. Canned coconut milk, white rice, sugar, and limes are staples in my house. I keep them stocked just so I can make this on a whim when the kids need a sugar fix but I don’t want to bake a cake.
It’s Budget-Smart — Feeds 4-6 people for under $5. That’s less than one meal at a fast-food place. We’re feeding a family of four on a tight budget, so every dollar counts. This dessert stretches further than any store-bought pudding cup ever could.
Makes Amazing Leftovers — Actually tastes better the next day. The rice absorbs more of the coconut flavor and gets even creamier. I deliberately make extra for lunch throughout the week. It’s like a cold pudding parfait in the summer.
This is my go-to when I need dessert to just work. No complicated techniques, no weird ingredients, just reliable, delicious food that makes everyone happy. And if you’re looking for other ways to use up rice, check out how we make our traditional holiday cakes which sometimes use rice flour, but this pudding is a whole different beast.
Ingredients You’ll Need
Here’s the best part: you probably have most of this already. I’m particular about three ingredients here, and I’ll tell you exactly why. This looks like a short list, but that’s because it’s all about quality over quantity.
White Rice (1 cup / 200g) — I use short-grain or medium-grain white rice (like Arborio or Sushi rice) because it releases starch and gets that creamy, porridge-like texture. Long-grain rice stays separate and won’t get creamy enough. Don’t skip this step—buy the right rice.
Full-Fat Coconut Milk (2 cans / 400ml each) — Do not buy the carton kind meant for drinking. You need the thick, canned stuff. Shake the can well before opening. The creamier the milk, the richer the pudding. I use the “light” version if I’m watching calories, but the full-fat version is what makes this taste like a dessert, not a side dish.
Water (1 cup / 240ml) — We dilute the coconut milk slightly so it’s not overwhelmingly rich. It helps the rice cook evenly without becoming a solid block of fat.
Granulated Sugar (½ cup / 100g) — Adjust to taste. I find ½ cup is perfect for most palates. If your kids have a huge sweet tooth, bump it to ¾ cup. If you want it less sweet, ⅓ cup works. I’ve used honey too, but it changes the flavor profile slightly.
Unsalted Butter or Coconut Oil (2 tablespoons) — Since this is dairy-free, I usually use coconut oil to keep it vegan. But if your kids just avoid lactose (not dairy protein), butter makes it incredibly rich. I’ve tested both. Coconut oil keeps it light; butter makes it decadent. I usually go with coconut oil for the “toasted” flavor profile.
Lime Zest and Juice (1 large lime) — The zest is non-negotiable. It gives that bright, aromatic punch that cuts through the sweetness. The juice is optional but recommended for a tangy twist. I use about 1 tablespoon of juice. Too much and it tastes like limeade; too little and it’s just sweet rice.
Vanilla Extract (1 teaspoon) — Pure vanilla only. It adds warmth and depth. It’s the bridge between the tropical coconut and the sweet rice.
Salt (¼ teaspoon) — Just a pinch. It makes the sweet flavors pop. Don’t skip it.
For the Topping:
Shredded Coconut (½ cup) — Unsweetened shredded coconut is best for toasting. It gets golden and nutty. Sweetened coconut burns too fast.
Optional Add-ins:
Blueberries — Fresh or frozen. They add a nice burst of acidity.
Toast Points — A little crunch on top is nice.
Personal Tips: I always buy the large bag of shredded coconut—it lasts forever in the pantry. And yes, you can use leftover rice, but fresh-cooked rice works best for the initial boil. If you’re using leftover rice, you’ll need less liquid and less cooking time.
Equipment Needed
You don’t need fancy equipment for this. Here’s what I actually use.
Saucepan with Lid — A 3-4 quart heavy-bottomed pot is ideal. I use a stainless steel one. It needs to fit the rice and liquid comfortably without boiling over. My ancient pot from college still works fine, but make sure the lid fits tightly to trap steam.
Wooden Spoon — For stirring. Silicone works too. Don’t use metal on non-stick if you’re using a coated pot.
Microplane or Zester — For the lime zest. A regular grater works but might get chunks of pith. I love my microplane—it’s like $3 and makes life easier. Zesting the lime before you cut it is crucial.
Measuring Cups and Spoons — Pretty standard stuff. Dollar store versions work fine.
Serving Bowls — Any size works. I like small ramekins for portion control, but deep bowls are nice for topping.
Optional but nice:
Small Skillet — For toasting the coconut flakes. You can do this in the same pot, but a separate skillet gives you better control over the heat.
Tool Tips: Don’t have a heavy-bottomed pot? Any big pot works—just keep a close eye on it so it doesn’t stick to the bottom. I’m obsessed with my microplane—it’s cheap and makes zesting effortless.
How to Make It: Step-by-Step

Alright, let’s make this! I’m walking you through exactly how I do it, including the little tricks I’ve picked up.
Step 1: Prep Your Ingredients (5 minutes)
Before you start cooking, wash your rice. Yes, wash it. Put the rice in a fine-mesh strainer and rinse under cold water until the water runs clear. This removes excess starch that can make the pudding gummy instead of creamy. While the rice drains, zest your lime. Get all the green part but none of the white pith (it’s bitter). Then cut the lime in half to juice it. Measure out your coconut milk, sugar, and butter/oil. Once you start cooking, things move fast, and you don’t want to be digging for limes.
Step 2: Combine and Simmer (25-30 minutes)
In your saucepan, combine the washed rice, coconut milk, water, sugar, butter (or coconut oil), and salt. Stir well to dissolve the sugar. Place the pot over medium-high heat and bring to a boil. Once it boils, reduce the heat to low. Cover with the lid, leaving it slightly ajar (you want some steam to escape so it doesn’t boil over). Let it simmer gently for 20-25 minutes. Do not stir too often—just once or twice to prevent sticking. The rice should be tender and the mixture thickened.
Step 3: Add the Flavor (5 minutes)
After 25 minutes, check the rice. It should be soft and creamy. If it’s too dry, add a splash more water or coconut milk. Remove the pot from the heat. Stir in the lime zest and vanilla extract. The heat from the pudding will release the oils from the zest, filling the kitchen with that amazing citrus scent. Taste it. Is it sweet enough? Too tart? Adjust now. If you want more lime kick, add a teaspoon of juice. If it’s too tart, add a sprinkle of sugar.
Step 4: Toast the Coconut (3-5 minutes)
While the pudding rests, heat a small skillet over medium-low heat. Add the shredded coconut. Stir constantly. It will go from raw white to golden brown in seconds. Watch it like a hawk—it burns faster than you think. Once it’s fragrant and lightly golden, remove it from the heat immediately. It will keep cooking from residual heat. Set aside to cool.
Step 5: Serve
Serve the pudding warm or chilled. If serving warm, it’s like a cozy breakfast porridge. If chilled, it’s like a rich pudding. Top with the toasted coconut flakes. I also like a squeeze of fresh lime juice on top right before eating. It’s a texture and flavor bomb.
Total Time: About 40 minutes (10 minutes active, 30 minutes hands-off)
Expert Tips & Tricks
Here’s everything I’ve learned from making this dozens of times. These tips will save you from my mistakes.
Stirring is Key — Rice pudding can stick to the bottom. Stir it every 5 minutes during the simmer. If it sticks, it’ll taste burnt and ruin the whole batch. I set a timer on my phone for this.
Don’t Rush the Toast — Low and slow for the coconut. High heat will burn the sugars in the coconut, making it bitter. You want nutty, not charcoal.
Creaminess Control — If you want it thicker, cook it longer. If you want it looser, add more milk. It thickens as it cools, so don’t over-thicken it in the pot.
Flavor Boost — Add a pinch of cardamom or cinnamon if you want a warmer flavor profile. It pairs surprisingly well with lime. I tried it once and liked it, but my kids preferred the pure coconut-lime combo.
Common Mistakes (and how to avoid them):
Mistake: Pudding is too runny — Fix: Let it sit for 10 minutes off heat. It will thicken. If it’s still too runny, cook it 5 more minutes.
Mistake: Pudding is too dry — Fix: Add a splash of milk or water and stir. It’s easily fixable.
Pro Tricks I’ve Learned:
For Restaurant-Quality Finish — Chill it in the fridge for at least 2 hours. The flavors meld and the texture becomes incredibly smooth.
For Extra Flavor — Toast the coconut in the butter/coconut oil you used for the pudding. It infuses the coconut with that richness.
Make-Ahead Strategy — Make the pudding ahead and store in the fridge for up to 3 days. Toast the coconut fresh before serving. This is my go-to for meal prep.
Variations & Substitutions
Once you’ve nailed the basic version, here’s how you can mix it up. I’ve tried all of these.
Berry Swirl — Mash some fresh strawberries or raspberries and swirl them into the warm pudding. It adds a beautiful pink color and tartness. My kids love this one.
Chocolate Chip — Stir in a handful of dairy-free chocolate chips at the end. It turns it into a dessert bar vibe. Check out our churro cheesecake bars if you want more chocolate-inspired treats.
Matcha Lime — Whisk in 1 teaspoon of matcha powder with the sugar. It adds a lovely green color and earthy flavor. It’s a bit more sophisticated but still kid-friendly.
Cardamom Coconut — Add ½ teaspoon of ground cardamom. It’s a classic pairing in many cultures. Adds a warm, spicy note.
Gluten-Free — This recipe is naturally gluten-free. Just ensure your coconut milk and other ingredients are certified GF if you have celiac disease.
Vegan — Use coconut oil instead of butter. The base recipe is already vegan if you use coconut milk.
Different Grains — You can use quinoa or millet instead of rice. It changes the texture but still works. Quinoa takes longer to cook, so adjust your time.
Serving & Storage
How to Serve:
“I usually serve this straight from the fridge in small bowls—it looks rustic and stays cool. But here are other ways I’ve enjoyed it:”
Side Dishes:
– Fresh fruit salad (berries work best)
– Toasted almond slices
– A dollop of coconut whipped cream
Toppings Bar:
When I have guests, I put out: toasted coconut, fresh berries, a drizzle of honey, lime wedges. Everyone customizes their bowl.
Storage Instructions:
Refrigerator:
Store in an airtight container for up to 5 days. The pudding will thicken in the fridge—totally normal. Just add a splash of milk when reheating or serving cold.
Reheating:
Best method: Add to a saucepan with a splash of milk over low heat. Stir until heated through and creamy again.
Microwave method: Heat in 30-second intervals, stirring between. Add a splash of milk if it’s too thick.
Freezing:
Honestly, this doesn’t freeze well because of the dairy-free coconut milk. The texture can become grainy when thawed. Make it fresh or store in the fridge for up to 5 days.
Meal Prep:
Make the pudding on Sunday, store in the fridge. Toast coconut fresh each night. Takes 5 minutes and tastes way better than fully reheated pudding.
Pro tip: If leftovers are drying out, stir in a tablespoon of coconut milk when reheating. Brings back that creamy texture.
Nutrition Information
I’m not a nutritionist, but here’s the breakdown if you’re tracking.
Per Serving (based on 6 servings):
– Calories: 280
– Protein: 4g
– Carbs: 45g
– Fiber: 3g
– Sugar: 25g
– Fat: 10g
– Saturated Fat: 8g
– Cholesterol: 0mg
– Sodium: 150mg
– Calcium: 100mg
What’s Good:
– Good source of calcium from coconut milk
– Fiber from rice
– Can add vegetables to boost nutrition (like berries)
What to Know:
– Higher in calories from coconut milk
– Contains no gluten
– Moderate sodium (use low-sodium coconut milk if needed)
My Take:
“Look, this is a dessert with coconut milk and sugar. It’s not a diet recipe. But it’s way better than store-bought pudding, costs less, and I know exactly what’s in it. When I want to make it lighter, I reduce the sugar and use light coconut milk. But usually? I just eat a reasonable portion and enjoy it.”
Final Thoughts
So that’s my go-to Dairy-Free Coconut Lime Rice Pudding! I’ve probably talked your ear off at this point, but when you make a recipe this often, you have a lot to say about it.
This has saved weeknight desserts more times than I can count. It’s my answer to “what’s for dessert” when I’m tired, don’t want to bake, and still want something that tastes really good. My kids are happy, my husband’s happy, and I’m happy because I’m not stressed about cooking.
Make it yours! Try different add-ins, swap in your favorite fruits, adjust the lime (though more is always better in my opinion). The best recipes are the ones you adapt to your family’s tastes.
If you make this, drop a comment and let me know what you think! I love hearing how recipes turn out in your kitchen. And if something doesn’t work, tell me that too—I’m here to help troubleshoot.
Happy cooking! And I hope your kitchen smells half as good as mine does right now.
Frequently Asked Questions
Q: Can I use leftover rice?
A: You can, but the texture will be different. Leftover rice is already cooked, so you’ll need less liquid and less cooking time. I recommend using fresh rice for the best creamy texture. If you must use leftover, cook it for only 10-15 minutes and add less coconut milk.
Q: Why did my pudding turn out watery?
A: Usually means you didn’t simmer it long enough, or you used too much liquid. Let the mixture simmer until the rice is tender and the liquid has thickened. It will continue to thicken as it cools. If it’s still watery, cook it 5 more minutes.
Q: Can I make this ahead for a dinner party?
A: Absolutely! Make the pudding up to 2 days ahead and store in the fridge. Toast the coconut fresh before serving. It actually tastes better after chilling. I do this all the time for parties.
Q: Why did my coconut burn?
A: Coconut has natural oils that burn quickly. Always toast on low-medium heat and stir constantly. Remove it from the pan as soon as it’s golden. It will keep cooking from residual heat.
Q: Can I use coconut cream instead of coconut milk?
A: Yes, but it will be much richer and thicker. You’ll need to add more water to dilute it. I recommend using full-fat coconut milk for the right balance.
Q: How do I reheat leftovers without it getting dry?
A: Add a splash of milk or water to a saucepan, add your leftover pudding, and heat gently over low heat, stirring frequently. The extra liquid brings back the creamy texture. Microwave sort of works but tends to dry it out.
Q: Can I double this recipe?
A: Absolutely! Double everything and use your biggest pot. The cooking times stay the same. I do this when I’m meal-prepping or feeding a crowd. Just make sure your pot is big enough for the liquid—you might need to use a larger pot.
Pin This Recipe!
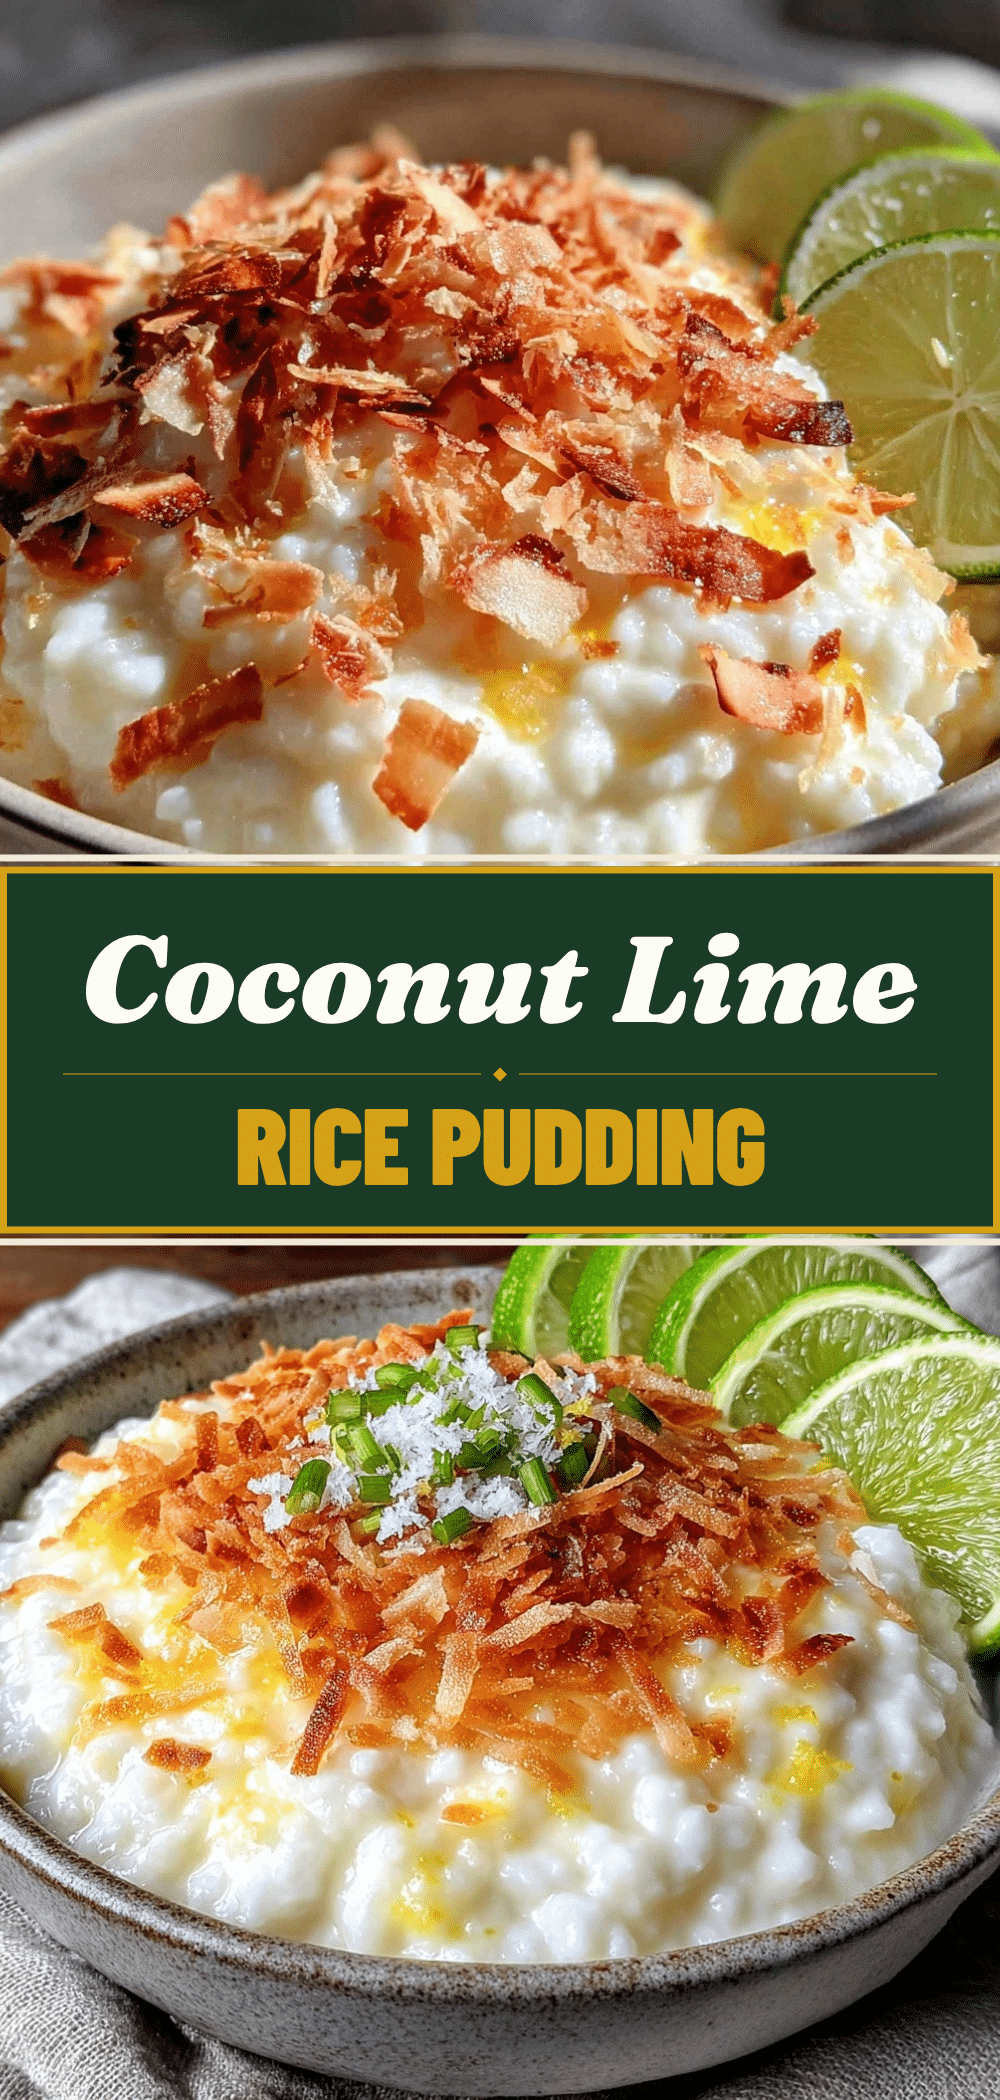

Dairy-Free Coconut Lime Rice Pudding
- Total Time: 40 minutes
- Yield: 6 servings 1x
Description
A creamy, tangy, and sweet dairy-free rice pudding made with coconut milk and lime. It is easy to prepare, budget-friendly, and perfect for kids and adults alike.
Ingredients
- 1 cup (200g) short-grain or medium-grain white rice (e.g., Arborio or Sushi rice)
- 2 cans (400ml each) full-fat coconut milk
- 1 cup (240ml) water
- 1/2 cup (100g) granulated sugar
- 2 tablespoons coconut oil or unsalted butter
- 1 large lime (zested and juiced)
- 1 teaspoon pure vanilla extract
- 1/4 teaspoon salt
- 1/2 cup unsweetened shredded coconut (for topping)
Instructions
- Wash the rice in a fine-mesh strainer under cold water until the water runs clear to remove excess starch.
- Zest the lime, ensuring you get only the green part and no white pith, then cut and juice the lime.
- In a 3-4 quart heavy-bottomed saucepan, combine the washed rice, coconut milk, water, sugar, coconut oil (or butter), and salt. Stir well to dissolve the sugar.
- Place the pot over medium-high heat and bring to a boil.
- Once boiling, reduce heat to low. Cover with the lid, leaving it slightly ajar to allow steam to escape.
- Simmer gently for 20-25 minutes, stirring once or twice to prevent sticking. The rice should be tender and the mixture thickened.
- Remove the pot from the heat. Stir in the lime zest and vanilla extract. Taste and adjust sweetness or tartness if needed.
- While the pudding rests, heat a small skillet over medium-low heat. Add the shredded coconut and stir constantly until golden brown and fragrant (3-5 minutes). Remove from heat immediately to prevent burning.
- Serve the pudding warm or chilled, topped with the toasted coconut flakes and an optional squeeze of fresh lime juice.
Notes
Use short-grain or medium-grain rice for a creamy texture; long-grain rice will not get creamy enough. Toast the coconut on low heat to avoid burning. The pudding thickens as it cools, so do not over-thicken it in the pot. Leftovers can be stored in the refrigerator for up to 5 days. Add a splash of milk when reheating to restore creaminess.
- Prep Time: 10 minutes
- Cook Time: 30 minutes
- Category: Dessert
- Cuisine: American
Nutrition
- Serving Size: 1 bowl
- Calories: 280
- Sugar: 25
- Sodium: 150
- Fat: 10
- Saturated Fat: 8
- Carbohydrates: 45
- Fiber: 3
- Protein: 4
Keywords: dairy-free, coconut lime rice pudding, kid-friendly dessert, vegan dessert, gluten-free, easy dessert, weeknight treat, budget-friendly


