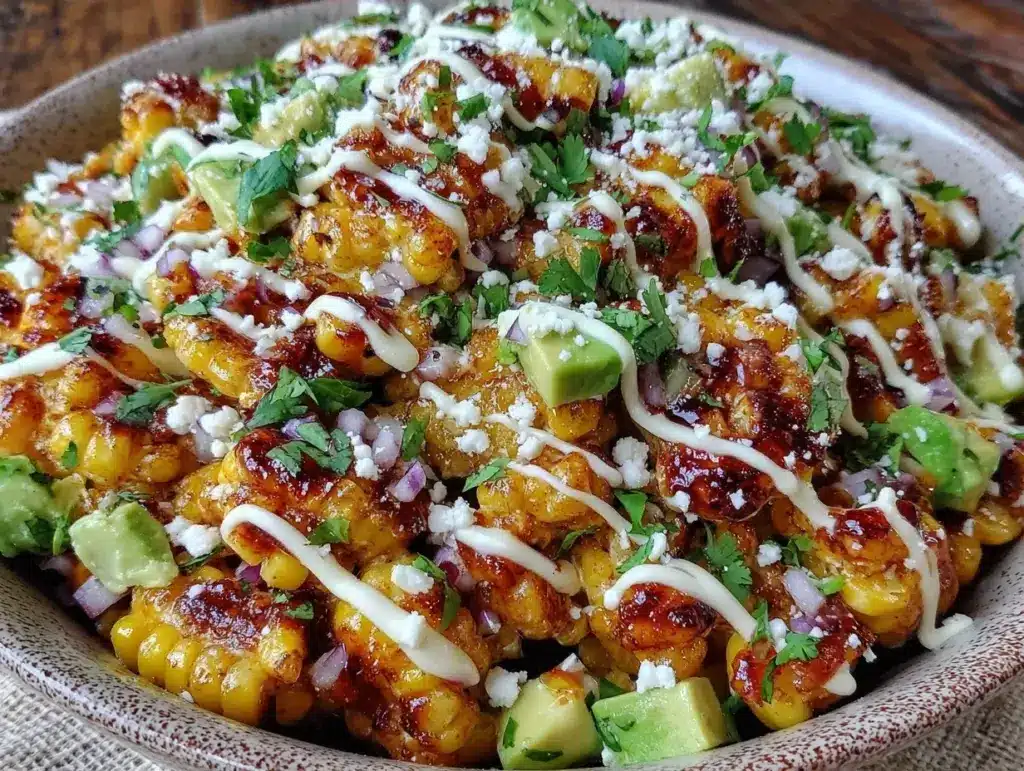
I can still smell the smoke before I see the cart. It’s that specific, mouth-watering mix of charred corn, cumin, and bright lime that hits you when you’re walking through a busy market in Oaxaca. Or maybe it’s the summer nights back in San Antonio, where the heat hung heavy in the air and the only relief came from a plastic cup of esquites passed hand-to-hand under string lights.
For years, I tried to recreate that magic in my own kitchen. I bought the best corn I could find. I bought the fancy cotija cheese from the specialty shop. I even invested in a high-end lime juicer. And yet, every time I served it to my family, it felt… off. It tasted like corn salad. It tasted like something I had cooked, not something I had experienced.
It wasn’t until I was visiting my Abuela Lola last summer that I finally got it right. We weren’t in a fancy kitchen. We were sitting on her porch, shelling corn together, her hands moving with a speed that defied her age. She wasn’t using a recipe. She was using her hands, her nose, and a lifetime of feeding people she loved.
“You are trying too hard,” she told me, laughing as I measured the mayonnaise with a spoon. “Esquites is not about measuring. It is about feeling. The corn must sing. The cream must hug. The chili must wake you up.”
That night, she made Mexican Esquites with Chili Lime Crema right there on the stove, using a cast-iron skillet that had seen decades of fiestas. It was messy. It was loud. And it was the most authentic, vibrant thing I had ever tasted. It tasted like home. It tasted like celebration.
That experience changed how I cook. It taught me that some recipes aren’t about precision; they’re about presence. This version of esquites is my homage to Lola. It’s not just a side dish. It’s a memory in a bowl. And I promise you, once you taste this chili-lime-kissed corn, you’ll understand why it’s the star of every festive gathering I host.
Why You’ll Love This Grandma-Style Esquites Recipe
There’s a reason esquites has been a staple at Mexican street fairs and family dinners for generations. It’s simple, yes, but it’s also incredibly complex in flavor. Here’s why this recipe has earned a permanent spot in my rotation:
- It’s a Flavor Explosion — Sweet corn, salty cheese, creamy mayo, tangy lime, and spicy chili. It hits every single taste bud. I’ve served this to people who claim they “don’t like spicy food,” and they always ask for seconds.
- Stunning Visuals — Let’s be honest, we eat with our eyes first. The bright yellow corn against the white cheese and red chili powder is Instagram gold. But more importantly, it looks festive and abundant, which makes any table feel instantly celebratory.
- Perfect for Crowds — Whether you’re hosting a small dinner party or a massive game day feast, this dish scales up beautifully. You can make a giant batch ahead of time and let guests serve themselves.
- Vegetarian-Friendly — Unlike many festive sides that rely on meat (like a heavy turkey chili or bacon bits), this is naturally vegetarian. It’s a light, refreshing counterpoint to richer main courses.
- Quick to Throw Together — Once the corn is off the cob, this takes less than 15 minutes. It’s the perfect last-minute hero when you’re running behind schedule but want to serve something special.
This isn’t just corn. It’s a party in a bowl. And it’s going to make you the hero of your next gathering.
Ingredients You’ll Need
Here’s the thing about esquites: the quality of your ingredients matters more than the technique. You don’t need fancy spices, but you do need fresh, vibrant produce. Here’s what I use, and why.
For the Corn Base
Fresh Corn on the Cob (4-5 ears / approx. 4 cups kernels) — This is non-negotiable. I know you can use frozen corn in a pinch, but for this recipe, fresh is king. Look for ears that are heavy for their size, with green, moist husks. If you’re buying pre-cut kernels, check the date. It should be as fresh as possible. I usually buy 5 ears because I like a generous yield.
Unsalted Butter (2 tablespoons / 30g) — Just enough to coat the pan and add a rich, nutty flavor as the corn chars. Don’t skip this. The butter helps the corn caramelize, which brings out the natural sweetness.
Yellow Onion (½ medium, finely diced / about 75g) — Sweet onion is best here. I use yellow onion because it’s easier to find and cooks down nicely. You want it to disappear into the background, adding depth without overpowering the corn.
Garlic (2 cloves, minced) — Fresh garlic only. Jarred garlic has a sulfurous taste that clashes with the delicate sweetness of the corn. Mince it yourself. It takes 30 seconds.
For the Chili Lime Crema
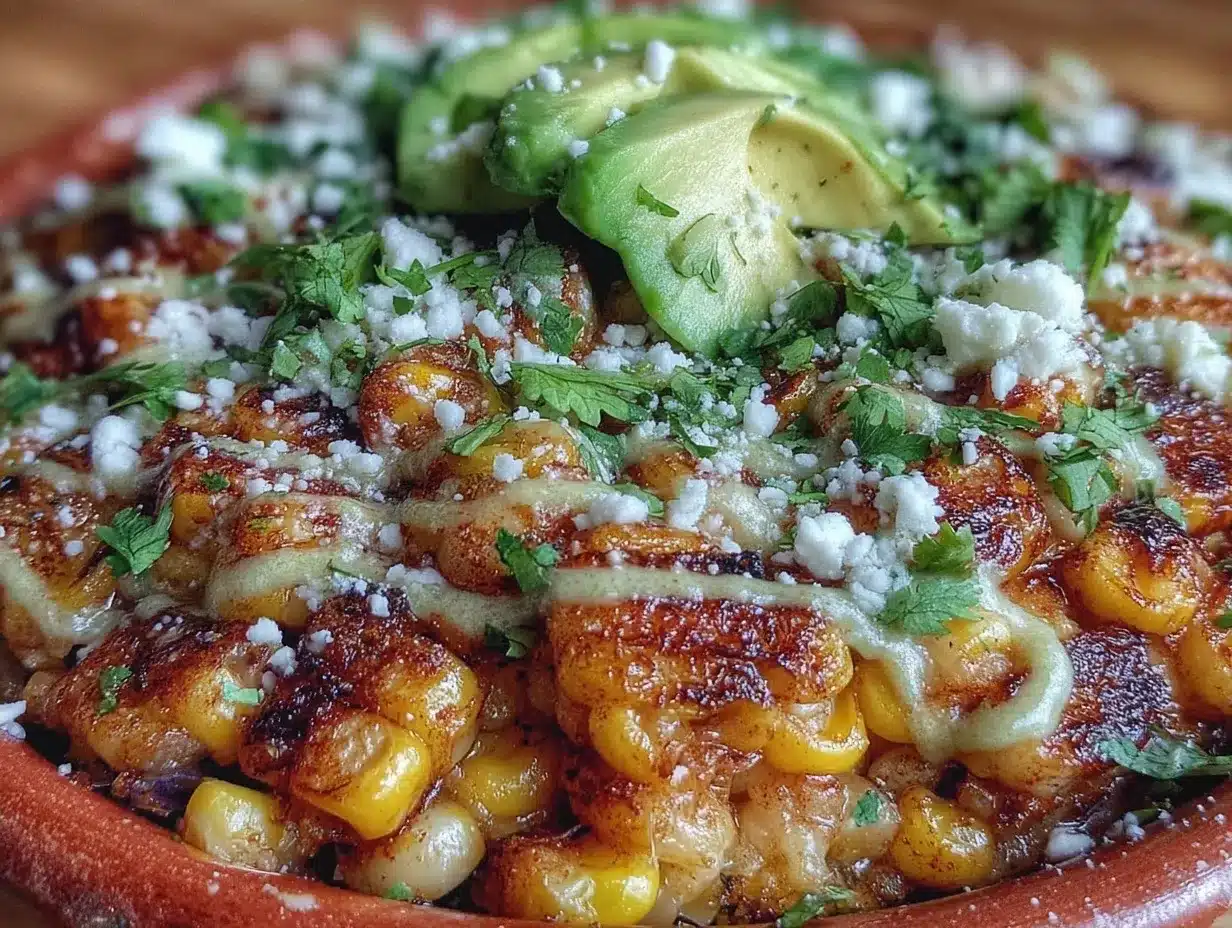
Mexican Crema or Sour Cream (½ cup / 120ml) — This is the secret weapon. Mexican crema is thinner and less tangy than American sour cream. If you can’t find it, mix ½ cup sour cream with 1 tablespoon milk. It needs to be pourable but thick enough to coat the corn.
Mayonnaise (2 tablespoons / 30g) — I know, it sounds weird to put mayo in a Mexican dish. But it adds a silky texture and helps the chili powder stick. Use a good quality mayo, like Hellmann’s or a local brand. Don’t use the cheap stuff.
Fresh Lime Juice (2-3 tablespoons / 30-45ml) — Squeeze your own limes. Bottled juice tastes flat and metallic. You want that bright, acidic punch to cut through the richness of the cream and cheese.
For the Toppings & Garnish
Cotija Cheese (½ cup / 50g, crumbled) — This is the “Parmesan of Mexico.” It’s a dry, salty cheese that doesn’t melt; it crumbles. If you can’t find Cotija, a mix of Parmesan and feta works, but Cotija is the real deal. Look for it in the cheese section of most grocery stores.
Chili Powder (1 teaspoon / 5g) — I use a blend like Tajín or a simple mix of ancho chili powder and a pinch of cayenne. You want heat, but also a smoky depth. Adjust to your spice tolerance.
Chili Powder for Dusting (Extra, for serving) — This is for the final sprinkle. It adds color and a final kick.
Fresh Cilantro (2 tablespoons, chopped) — Optional, but highly recommended. It adds a fresh, herbal note that brightens the whole dish. I always use it.
Lime Wedges (For serving) — Everyone loves to squeeze a little extra lime over their portion. It’s a fun, interactive element.
Equipment Needed
You don’t need a lot of fancy gadgets for this. Here’s what I actually use:
Large Cast-Iron Skillet or Dutch Oven — I prefer cast iron because it holds heat well and creates that beautiful char on the corn. If you don’t have one, a heavy-bottomed stainless steel skillet works too. Avoid non-stick if you can; you want some browning.
Sharp Chef’s Knife — For dicing the onion and mincing garlic. A dull knife is dangerous and frustrating.
Cutting Board — Any size works. I use a large one so I can work comfortably.
Wooden Spoon or Spatula — For stirring the corn and onions. You need something that won’t scratch your pan.
Zester or Microplane — Optional, but I love adding a little lime zest to the crema. It amplifies the citrus flavor without adding more liquid.
Serving Bowls — I serve this in a large communal bowl, or in individual small bowls for a more elegant presentation. Plastic cups are traditional for street style, but for home gatherings, bowls look nicer.
How to Make It: Step-by-Step
Alright, let’s make this! I’m walking you through exactly how Lola taught me, including the little tricks that make the difference between good and great.
Step 1: Prep Your Corn (10 minutes)
Start by shucking your corn. Remove the husks and silk. It’s satisfying, I know. Then, use your knife to slice the kernels off the cob. Hold the cob vertically and slice down, rotating as you go. Be careful of your fingers. Collect all the kernels and the milky juice that comes out—that juice is pure flavor, so don’t discard it.
Step 2: Char the Corn (5 minutes)
Heat your large skillet over medium-high heat. Add the butter. Once it’s foaming and fragrant, add the corn kernels. Spread them out in a single layer if you can. Let them sit undisturbed for 2-3 minutes. This is crucial. You want them to get some brown spots. If you stir too much, they steam instead of char. The char adds a smoky depth that mimics the street carts.
Step 3: Sauté the Aromatics (3 minutes)
Add the diced onion to the pan with the corn. Stir everything together. Cook for 2-3 minutes until the onion is soft and translucent. Add the minced garlic in the last 30 seconds. Garlic burns quickly, so add it late. The smell should be incredible by now.
Step 4: Make the Crema (2 minutes)
While the corn cooks, whisk together the Mexican crema (or sour cream mix), mayonnaise, fresh lime juice, and a pinch of salt in a small bowl. If you’re using lime zest, add it now. Taste it. It should be tangy, creamy, and slightly salty. Adjust lime or salt as needed.
Step 5: Combine and Finish (2 minutes)
Reduce the heat to medium-low. Pour the crema mixture over the corn. Stir gently to coat every kernel. The corn should look glossy and vibrant. Taste it. Does it need more lime? More salt? Adjust now, because once you add the cheese, it’s harder to change the flavor balance.
Step 6: Garnish and Serve
Remove from heat. Transfer to a serving bowl. Sprinkle generously with crumbled Cotija cheese and a dusting of chili powder. Top with fresh cilantro. Serve immediately while the corn is still warm. The contrast of warm corn and cool crema is magic.
Total Time: About 20 minutes (10 minutes prep, 10 minutes cooking)
Expert Tips & Tricks
Here’s everything I’ve learned from making this dozens of times. These tips will save you from my mistakes.
- Don’t Skip the Char — I know it’s tempting to just boil the corn. But the char is what gives esquites its signature flavor. If your stove doesn’t get hot enough, use a blowtorch on the corn after cooking it. It’s a hack, but it works.
- Use the Cob Juice — When you slice the corn off the cob, you’ll get some milky liquid. Pour that into the pan. It adds a natural corn sweetness and thickness to the sauce.
- Room Temperature Cream — Cold cream can seize up when it hits the hot pan. Take your crema out of the fridge 15 minutes before you start cooking. If you forget, microwave it for 10 seconds.
- Cotija is Key — Don’t substitute with cheddar or mozzarella. They melt and change the texture. Cotija crumbles and adds salty pockets of flavor. If you can’t find Cotija, buy a wedge of Parmesan and crumble it yourself. It’s closer than using pre-shredded cheese.
- Make Ahead Strategy — You can char the corn and make the crema up to 4 hours ahead. Store them separately in the fridge. Combine them just before serving. This is great for party planning.
Variations & Substitutions
Once you’ve nailed the basic version, here’s how you can mix it up. I’ve tried all of these.
Spicy Version — Add a diced jalapeño or serrano pepper in Step 3 with the onions. It adds a fresh heat that’s different from the chili powder.
Avocado Esquites — Fold in 1 diced ripe avocado in Step 5. It adds creaminess and healthy fats. This is my favorite variation for summer picnics.
Vegan Version — Swap the Mexican crema for cashew cream (blend soaked cashews with water and lime) and use vegan mayo. Use nutritional yeast instead of Cotija cheese. It’s surprisingly good.
Grilled Corn — For a smokier flavor, grill the whole ears of corn over high heat until charred, then cut the kernels off. This mimics the street cart experience even more closely.
Protein Boost — Add black beans or grilled chicken strips for a heartier meal. I sometimes serve this alongside my cozy fall turkey chili for a complete meal.
Serving & Storage
How to Serve: I usually serve this straight from the skillet at the dinner table—it looks rustic and stays warm. But here are other ways I’ve enjoyed it:
- As a Taco Topping — Spoon it into soft corn tortillas with grilled fish or shrimp.
- With Grilled Meats — It pairs perfectly with maple bourbon glazed salmon or grilled steak.
- Party Platter — Serve in a large bowl with spoons, surrounded by chips and dips.
Storage Instructions:
Refrigerator: Store in an airtight container for up to 3 days. The flavors actually meld and get better overnight. However, the corn will lose some of its crunch. I recommend reheating gently or serving at room temperature.
Reheating: Warm in a skillet over low heat with a splash of water or broth. Do not microwave, as it can make the corn rubbery. If you must microwave, do it in short bursts and stir well.
Freezing: I do not recommend freezing esquites. The texture of the corn and cream changes significantly when frozen and thawed. It’s best enjoyed fresh.
Nutrition Information
I’m not a nutritionist, but here’s the breakdown if you’re tracking. Please remember this is an estimate based on standard ingredients.
| Per Serving (approx. ½ cup) | Amount |
|---|---|
| Calories | 180 |
| Protein | 5g |
| Carbs | 22g |
| Fiber | 3g |
| Sugar | 6g |
| Fat | 9g |
| Saturated Fat | 5g |
| Sodium | 220mg |
What’s Good: It’s a good source of fiber from the corn and vegetables. It’s vegetarian and can be made gluten-free easily.
What to Know: It is higher in fat due to the cream, cheese, and mayo. It’s a treat, not a health food. But it’s a delicious, comforting treat.
Final Thoughts
So that’s my take on Mexican Esquites with Chili Lime Crema. It’s a recipe that’s close to my heart, not just because of the flavor, but because of the memories it holds. It’s about sitting on a porch, watching the sun go down, and sharing food with people you love.
This dish has saved my dinner parties. It’s the one thing I know I can make when I’m stressed, and it always turns out festive and delicious. It’s a reminder that sometimes, the best recipes are the ones that don’t need a cookbook. They just need love, good ingredients, and a willingness to let the corn char.
Make it yours! Try different chilies, add avocado, or serve it with your favorite grilled meats. The best recipes are the ones you adapt to your family’s tastes. If you make this, drop a comment and let me know what you think! I love hearing how recipes turn out in your kitchen. And if something doesn’t work, tell me that too—I’m here to help troubleshoot.
Happy cooking! And I hope your kitchen smells half as good as mine does right now.
Frequently Asked Questions
Can I use frozen corn for this recipe?
You can, but the texture won’t be quite the same. Fresh corn has a snap and sweetness that frozen corn lacks. If you must use frozen, thaw it completely and pat it very dry before cooking. You want to avoid steaming it. I’ve done it when I’m in a pinch, and it’s still good, but fresh is always better.
What is the difference between Esquites and Elote?
Elote is corn on the cob, served on a stick with crema, cheese, and chili. Esquites is the same flavor profile, but the kernels are cut off the cob and served in a bowl. Esquites is easier to eat at a party because you don’t need a stick. It’s essentially “corn on the cob” in a bowl.
Can I make this ahead of time?
Yes, but with a caveat. You can char the corn and make the crema up to 4 hours ahead. Store them separately. Combine them just before serving. If you combine them too early, the corn will get soggy and lose its char. Patience pays off here.
Why did my sauce turn out watery?
This usually happens if your corn released too much liquid, or if you used a crema that was too thin. Make sure you don’t add too much milk to your sour cream substitute. Also, cook the corn until most of the liquid evaporates before adding the crema. The sauce should coat the corn, not pool at the bottom.
Can I make this vegan?
Absolutely. Swap the Mexican crema for cashew cream or coconut cream. Use vegan mayo. And skip the Cotija cheese, or use a vegan crumble. It’s not exactly the same, but it’s still creamy, tangy, and delicious.
How spicy is this recipe?
It’s mild to medium. The chili powder adds a smoky kick, but it’s not hot. If you like heat, add more chili powder or a diced jalapeño. If you’re serving kids, omit the chili powder and just use the lime and cheese. It’s still great.
Pin This Recipe!
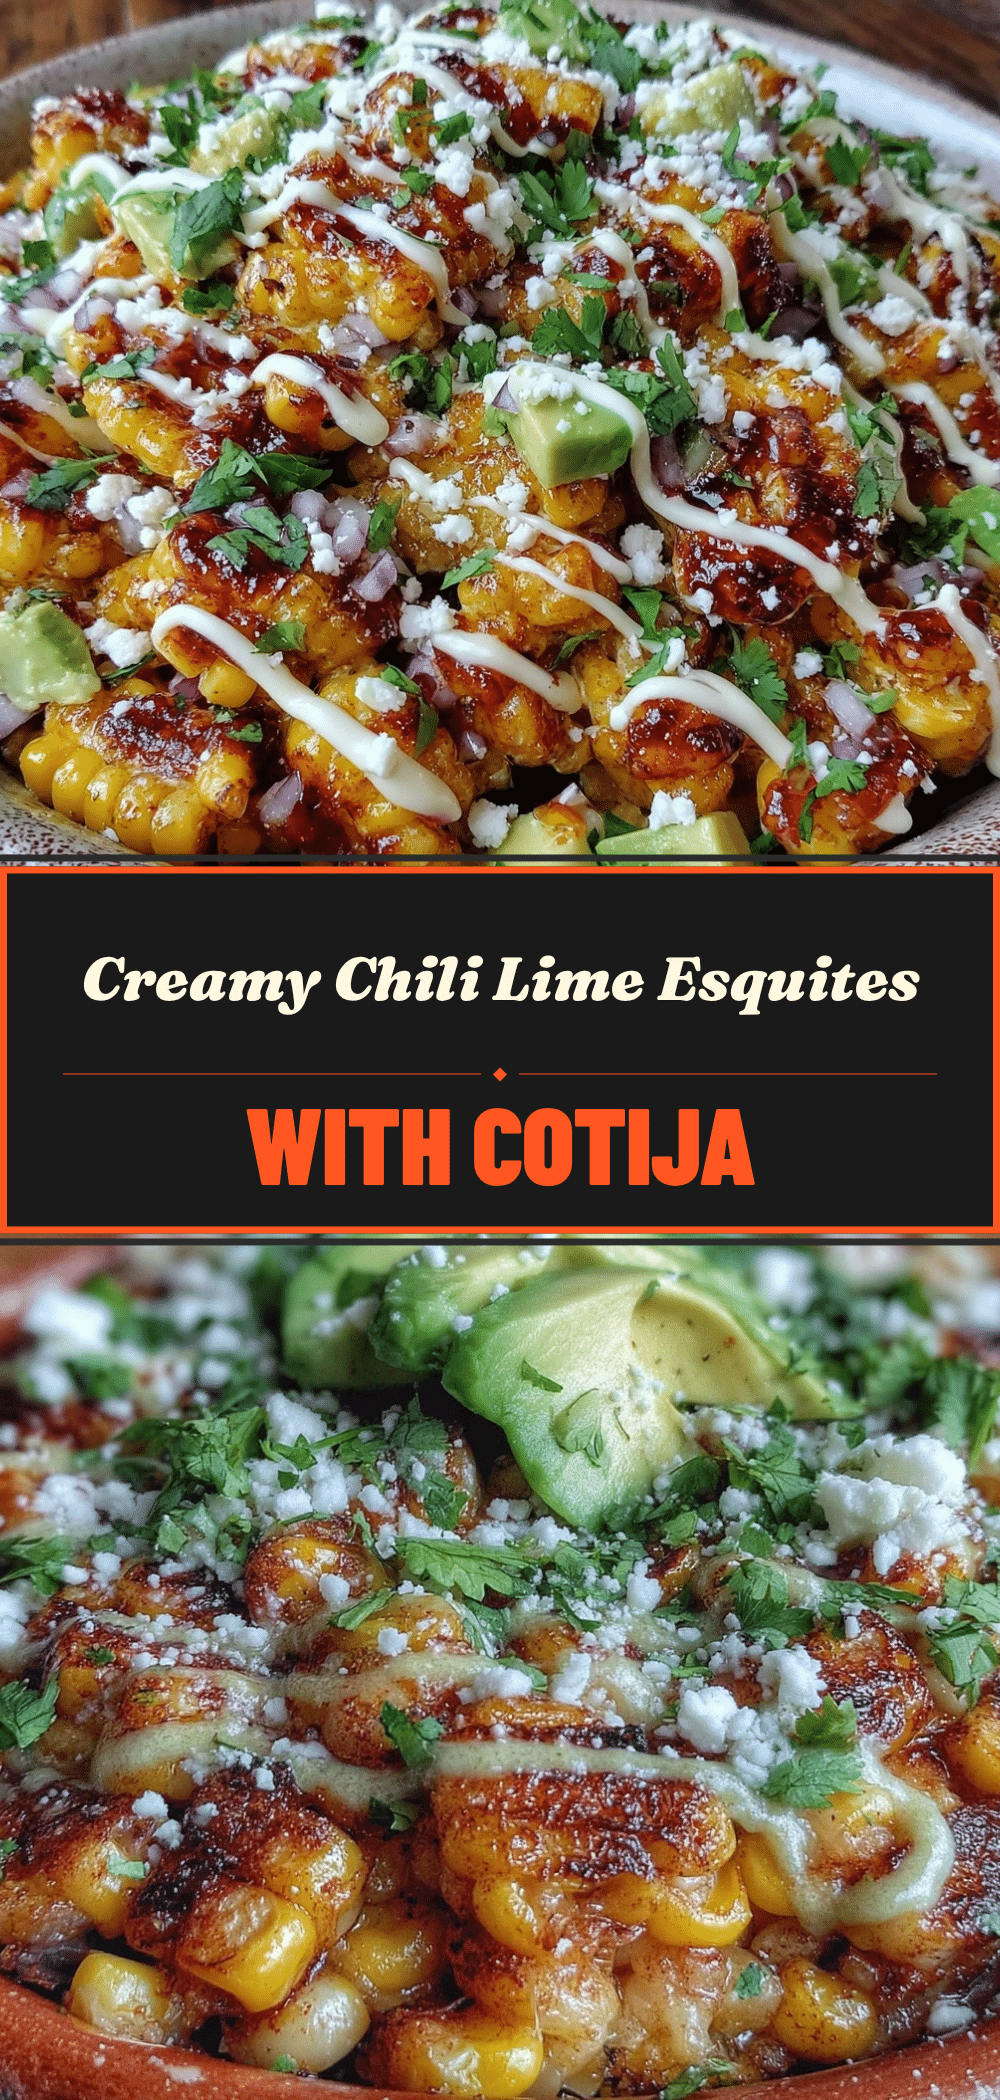

Mexican Esquites: Grandmas Easy Chili Lime Recipe
- Total Time: 20 minutes
- Yield: 4 servings 1x
Description
An authentic, vibrant Mexican street corn dish featuring charred fresh corn kernels tossed in a creamy chili-lime sauce, topped with salty Cotija cheese and fresh cilantro.
Ingredients
- 4–5 ears fresh corn on the cob (approx. 4 cups kernels)
- 2 tablespoons unsalted butter
- 1/2 medium yellow onion, finely diced
- 2 cloves garlic, minced
- 1/2 cup Mexican crema or sour cream mixed with 1 tablespoon milk
- 2 tablespoons mayonnaise
- 2–3 tablespoons fresh lime juice
- 1/2 cup Cotija cheese, crumbled
- 1 teaspoon chili powder (such as Tajín or ancho/cayenne blend)
- Extra chili powder for dusting
- 2 tablespoons fresh cilantro, chopped
- Lime wedges for serving
Instructions
- Shuck the corn and slice the kernels off the cob, collecting the milky juice from the cobs.
- Heat a large cast-iron skillet over medium-high heat and add the butter.
- Add the corn kernels to the skillet and let them sit undisturbed for 2-3 minutes to char.
- Add the diced onion to the pan and cook for 2-3 minutes until soft.
- Add the minced garlic in the last 30 seconds of cooking.
- In a small bowl, whisk together the crema, mayonnaise, lime juice, and a pinch of salt.
- Reduce heat to medium-low, pour the crema mixture over the corn, and stir gently to coat.
- Remove from heat and transfer to a serving bowl.
- Sprinkle generously with crumbled Cotija cheese, chili powder, and fresh cilantro.
- Serve immediately with lime wedges on the side.
Notes
For the best flavor, do not skip the char on the corn. Use fresh corn kernels and their milky juice for sweetness. If you cannot find Mexican crema, mix sour cream with a little milk. The dish can be made ahead by charring the corn and making the crema separately, combining just before serving.
- Prep Time: 10 minutes
- Cook Time: 10 minutes
- Category: Side Dish
- Cuisine: Mexican
Nutrition
- Serving Size: 1/2 cup
- Calories: 180
- Sugar: 6
- Sodium: 220
- Fat: 9
- Saturated Fat: 5
- Carbohydrates: 22
- Fiber: 3
- Protein: 5
Keywords: Mexican Esquites, street corn, chili lime corn, cotija cheese, vegetarian side dish, summer recipes, Mexican street food


