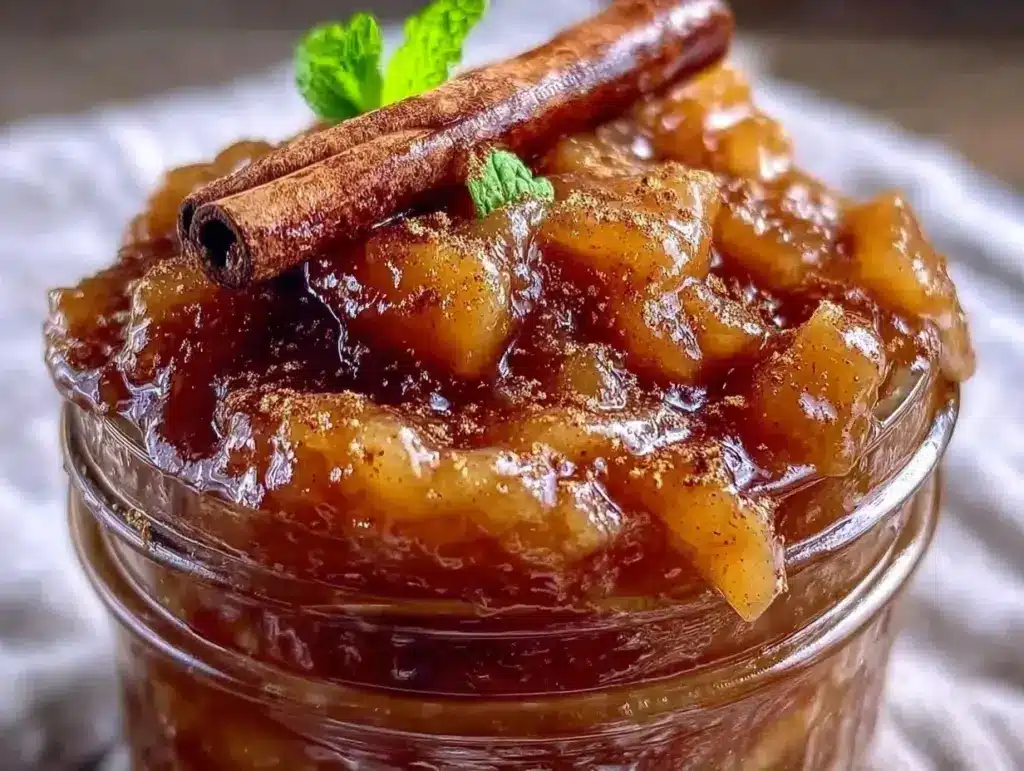
It’s October, the air is crisp, and my kitchen smells like cinnamon and hope. I’m standing at my counter with a bag of Honeycrisp apples, ready to bake. I’ve got the crust chilled, the butter ready, the oven preheated. And then I stop. I look at the pile of sliced apples and do the mental math. If I make a full pie, I’ll have enough filling for two pies. Or one pie and a massive tub of leftover filling that will sit in my fridge for three weeks, slowly turning into apple sauce that I don’t really want.
I don’t want apple sauce. I want pie filling. But I also don’t want to eat pie for breakfast, lunch, and dinner for the next ten days. This is the exact problem that led me to create this small batch canned spiced apple pie filling for one. It’s not just a recipe; it’s a liberation from the “cook once, eat forever” mentality that plagues so many dessert blogs.
I’ve tested this spiced apple pie filling recipe about a dozen times. Some batches were too watery, some were too thick, and one time I accidentally used nutmeg instead of allspice and it tasted like cough syrup. But the version I’m sharing with you today? It’s perfect. It’s the right amount of sweetness, the spices are balanced just right, and it makes exactly one pint jar’s worth of filling. That’s it. That’s the whole yield. One jar. One pie. Or two tarts. Or a spoonful over vanilla ice cream and then you’re done.
No waste. No weird texture changes after three days. Just pure, concentrated apple pie flavor in a jar that you can keep in the pantry for months. It’s basically a hug in a can. And if you’ve ever struggled with fresh peach freezer jam because you had too many peaches, you’ll understand why this is a game-changer. This is the apple version of that joy, but without the freezer space issues.
Why You’ll Love This Small Batch Canned Spiced Apple Pie Filling
There are a million reasons to love apple pie, but there are specific reasons to love this small-batch canned version. It solves the biggest pain point of home baking: portion control. Here’s why this spiced apple pie filling has become my go-to for fall cooking:
- Right-Sized Portions — Seriously, it makes exactly one pint. That’s it. If you’re cooking for one or two people, this is the only way to go. I used to dread making full-batch jams and preserves because I’d end up with twelve jars I didn’t need. This gives you exactly what you need for a single dessert project.
- Pantry-Stable Comfort — Once canned, this spiced apple pie filling for one lasts on your shelf for 12-18 months. It’s like having a little piece of autumn ready to go. I keep three jars in my pantry at all times. When a craving hits at 8 PM on a Tuesday, I don’t have to go to the store. I just grab a jar.
- Deep, Concentrated Flavor — Because you’re cooking down a smaller amount of fruit, the flavors intensify. The cinnamon, clove, and nutmeg have nowhere to hide. They really shine. This isn’t watery pie filling; it’s rich, glossy, and deeply spiced. It tastes like it simmered for hours, even though it only takes about 30 minutes.
- Zero Food Waste — I’m a practical cook. I hate throwing away food. This recipe uses about 3-4 medium apples. If you have a bag of apples that’s starting to look a little wrinkly, this is the perfect rescue mission. You transform “sad apples” into “luxury dessert filling.” It’s culinary alchemy.
- Super Versatile — Yes, it’s called pie filling, but it’s not just for pies. Use it in those pumpkin spice cinnamon rolls for a fall twist. Spoon it over yogurt. Mix it into oatmeal. It’s a flavor bomb that works in savory and sweet contexts (though mostly sweet, let’s be honest).
This is my answer to the question, “How do I bake for myself without feeling guilty about the leftovers?” It’s efficient, it’s delicious, and it respects your time and your fridge space.
Ingredients You’ll Need
Here’s the best part: you probably have most of this already. This small batch canned spiced apple pie filling for one relies on simple, high-quality ingredients. The magic is in the ratio, not the complexity.
For the Filling
Apples (3-4 medium, about 1.5 lbs / 680g) — This is the star. You need baking apples that hold their shape but break down slightly. I love a mix of Honeycrisp and Granny Smith. Honeycrisp for sweetness, Granny Smith for tartness and structure. If you use only Red Delicious, the filling will turn to mush. Avoid it. If you use only Granny Smith, it might be too tart. A mix is key.
Granulated Sugar (½ cup / 100g) — Adjust based on your apple sweetness. If your apples are super sweet, reduce to ⅓ cup. If they’re very tart, keep it at ½ cup. I usually stick to ½ cup because I like a balanced sweet-tart profile.
Apple Cider (¼ cup / 60ml) — Not apple juice from the carton. Real cider. It adds that deep, fermented apple flavor that sugar alone can’t achieve. If you can’t find cider, use apple juice, but the flavor won’t be as robust. This is one area where I don’t recommend substituting water.
Lemon Juice (1 tablespoon / 15ml) — Freshly squeezed. This brightens the flavor and prevents the apples from browning. It also helps with the pectin activation, which is crucial for getting that jammy texture without adding commercial pectin.
For the Spice Blend
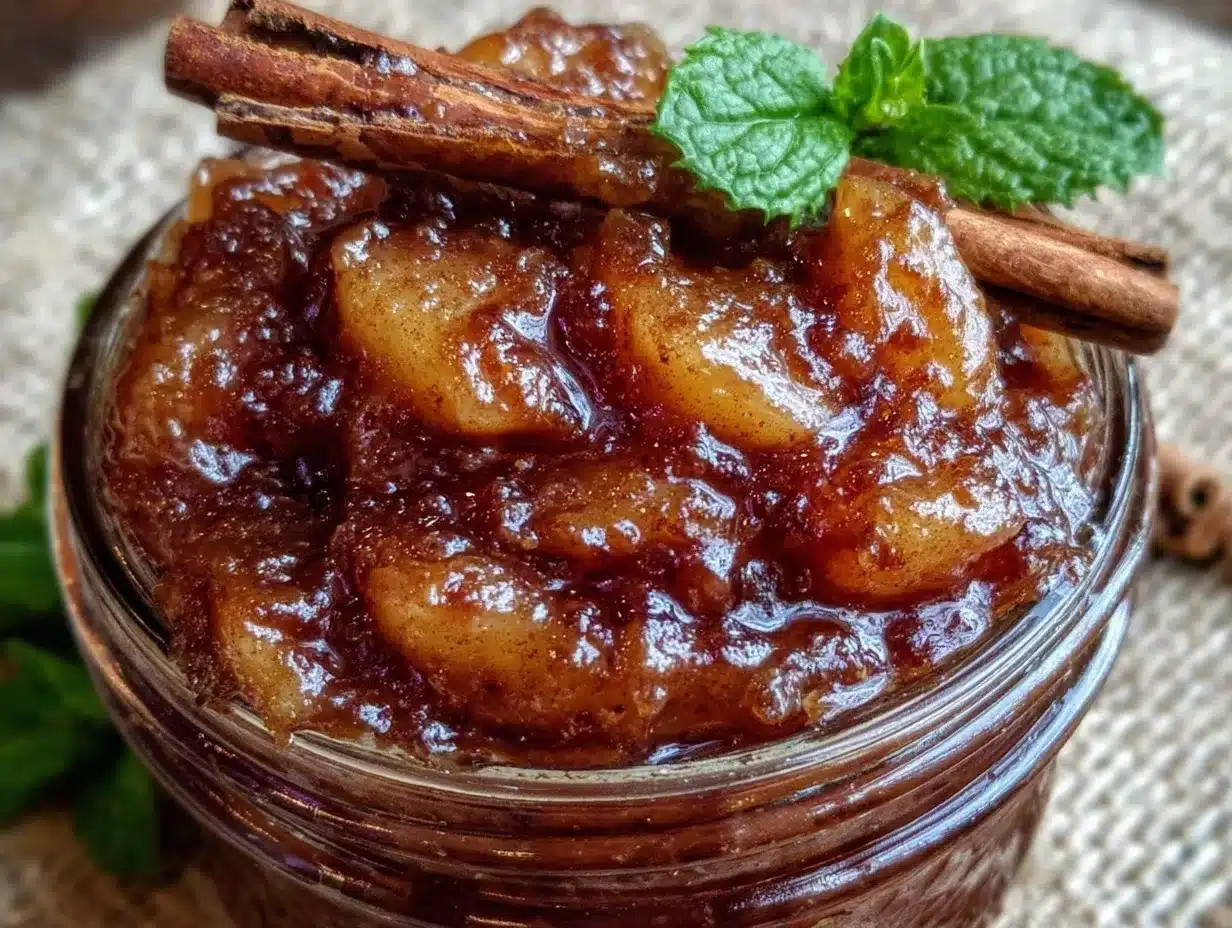
Ground Cinnamon (1 teaspoon) — The backbone. Use a good quality cinnamon. If yours is old and dusty, replace it. The difference is night and day.
Ground Allspice (¼ teaspoon) — This is the secret ingredient. It adds that warm, complex note that tastes like “pie.” Don’t skip it. If you don’t have allspice, a pinch of nutmeg works, but allspice is traditional for this specific spiced apple pie filling.
Ground Nutmeg (⅛ teaspoon) — Freshly grated if you have a nutmeg grinder. Pre-ground nutmeg loses its potency quickly. A little goes a long way.
Ground Ginger (¼ teaspoon) — Adds a little zing. It balances the sweetness and adds warmth.
Pinch of Salt — Always add salt to sweet dishes. It enhances the flavor. I use about ¼ teaspoon of kosher salt.
For Thickening
Cornstarch (1 tablespoon / 8g) — This is what thickens the filling. For a small batch, cornstarch is more reliable than flour because it doesn’t turn cloudy. It gives you that clear, glossy look. Dissolve it in 1 tablespoon of cold water before adding it to the pot to prevent clumps.
Butter (1 tablespoon / 14g) — Optional, but I recommend it. Stirring in a pat of butter at the end gives the filling a rich, velvety mouthfeel. It’s the little touch that makes it taste homemade.
Canning Essentials
You’ll need one clean 8-ounce or 12-ounce half-pint jar, a new two-piece lid (flat lid and ring), and enough water to cover the jar in your canner or pot. I use a standard large pot with a towel at the bottom if I don’t have a dedicated canner. The key is cleanliness. Sterilize your jar by boiling it for 10 minutes before you start.
Equipment Needed
You don’t need fancy gadgets for this. Here’s what I actually use:
Heavy-bottomed saucepan — I use a 2-quart saucepan. It needs to be wide enough to let the steam escape, which helps the filling reduce. A tall, narrow pot will make a mess. I prefer stainless steel because it heats evenly and I can see the color of the apples as they cook.
Wooden spoon — For stirring. You need something that won’t scratch your pan and can handle the sticky sugar mixture. Silicone works too, but I like the feel of wood.
Sharp knife and cutting board — For peeling and slicing the apples. Uniform slices (about ¼-inch thick) ensure they cook evenly. If some are thick and some are thin, you’ll get mushy bits and hard chunks.
Measuring cups and spoons — Accuracy matters here, especially with the cornstarch. Too much and it’s glue; too little and it’s soup.
Jar lifter — A must-have for canning. It’s a tongs-like tool with a rubber grip that lets you safely lift hot jars out of boiling water. Don’t try to do this with a regular spoon or your hands. You will burn yourself. I learned this the hard way.
Funnel — A wide-mouth funnel makes filling the jar much easier and keeps your counter clean. I use a plastic one from the dollar store; it works perfectly.
How to Make It: Step-by-Step
Alright, let’s make this! I’m walking you through exactly how I do it, including the little tricks I’ve picked up to ensure your small batch canned spiced apple pie filling for one turns out perfectly every time.
Step 1: Prep the Apples (10 minutes)
Wash your apples. Peel them (I peel them because the skins can sometimes get tough in the filling, but if you like texture, you can leave them on). Core them and slice them into ¼-inch thick wedges. Try to keep them uniform. Place them in a bowl and toss with the lemon juice. This stops them from turning brown while you prep the rest.
Step 2: Make the Spice Sugar Mix (2 minutes)
In a small bowl, mix the sugar, cinnamon, allspice, nutmeg, ginger, and salt. Whisk it together so the spices are evenly distributed. This ensures you get a bite of spice in every spoonful, rather than a clump of cinnamon at the bottom.
Step 3: Cook the Apples (15 minutes)
Place the saucepan over medium heat. Add the sliced apples and the apple cider. Stir well to coat the apples in the cider. Cover the pot and let the apples cook for about 5 minutes. This steams them slightly and starts the breakdown process.
Uncover the pot and add the spice-sugar mixture. Stir everything together. The mixture will look dry at first, but that’s okay. Let it cook, stirring occasionally, for about 10-12 minutes. The apples will release their juices, and the sugar will dissolve. You’ll see the liquid bubbling and the apples becoming translucent. This is where the magic happens. The kitchen will smell incredible.
Step 4: Thicken the Filling (3 minutes)
Check the consistency. The apples should be tender but not mushy. If you poke one with a fork, it should give easily. Now, it’s time to thicken. Take your cornstarch and mix it with 1 tablespoon of cold water in a small cup until it’s smooth (no lumps!).
Reduce the heat to medium-low. Slowly pour the cornstarch slurry into the simmering apples while stirring constantly. The filling will start to thicken almost immediately. Keep stirring for 2-3 minutes. You’ll see the bubbles change from small and watery to large and glossy. The filling should coat the back of a spoon thickly. If it’s still too runny, mix another ½ teaspoon of cornstarch with water and add it. But be careful—cornstarch thickens a lot as it cools.
Step 5: Finish with Butter (1 minute)
Remove the pot from the heat. Stir in the tablespoon of butter until it’s fully melted and incorporated. The filling should look shiny and rich. Taste it. If you want more spice, add a pinch of cinnamon. If it’s too sweet, add a squeeze of lemon. This is your final adjustment.
Step 6: Jar and Process (10 minutes active)
Ladle the hot filling into your sterilized hot jar, leaving ½ inch of headspace at the top. Use a chopstick or a small knife to run around the inside of the jar to release any air bubbles. Wipe the rim of the jar with a clean, damp cloth. This is crucial—a dirty rim won’t seal properly. Place the flat lid on the jar and screw on the ring until it’s “fingertip tight” (snug, but not forced).
Place the jar in your boiling water bath. The water should cover the jar by at least 1 inch. Bring to a boil and process for 10 minutes. If you’re at high altitude (over 1,000 feet), add 5 minutes. After 10 minutes, turn off the heat and let the jar sit in the water for 5 minutes before removing it. This prevents thermal shock and cracking.
Lift the jar out and place it on a towel-lined counter. Do not touch it for 12-24 hours. You’ll hear a “ping” sound as it seals. Press the center of the lid—if it doesn’t flex, it’s sealed. Congratulations, you’ve just made small batch canned spiced apple pie filling for one!
Expert Tips & Tricks
Here’s everything I’ve learned from making this dozens of times. These tips will save you from my mistakes.
Don’t Overcook the Apples — You want them tender, not applesauce. If you cook them too long before adding the cornstarch, they’ll break down completely when you stir, and your filling will be a puree. Keep them in chunks.
Acid is Your Friend — The lemon juice isn’t just for color. It helps the pectin in the apples work better, which aids thickening. If you skip it, you might need more cornstarch. I don’t recommend skipping it.
Test the Seal — After the jar has cooled, check the seal. If the lid is convex (bulges up) and doesn’t move when you press it, it’s sealed. If it’s concave (dips down) or flexes, it didn’t seal. Refrigerate this one and eat it within a week. Don’t try to re-process it; it usually doesn’t work well.
Use Fresh Spices — I know, it’s annoying. But old cinnamon tastes like dust. Buy small jars of spices if you don’t use them often. For this recipe, freshness makes a huge difference.
Label and Date — It’s easy to forget what’s in a jar. Write the date and contents on the lid with a sharpie. This spiced apple pie filling for one is best within 12 months, but it’s usually gone by then.
Variations & Substitutions
Once you’ve nailed the basic version, here’s how you can mix it up. I’ve tried all of these.
Maple Cinnamon Version — Replace the sugar with pure maple syrup. Use ½ cup of maple syrup instead of sugar. The flavor will be deeper and more robust. Great for pancakes or waffles.
Chai Spiced — Swap the allspice and nutmeg for 1 teaspoon of chai spice blend. Add a pinch of cardamom. It’s warm, aromatic, and perfect for coffee pairing.
Bourbon Apple — Stir in 1 tablespoon of bourbon after removing from heat. The alcohol will cook off, leaving just the warm, oaky flavor. Adult-only, obviously.
Gluten-Free — This recipe is naturally gluten-free. Just ensure your cornstarch and spices are certified gluten-free if you have celiac disease.
Lower Sugar — Reduce the sugar to ⅓ cup and add 1 teaspoon of lemon zest. It’s less sweet but still flavorful. Good for those watching sugar intake.
Serving & Storage
How to Use It: This filling is incredibly versatile. Use it to fill a store-bought pie crust for a quick dessert. Spoon it over vanilla ice cream or cheesecake. Mix it into oatmeal or yogurt. I also love it in those fudgy peanut butter brownies as a swirl—just dollop it on top before baking.
Storage: Unopened jars keep in the pantry for 12-18 months. Once opened, store in the refrigerator and use within 2 weeks. The filling will thicken in the fridge, which is normal. If it’s too thick, add a splash of water or milk when reheating.
Reheating: You can eat it cold, but it’s best warm. Heat a portion in the microwave for 30-60 seconds, or warm it gently in a small saucepan. It should be glossy and pourable.
Nutrition Information
I’m not a nutritionist, but here’s the breakdown if you’re tracking. This is per 2-tablespoon serving (about 1/12th of the jar).
Per Serving:
- Calories: 45
- Carbs: 11g
- Sugar: 9g
- Fiber: 1g
- Protein: 0g
- Fat: 0g
It’s relatively low calorie, mostly carbs from the fruit and sugar. If you’re watching sugar, use the lower sugar variation. It’s a treat, not a health food, but it’s better than most store-bought pie fillings which are full of preservatives.
Final Thoughts
So that’s my small batch canned spiced apple pie filling for one! I’ve probably talked your ear off at this point, but when you make a recipe this often, you have a lot to say about it. This has saved me from food waste, from fridge clutter, and from the guilt of baking for one. It’s my answer to “I want something sweet, but I don’t want to deal with a week of leftovers.”
Make it yours! Try different apples, swap the spices, or add a splash of bourbon. The best recipes are the ones you adapt to your life. If you make this, drop a comment and let me know what you think! I love hearing how recipes turn out in your kitchen. And if something doesn’t work, tell me that too—I’m here to help troubleshoot.
Happy canning! And I hope your kitchen smells half as good as mine does right now.
Frequently Asked Questions
Can I use applesauce instead of fresh apples?
You can, but the texture will be completely different. Applesauce will make a smooth puree, not a chunky pie filling. If you want a smooth filling for tarts or bars, yes, it works. But for a traditional pie texture, stick with fresh sliced apples. The cornstarch will still thicken it, but it won’t have that “bite.”
Why did my jar not seal?
Most common reasons: The rim wasn’t wiped clean (sugar residue prevents sealing), the jar was too hot or too cold (thermal shock), or the processing time was too short. If it didn’t seal, refrigerate it and eat it within a week. Don’t store it in the pantry.
Can I freeze this filling instead of canning it?
Yes! Let it cool completely, then transfer to a freezer-safe container, leaving ½ inch headspace. It will keep for 6 months. Thaw in the fridge overnight. The texture might be slightly softer, but the flavor is the same. This is a good option if you don’t have a canner.
What kind of apples are best for pie filling?
I recommend a mix of Honeycrisp, Granny Smith, and Braeburn. They hold their shape well and have a good balance of sweet and tart. Avoid Red Delicious (too mealy) and McIntosh (too mushy, unless you like applesauce).
Can I make this in a pressure canner?
Yes, but you need to adjust the pressure and time. For a pressure canner, process at 10 PSI for 15 minutes (for pints). Always follow your canner’s manual for fruit preserves. Water bath canning is safer and easier for this small batch recipe.
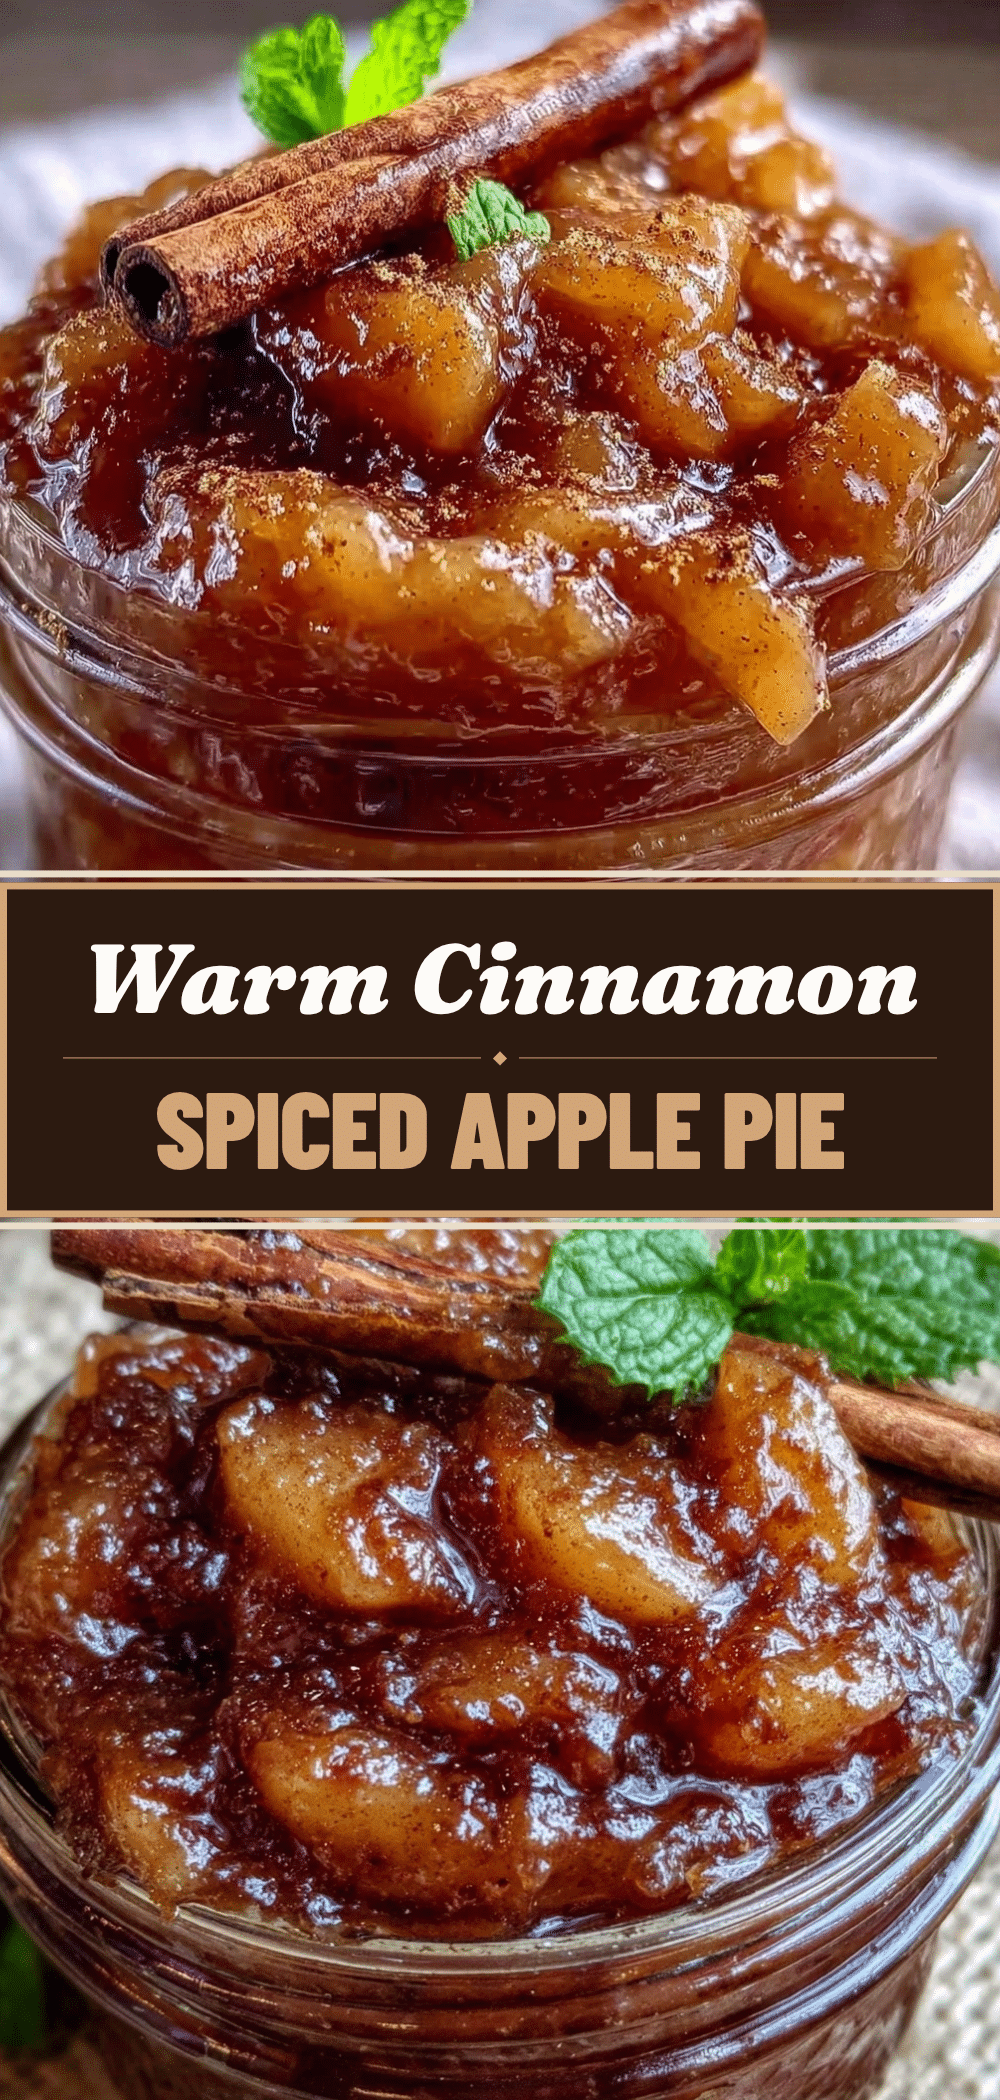
Pin This Recipe!
Small Batch Canned Spiced Apple Pie Filling for One
- Total Time: 40 minutes
- Yield: 1 pint jar (approx. 12 servings) 1x
Description
A small-batch, pantry-stable spiced apple pie filling that yields exactly one pint jar, perfect for single servings or small households without food waste.
Ingredients
- 3–4 medium baking apples (about 1.5 lbs / 680g), peeled, cored, and sliced into ¼-inch wedges (mix of Honeycrisp and Granny Smith recommended)
- ½ cup granulated sugar (100g)
- ¼ cup apple cider (60ml)
- 1 tablespoon fresh lemon juice (15ml)
- 1 teaspoon ground cinnamon
- ¼ teaspoon ground allspice
- ⅛ teaspoon ground nutmeg
- ¼ teaspoon ground ginger
- ¼ teaspoon kosher salt
- 1 tablespoon cornstarch (8g)
- 1 tablespoon cold water (for cornstarch slurry)
- 1 tablespoon butter (14g), optional
Instructions
- Wash, peel, core, and slice apples into ¼-inch wedges. Toss with lemon juice to prevent browning.
- In a small bowl, whisk together sugar, cinnamon, allspice, nutmeg, ginger, and salt.
- Place a heavy-bottomed saucepan over medium heat. Add sliced apples and apple cider. Cover and cook for 5 minutes to steam.
- Uncover the pot, add the spice-sugar mixture, and stir. Cook uncovered for 10-12 minutes, stirring occasionally, until apples are translucent and juices are bubbling.
- In a small cup, mix cornstarch with 1 tablespoon of cold water until smooth.
- Reduce heat to medium-low. Slowly pour the cornstarch slurry into the simmering apples while stirring constantly. Cook for 2-3 minutes until the filling thickens and coats the back of a spoon.
- Remove from heat and stir in butter until melted and incorporated. Taste and adjust spices or lemon if needed.
- Ladle hot filling into a sterilized 8- or 12-ounce half-pint jar, leaving ½ inch headspace. Remove air bubbles and wipe the rim clean.
- Place the flat lid and ring on the jar, tightening to fingertip tight.
- Process in a boiling water bath for 10 minutes (add 5 minutes if at high altitude over 1,000 feet).
- Turn off heat and let jar sit in water for 5 minutes before removing. Cool on a towel-lined counter for 12-24 hours until sealed.
Notes
Ensure apples are a mix of sweet (Honeycrisp) and tart (Granny Smith) for best texture and flavor. Do not overcook apples before thickening to maintain chunk texture. Always wipe jar rims clean to ensure a proper seal. If the jar does not seal after cooling, refrigerate and consume within one week. For lower sugar, reduce sugar to ⅓ cup and add lemon zest.
- Prep Time: 10 minutes
- Cook Time: 30 minutes
- Category: Dessert
- Cuisine: American
Nutrition
- Serving Size: 2 tablespoons
- Calories: 45
- Sugar: 9
- Carbohydrates: 11
- Fiber: 1
Keywords: apple pie filling, small batch canning, canned apple filling, fall recipes, apple pie filling for one, pantry staples, gluten-free dessert


